Needle felting is the dry side of felting. You hold a barbed steel needle, you stab loose wool with it, and the wool becomes solid. There is no water, no soap, no glue and no sewing, which means you can start on a kitchen table and stop mid-project without anything drying out or going wrong.
This page is the map of everything on the site about it: what to buy, how the technique actually works, the handful of skills that unlock every project, and where to go when a piece refuses to behave. If you have never felted anything at all, what felting is explains how the whole family of techniques fits together first.
Start here
What needle felting is and how the barbs work
A wool fibre is not smooth. Its surface is covered in overlapping scales, and those scales are the reason wool tangles into fabric when nothing else does. A felting needle exploits them mechanically. The needle is a slim steel shaft with notches — barbs — cut into its edges, all facing back towards the handle. Push the needle in and the barbs catch fibres and drag them inward, past their neighbours. Pull it out and the barbs release, but the scales hold the fibres in their new tangled position.
That is the whole mechanism. Every technique in needle felting is a way of choosing where to apply it. Stab somewhere and it gets denser and smaller. Lay new wool on top and stab, and it gets bigger. Nothing you do is permanent in the sense that you cannot add over it, but compaction only runs one way: you can always firm a soft area, and you can never fluff a firm one back up.
Because it is dry, needle felting also combines happily with its wet cousin. You can build a shape with a needle and then wet felt it to get a smooth, tough skin — wet felting after needle felting covers when that is worth doing and how much the piece shrinks when you do.
What you need
Five things, and only the first three are strictly necessary.
Needles
Needles are sold by gauge, and the number runs backwards: the higher the number, the finer the needle. A 36 is coarse and moves a lot of fibre quickly, which suits building bulk out of cheap wool. A 38 is the general-purpose workhorse and will do most of a project on its own. A 40 is fine, leaves almost no visible holes and is what you finish a surface with. Blade shape matters less than gauge, but it is worth knowing: triangle needles have three barbed edges and are the default, star (or four-sided) needles work faster and smooth better, and spiral needles are twisted so the barbs meet the fibre from more angles, which makes them excellent for tidying a surface. Buy several of each rather than one — they snap, and breaking needles is almost always a matter of technique rather than luck. The full needle guide goes through the combinations in detail.
Wool
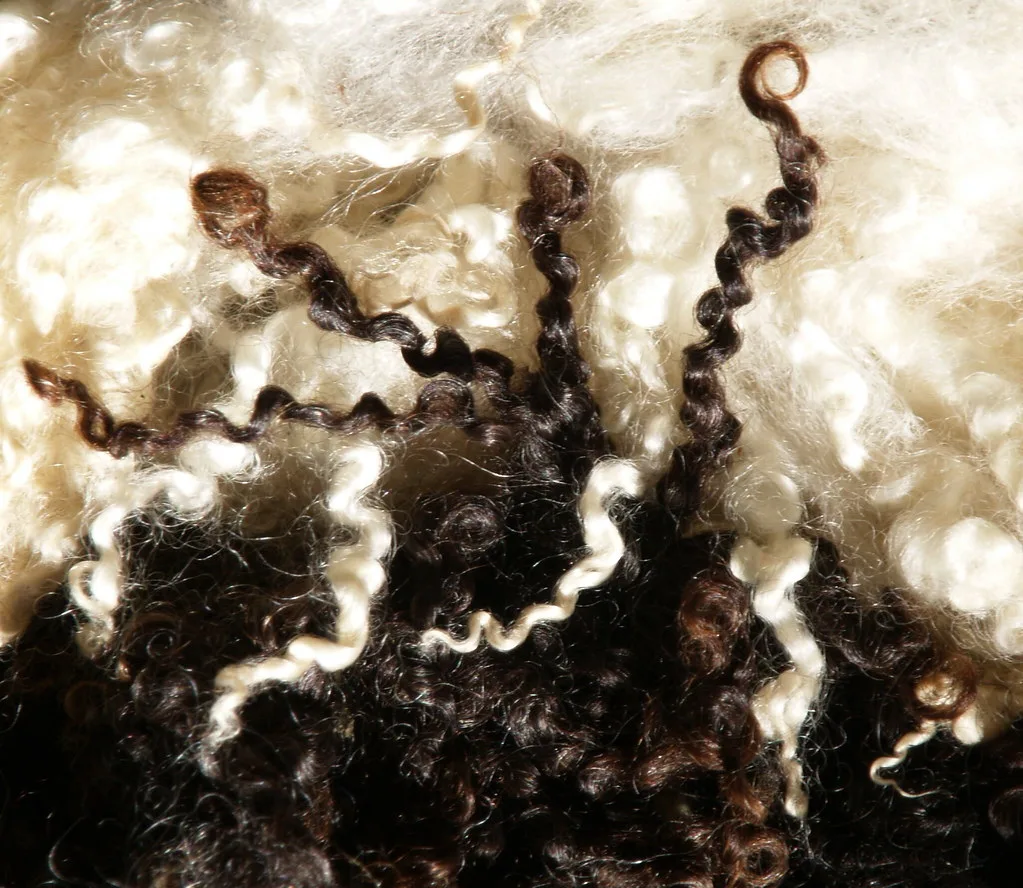
Use two kinds. Core wool is coarse, undyed and cheap, and it is what you build volume from; it felts fast and firm because coarse fibres have big, aggressive scales. Then wrap the outside in a thin layer of colour. Corriedale is the sensible middle ground for both jobs — coarse enough to felt quickly, soft enough to look good on the surface, and forgiving in a way that merino is not. Merino is very fine, which makes it slow under a needle but unmatched for smooth faces and blended colour. If you want a shortcut past the wool aisle entirely, the best wool for felting ranks the common breeds by what they are actually good for. Add wool locks — curly, unspun bits of fleece — when you want mane, fleece or shaggy texture straight out of the bag.
A mat
The needle has to go somewhere after it passes through the wool. A dense foam block is the cheapest option, a wire brush mat sheds less foam into your work, and a wool pad is the most durable and the quietest. Anything soft enough to receive the tip and firm enough to hold the piece will do, and felting mat alternatives covers what works from around the house if you would rather not buy one yet.
Finger guards
Leather thimbles for the thumb and forefinger of your holding hand. Optional until the first time you drive a 38 through a fingernail, at which point they become the best two pounds you have ever spent.
Tools you do not need yet
A needle felting pen holds three to seven needles at once and speeds up large flat areas and general bulking, but it is clumsy for detail and it breaks needles faster. A felting machine — essentially a needle punch sewing machine — is for flat work in quantity, not sculpture. Buy either only once you know which kind of felting you actually enjoy.
Your first ten minutes
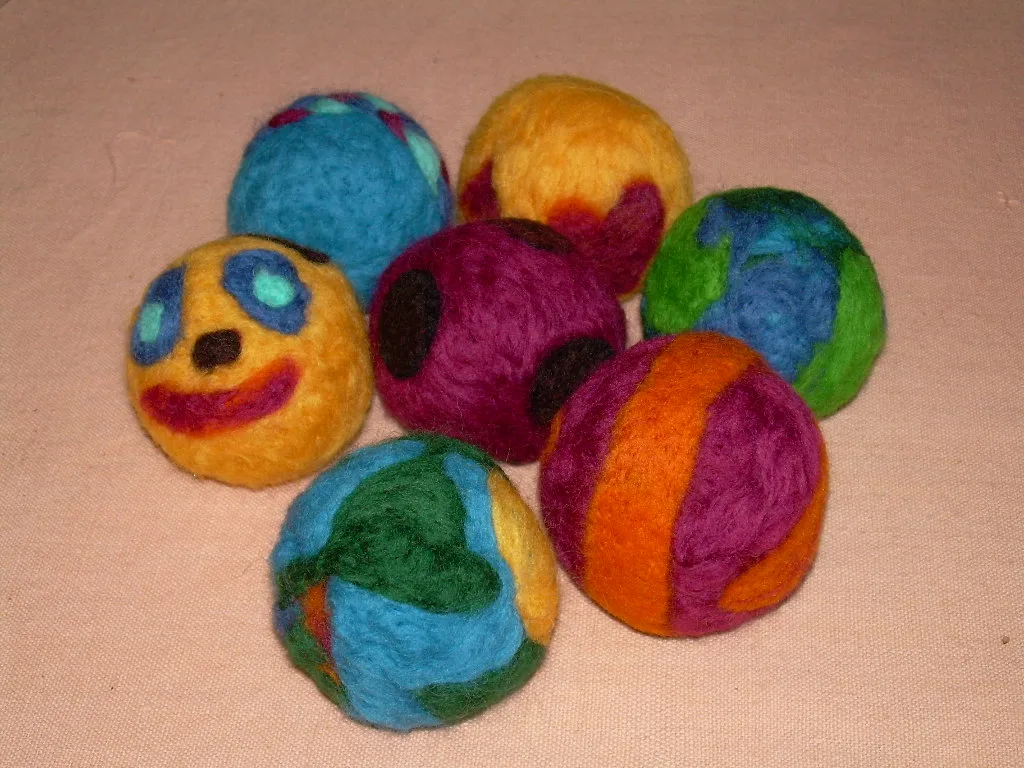
Make a ball. Not an animal, not a gift, a ball. It teaches the only thing beginners genuinely get wrong, which is judging firmness.
Pull — never cut — a length of core wool about the length of your forearm. Roll it into a rough sphere roughly twice the diameter you want, tucking the tail in as you go, because wool loses somewhere between a third and a half of its volume as it compacts. Set it on the mat and start stabbing with a 38, straight in and straight out along the same line. Rotate the ball every fifteen or twenty stabs. If you work one face for too long you will get a firm side and a soft side and the whole thing will pull into an egg.
You will know it is done by feel and sound. At the start the needle sinks in silently against no resistance. As the fibres lock you get a springy push-back and a faint crunch on entry, and the surface stops denting under a thumb. Then wrap a thin veil of coloured wool around it, tack it down with the 38 and smooth it with a 40. That is the standard construction for almost everything: cheap wool inside, good wool outside. The full ball tutorial has the timings and the checks, and the techniques guide is where to go once the motion feels automatic.
Core techniques
Shaping
You shape by stabbing selectively. Concentrated stabs in one spot pull the surface inward and create a dent, a crease or a joint; stabbing around a line makes a groove, which is how you get a haunch or a closed eyelid. Wrapping a strip of wool around a waist and needling only the edges gives you a raised band. Work with the piece held in the air for soft, rounded results and against the mat for flat, firm ones.
Attaching parts
Leave loose fibre at the end of any limb, ear or tail you make separately — that unfelted wisp is the glue. Splay it against the body and needle through it at a shallow angle from several directions, then cover the join with a thin wisp of the body colour. A joint that pulls apart was needled from one direction only. Beginner animals is built around exactly this sequence.
Surface colour
Colour goes on last and in thin veils. Pull a wisp so fine you can see through it, lay it down, and tack it with a 40 so the holes do not show. Blend two colours by overlapping their veils rather than mixing the fibre. Taken further, this becomes wool painting, where you build a picture in layers of loose fibre rather than sculpting at all.
Fur and texture
Realistic fur is made by reverse felting: you needle a tuft of long fibre in by its middle, then brush and trim the free ends. It is slow and it is what separates a toy from a portrait — how to needle felt fur breaks the layering down. For fleece, manes and beards, needle unspun locks in at the base and leave the curl alone.
Eyes and faces
Faces read on proportion and eye placement, not detail. Set the eyes lower and wider than instinct suggests, and needle a socket before you add anything into it so the eye sits in the face rather than on it. Needle felting eyes compares glass eyes, sculpted wool and painted approaches, and sculpting a face covers the underlying structure — brow, cheek, muzzle — that makes an expression possible.
Armatures
Anything with thin legs, a posed body or a long neck needs wire inside it. A twisted armature gives you a skeleton you can bend once and then wrap in core wool. Wire armatures covers gauges and how to anchor the wire so it never works its way back out through the felt, which is the failure mode that matters.
Projects by difficulty
First projects
Anything round and forgiving. A sheep is two balls and some locks. A hedgehog hides every mistake under its spines. Mushrooms are a cap and a stalk and look convincing almost immediately, and a felted heart is a single evening's work that teaches symmetry. A bee adds stripes and wings without adding difficulty, and flowers forgive irregularity because real ones are irregular too. A chick is the easiest animal on the site — two spheres and almost no neck — and a fish is a flattened teardrop where all the work is in the fins.
Stepping up
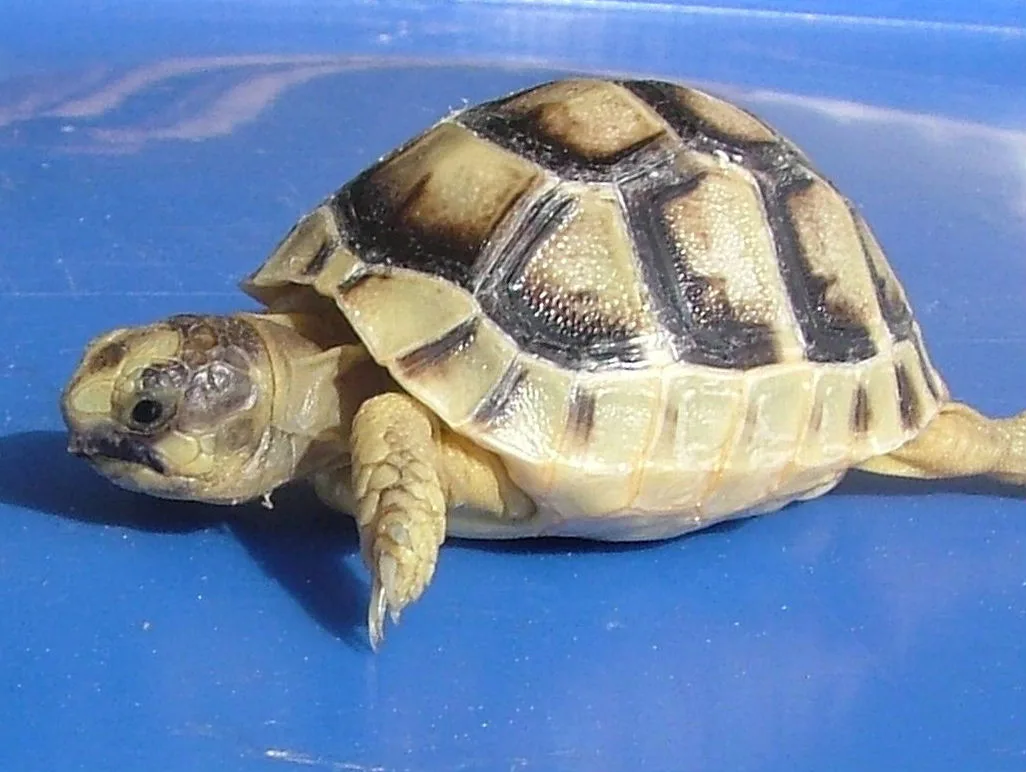
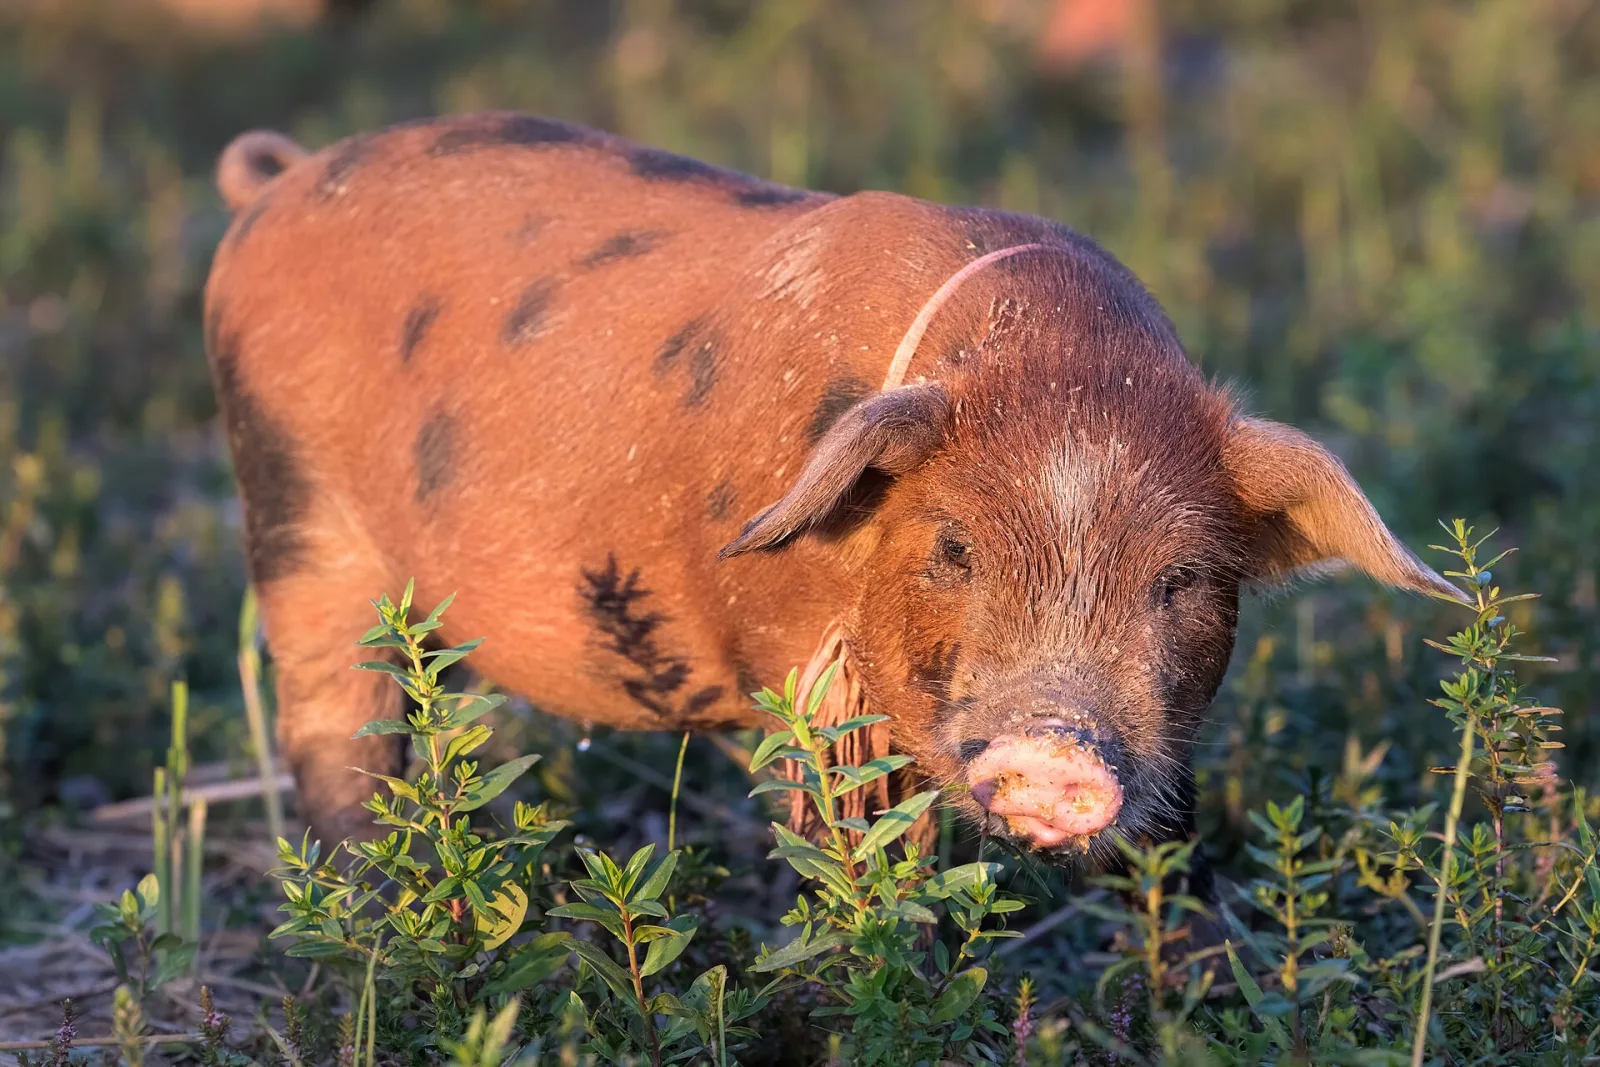
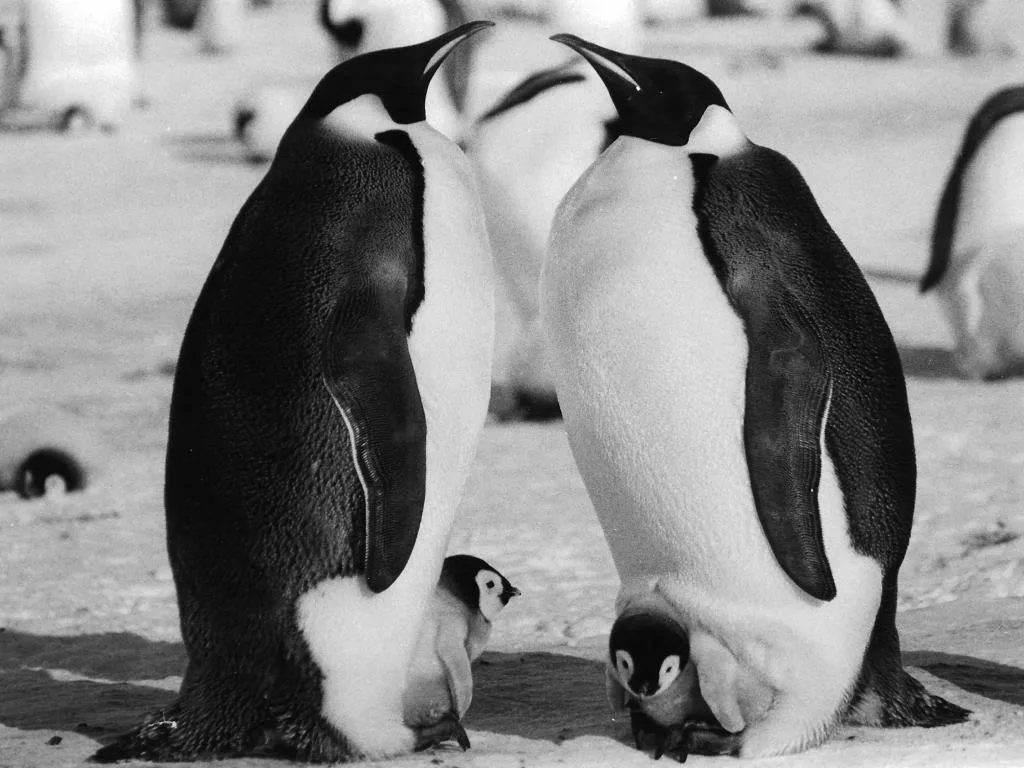
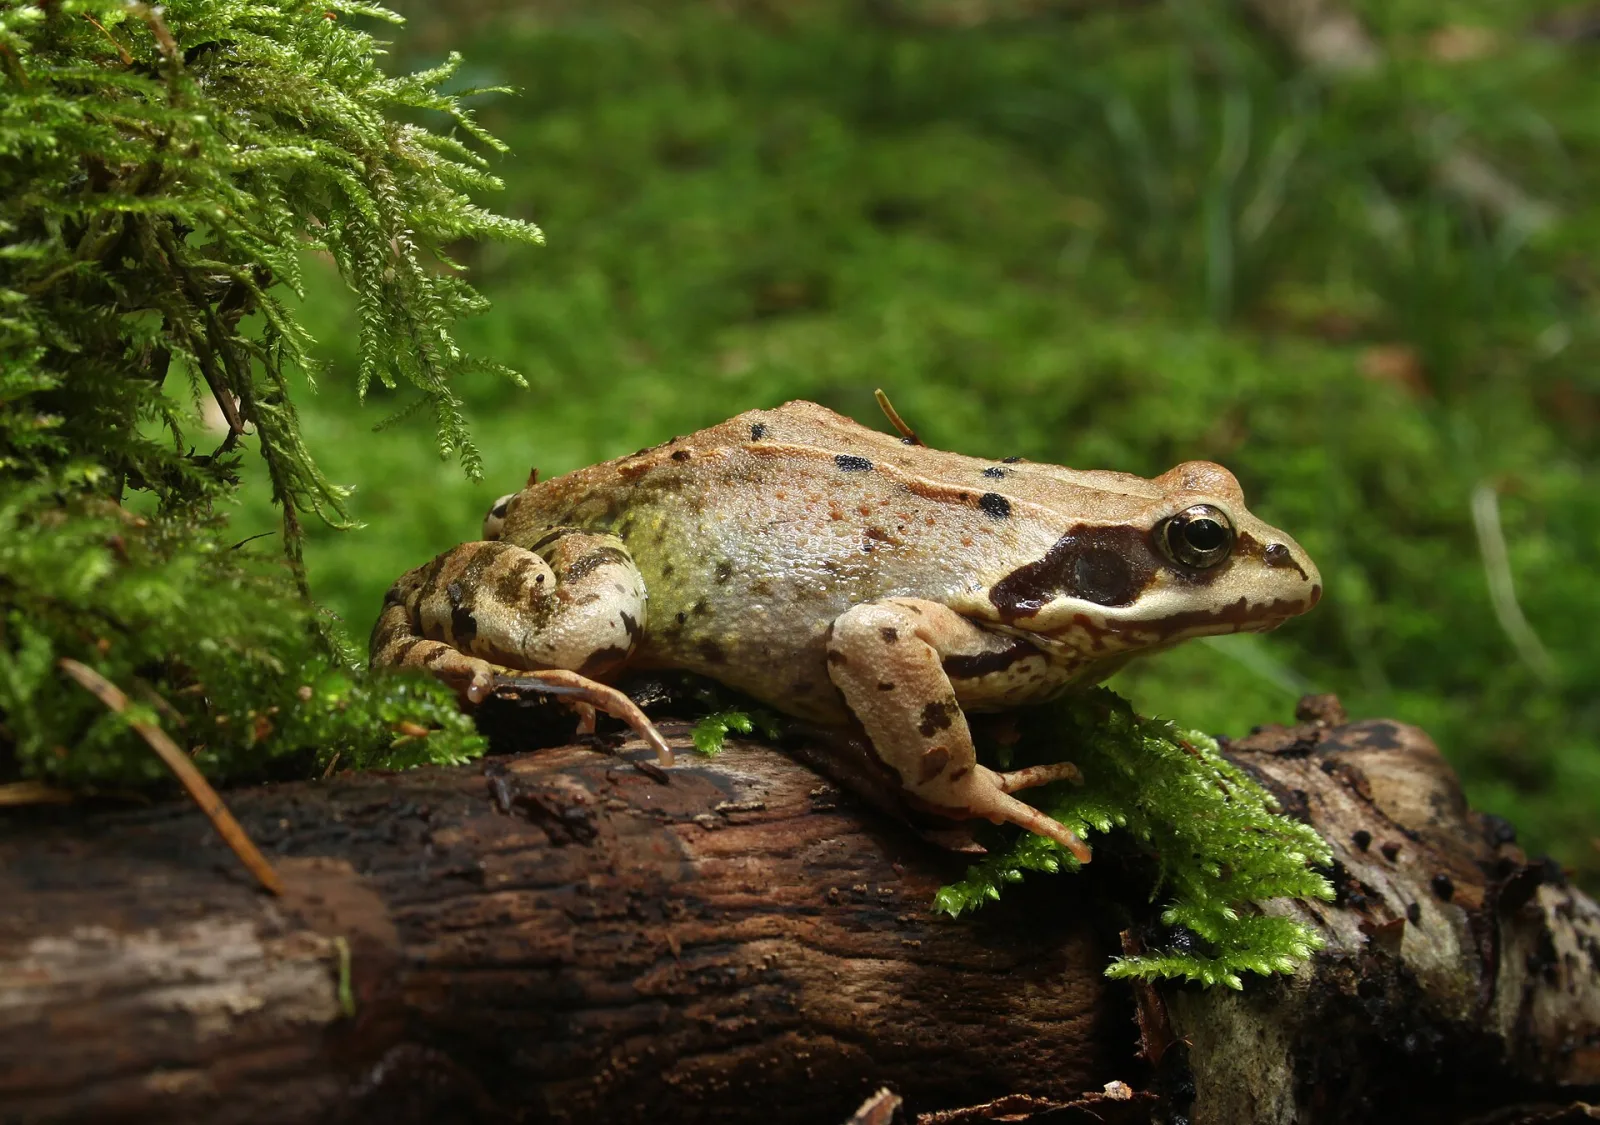
Once joins and proportion are under control, move to animals with recognisable characters: a bunny, a cat, a fox, an owl or a dog. Felt mice are small enough to make a dozen while you practise ears. Felt food is a good discipline in colour matching and surface finish, and felt dolls bring the armature, the face and clothing together in one piece. Each of the farm and wild animals turns on one proportion the others do not: a pig on the straight snout line, a cow on the broad flat muzzle, a frog on folded hind legs and eyes set on top of the skull, a penguin on a clean edge between black and white, a turtle on the shell and its scutes, and a bear on the shoulder hump that stops it being a teddy.
Ambitious work
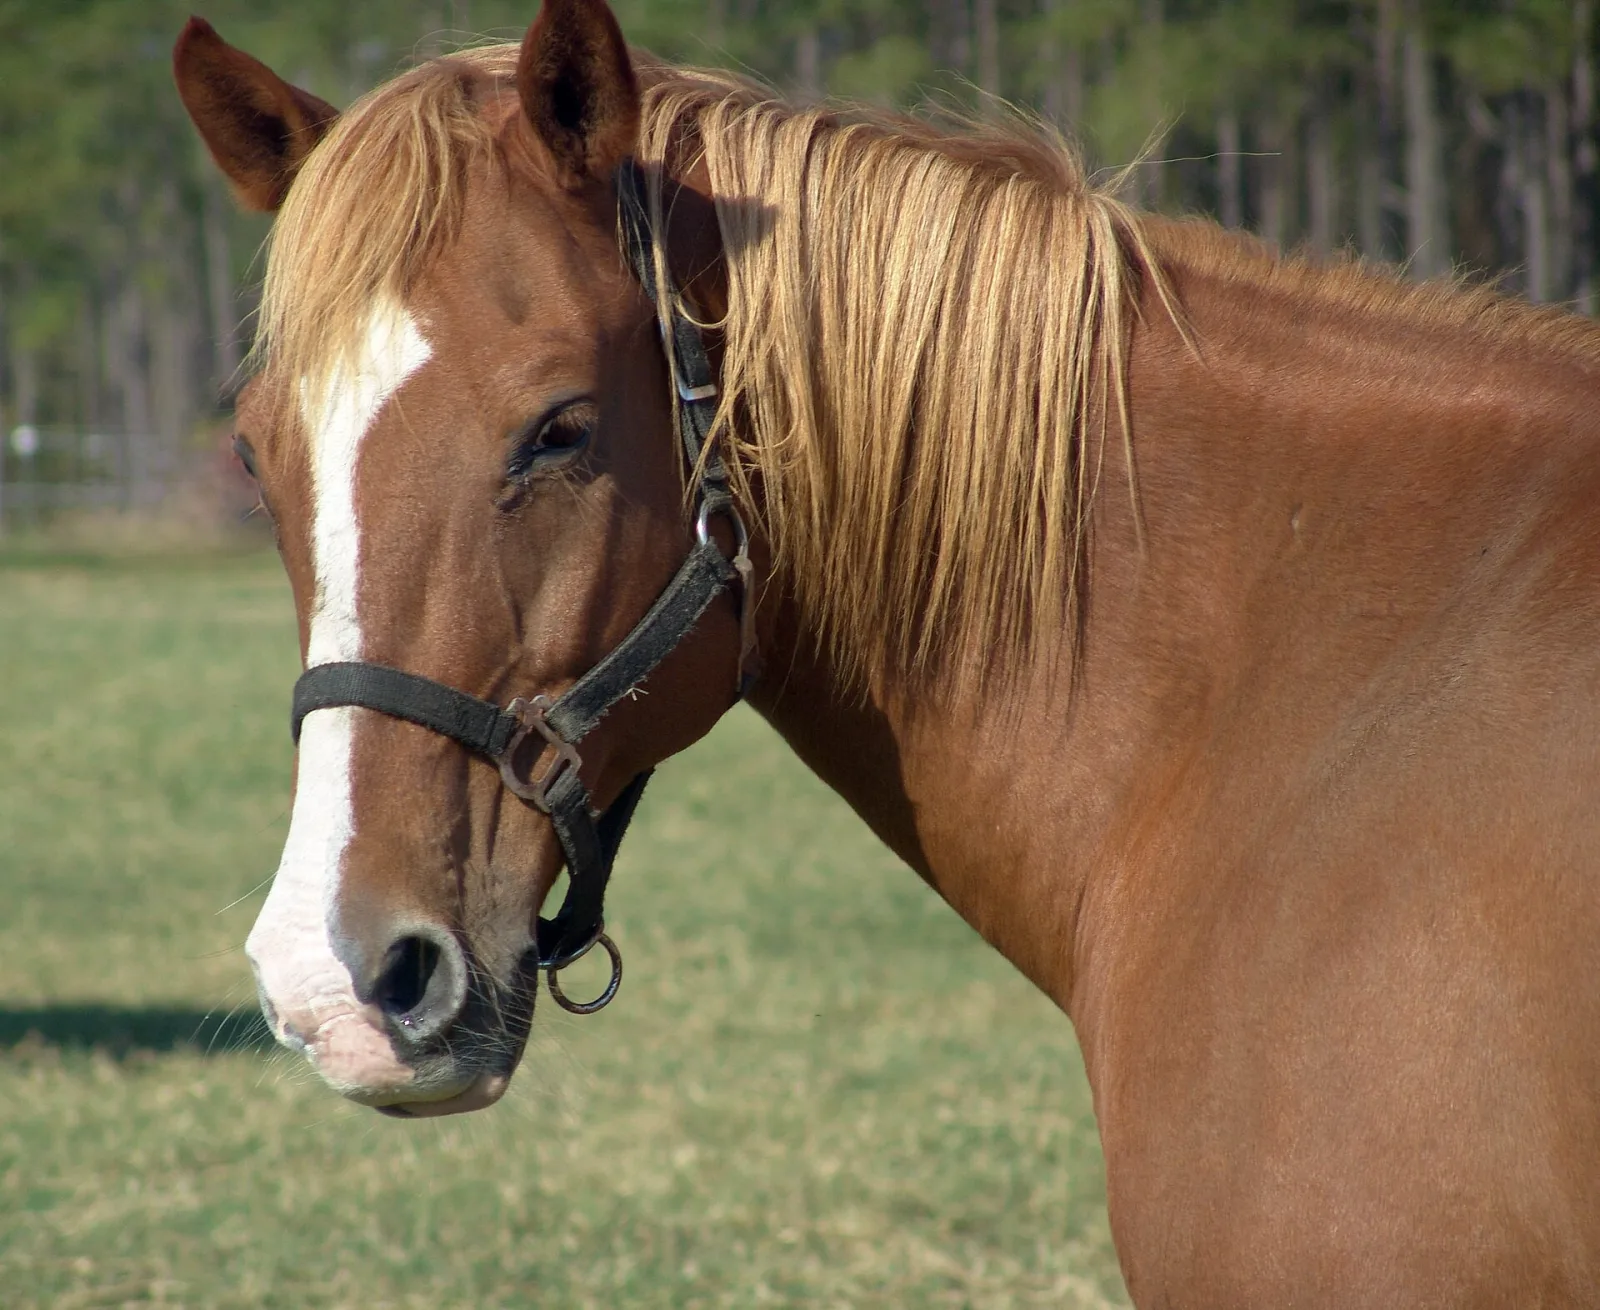
A horse and a deer come next, because both stand on legs too fine to hold weight in wool alone and so force you onto a wire armature — and both are unforgiving about leg length. A dog portrait is the natural summit: a real animal, a real likeness, layered fur and glass eyes. Expect it to take days rather than hours.
Seasonal
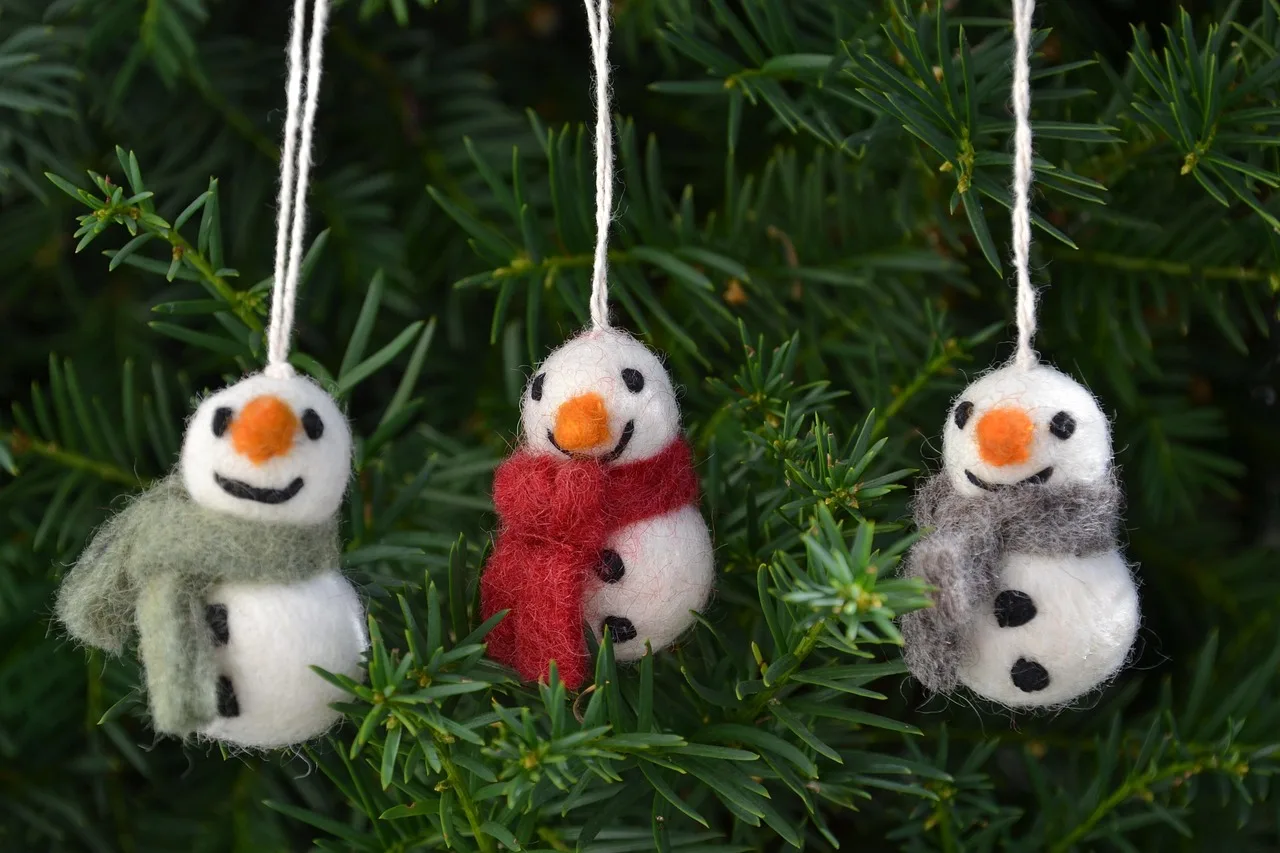
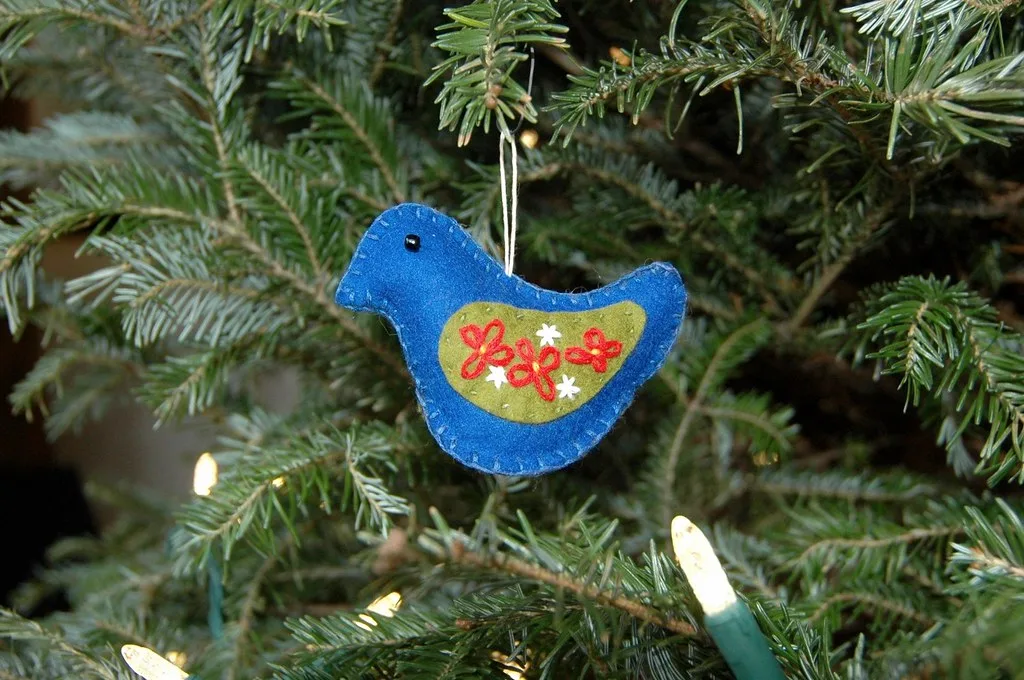
Seasonal pieces are the reason most people learn this craft. Pumpkins for autumn, Christmas ornaments and gnomes for December, an angel for the top of the tree, and Easter eggs in spring — all small, all quick, and all much better received than shop-bought.
Small things to wear and hang
Bag charms and animal hair clips are the best way to use up offcuts, and they force you to finish a surface properly because they get handled constantly.
Needle felting on fabric and 2D
You do not have to sculpt. Needling wool into a woven or knitted backing gives you appliqué, illustration and mending in one technique, and it is much faster than building in the round. Work on a fabric with enough openness for fibre to pass through, back it with your mat, and use a fine needle so the holes close up. Needle felting on fabric covers backings, tension and how to stop the piece stiffening into cardboard.
Flat work is also where the powered tools earn their keep. A multi-needle pen covers a background in a fraction of the time, and a felting machine handles yardage if you are making more than one of something. For picture-making rather than patching, wool painting is the technique to read next.
Mistakes and safety
Two things go wrong: the work, and you.
On the work, the beginner mistakes are consistent enough to list. Stopping too early, so the piece stays squashy — this is by far the most common. Building the shape too small because you did not allow for compaction. Using expensive merino for the core, which is slow and wasteful. Adding detail before the underlying form is right. Levering the needle sideways, which snaps it. Needle felting mistakes works through all of them with fixes, and how to stop breaking felting needles deals with the one that costs money. If the wool simply will not compact no matter how long you stab, the fibre itself is usually the problem: why won't my wool felt starts with superwash treatment, which cannot be worked around, and moves through the rest.
On you: felting needles are surgically sharp, brittle, and barbed, which means they hurt going in and hurt more coming out. Keep your holding fingers beside the needle's path rather than under it, watch the needle instead of the shape, and stop when you are tired — almost every injury happens in the last ten minutes of a session. Use finger guards for detail work, where your fingers are necessarily close to the point, and keep needles in a closed tube rather than loose on the table. Is needle felting dangerous also covers the parts people forget: wool dust, working with children, and why broken needle tips need finding rather than assuming.
Where to go next
If you have made a few pieces and want to get better rather than just make more, three directions are worth taking. Work through the techniques guide deliberately, one skill at a time, rather than picking them up by accident. Pick projects that force a weakness — if your faces are flat, make a face; if your joins show, make something with four legs. And if progress has stalled, a few hours with someone experienced is worth a month of solo effort; needle felting classes covers what to expect from in-person and online options.
When you run out of ideas, the beginner ideas list is deliberately long and deliberately small-scale. And when the dry approach starts to feel limiting, wet felting is the other half of the craft — flat, wearable and fast, where needle felting is slow and sculptural. For everything you might buy along the way, felting supplies is the buyer's guide.