Needle Felted Angel: A Cone, a Ball and Two Wings
4 min read Beginner
An angel is three shapes you already know how to make. Get the cone standing straight and the rest is decoration.
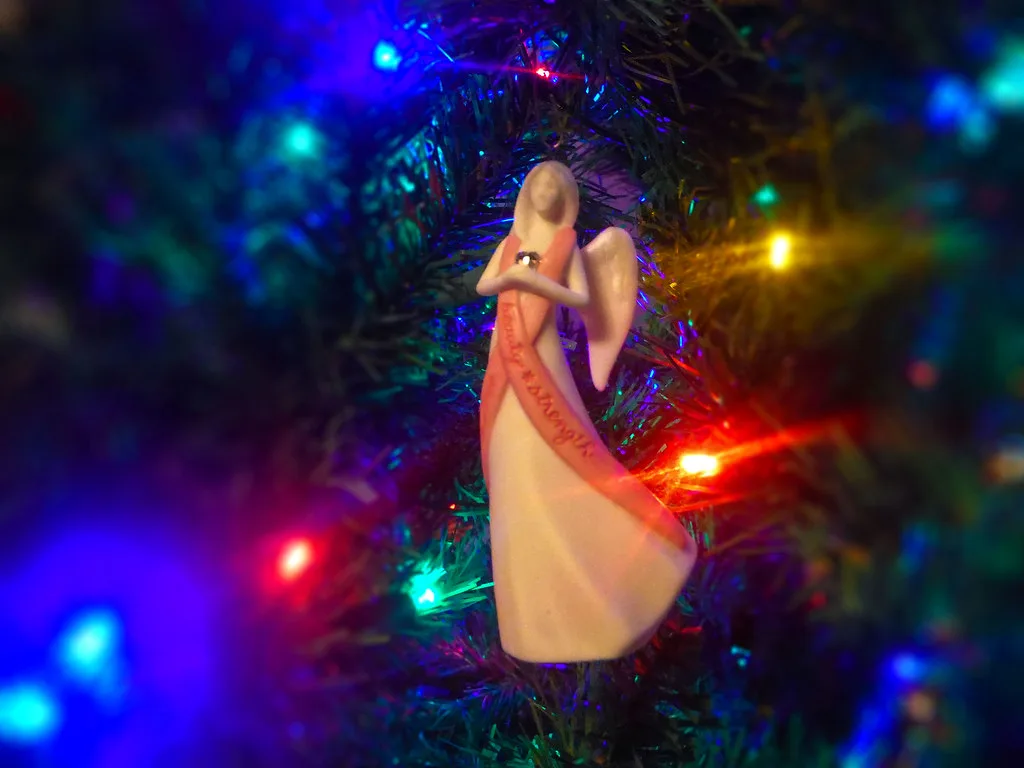
An angel is a cone, a sphere and two flat pieces. Nothing here is harder than a felted ball, and the whole thing takes about an hour once you have made one.
What you need
- Core wool — 15 g for a 12 cm angel
- White or cream wool for the gown and wings, 10 g
- Small amounts of skin-tone wool, hair colour, gold for the halo
- 38 and 40 gauge needles
- Foam pad or brush mat
- Optional: thin gold wire or a pipe cleaner for the halo, ribbon for hanging
1. The cone
- Wind core wool into a firm cone shape — wide at the base, narrowing to about a third of that width at the top.
- Needle all over with a 38 gauge, rotating constantly, until it holds its shape under a squeeze.
- Flatten the base. Stand the cone on your mat and stab straight down into the base repeatedly, working from the edge inwards. A flat, dense base is what makes it stand.
- Keep the base denser than the top — the weight distribution matters more than the shape.
- Test it on a table. Adjust by needling the high side of the base down.
2. The gown
Lay thin veils of white wool over the cone and needle them down with a 40 gauge, working at a shallow angle for a smooth surface. Two thin layers beat one thick one, and shallow-angle needling leaves fewer visible holes.
Leave the very top of the cone bare — that is where the head joins.
3. The head
- Felt a ball of core wool about a third of the cone's height, firm all through.
- Cover it with skin-tone wool in thin veils.
- Leave loose fibre at the base of the head. That loose fibre is the join — do not felt it.
4. The join
This is where felted figures fail, and it is entirely avoidable:
- Press the loose fibre at the base of the head against the top of the cone.
- Needle those fibres down into the cone, deeply, from several angles. Surface tacking will not hold.
- Work all the way round the neck, tightening as you go.
- Lay a thin veil of wool across the join and needle it in to hide the seam.
Test by holding the body and gently rocking the head. Any movement means more needling.
5. Wings
Make them flat, not in the air:
- Lay a rectangle of white wool on your mat, roughly 12 × 8 cm and evenly thick.
- Needle it all over with a 38 gauge, then lift, flip, and needle the other side. Repeat until it is a firm, thin sheet — this takes longer than you expect.
- Cut two wing shapes from the sheet with sharp scissors. Felt does not fray, so cut edges need no finishing.
- Tidy the cut edges by needling lightly along them.
- Attach: hold both wings against the back and needle through them into the body at the centre, working from the wing side, then reinforce from the back.
One wide double wing cut as a single piece is easier to attach and less likely to come off than two separate ones.
6. Hair, halo and arms
- Hair — lay strands over the head, needle only along the parting and around the hairline, and leave the ends loose. Curly locks from Wensleydale or Teeswater make excellent hair, tacked at one end only.
- Halo — a ring of gold wire pushed into the back of the head, or a felted ring of gold wool needled into place.
- Arms — two small felted cords needled into the sides of the cone, or simply omitted. Many of the best angels have none.
- Face — a suggestion rather than a portrait. Two small dark dots for eyes, needled shallow, are usually enough at this size.
Hanging it
Push a folded loop of ribbon into the top of the head with a needle and needle wool over the ends to lock it in, or stitch through the back of the neck with strong thread. Do not glue — glue on felt fails.
Variations
- Tree-topper — make the cone hollow by felting over a rolled paper cone, then removing it, so it sits on the tree's leading shoot.
- Set of three in graduated sizes.
- Wet felted gown — a flat piece of wet felt wrapped round a needle felted cone gives a smoother, more fabric-like drape; see wet felting for beginners.
- Nativity set — the same cone-and-ball construction makes every figure in it.
For more decorations built the same way, see felted Christmas ornaments and the felted gnome, which is the same cone with a hat instead of a halo. A needle felted Santa is the third variation on that cone, and the one where the face stops being optional.
Frequently asked questions
How do you needle felt an angel?
Roll a cone of core wool for the body and felt it firm with a flat base, felt a ball for the head, join the two by needling loose fibres from the head deep into the cone, then add flat wings, hair and a halo.
How do you make the angel stand up?
Work the base flat by stabbing straight down into it against your mat, and keep the cone denser at the bottom than the top. If it still tips, open the base slightly and push in a coin or a small weight, then close the wool over it.
How do you make felted wings that do not flop?
Felt them as a flat sheet on a brush mat, working both sides until dense and thin, then cut the wing shape from the sheet. Cut edges do not fray, and a flat-felted sheet is far firmer than wings built in the air.
How much wool does an angel take?
About 15 g of core wool and 10 g of surface colour for a 12 cm angel. A batch of six uses roughly 150 g in total.