Needle Felting Fur: Reverse Needles, Locks and Layered Colour
5 min read Advanced
We may earn a commission from links on this page, at no extra cost to you. As an Amazon Associate I earn from qualifying purchases. Learn more.
Smooth felt looks like felt. Four methods for making a surface that reads as fur, and when each one is the right answer.
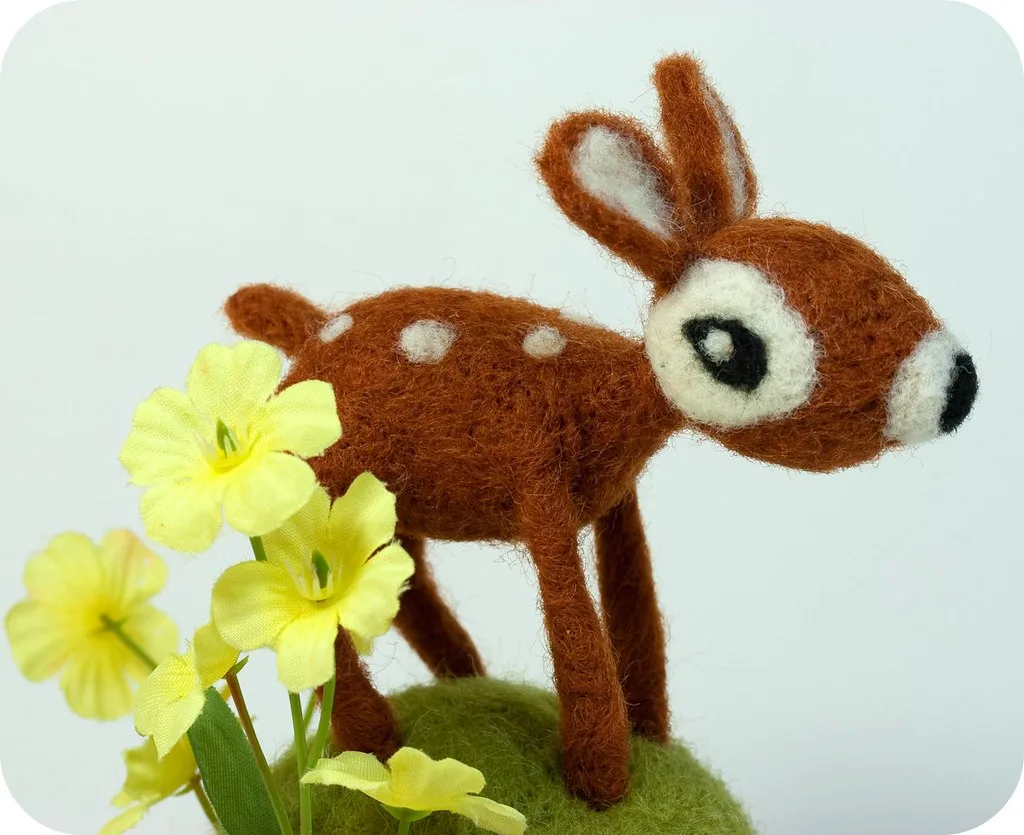
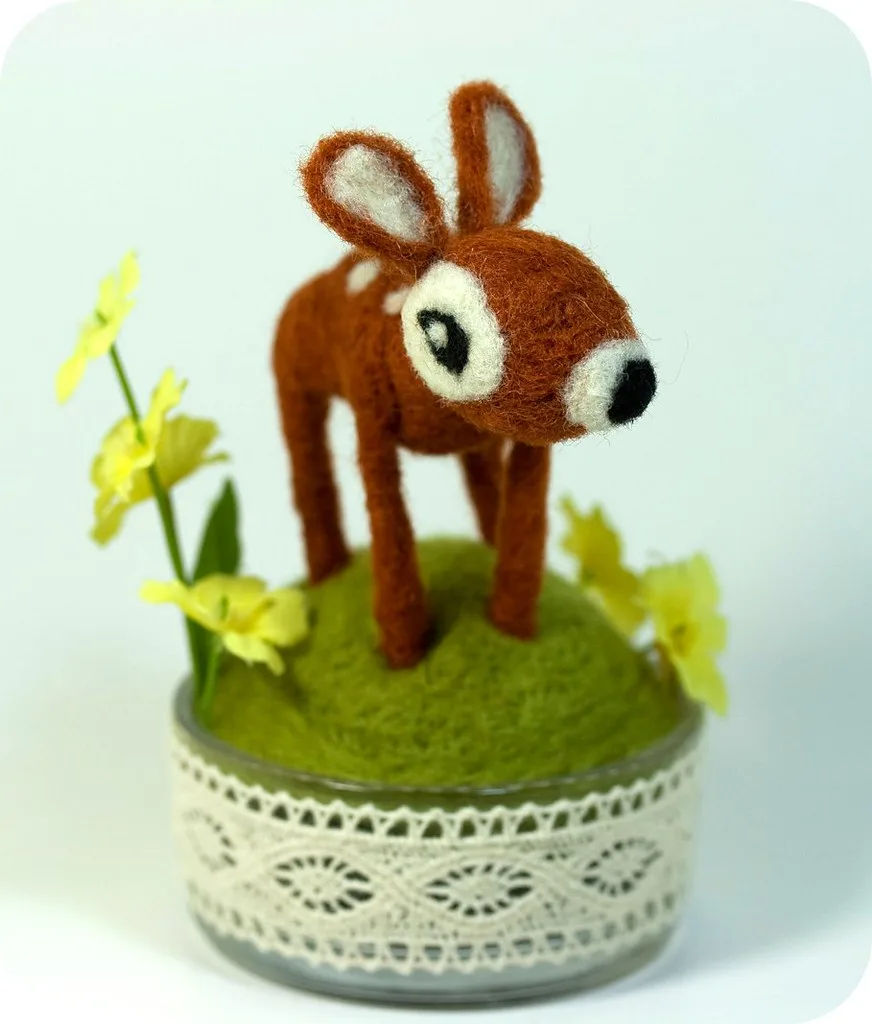
A well-made needle felted animal with a smooth surface still looks like a felted animal. The shape can be perfect and the eyes convincing, and the moment the coat is flat, matt and one colour, the illusion stops.
There are four ways to fix that, and they suit different lengths of fur.
Method 1: reverse needling — short and medium coats
The single most useful technique in realistic needle felting. A reverse-barb needle has its barbs pointing the wrong way, so instead of dragging surface fibres inwards, it drags interior fibres outwards.
- Build the coat normally first, in thin veils, layering two or three related colours.
- Stab shallowly. Enter at a low angle, barely a few millimetres deep, and lift. Fibres come up in small tufts.
- Work in the direction of hair growth — down the back, forward on the chest, out from the nose on the cheeks.
- Go over the whole area systematically, not just the patches that look bare.
- Trim. Sharp small scissors, cutting into the raised fibre rather than across it, following the body contours.
Two cautions. Reverse needles blunt quickly and break more readily than standard ones, because they are worked at an angle. And they will exhaust a thin surface layer — if you get bald patches, the answer is more wool, not more stabbing.
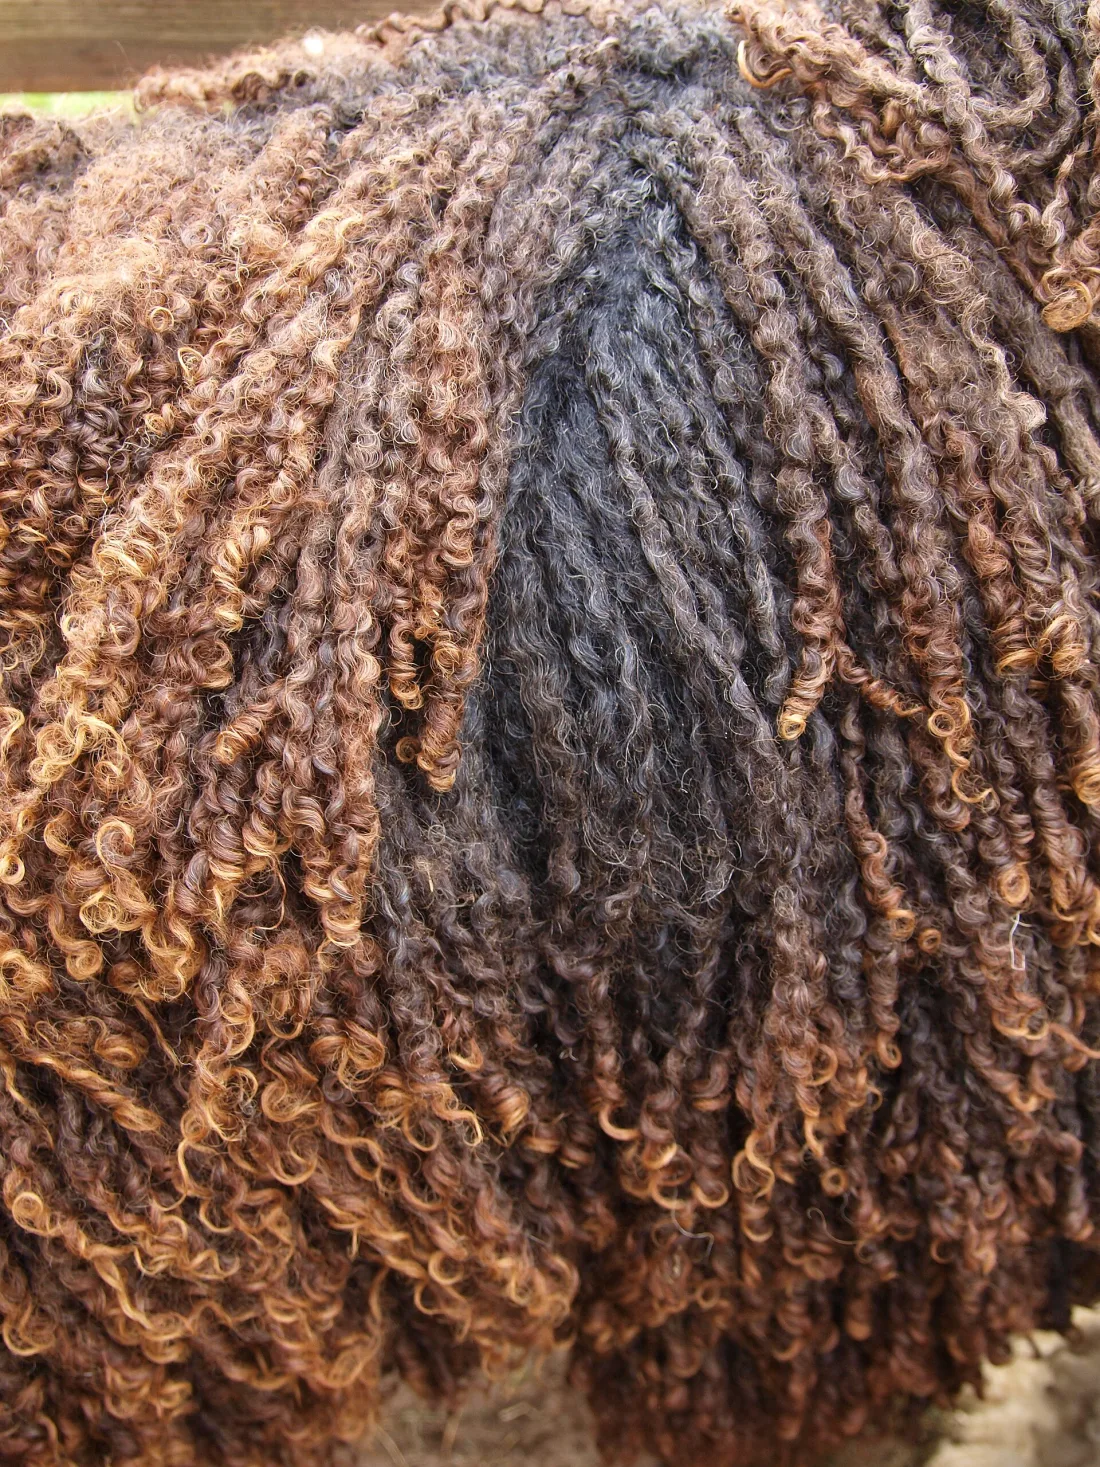
Method 2: wool locks — long coats
For anything over about 2 cm of hair, no amount of needling will do it. Attach the fibre instead.
- Start at the rear and work forwards, so each row overlaps the attachment of the row behind.
- Lay the cut end of a lock against the body and needle only that end, three or four strokes.
- Never needle the length of the lock — it flattens permanently.
- Overlap generously; sparse coverage looks like an ill animal.
- Trim last, with the piece standing, checking the silhouette from a distance.
Wensleydale and teeswater give curls; combed longwool gives straight hair. See wool locks. This is the method for sheep, long-coated dogs, ponies and anything shaggy.
Method 3: layered colour — depth without texture
Real fur is never one colour. Even a black cat has brown, charcoal and blue-grey in it, and the difference between a flat coat and a living one is often colour rather than texture.
- Start dark. Lay the deepest shade as the base layer over the whole body.
- Add a mid-tone over the areas that catch light — the top of the back, the shoulders, the top of the head.
- Highlight sparingly with the lightest shade along the spine, the brow ridge and the edges of the limbs.
- Shade the recesses — under the chin, between the legs, behind the ears — with a darker shade or a hint of the complementary colour.
- Blend at the boundaries by dragging a needle lightly across them.
Pre-blending a custom mix on a blending board gives coats with several colours in every tuft, which is closer to how real fur works. See also how to blend wool colours.
Method 4: brushing
A small wire pet slicker brush, worked gently in one direction, raises a nap on any felted surface. It is the cheapest method and it works surprisingly well on short coats — good for bumble bees, mice and anything meant to look soft rather than realistic.
The surface loosens as you brush, so expect to firm it lightly afterwards with a 40 gauge needle held at a very shallow angle.
Fur direction
This is the detail that separates people who have looked at animals from people who have not.
- Down and back along the spine and sides.
- Forward and down on the chest and throat.
- Radiating outwards from the nose across the muzzle and cheeks.
- Upwards on the belly, meeting the side hair in a visible line.
- Whorls at the shoulder and the hip in many animals.
- Longer at the ruff, the tail, the backs of the legs and the underside.
Apply every veil in the correct direction from the start. Correcting direction afterwards is very difficult.
Coat types
- Short and sleek (whippet, siamese) — thin veils, shallow needling, light brushing only. Do not reverse-needle; the smoothness is the point.
- Dense double coat (husky, chow) — a thick underlayer of light wool, a darker top layer, heavy reverse needling and a long trim.
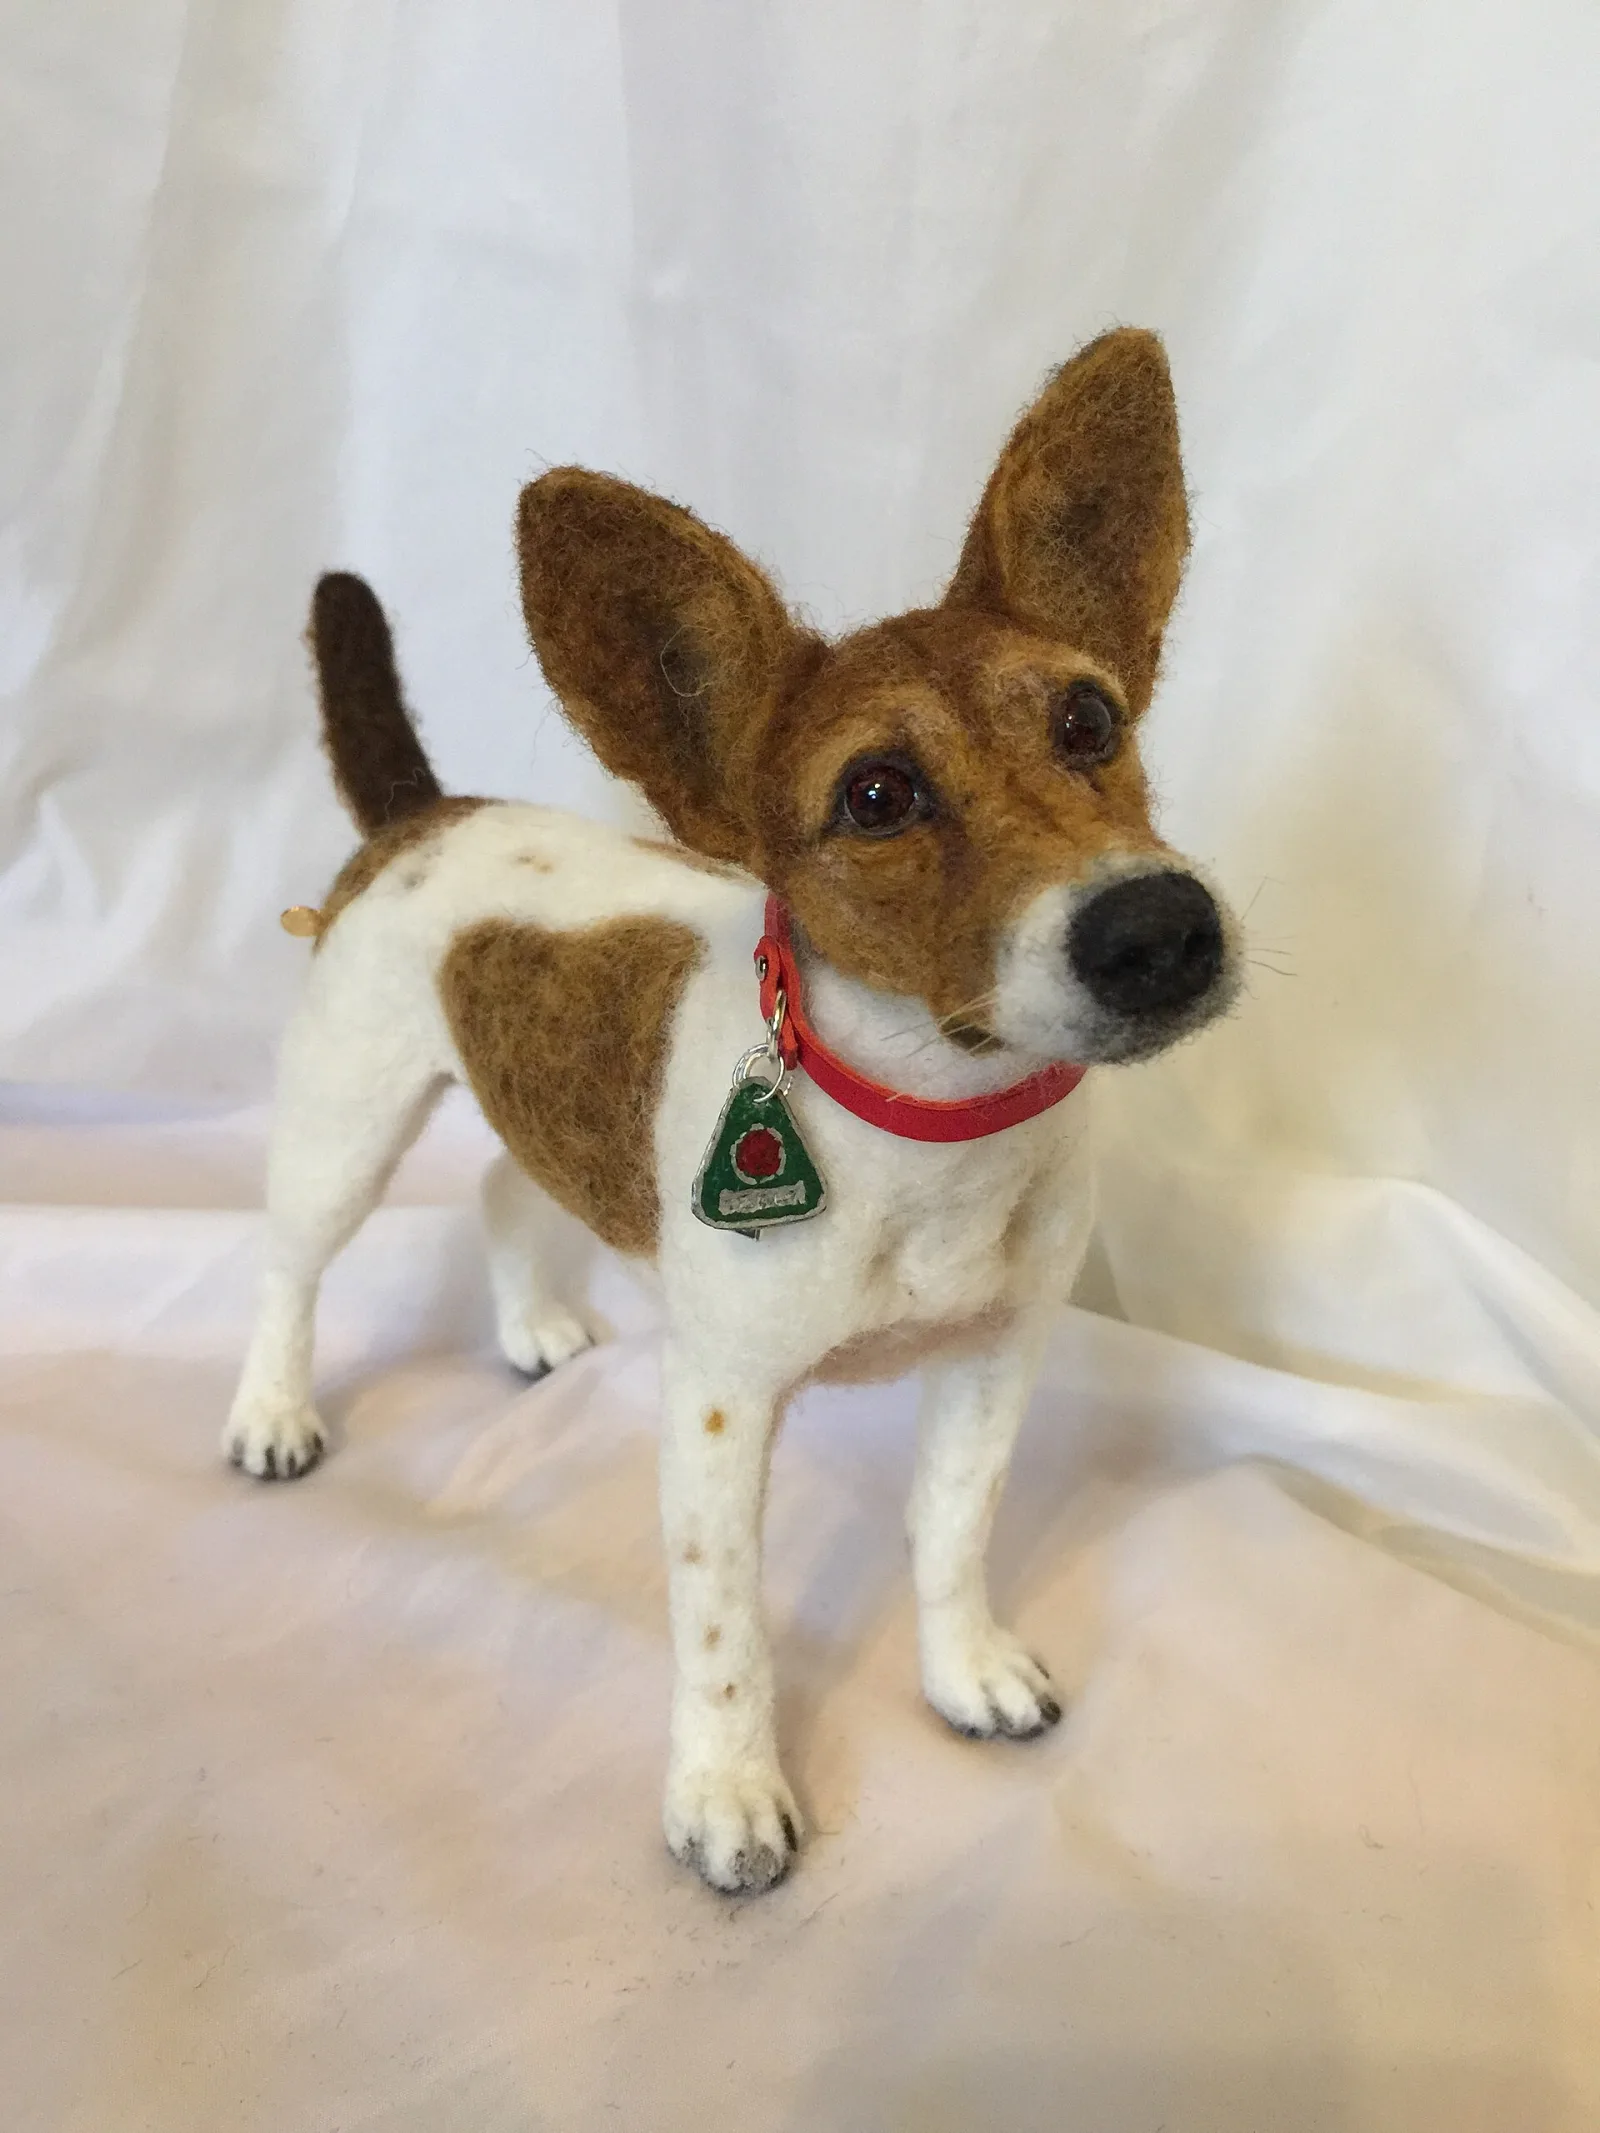
- Wiry (terriers, schnauzer) — reverse needle coarse wool and trim it short and unevenly. Leave the beard and eyebrows long.
- Curly (poodle, bichon) — small pinches of tightly curled wool or short locks attached individually. Slow, and the only thing that works.
- Spiny (hedgehog) — heavy reverse needling in mixed dark shades, trimmed. See needle felted hedgehog.
- Grizzled (bear) — a mid-brown base with a paler veil laid over the shoulder hump and darker wool down the legs, reverse-needled lightly so the tips catch the light. See needle felted bear.
- Mane and tail (horse) — long straight locks attached in a single line along the crest and trimmed after they are on, over a body coat that stays completely smooth. See needle felted horse.
Using the animal's own fur
Pet fur is short, slippery and low in scale definition, so it does not felt well alone. Blend it half and half with wool and use it only in the surface layer. See felting with dog hair and felting with cat hair.
Choosing needles
A 40 gauge for the surface layers, a 38 for attaching locks, and one or two reverse needles — they break, so buy spares. The full picture is in felting needles explained and why felting needles break.
Frequently asked questions
What is a reverse needle felting needle?
A needle with the barbs facing the other way, so it pulls fibres out of the surface instead of pushing them in. Stab it in shallowly and lift, and it drags tufts of wool up — which is how a smooth felted surface becomes a fuzzy one.
How do you make realistic fur on a felted animal?
Layer at least three related colours rather than one, apply each in the direction the hair grows, keep the needle at a shallow angle so the surface stays raised, then reverse-needle or brush the whole thing and trim. Flat single-colour coats never look real.
How do you make long fur?
Attach wool locks or lengths of combed longwool by one end in overlapping rows from the rear forwards, so each row hides the attachment of the one behind. Needling long fibre flat and then brushing it out does not work past about 2 cm.
Can you brush a needle felted animal?
Yes — a small wire pet slicker brush raises the nap on any felted surface and is the cheapest way to get a fuzzy coat. Brush gently and in one direction, and expect to firm the surface again afterwards.
Topics
Image credits
- A needle felted llama with a fluffy cream coat — Lara (Pexels License)
- Long dark wool locks of the kind used for long coats — Photographed by User:Bullenwächter (BY SA 3.0)