Felted Pumpkins: Needle Felted and Wet Felted Methods
4 min read Beginner
We may earn a commission from links on this page, at no extra cost to you. As an Amazon Associate I earn from qualifying purchases. Learn more.
The ribs are everything. Whether you needle felt or wet felt one, a pumpkin without deep segments is just an orange ball — and the fix is a length of thread.
Felted pumpkins are quick, they need almost no wool, and a bowl of them in graded sizes carries a whole room from September to November. The one thing that separates a convincing pumpkin from an orange ball is the depth of the ribs, and there is a specific trick for that.
The needle felted method
What you need
- Core wool, about 8–10 g per pumpkin
- Orange, cream, rust or pale green wool for the surface
- Brown wool for the stem, or a real twig
- Strong thread — button thread or embroidery floss — and a long needle
- 38 and 40 gauge felting needles
Step 1: A squat ball
Wind core wool into a ball and needle it firm, following how to needle felt a ball. Then flatten it: press top and bottom against the mat and needle straight down into each until the ball is wider than it is tall. Pumpkins are squat — roughly 3 parts wide to 2 tall.
Work the underside flat so it sits without rolling.
Step 2: Colour
Lay thin veils of your surface colour over the whole ball and needle them down with a 40 gauge needle at a shallow angle. Two thin layers give better colour than one thick one, and a smoother surface.
Heritage colours — cream, pale green, dusty rust — look considerably better than bright orange in a group.
Step 3: The ribs
This is the step that matters.
- Thread a long needle with strong thread and knot the end.
- Push it up through the centre of the base and out at the top.
- Bring the thread down the outside, back in at the base centre, and out at the top again — pulling firmly each time so the wool cinches into a groove.
- Repeat for six or eight segments, spacing them evenly around the pumpkin.
- Knot off at the base and bury the end.
Pull harder than feels reasonable. The wool compresses and the grooves should be deep and obvious — they soften visually once the stem is on.
Needling the grooves afterwards with a 40 gauge needle deepens them further and hides the thread completely.
Step 4: Stem and tendrils
- Felted stem: roll brown wool into a short tapered cylinder, felt it firm, leave the bottom loose, and needle those loose fibres into the top of the pumpkin from several angles.
- Twig stem: push a short piece of twig into the top with a dab of glue. Honestly, it looks better.
- Tendrils: roll a thin cord of green wool around a skewer, felt it lightly, slide it off and it holds a curl. Needle one end in beside the stem.
- Leaf: a small flat piece of felted green wool, needled at the base only so it stands proud.
The wet felted method
Lighter, hollow, and faster in batches.
- Wrap wool around a small balloon or a resist ball, several thin crossed layers, exactly as for a felted bowl.
- Wet with hot soapy water and rub gently all over until the surface holds.
- Roll it between your palms, increasing pressure, until firm.
- Pop and remove the balloon through a small slit at the base, or cut out the resist.
- Cinch the ribs while damp with thread, exactly as above, and let it dry with the thread tight. The grooves set permanently.
- Stuff lightly with wool if you want it firm, and needle the base closed.
Sizes and grouping
A group of three to five in different sizes and colours looks far better than any single pumpkin. Aim for one large at about 10 cm, two medium at 6 cm, and two or three small at 3 cm.
Vary the rib count too — six deep segments on one, ten shallow on another. Identical pumpkins read as manufactured.
Variations
- Garland — small pumpkins strung on cord through their stems.
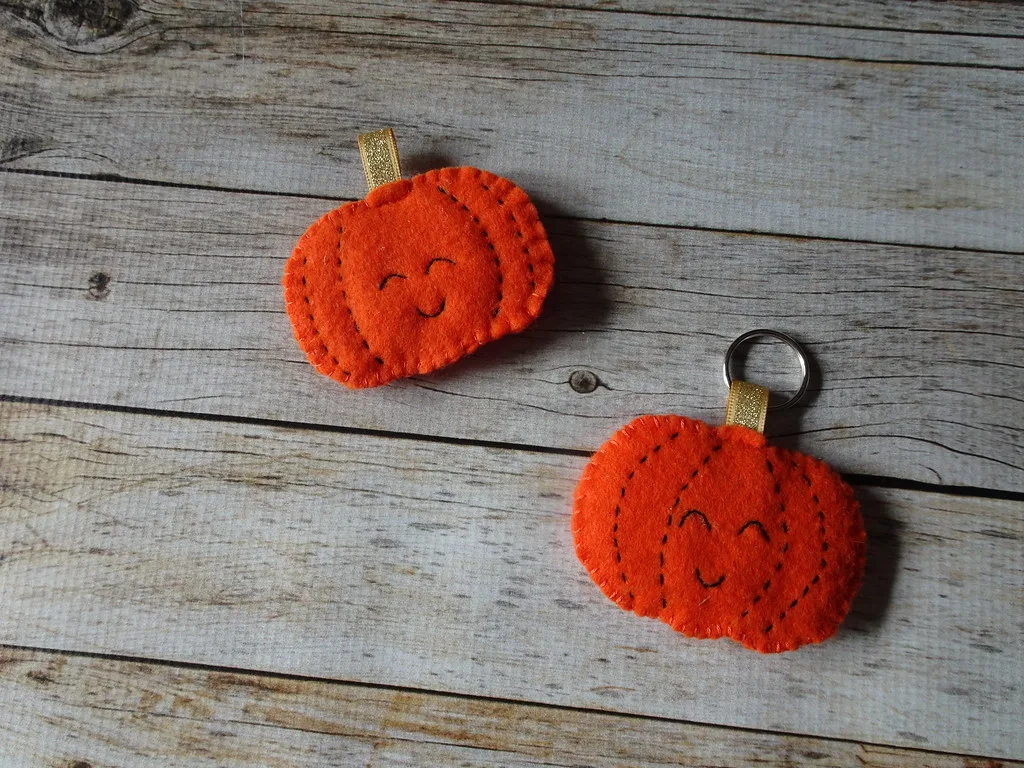
- Flat pumpkins — cut from wool felt fabric and stitched, for cards and wreaths.
- Jack-o'-lantern — needle a face in black wool, or cut features from prefelt and needle them on for crisper edges.
- Weighted — rice or a small stone wound into the core, so the pumpkin sits with some heft.
- White pumpkins — cream wool with a pale green stem. Consistently the best-looking version.
Common problems
- Ribs disappear. Thread not pulled tight enough, or the ball was too soft to hold a groove. Firm the ball more before cinching.
- Rolls over. Flatten the base properly against the mat.
- Stem falls off. The loose fibres were tacked rather than needled deep. See the join technique in felted mushrooms.
- Looks like a ball. Not squat enough. Flatten top and bottom much more than feels right.
Frequently asked questions
How do you make the ribs on a felted pumpkin?
Wrap strong thread around the ball from top to bottom, pulling it tight to cinch grooves into the wool, and knot it off. The thread stays inside permanently. Needling alone gives shallow ribs that fade as the wool relaxes.
How much wool do you need for a felted pumpkin?
About 10 g of core wool plus a few grams of orange for a 6 cm pumpkin. Larger ones use surprisingly little because the shape is squat rather than tall.
Can you wet felt a pumpkin?
Yes — felt a hollow ball over a small resist or around a balloon, then cinch the ribs with thread while it is still damp so they set as it dries. Wet felted pumpkins are lighter and slightly softer.
What do you use for a felted pumpkin stem?
Rolled brown wool needled into the top, or a real twig pushed in and glued. A twig looks better than almost anything you can felt, and takes ten seconds.