Cookie Cutter Needle Felting: Flat Shapes, Ornaments and Felt Cookies
10 min read Beginner
We may earn a commission from links on this page, at no extra cost to you. As an Amazon Associate I earn from qualifying purchases. Learn more.
Needle felting inside a cookie cutter: why the metal wall gives a clean edge, which cutters work, how much wool a shape takes by its area and thickness, layering colors, firming the edges, and finishing them as Christmas ornaments, magnets or felt cookies. With safety notes for children.
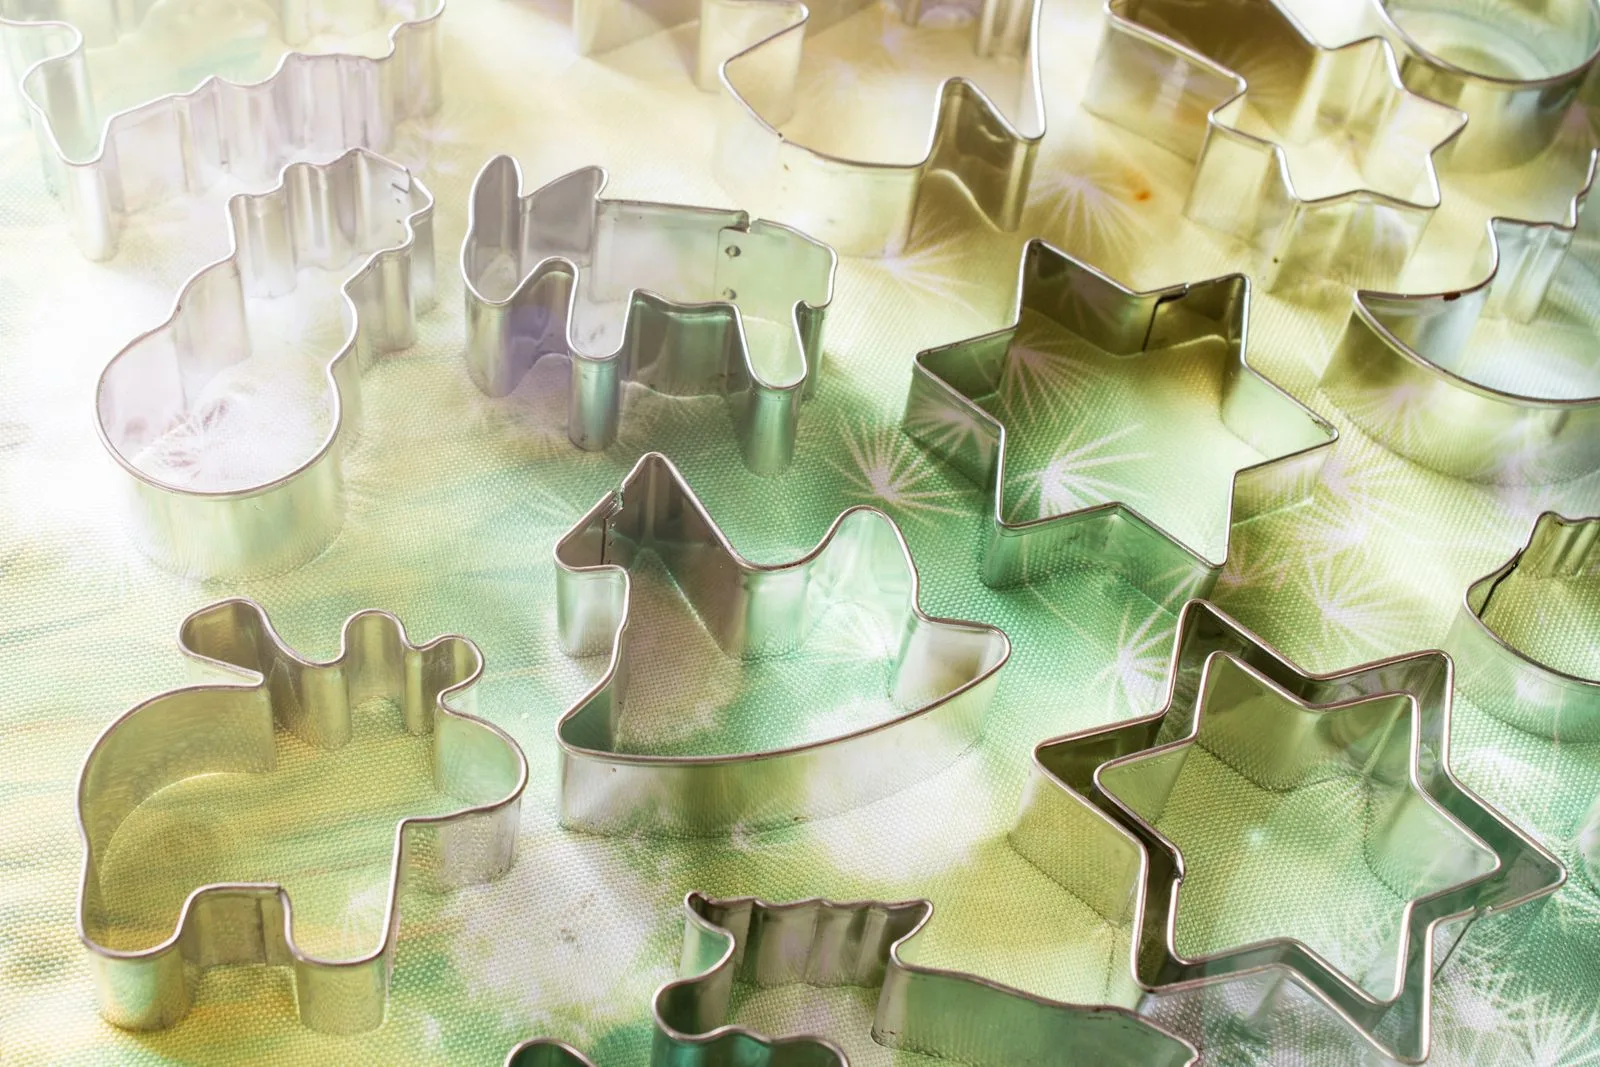
The wall of a metal cookie cutter is about 1 in (2.5 cm) tall and thinner than a fingernail, and that thin strip of metal does the one job a felting needle cannot: it stops the wool spreading sideways. Every stab drives fibers down and outward. On an open pad the shape creeps wider and its edge goes soft; inside a cutter the fibers hit the wall and pack against it, so the outline comes out the same as the cutter's, with flat faces and straight sides.
Below: which cutters to use, how much wool each shape takes, the stabbing and the finishing, then Christmas shapes and felt "cookies" that look good enough to eat. Because the free hand rests on the rim rather than in the wool, it also suits beginners and older children.
Why does a cookie cutter work for needle felting?
A felting needle has small barbs along its working end that catch fibers on the way in and drag them deeper, tangling them with the fibers below. Loose wool pushed down this way also spreads, because there is nothing stopping it. The cutter supplies the missing side walls. Wool that would have drifted outward is held in, so every stab compacts the shape instead of enlarging it.
The cutter also acts as a template you don't have to draw. The arms of a gingerbread man or the five points of a star come out matching because the metal fixes them, and you can make a dozen identical shapes for a garland. The basics of needles, pads and stabbing are on needle felting for beginners.
Which cookie cutters work best?
Simple, open metal cutters in the 2–4 in (5–10 cm) range.
- Metal over plastic. Tinplate and stainless cutters have thin walls, so the felt takes their exact outline. Plastic cutters have walls up to ⅛ in (3 mm) thick with a rounded top, which blurs the shape and makes it harder to see where the wall is. They work for children, because they are gentler on fingers, but a needle that hits plastic still snaps.
- Open on both sides. You need to flip the shape and push it out. Cutters with a handle bar across the top, a plunger, or an embossing stamp inside get in the way.
- Depth of ¾ in (2 cm) or more. Most metal cutters are ¾ to 1 in deep, which suits flat ornaments. Deep cutters, 1½–2 in (4–5 cm), hold more wool for a thick, chunky shape.
- Simple outlines. Stars, hearts, circles, trees, mittens and gingerbread figures fill well. Points and limbs narrower than about ⅜ in (1 cm) won't fill firmly and stay floppy. Fine outlines such as reindeer antlers or snowflake arms are better needled freehand or sewn.
- No sharp cutting edge facing up. One edge of a cutter is sharpened to cut dough. Stand it with the sharp edge down on the foam, so your fingers rest on the rolled top edge.
What else do you need?
- A foam pad at least 2 in (5 cm) thick. Press the cutter into it about ⅛ in (3 mm) so wool can't escape underneath. A thinner pad lets the needle reach the table. The options, including the ones that snap needles, are on felting mat alternatives.
- Needles. A 36 or 38 gauge triangle needle to fill and firm the shape, and a 40 to finish the surface and edges. Felting needles explained covers gauges and blade shapes. A multi-needle holder with three to five needles fills a flat shape much faster.
- Wool. Use core wool for the inside of larger shapes, with a top layer of colored wool, or colored wool throughout for small ones. Core wool explains what it is and why it is cheaper.
- A chopstick or the blunt end of a pencil to push wool into points and to push the finished shape out.
How much wool does each shape take?
Work it out from the area and the thickness. A firm needle felted shape weighs roughly 0.25–0.4 g per cubic centimeter, so take the shape's area in square centimeters, multiply by the finished thickness in centimeters, and multiply by 0.3. Then add a little, because some fiber always stays on the pad.
| Cutter | Approximate area | Finished thickness | Wool |
|---|---|---|---|
| 2 in (5 cm) heart | 2.3 sq in (15 cm²) | ¼ in (6 mm) | about 1/10 oz (2–4 g) |
| 2 in (5 cm) circle | 3.1 sq in (20 cm²) | ¼ in (6 mm) | ⅛ oz (3–5 g) |
| 3 in (7.5 cm) star | 2.8 sq in (18 cm²) | ¼ in (6 mm) | ⅛ oz (3–4 g) |
| 3 in (7.5 cm) tree | 3.1 sq in (20 cm²) | ¼ in (6 mm) | ⅛ oz (3–5 g) |
| 3 in (7.5 cm) gingerbread man | 3.4 sq in (22 cm²) | ⅜ in (1 cm) | ¼ oz (5–8 g) |
Loose, that much wool stands about twice the depth of the cutter, sometimes more; it looks far too much until you start stabbing. A thinner shape is quicker but bends; at under about ⅛ in (3 mm) it is closer to a felt sheet than an ornament. For a thick, cookie-like shape, use a deep cutter and scale the wool up with the thickness: double the thickness, double the wool.
How do you needle felt in a cookie cutter?
- Set the cutter on the pad, sharp edge down, and press it slightly into the foam.
- Fill the points first. Tear the wool into small tufts and push them into the points and limbs with the chopstick, then fill the middle. Lay the fibers in different directions so the shape is equally strong both ways.
- Stab straight down, from the middle outward. Keep the needle vertical and at least ⅛ in (3 mm) from the wall; a needle that strikes metal or plastic snaps at the tip. How to stop breaking felting needles has more on why.
- Flip it every few minutes. Lift the cutter and wool together, peel the wool off the foam, turn it over and set it back. Otherwise the underside felts into the pad and comes away ragged.
- Fill thin spots. Press a finger on each point and limb. Where it gives more than the middle, add a wisp and felt it in.
- Stop when it is level and firm, below the rim of the cutter and springing back when pressed.
A 3 in star takes 30 to 45 minutes with a single needle and closer to 20 with a multi-needle holder.
How do you layer colors?
The face against the foam comes out smoothest, so put the color there. Lay a thin, even layer of the top color in the bottom of the cutter first, then fill the rest with core wool or a cheaper color, and felt as usual. Flip it and repeat with a thin color layer on the second face if both sides will show, as they do on an ornament.
- Two-color shapes: a smaller cutter set inside a larger shape works as a mask. Felt a red heart inside a white circle, for example, by stabbing red wool inside the heart cutter while it stands on the half-felted circle.
- Blended color: mix two colors by hand before filling, for a gingerbread brown with a hint of orange, or a tree with darker and lighter greens.
- Details last: lines, dots and icing go on after the shape is out and firm, with a fine 40 or 42 gauge needle and very little wool.
How do you remove the cutter and firm the edges?
Turn the cutter over and push the shape out from the back with the blunt end of the chopstick, a little at a time around the outline. If it sticks at the points, the wool there is felted against the metal; ease it with a fingernail rather than pulling.
Out of the cutter, the sides are still slightly soft, because you kept the needle off the wall. Hold the shape by its middle and needle all the way around the edge at a shallow angle, pointing in toward the center, with the 38 and then the 40. Pinch each point between finger and thumb as you work it. This firms the sides and rounds them slightly, like the edge of a baked cookie. Snip any fuzz that stands up and needle the surface once more to settle it.
It is done when it holds its shape when picked up by a point and a hard pinch only dents it.
How do you finish them as ornaments or magnets?
- Ornament: thread a large needle with twine, ribbon or metallic cord and pass it through the shape about ⅜ in (1 cm) below the top. Knot the ends to make a loop. Felted wool grips the thread, so no glue is needed. Other loop methods are on felted Christmas ornaments.
- Magnet: glue one of the ceramic disc magnets sold for crafts, ½–¾ in (13–19 mm) across, to the back with a strong craft glue, or hold it under a small patch of felt stitched in place. A shape ¼ in thick holds a magnet that size without curling.
- Pin or gift tag: stitch a pin back to the back, or embroider a name on a heart and tie it to a parcel.
- Garland: thread a run of shapes on twine, spaced about 2 in (5 cm) apart; see felt garland.
Which Christmas shapes work best?
| Shape | Colors | Details |
|---|---|---|
| Gingerbread man | Warm tan or caramel | White icing lines, black eyes, red or green buttons |
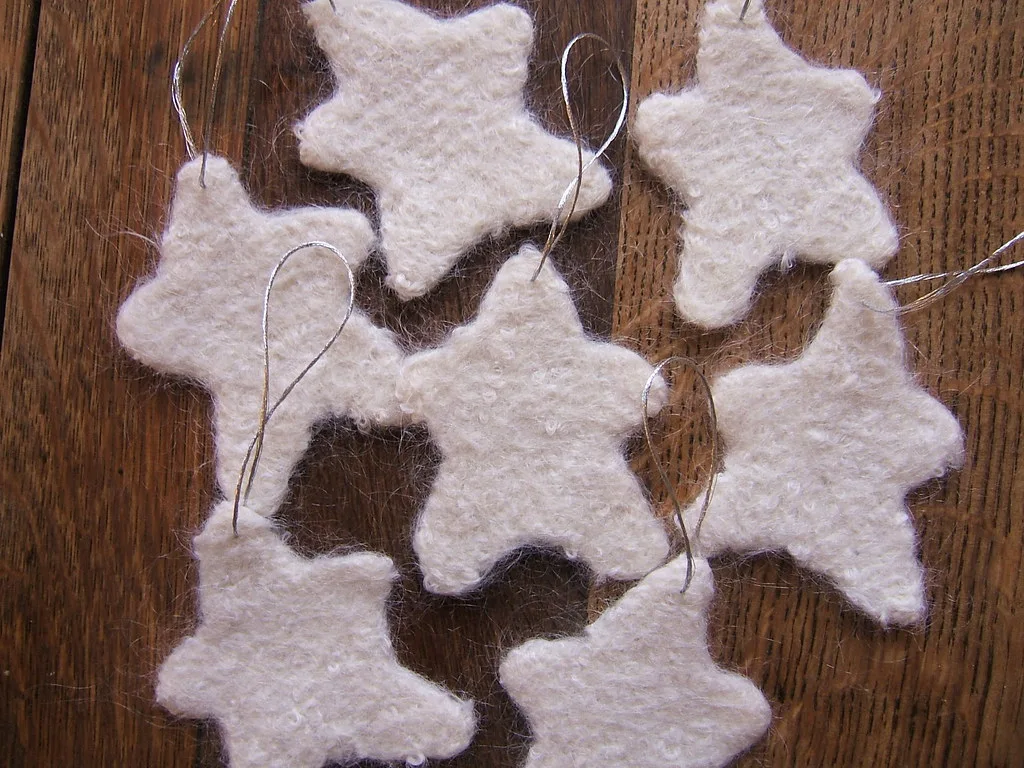
| Star | White, gold or pale yellow | Plain, or a thin line of contrast wool around the edge |
| Tree | Two greens blended, brown trunk | Dots of red, white and gold wool for baubles, a tiny yellow star |
| Heart | Red or white | White stitched or needled edge, an initial or date |
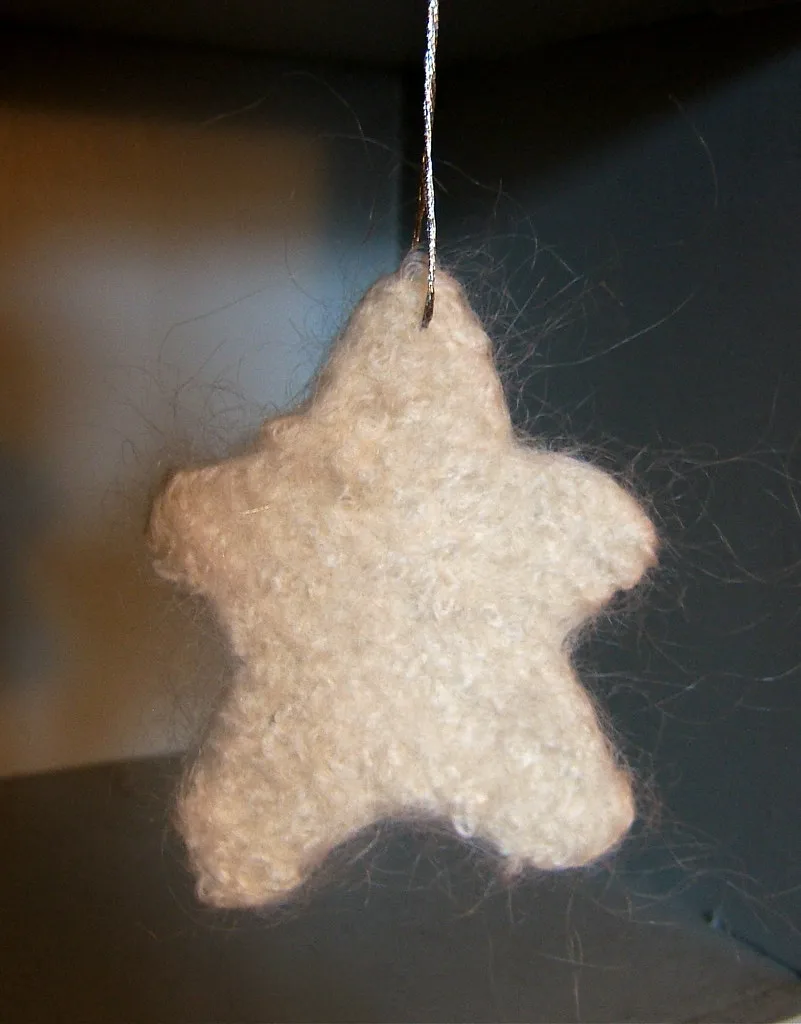
The gingerbread man has its own page, with the icing technique and a sewn version traced around the same cutter: felt gingerbread man. The star is covered on felt star ornaments, along with flat, stuffed and garland stars. For a tree, keep the trunk at least ½ in (1.3 cm) wide, or it bends.
How do you make felt cookie ornaments?
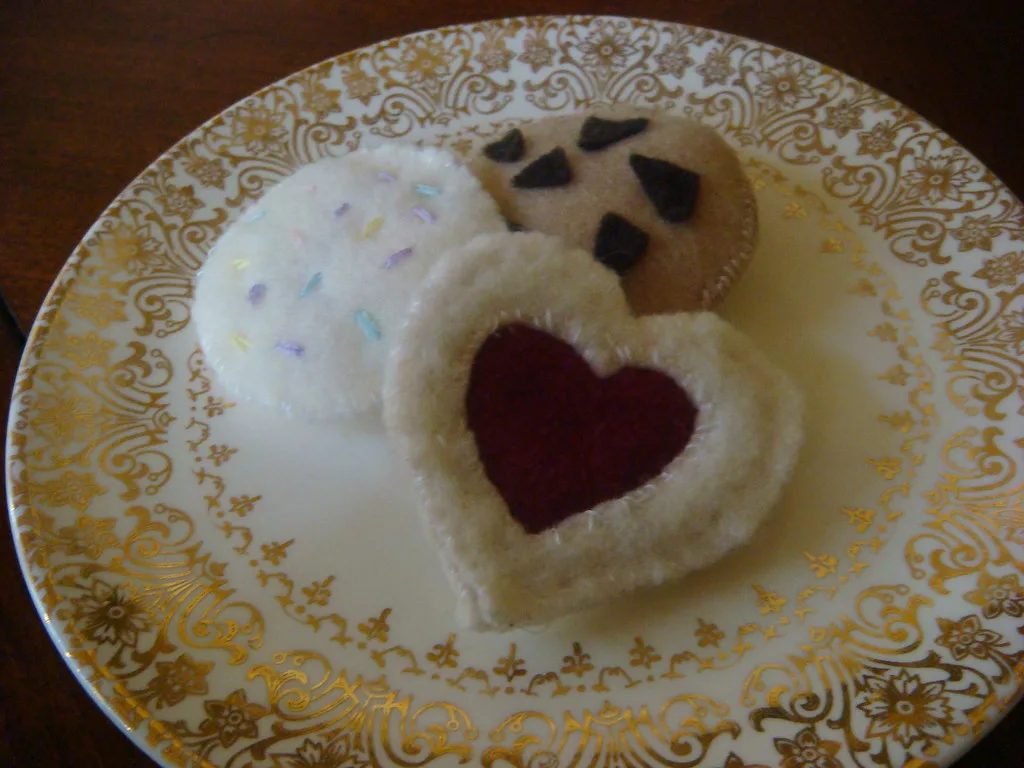
Turn the shape into a cookie. A felt "cookie" is a plain shape, often a circle, star or heart, in a baked-dough color with its decoration added on top, and it works as an ornament or as play food.
- Sugar cookie: a pale cream base, a flat layer of white or pastel "frosting" needled over the top inside a slightly smaller cutter, and sprinkles of tiny rolled wisps in pink, blue and yellow.
- Iced gingerbread: a brown base with a white line around the edge, laid from thin wool yarn and needled every ⅛ in (3 mm).
- Jam cookie: a cream circle or heart with a smaller red heart needled into the middle.
- Chocolate chip: a tan circle with little dark brown flecks, rolled between the fingers and needled in at a slight angle so they stand proud.
For a cookie that looks baked, needle the edges a little darker by working a wisp of brown into the rim. Hang them in a row on a tree or across a kitchen window.
For play food that toddlers will handle, sew the cookies instead, from two layers of felt with embroidered decoration; a stitched cookie survives being chewed and dropped far better than a needle felted one, which can shed fiber. How to make felt food has the patterns.
Is cookie cutter needle felting safe for kids?
It is one of the better needle felting projects for children, but the needles are very sharp and barbed, and a stab goes deeper than it looks. The cutter helps: the free hand holds the rim of the cutter, not the wool, so fingers are outside the area being stabbed. Use these rules too:
- Age: around 8 with an adult sitting alongside, and independently from about 10 to 12, as set out on is needle felting dangerous. Younger children can make felt shapes with wet felting or by gluing cut felt instead.
- Protect the holding hand. Use leather finger guards on the thumb and first two fingers, or a felting tool that holds the needles in a handle, which gives a child a better grip than a bare needle and keeps the needles together. Some multi-needle tools also have a spring-loaded guard around the tips.
- One needle, straight up and down. Most breaks and most stabs come from levering or stabbing at an angle.
- Count the needles at the start and end, and store them in a lidded tin.
Finished pieces with beads, buttons or glued-on magnets are choking hazards for children under 3. Strong neodymium magnets are especially dangerous, because two swallowed magnets can pull together through the intestine. Use ceramic magnets and keep magnet crafts away from small children.
Other uses for the same cutters
The same cutters make templates for sewn felt: trace one onto freezer paper, as on the felt gingerbread man page. Alphabet cutters make initials for name ornaments, covered on felt letter ornaments. For a full set on the tree, mix the shapes with felted mittens ornaments, a needle felted snowman and the other ideas on felted Christmas ornaments.
Frequently asked questions
Can you use any cookie cutter for needle felting?
Use an open metal cutter at least ¾ in (2 cm) deep, with no handle bar or stamp inside, in a simple shape 2 to 4 in (5–10 cm) across. Plastic cutters work but have thick, rounded walls that blur the outline. Points narrower than about ⅜ in (1 cm) will not fill firmly.
How much wool do you need for a cookie cutter shape?
Multiply the shape's area in square centimeters by its finished thickness in centimeters and by 0.3; the answer is grams. A 3 in (7.5 cm) star ¼ in (6 mm) thick takes about ⅛ oz (3–4 g), and a 3 in gingerbread man ⅜ in (1 cm) thick takes about ¼ oz (5–8 g). Loose, the wool should stand about twice the depth of the cutter.
Will felting needles break on a metal cookie cutter?
Yes, if they hit it. Keep the needle at least ⅛ in (3 mm) from the wall and stab straight down, never at an angle toward the metal. Firm the outer edge after the shape is out of the cutter, not while it is inside.
Is cookie cutter needle felting safe for kids?
It is one of the safer ways in, because the free hand holds the rim of the cutter rather than the wool, but the needles are still very sharp and barbed. Most teachers start children around 8 with an adult alongside. Use leather finger guards or a needle tool with a holder, and keep finished pieces with beads or magnets away from children under 3.
How do you turn needle felted shapes into magnets?
Glue a ½ to ¾ in (13–19 mm) disc magnet to the back with a strong craft glue, or cover it with a small felt patch stitched on. Strong neodymium magnets are a serious hazard if swallowed, so use ceramic magnets on anything a child might handle.
Image credits
- Metal Christmas cookie cutters in star, reindeer, snowman and rocking horse shapes standing on a green and white surface — Ella Gronewold (Pexels License)
- Seven fuzzy white felted wool star ornaments with silver thread loops on a dark wooden table — WordRidden (BY)
- Three felt play cookies on a gold-rimmed plate: a heart with a red jam center, a white cookie with pastel sprinkles and a chocolate chip cookie — Jennifer Juniper mom (BY)