Nine Needle Felting Mistakes Nearly Every Beginner Makes
4 min read Beginner
We may earn a commission from links on this page, at no extra cost to you. As an Amazon Associate I earn from qualifying purchases. Learn more.
Soft shapes, fuzzy surfaces, visible seams and snapped needles almost always trace back to the same handful of habits. Here is how to spot and fix each one.
Needle felting has a short list of failure modes. Almost every disappointing piece traces back to one of nine habits, and all nine are easy to correct once you know what you are looking at.
1. Stopping too early
By far the most common. The shape looks right long before it is dense, so people stop — and end up with a squashy object that loses its shape within weeks.
The test: press firmly with a thumb. A finished piece barely dents. If it compresses easily, it needs several hundred more stabs.
Expect a small animal to take one to three hours. If yours took twenty minutes, that is the problem.
2. Working one spot instead of rotating
Concentrating on one area creates a flat, and flats cannot be stabbed out — the surrounding wool is already compressed. You can only fix them by adding fibre.
The fix: turn the piece every fifteen or twenty stabs, whether it seems necessary or not.
3. Using coloured wool all the way through
Expensive, slow, and it gives a worse surface. Build the mass from cheap core wool and apply colour as a thin outer veil. This is standard practice among experienced felters, not a compromise.
4. Cutting the wool instead of pulling it
Scissors leave blunt ends that sit on the surface and refuse to blend, producing a visible line wherever a piece was added. Pulled fibre tapers to nothing and disappears.
The fix: grip the fibre with hands about 15 cm apart and draw them apart slowly. Never cut wool you intend to felt in.
5. Finishing with a coarse needle
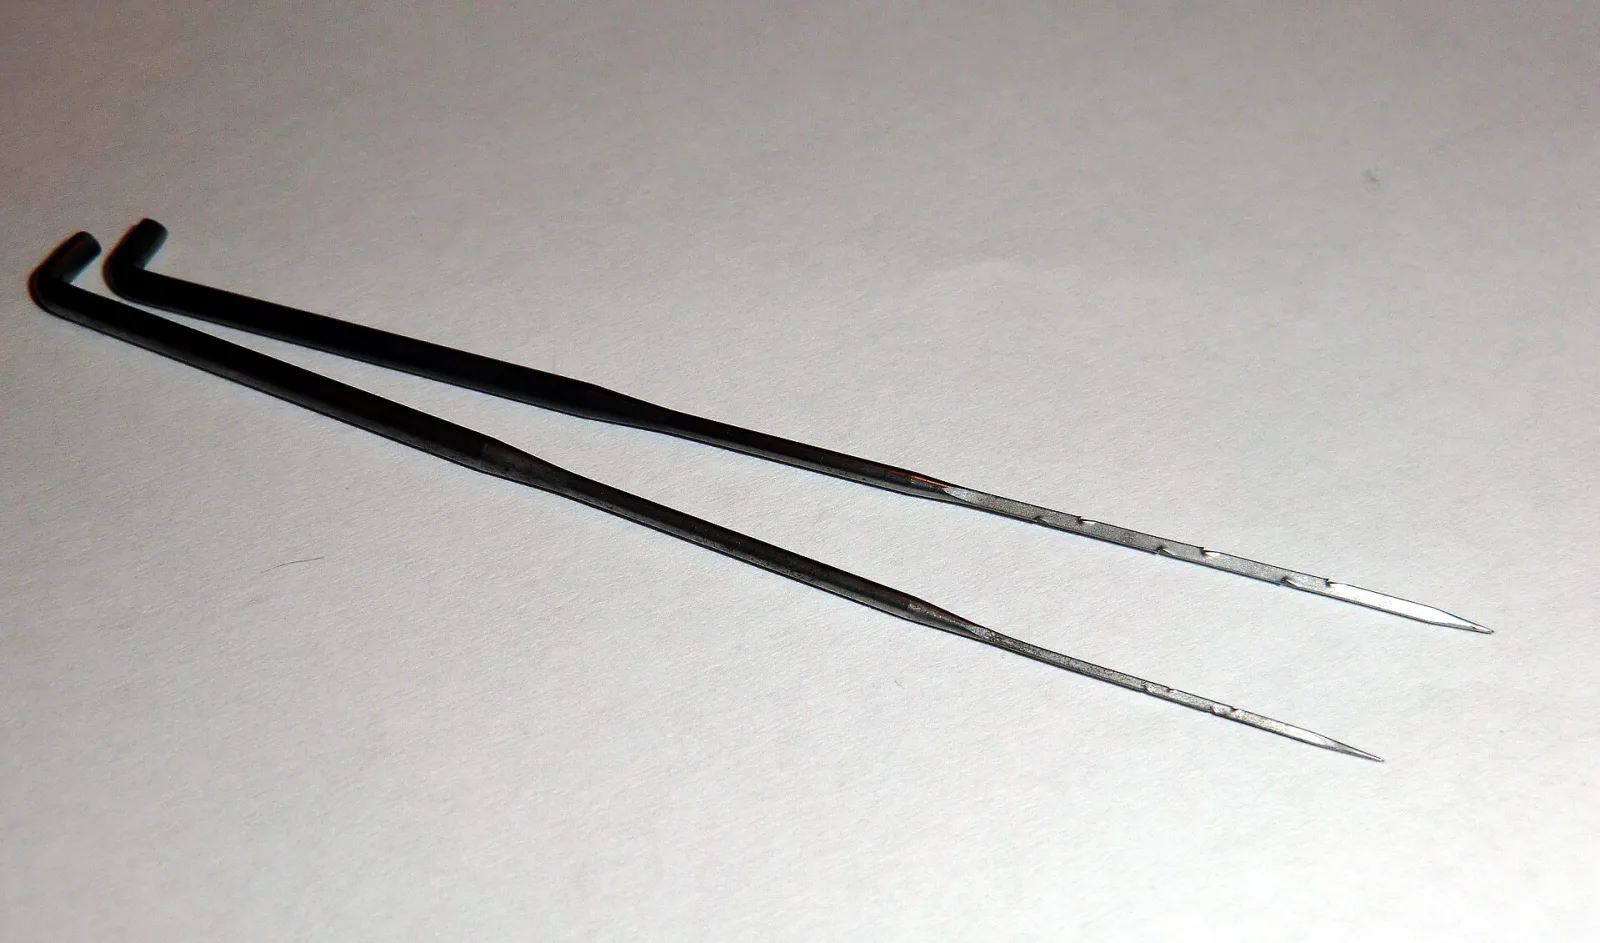
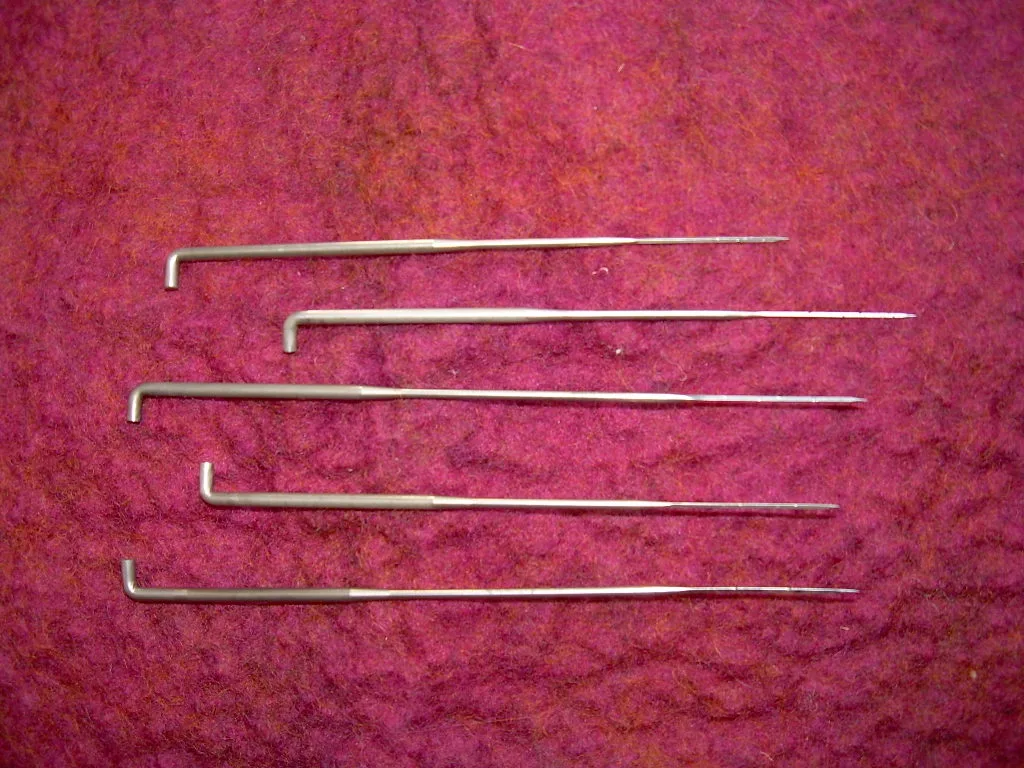
A 36 or 38 gauge leaves visible entry holes and drags surface fibre. If your work looks pitted or hairy no matter how long you spend on it, you never switched to a finer needle.
The fix: finish everything with a 40-gauge needle worked at a shallow angle, almost grazing the surface. See the needle guide for what each gauge does.
6. Attaching limbs that are felted firm at both ends
A fully felted sausage has no loose fibre to join with, so it can only be tacked on — leaving a visible seam and a weak joint that eventually works loose.
The fix: always leave one end of every limb loose and fluffy. Splay those fibres against the body and stab through them, then blend a wisp over the join. Detail in the animals guide.
7. Levering the needle sideways
The needle must enter and leave along the same line. Any sideways movement while the barbs are buried puts a bending load on a thin, brittle shaft, and it snaps.
This is also the main reason beginners think they were sold cheap needles. They usually were not — see why felting needles break.
8. Over-detailing the face
Two eyes and a nose read as a face. Adding a mouth, eyebrows, cheeks and nostrils to a 4 cm head almost always makes it look worse, not better.
The fix: get eye placement and depth right — slightly sunken, spaced at least one eye-width apart — and stop. Placement carries the expression; detail rarely does.
9. Working on too soft a surface
A thin sponge or a cushion lets the needle punch through into whatever is underneath, and lets the work compress downward instead of felting. It also breaks needles against hard surfaces below.
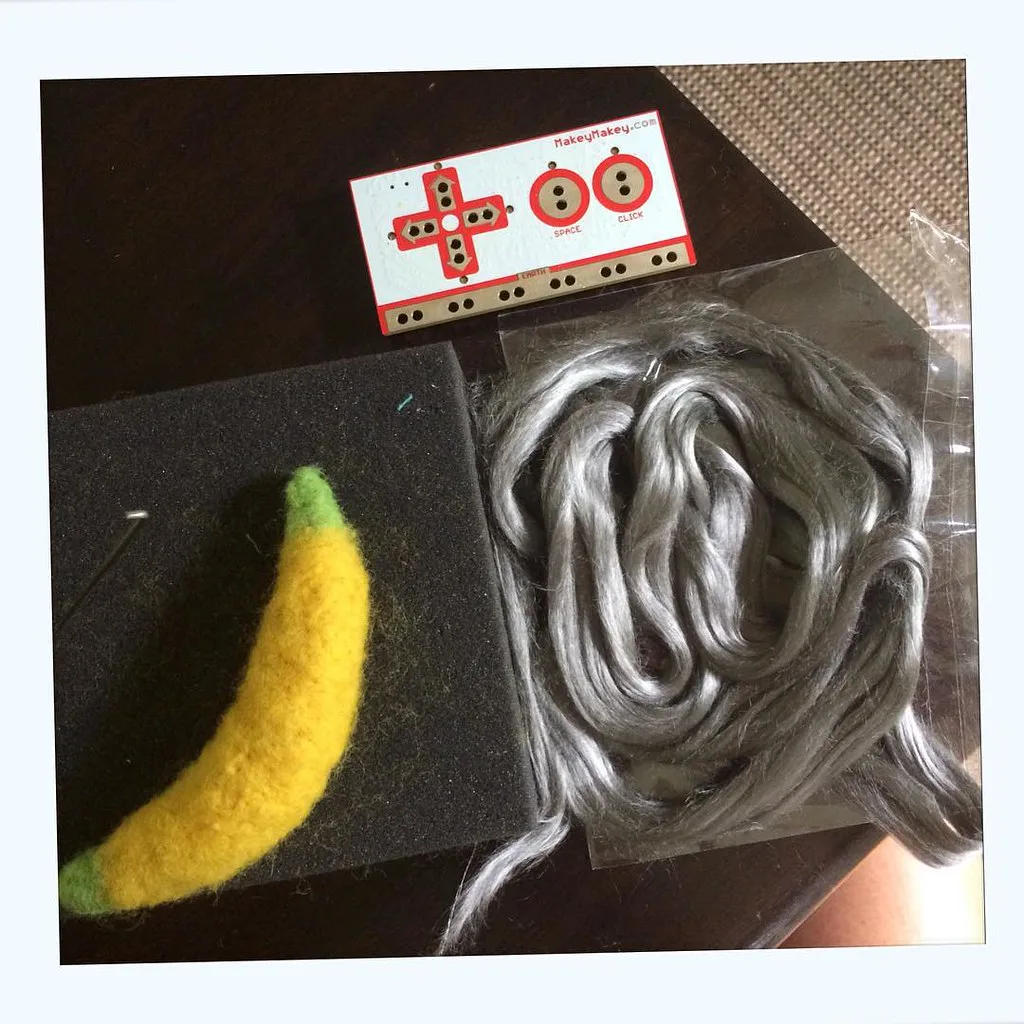
The fix: a dense upholstery foam block at least 5 cm thick, or a wire brush mat. Replace the foam when it becomes visibly chewed — a shredded pad no longer supports the work.
A quick diagnostic
- Soft and squashy → not enough stabbing (1)
- Lopsided or flat-sided → not rotating (2)
- Fuzzy surface → wrong finishing needle (5)
- Visible seams → cut ends (4) or firm limb ends (6)
- Needles snapping → sideways levering (7) or soft pad (9)
- Holes in the surface → coarse needle used too long (5)
- Nothing felts at all → wrong fibre entirely; see why wool refuses to felt
The one that is not a mistake
Early pieces looking handmade rather than manufactured is not a fault. Slight asymmetry and visible texture are what people like about felted work — it is why they buy it rather than a moulded plastic version. Aim for firm and well-finished, not machine-perfect.
If you are just starting out, the beginner guide covers the fundamentals these mistakes come from.
Frequently asked questions
What is the most common needle felting mistake?
Stopping too early. Most first pieces are about half as firm as they should be, and a soft piece loses its shape within weeks. Keep working until the surface no longer dents under a fingertip.
Why does my needle felting look fuzzy?
Usually because it was finished with a coarse needle. A 36 or 38 leaves visible holes and loose fibre standing up, and a final pass with a 40 closes the surface.
Should I cut wool or pull it?
Pull it. Cut ends are blunt and sit as a visible straight line in the work, while pulled ends taper and blend invisibly into the surface around them.
Why should I not use coloured wool all the way through?
Because it is expensive and no better. Build the shape in cheap undyed core wool and wrap a thin layer of colour over it at the end. Nobody sees the inside, and dyed fibre costs several times as much.