Needle Felted Animals for Beginners: Start With Shapes, Not Species
10 min read Beginner
We may earn a commission from links on this page, at no extra cost to you. As an Amazon Associate I earn from qualifying purchases. Learn more.
Nineteen animals on this site and about five shapes between them. The construction method that builds all of them, and the order to make them in so each one teaches the next.
There are nineteen needle felted animals on this site and roughly five shapes between them. A ball, an egg, a cone, a tapered sausage and a flat cut-out piece — every animal below is some arrangement of those, and the differences that make one a fox and another a pig are differences of proportion, not of technique.
That is worth knowing before you buy wool, because it changes what you practise. A beginner who sets out to make a fox learns to make a fox. A beginner who sets out to make a firm ball, a clean join and a well-placed pair of eyes can then make a fox, a cat, a bear and anything else, because those three skills are the whole of it.
Shapes, not species
Pick up any finished felted animal and take it apart in your head. A chick is a large ball with a small ball sat directly on top. A hedgehog is a teardrop with a textured back. A horse is a wire skeleton with a barrel hung on it and four wrapped legs. Once the shapes are visible the animal stops being intimidating, and — more usefully — you can see in advance which parts of it are going to be hard.
The rule that predicts difficulty is simple: the more of the animal's weight is carried on thin parts, the harder it is. A sitting cat is easy. A standing deer on four pencil-thin legs is not, and no amount of careful felting fixes it — it needs wire. Everything in the order below follows from that.
The order to make them in
Each stage adds exactly one new problem. Work through them roughly in order and every animal teaches the one after it; jump to stage five first and you will spend an evening finding out that soft wool does not stand up.
Stage one: one body, nothing joined to it
These are single shapes. All the interest is on the surface, so you get to concentrate on the one thing beginners skip — making the body genuinely dense.
- Needle felted bee — a firm oval with colour bands. Teaches you to lay a stripe with a crisp edge instead of a fuzzy one, and it is finished inside an hour.
- Needle felted hedgehog — a teardrop with a pointed face. Teaches surface texture: this is the project where you learn reverse needling, which then transfers to every furry animal you ever make.
- Needle felted owl — a rounded cone with the face on the front. Teaches you that a head does not always have to be a separate piece, and the facial disc teaches you to draw with wool.
- Needle felted sheep — a body under a coat of curly locks. Teaches applied fibre: the fleece is attached, not needled into being, and that is a different skill from felting.
Stage two: the first join
Two firm pieces, blended into one. Nothing here has limbs to speak of, so the join is the only new thing to get wrong.
- Needle felted chick — two spheres with no neck between them. Teaches the join in its simplest form, and teaches that leaving even a short neck turns your chick into a hen.
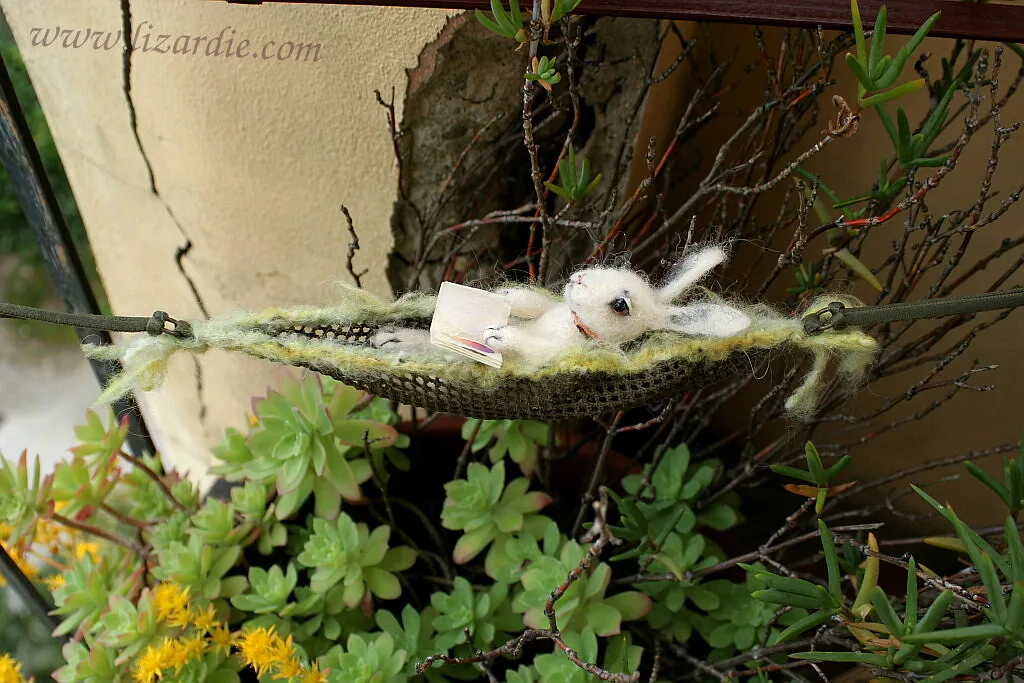
- Needle felted bunny — two balls, two flat ears and a tail. Teaches flat shapes made on the pad and attached by one loose edge.
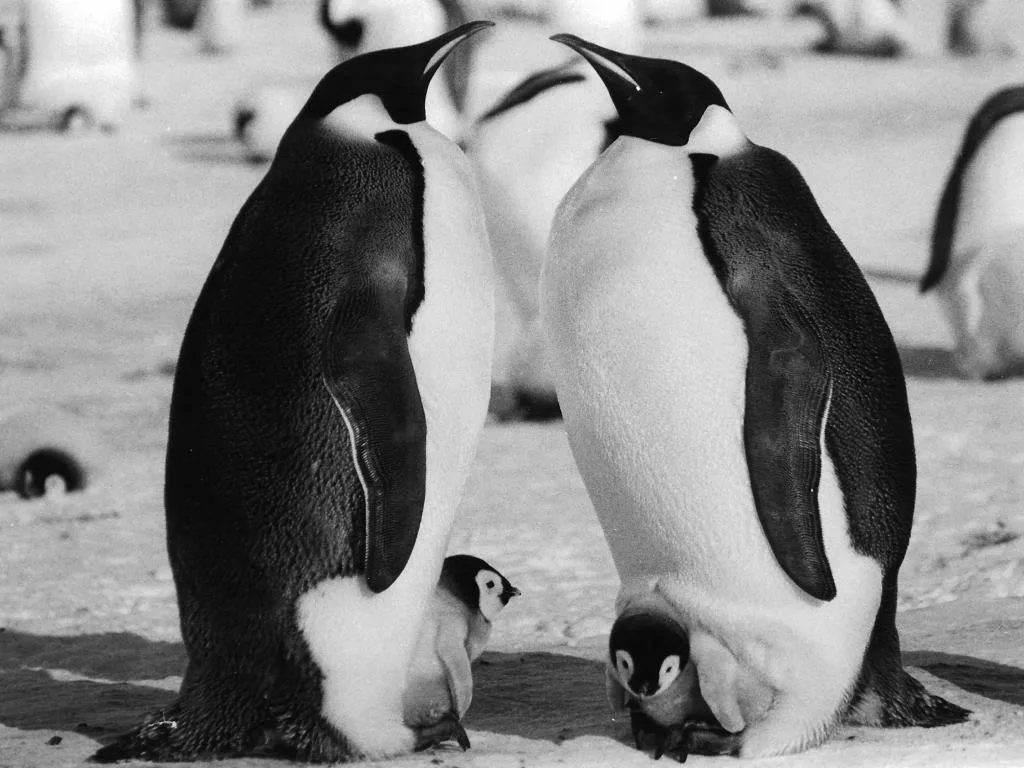
- Needle felted penguin — two colours meeting along one line. Teaches a hard colour boundary, which is much harder than it sounds and is ruined by blending.
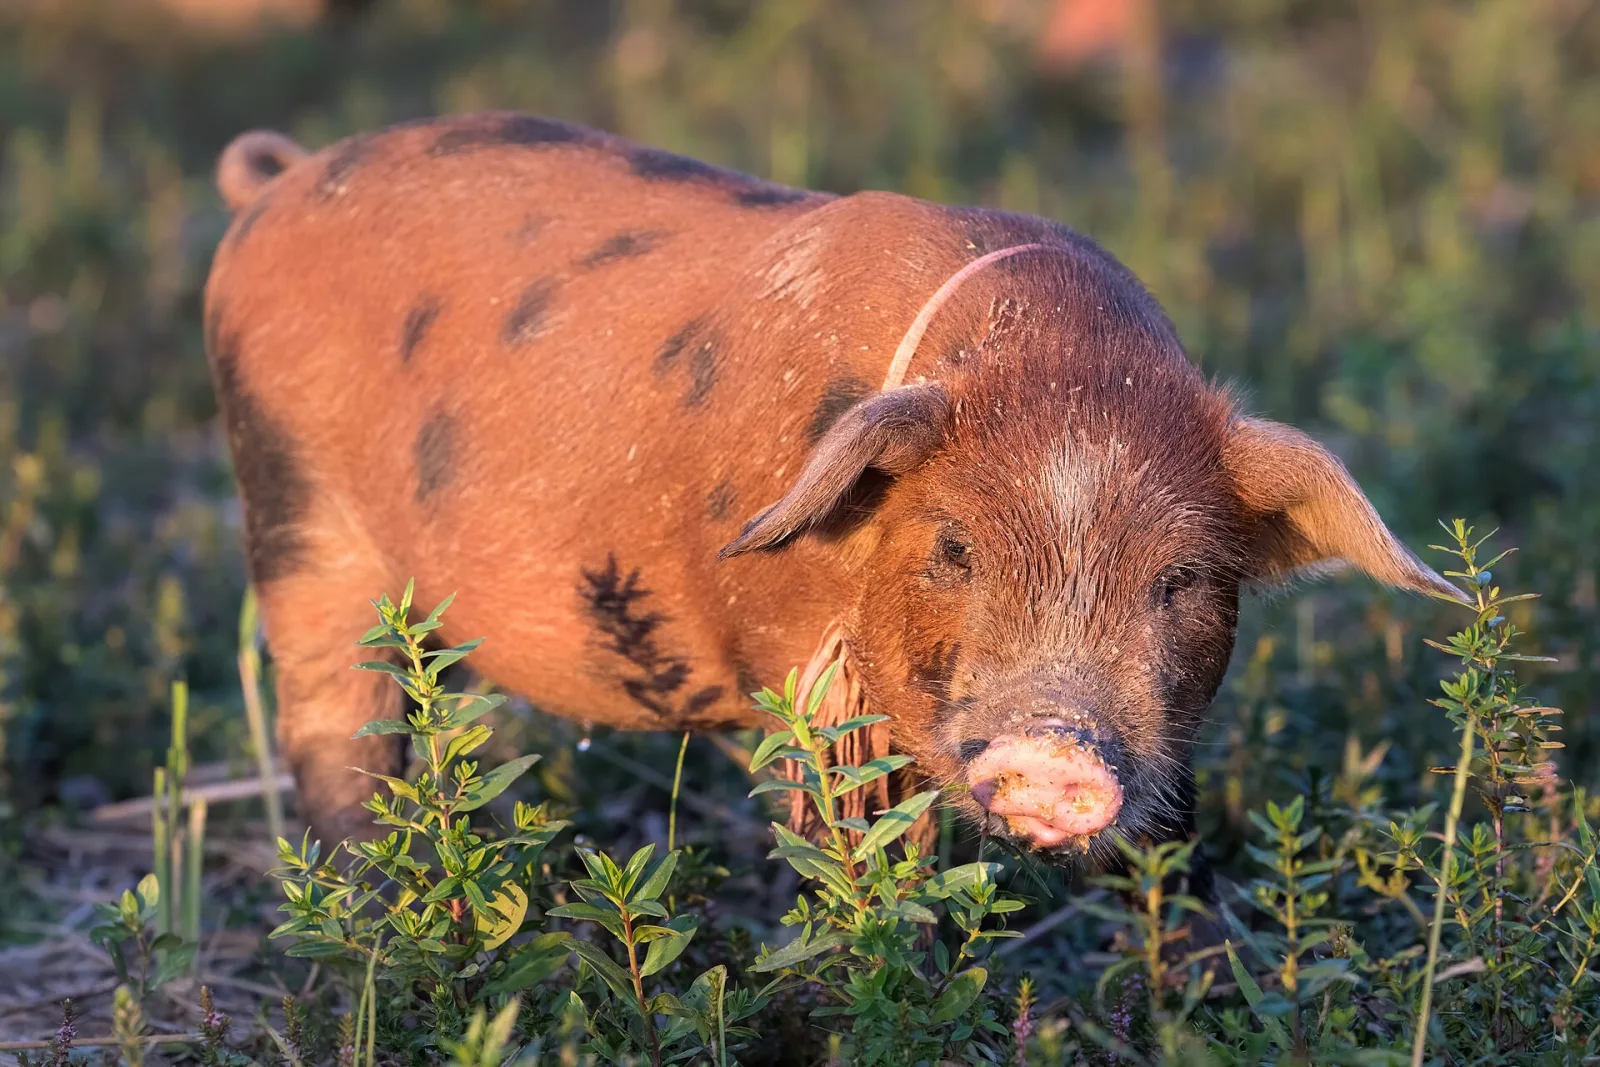
- Needle felted pig — a snout running straight out from the forehead in one unbroken line. Teaches you to read a skull as a set of planes rather than as separate lumps.
Stage three: appendages that have to hold their shape
Fins, flippers, folded legs. Still no wire, but now parts stick out and have to stay put.
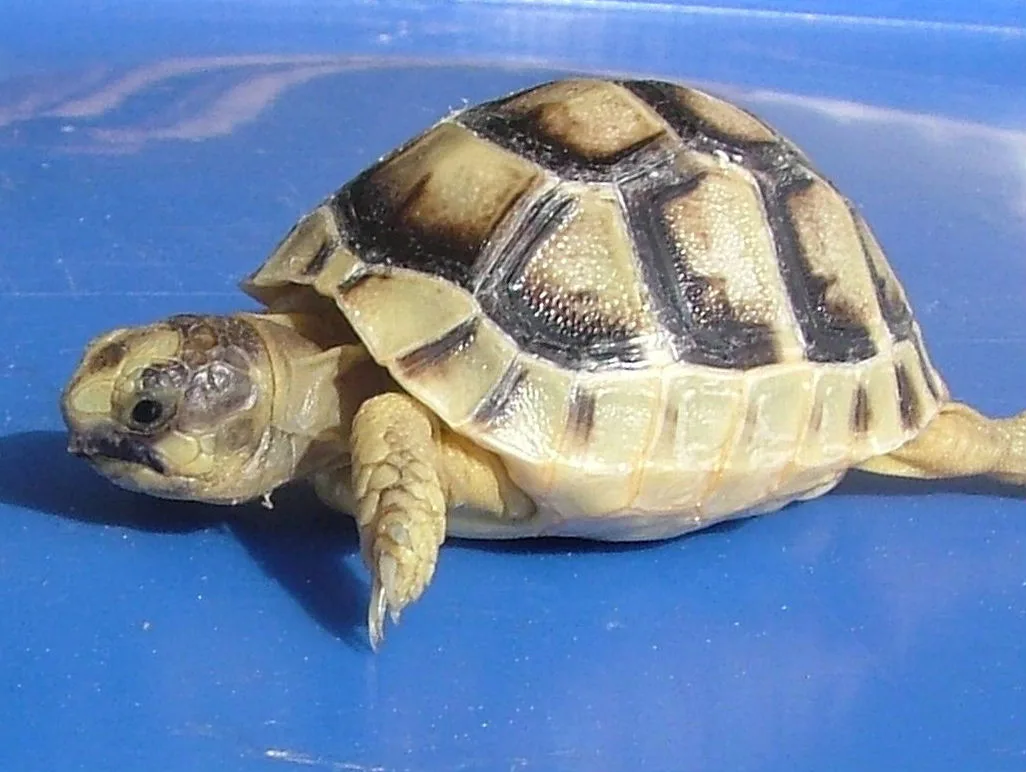
- Needle felted turtle — a dome on four short columns. Teaches you to commit to a design before starting, because a tortoise and a sea turtle are different shapes and the average of the two is neither.
- Needle felted fish — a flattened teardrop with flat fins. Teaches thin firm sheet felt made on the pad, and how to set it into a body so it does not flop.
- Needle felted frog — folded hind legs and eyes above the skull line. Teaches limbs that fold back on themselves, and eye placement that is not on the front of the face.
Stage four: proportion and character
Still no armature. What changes is that these animals are only recognisable if the measurements are right, so this is where you stop assembling and start sculpting.
- Needle felted fox — a wedge head, pointed ears and one enormous tail. Teaches you that a single dominant feature can carry a whole piece.
- Needle felted cat — the skull, not the fur, is what reads as cat. Teaches you to build a shape from its underlying structure, and the sleeping pose usefully hides every hard part.
- Needle felted cow — a broad flat muzzle pad, wider than the bridge of the nose above it. Teaches you to sculpt a face that widens towards the nose rather than tapering, which is the opposite of every instinct.
- Needle felted bear — the highest point is the shoulder hump, not the head. Teaches you to build muscle mass into a body, and it is the clearest lesson on this site in why anatomy beats cuteness.
Stage five: wire
An armature is a wire skeleton wrapped in wool. Once you can build one, everything that stands on legs becomes available.
- Needle felted deer — a fawn, whose legs are too fine to stand without wire. The gentlest introduction to an armature, and the spots teach you to add markings as separate pressed dots at the very end.
- Needle felted horse — half body, half leg. Teaches you to settle proportion in the wire before any wool goes on, because you cannot lengthen a leg later.
- Needle felted dog — one armature and one method covering every breed. Teaches you the four measurements that make a dog recognisable, and how to vary a template rather than start again.
Stage six: likeness
- Needle felted pet portraits — a specific animal rather than a generic one. This is a different problem, not merely a harder sculpture, and it is the only project here worth attempting after you have made a dozen others.
If you would rather not choose at all, make a mouse: a body ball, a smaller head ball, two flat ears, a twisted tail and two dark eye spots. Ninety minutes, about 20 g of wool, and it teaches joining, blending and face placement at once. There is a full guide to felt mice.
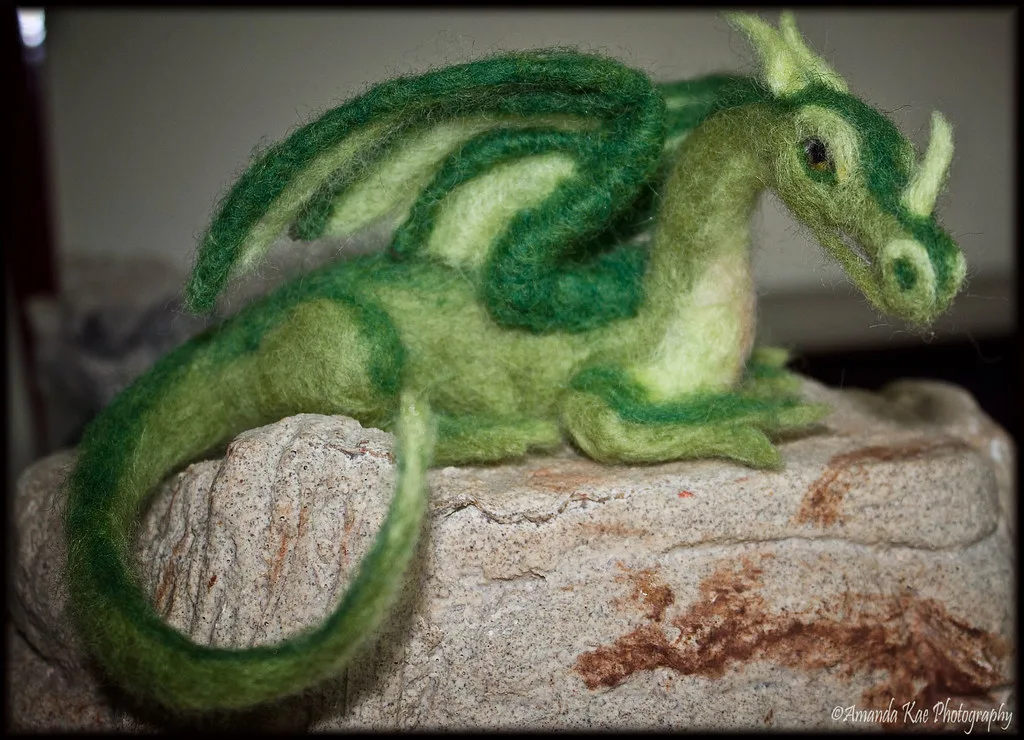
Not animals, but the same technique
Four more projects use exactly the method below and make sensible practice between animals:
- Needle felted flowers — flat shapes made on the pad, the same technique as ears and fins, with the advantage that irregularity looks deliberate.
- Needle felted easter eggs — the fastest way to practise a smooth, even, dense surface with nothing else to think about.
- Needle felted angel — a cone, a ball and two wings, which is a felted animal in all but name.
- Needle felting a face — sockets, planes and expression. Advanced, and the single most useful thing to read once your animals are competent but oddly lifeless.
The method they all share
Core wool inside, colour outside
Build the bulk from cheap, coarse core wool and apply the colour as a thin veil over the top. Colour is expensive and felts more slowly; there is no reason for any of it to be buried in the middle of a body where nobody will see it. A 10 cm animal is typically 15 to 20 g of core and 3 to 5 g of surface wool.
Gauges
Four needles cover everything. Use a 36 for building bulk fast, a 38 for general shaping, a 40 for the surface layer and a 42 for detail — nostrils, eye sockets, the corner of a mouth. Coarser needles leave visible holes, so the finer the needle, the later in the project it belongs. Triangle blades work quickly; star and spiral blades leave a smoother finish. More on choosing in felting needles explained.
Attaching limbs
Roll a limb on the pad and felt it firm — but leave one end deliberately loose and fluffy. That loose end is the attachment. Splay those fibres flat against the body like a fan, stab through them into the body all the way round, then lay a thin wisp of matching wool over the seam and felt it in. A leg felted hard at both ends has nothing left to join with, and gluing it on will not save it.
A good join is invisible. If you can see a line where the leg meets the body, add another wisp and work it in rather than stabbing the existing one harder.
When to stop
Press a fingertip firmly into the piece. If it dents and stays dented, keep going. If it dents and springs back, and the surface has a slight sheen, it is done. Most beginners stop at roughly half the needling a piece needs, which is why so many first animals go soft and lopsided within a week.
What separates a beginner's animal from a good one
Two things, and neither is skill with a needle.
Proportion
Almost every unconvincing felted animal has a head too large and a muzzle too short. Both come from the same instinct — we make animals cuter than they are — and both are visible instantly to someone who cannot say why. Before you attach a head, hold it against the body and compare it to a photograph of the real animal rather than to a cartoon of it. Eye spacing matters more than eye detail: on most mammals the gap between the eyes is one eye-width or more, and eyes set too close look wrong in a way that is very hard to diagnose afterwards.
Set eyes slightly into the surface. Sunken eyes read as alive; eyes sitting on top read as startled. There is more on this in needle felting eyes.
Density
The other half is simply how hard the wool is packed. A dense animal holds a crisp edge, takes fine detail without smearing, keeps its shape when handled and does not fluff. A soft one blurs every feature you put on it, which is why so many pieces look vague however carefully they were shaped. Density is also what lets you carve — stabbing repeatedly in one spot compresses a hollow, which is how you get an eye socket or the dip behind a shoulder, and that only works if there is something firm to compress into.
Firm the body before adding anything to it. Adding first and firming afterwards distorts every part you have already placed.
Kit: what you actually need
Enough to start is about the price of a takeaway:
- 100 g of core wool
- Small amounts of coloured wool — brown, cream, black, grey and one bright colour covers most animals
- Needles in 38 and 40 gauge, at least three of each, because they break
- A foam pad or a brush mat
- Finger guards, or a working habit that keeps your fingertips out of the path
What you do not need yet: a needle holder that takes five needles at once, a felting machine, glass eyes, a set of forty colours, or a reverse needle — buy that one when you get to the hedgehog and want fur. Pipe cleaners will do for your first armature; proper aluminium wire can wait until you are making standing animals often enough to care. Felting supplies for beginners goes through the whole list.
The one thing worth spending on early is wool quality. Cheap coloured wool felts unevenly and pills, and you will blame yourself for it. If a surface layer refuses to bind at all, check the label for superwash — the scales have been stripped or coated and it will not felt at all, which catches out more beginners than any other single thing. Why won't my wool felt covers the rest of the causes, and needle felting mistakes covers what goes wrong once the wool is right.
If you would rather have the wool weighed out for one animal than choose colours yourself, a project kit does exactly that — felting kits explains which of the four kinds that is and what to check before buying one.
Work through stages one and two and you will have four or five animals and every skill the rest of the list needs. That is perhaps a fortnight of evenings, after which the question stops being whether you can make a fox and becomes which fox you want.
Frequently asked questions
What is the easiest animal to needle felt first?
A bee, a hedgehog or an owl. Each is one firm shape with the interest applied to its surface, so you learn to build a dense body without also having to join anything to it. Long legs, necks and tails are each a separate structural problem and a first animal should not have three of them at once.
Should the head and body be made separately?
Yes, with one exception. Build each as a firm shape on its own and join them by leaving the mating ends loose and splaying those fibres across the joint. The exception is an owl, where head and body are a single cone — which is exactly why an owl is a good early project.
How much wool does a felted animal use?
Around 15 to 25 g for an animal 8 to 10 cm long, and most of that is cheap core wool. The coloured surface layer is only a few grams, because it is a veil over the top rather than the bulk of the piece.
When does a felted animal need a wire armature?
When the animal stands on legs thin enough to sag under its own weight, or when you want a pose to stay adjustable. A deer, a horse and most dogs need one; anything sitting, curled or resting on a broad base does not.