Needle Felted Cat: How to Sculpt a Convincing One
6 min read Intermediate
We may earn a commission from links on this page, at no extra cost to you. As an Amazon Associate I earn from qualifying purchases. Learn more.
Cats read as cats because of the skull, not the fur. The proportions that make the difference, plus ears, whiskers and the sleeping pose that hides every hard part.

Cats are the most attempted subject in needle felting and among the hardest to get right, for one reason: everybody knows exactly what a cat looks like. A dog that is slightly wrong reads as a different breed. A cat that is slightly wrong reads as a rabbit, or as nothing at all.
The fix is almost entirely in the skull.
What you need
- Core wool — 25–40 g for a 12 cm cat
- Coat colour in corriedale — 15 g, plus small amounts of white, pink and black
- A little merino or alpaca for the final coat
- 38 and 40 gauge needles, foam pad
- Optional: 6 mm glass eyes, fishing line or stiff nylon for whiskers, pipe cleaners for a standing pose
The proportions that matter
Before any wool, three numbers.
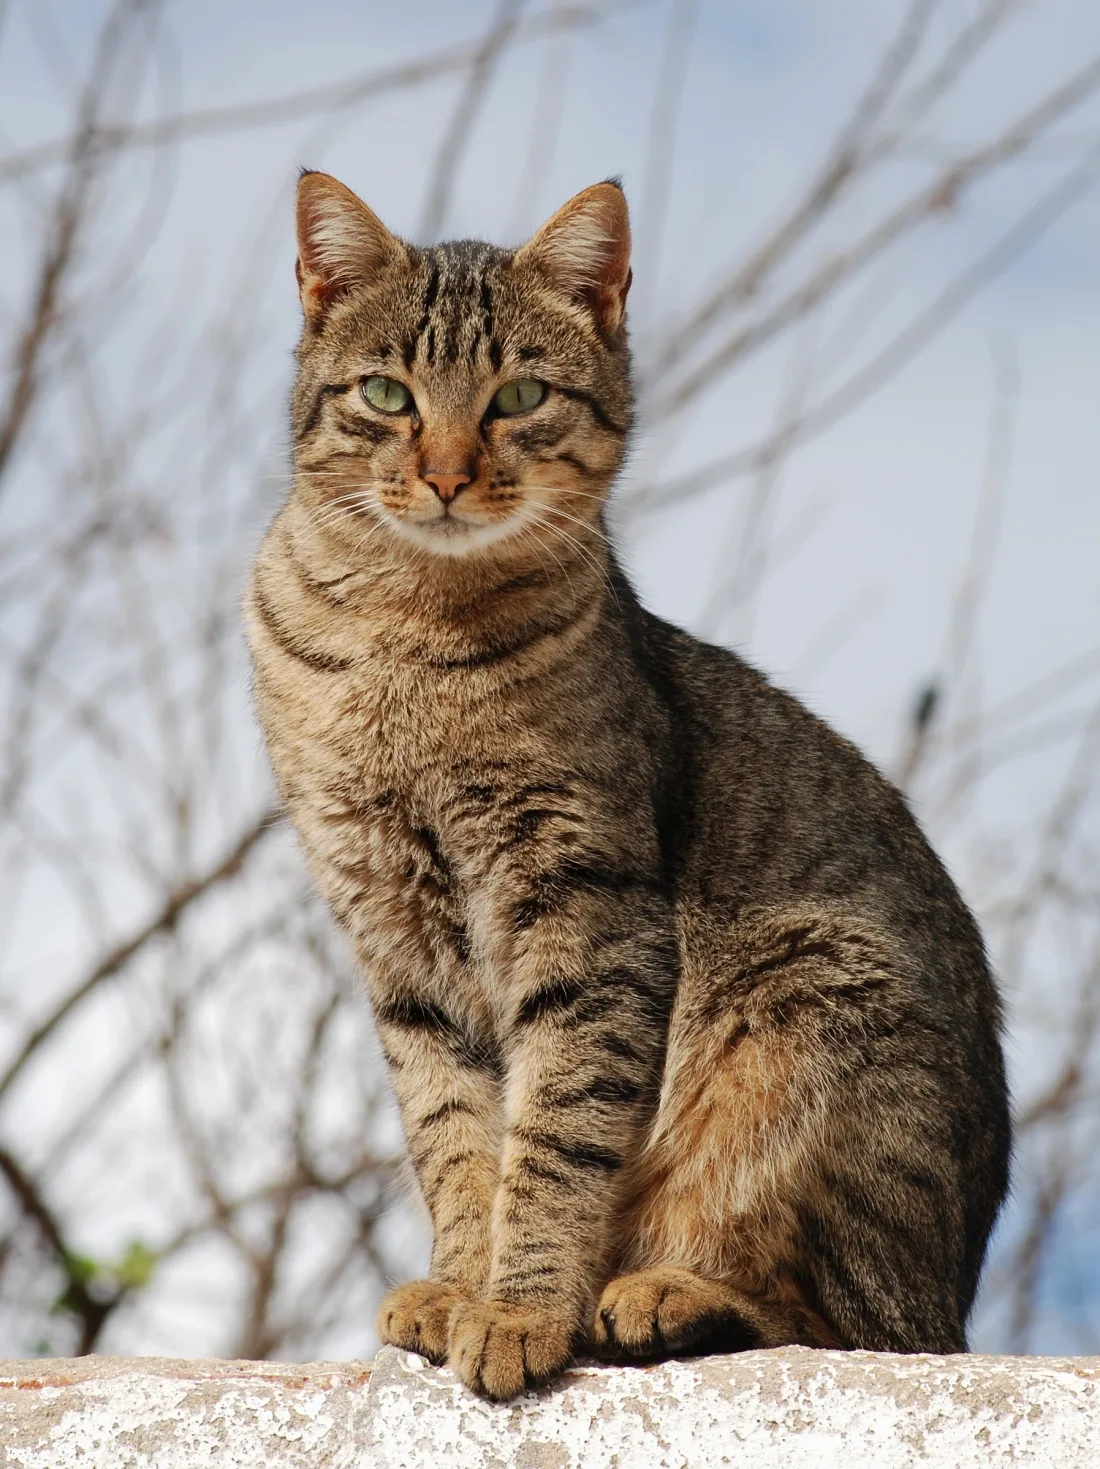
- Head width is about two-thirds of head height. Cat skulls are short and broad. A long head makes a rabbit or a weasel.
- The muzzle is small and low. It occupies the bottom third of the face and barely projects. Most beginners build a snout; cats do not have one.
- Ears sit wide and well back, roughly above the outer corners of the eyes, not on top of the head.
- Body is about three head-lengths; the tail is another two and a half.
Start with a sleeping cat
The curled pose is the beginner's version and also what most people actually want on a shelf. There are no legs to balance and no armature.
- Body. Roll core wool into a tight ball and needle it into a rounded, slightly flattened kidney shape — the curled back. Firm all over. The method is the same as needle felting a ball.
- Head. A separate ball, roughly a third the body's width. Firm it hard: a soft head cannot hold features.
- Join. Leave loose fibre on the underside of the head, press it against the body and needle those fibres in from every direction, then lay a thin veil across the join and felt it down.
- Tail. Roll a thin sausage, leave one end loose, curl it around the body and attach.
- Ears. Two flat triangles, made as a pair, attached wide and back.
- Face. Two shallow depressions for eye sockets, a small pinch of wool for the muzzle, a tiny triangle of pink for the nose.
- Coat. Thin veils of colour over the whole thing, needled at a shallow angle with a 40 gauge needle.
Shaping the head properly
This is where the cat is won or lost. Work on the head alone, in your hand, before attaching it.
- Flatten the face. Needle straight into the front of the ball to create a flat plane. Cats have flat faces; round balls do not.
- Sink the eye sockets. Two shallow depressions, about two-thirds of the way up, set roughly one eye-width apart. Stab repeatedly into the same small area.
- Build the cheeks. Add small wisps of wool either side and below, needled in, to give the wide lower face.
- Add the muzzle. A small horizontal oval of wool below the eyes, only a few millimetres proud, with a shallow vertical line needled down its centre.
- Nose. A pink triangle, point down, sitting on top of the muzzle.
The full sequence for features, including how to make expressions read, is in needle felting a face.
Eyes
Cat eyes are large relative to the head, almond-shaped, and set at a slight angle with the outer corner higher. Three options:
- Felted eyes — a green or amber oval with a black slit pupil, needled in flat. Safe for children, softer in appearance.
- Glass cat eyes on wire — sold specifically with slit pupils, pushed into the socket on a wire loop and secured with glue. Much more lifelike.
- Beads — quick, but the round pupil is wrong for a cat.
Whichever you use, sink them into the sockets rather than sitting them on the surface, and add a thin rim of darker wool around each. See needle felting eyes.
Fur and markings
Do not needle the coat flat. Apply thin veils and stroke them in the direction the fur grows — down the back, forward on the chest, out from the nose on the cheeks — needling at a shallow angle so the surface stays slightly raised.
- Tabby. Lay thin lines of the darker shade across the body, following the curve of the ribs, and needle only lightly so the edges stay soft.
- Tuxedo and bicolour. White chest, chin, paws and belly go on last, over the base colour.
- Siamese. Cream body with darker points on ears, muzzle, feet and tail, blended at the edges rather than sharply divided.
- Black cats. Use grey core, not cream — see core wool for why.
Longhaired cats are better made with wool locks or with reverse-barb needles, both covered in needle felting fur.
Where cat felting goes wrong
- It reads as a rabbit. The head is too long and too narrow. Cat skulls are short and broad.
- It reads as a bear. The ears are too round and set too close together.
- The face looks empty. No eye sockets. Sink them before the eyes go anywhere near it.
- The muzzle projects. Cats barely have one — it sits low and adds a couple of millimetres, no more.
- The coat looks flat. One colour, needled straight in. Use two or three related shades at a shallow angle.
Whiskers
Cut stiff nylon fishing line or bristles into 3–4 cm lengths. Push each one into the muzzle with a needle or a dab of glue on the end. Twelve whiskers in three rows either side, plus two above each eye. They should be long — whiskers reach past the width of the head.
A standing or sitting cat
Once the curled version works, a posed cat needs a wire armature: a spine, four legs and a tail in pipe cleaner or 1 mm wire, wrapped in core wool before any shaping. Cats stand with the front legs vertical and the back legs angled, and the whole body slopes very slightly down towards the shoulders.
Working from a photo of a real cat
For a likeness, the markings matter less than the head shape and the eye colour. Print the photo at the size you intend to make, work with it beside you, and check the silhouette from the side — most failures are a muzzle that is too long or ears that are too high. The full portrait method is in needle felted pet portraits.
If you want to use fur from the cat itself, that is possible and covered in felting with cat hair.
Two related projects sit either side of this one: flat cut-and-sew cats, in felt cat patterns, and something for the cat rather than about it, in felted cat cave. For a complete change of problem, a needle felted fish has no legs, no ears and no fur, and is carried entirely by its profile and its colour.
Frequently asked questions
How do you needle felt a cat for the first time?
Make a sleeping cat. A curled, seated pose is one rounded body, a head, a tail and two ears — no legs to balance, no armature, and the pose hides the joins. It gives a recognisable cat in about two hours.
How do you needle felt cat ears?
Fold a small triangle of wool over on itself, needle it flat against the mat leaving the base loose, then trim to a triangle. Attach with the loose base fibres pushed into the head and needled from several directions. Two ears made together match; two made in sequence do not.
What makes a needle felted cat look realistic?
The head. A cat skull is broad and short with a small muzzle set low, the eyes are two-thirds up the face and set wide, and the ears sit further back and further apart than people expect. Get those and even a plain grey body reads as a cat.
What wool is best for a needle felted cat?
Coarse core wool inside, corriedale for the body, and merino or alpaca for the top coat. Fine fibre on the surface gives the soft, slightly fuzzy look of fur; corriedale underneath holds the shape crisply.