Needle Felted Deer and Fawn, Plus a Simple Felt Deer Pattern
7 min read Intermediate
We may earn a commission from links on this page, at no extra cost to you. As an Amazon Associate I earn from qualifying purchases. Learn more.
A spotted fawn, a doe, a stag or a reindeer are one build with different legs, spots and antlers. What each one needs, the order that keeps the spots crisp, and a flat felt deer you can sew in an evening.
A felted deer takes a wire frame to stand on and spots that stay crisp, and both come down to doing things in the right order. The wire goes in before any wool, because a deer's leg is so thin that wool alone cannot hold it up. The spots go on after everything else, because any needling you do afterwards drags them out of shape. Everything between those two steps is ordinary needle felting.
Which deer
| Deer | Build | Needs | All wool, at 12 cm to the shoulder |
|---|---|---|---|
| Lying fawn | Legs folded under, head turned back | No wire, spots | About 20 g |
| Standing fawn | Round body, fairly short legs, big ears | Wire, spots | About 35 g |
| Doe | Longer body and legs, plain coat | Wire | About 40 g |
| Stag | Deep chest, thick neck, long legs | Wire, antlers | About 45 g |
| Reindeer | Heavy body, pale winter coat, short legs | Wire, antlers on both sexes | About 50 g |
If this is your first deer, make the lying fawn. It needs no wire and has no balance problem, and the spots, which are the charm of the thing, are the same as on the standing version. Come back to the standing fawn once the spots are working.
Reference first
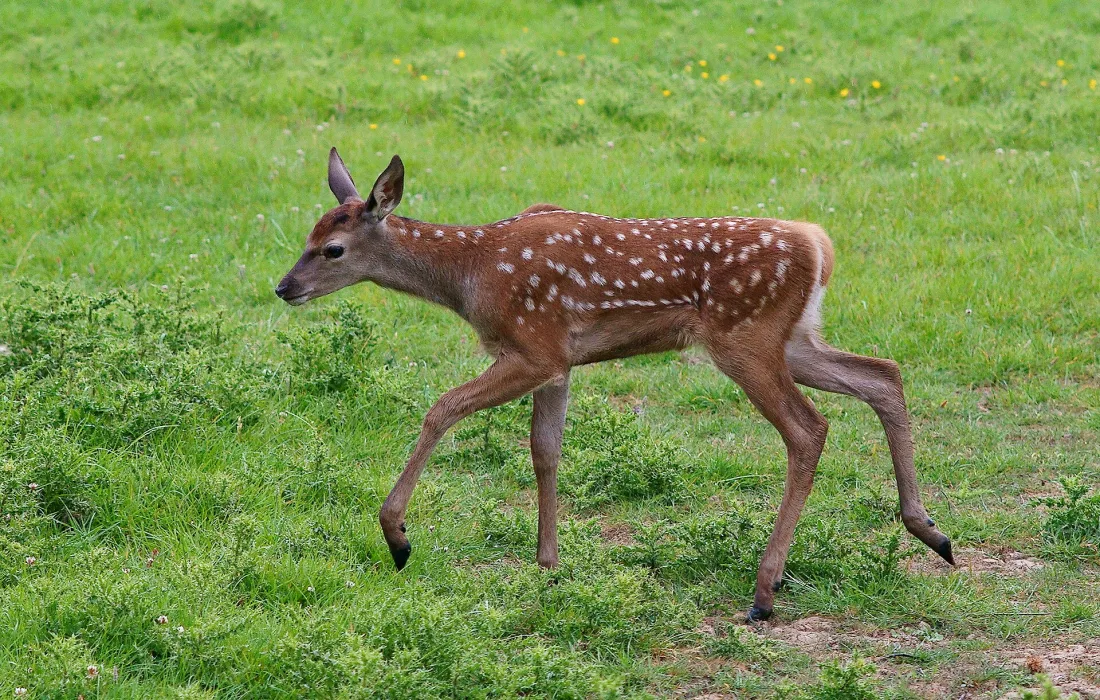
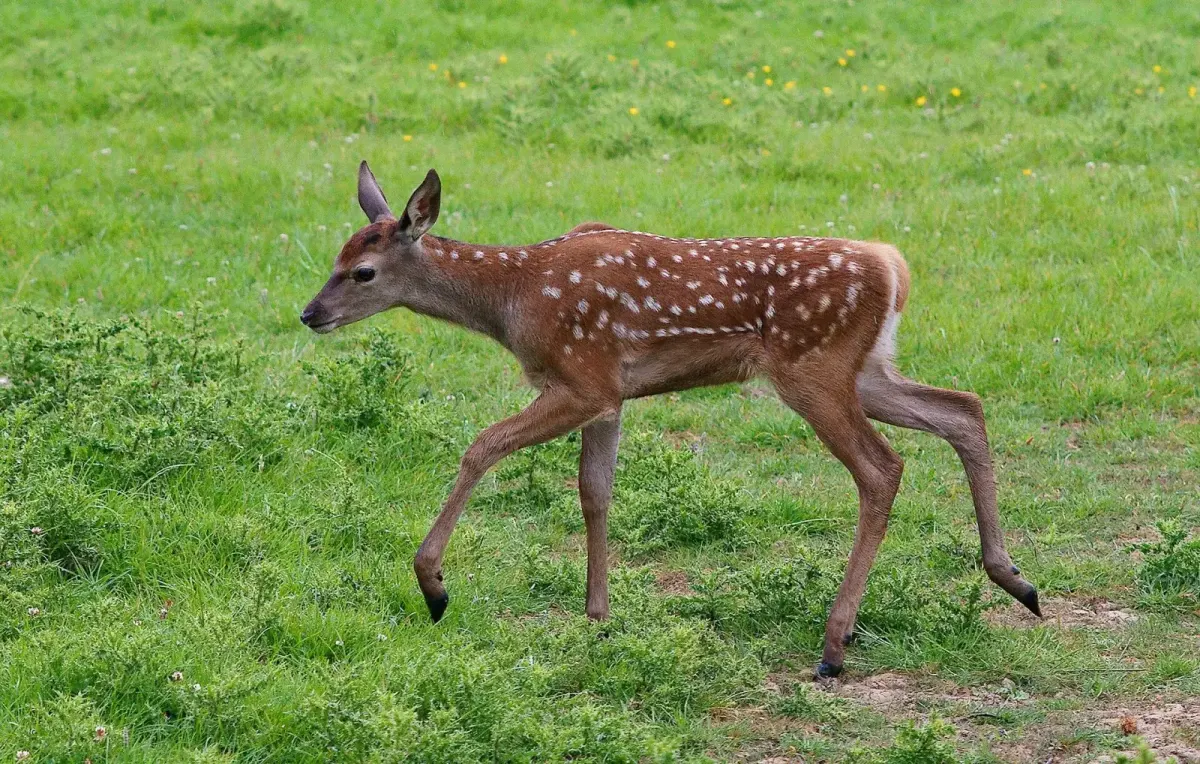
Three things in this photo matter more than anything else. The ears are big, set high on the head, wide apart and angled out to the sides. The face is short, with a blunt, rounded muzzle, nothing like a fox's long taper. And the spots are not evenly spaced: two rough rows along the spine, a looser scatter over the sides and back legs, and none on the legs, face or belly.
Building a standing fawn
Materials
- Core wool: about 20 g
- Warm mid-brown corriedale: 10 g for the coat
- White: 5 g for spots, throat, belly and tail
- Black scraps for the nose, hooves and eye rims
- 1 mm craft wire, about 60 cm, and pliers
- 38 gauge for shaping, 40 gauge for the surface and spots
Steps
- Leg wires. Bend two lengths of wire into wide U shapes. The bend is the shoulder or the hip; the two arms are the legs. Cut them a centimetre longer than you need so you can adjust later. The front legs are slightly shorter than the back.
- Frame. Lay the two U shapes about 5 cm apart and bind them together with a short spine wire that carries on up at the front for the neck. Wire armature for needle felting shows how to twist and bind the joins.
- Hocks. Before any wool goes on, bend a small kink in each back leg, with the joint pointing back towards the tail. A hock that points forward is the most common mistake on felted deer and horses.
- Legs. Wind a thin strand of core wool down each leg and back up, and needle it lightly. Keep them very thin; at this size a fawn's leg is barely thicker than the wire.
- Body. Wrap core wool round the spine in a firm barrel shaped like a fat egg lying on its side, deepest just behind the front legs. Needle it hard.
- Neck and head. Wrap the neck wire upright. Add a ball for the head and needle it into a soft wedge with a short, blunt muzzle.
- Ears. Two flat leaf shapes made separately on the mat, with firm edges. Attach them high and wide, above the eyes, angled out to the sides.
- Coat. Thin layers of mid-brown over the whole animal, covering the joins so legs, neck and body look like one piece. Then white on the throat, chest, belly, inside the legs and under the tail.
- Face. A black nose, and eyes set high on the sides of the head with a thin dark rim. Deer eyes sit on the widest part of the skull, as they do on most prey animals; see needle felting eyes.
- Hooves. Trim the wire, fold the last few millimetres back so nothing sharp sticks out, and cover each foot with a tiny black hoof.
- Spots, last of all. See the next section.
Spots that stay spots
This decides whether you end up with a fawn or a small brown dog. Wait until the rest of the surface is completely finished.
Making one dot. Pull off a very small pinch of white, just a few fibres, and roll it between finger and thumb until it comes to a point like a cotton bud. Set the point against the coat and press it in with the very tip of a 40 gauge needle, three or four shallow stabs into the centre, then stop. Do not work round the edges as you would when laying a patch of colour. That spreads the fibres into a smudge. A good dot sits very slightly raised, with a clear edge.
Placing them. Start with two rough rows along either side of the spine, shoulder to rump. Then add a looser scatter over the sides and back legs, thinning out as it goes down. Vary the size, let one or two overlap and leave irregular gaps. Evenly spaced spots look like polka dots. Twenty-five to forty is right on a 12 cm fawn. Stop earlier than you think you should: adding three more is easy, removing one is not.
Stags, does and reindeer
For an adult, lengthen the legs and body, drop the spots and give the stag a thicker neck. Antlers can be made two ways.
- Wool on wire. Wrap fine wire in a thin strand of pale brown wool, twisting the wire between your fingers so the wool winds on tightly. Bend in the branches, twist each pair together at the base, push the base into the skull and cover the join with wool.
- Twigs. Two small forked twigs or dried stems pushed into the head. At small sizes, real branching usually looks more convincing than felted branching.
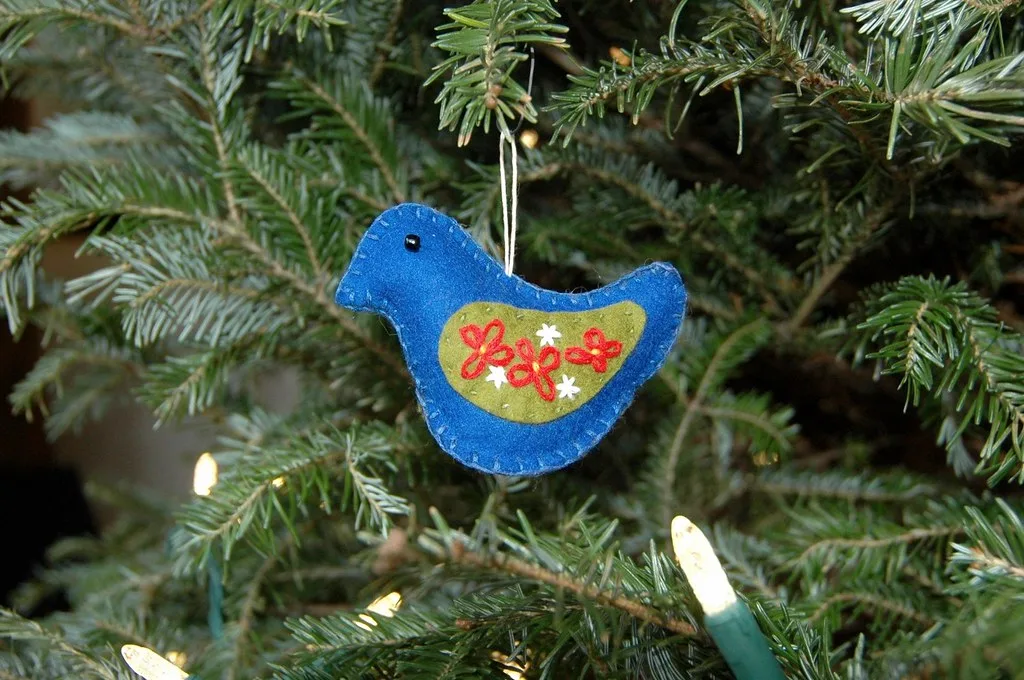
A reindeer is the one deer where the females have antlers too, so an antlered female reindeer is correct, not a mistake. Give it a heavier body, shorter legs, a pale grey-brown winter coat with a cream neck, and short, many-branched antlers. It pairs well with felted Christmas ornaments.
A simple felt deer from sheet felt
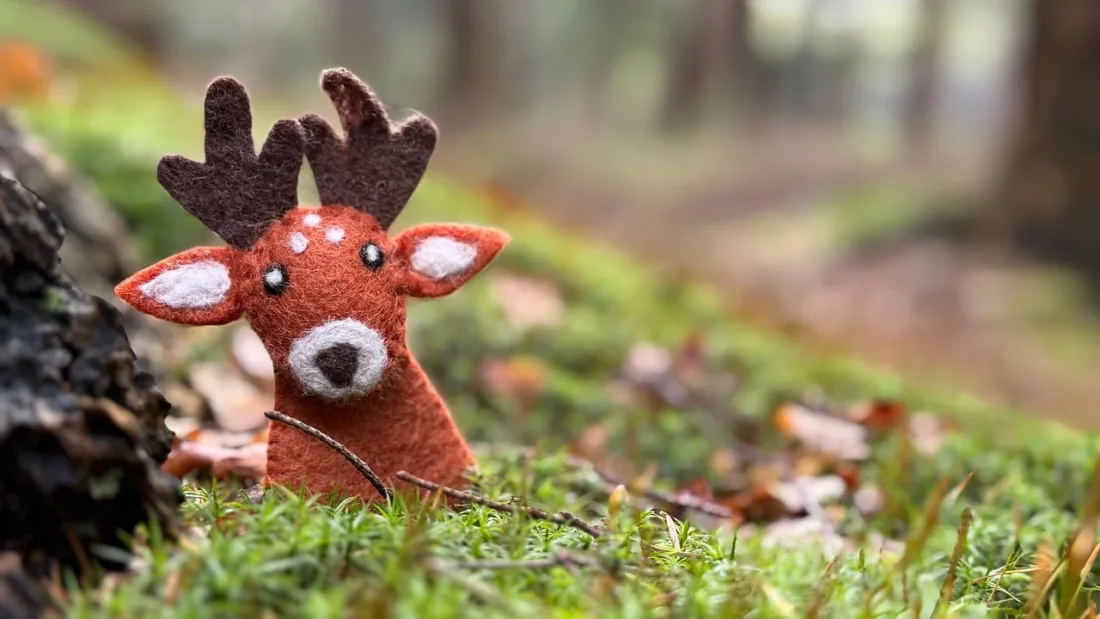
For a flat deer to hang on a tree or slip on a finger, cut it from sheet felt instead. No wire, no spots to place, and it is done in an evening.
Pattern pieces
- Head, cut 2 in brown: a rounded shape about 6 cm wide and 7 cm tall, narrowing to a blunt muzzle at the bottom, with a leaf-shaped ear sticking out at each top corner.
- Inner ears, cut 2 in white or pink: smaller leaves to stitch inside the ears.
- Muzzle patch, cut 1 in white: an oval about 3 cm wide, plus a small black oval for the nose.
- Antlers, cut 2 pairs in dark brown: a branched shape about 4 cm tall, each with three points.
- For a finger puppet, body, cut 2 in brown: a rectangle about 5 cm wide and 6 cm tall with rounded top corners.
Assembly
- Stitch the inner ears, muzzle patch and nose onto one head piece. Add two eyes as French knots or small black circles.
- Stitch each pair of antler pieces together round the edge.
- Lay the head pieces together and tuck the bases of the antlers between them at the top.
- Blanket stitch all round, catching the antlers, and add a little stuffing before closing for an ornament.
- For an ornament, stitch a loop of thread between the antlers. For a puppet, stitch the body pieces together on three sides, leaving the bottom open, and sew the head onto the top.
Wool felt about 1 mm thick holds the antler points far better than acrylic craft felt. For more flat animal shapes that hang properly, see felt animal ornaments, and for stitch choices, felt plushies.
Fixing a deer that looks wrong
| Looks like | Cause | Fix |
|---|---|---|
| A small brown dog | Muzzle too long, ears too small or too low | Shorten the face; make the ears bigger and move them up and out |
| Pale patches, not spots | Spots needled flat round the edges | Press only the centre, with the needle tip |
| Polka dots | Evenly spaced spots | Vary the size and gaps; only the spine rows have any order |
| A deer that sags or splays | No wire, or wire too soft | Use at least 1 mm wire for a standing deer |
| Lumpy legs | Too much wool, wrapped unevenly | Strip back and start with less |
| A strange bend in the back leg | Hock bent forwards | Rebend the wire so the joint points back |
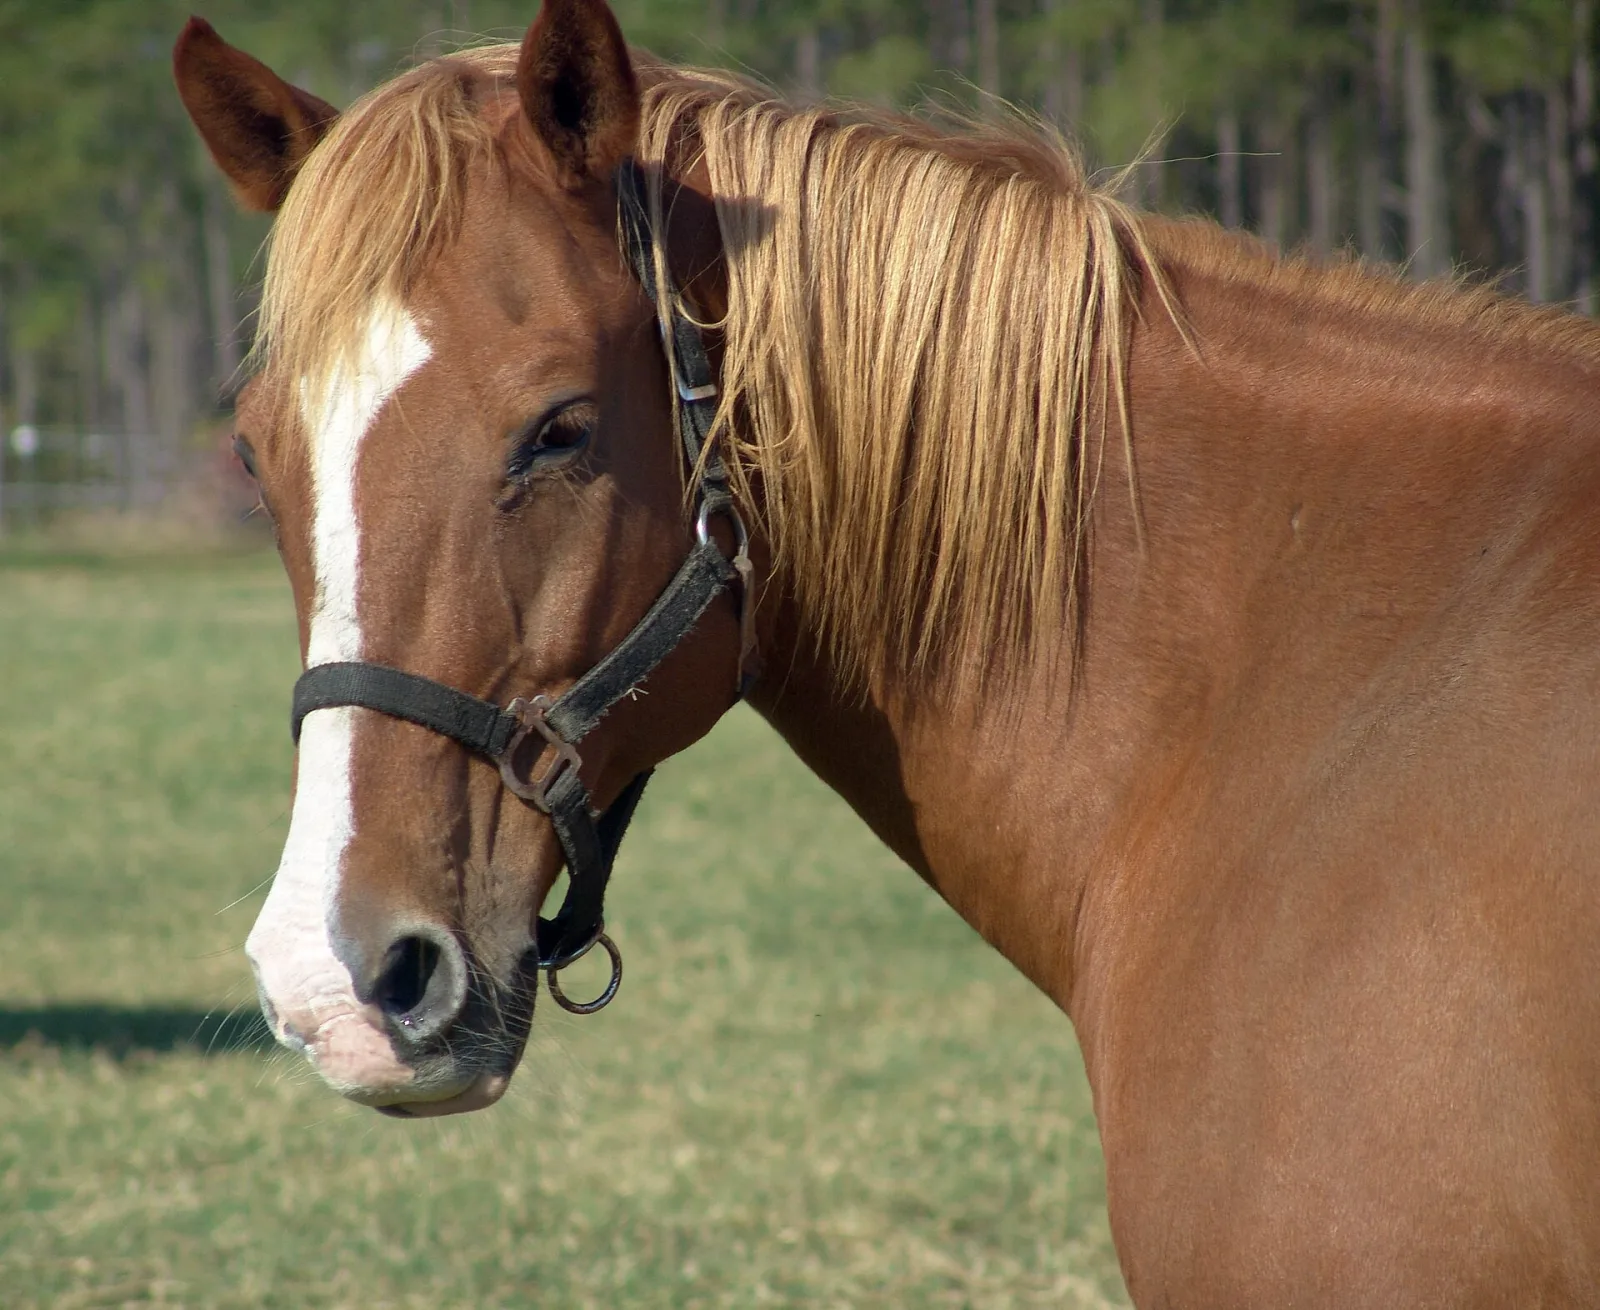
The surface techniques used here carry over to most furred animals; see needle felting fur and how to blend wool colours. For another animal built on the same wire frame, try a horse. It is the same armature with much longer legs and more proportion to get right.
Frequently asked questions
How do you needle felt deer spots?
Roll a tiny pinch of white wool into a point between your fingers, set it on the finished coat, and press it in with just the tip of a 40 gauge needle: three or four stabs into the middle, then stop. If you needle round the edges, the fibres spread and the spot turns into a pale smudge.
Do you need wire to needle felt a deer?
For any standing deer, yes. The legs are thinner than a pencil, and wool that thin bends under the body within a day. Use 1 mm wire, bent into a U for each pair of legs. A lying-down fawn with its legs tucked under needs no wire at all.
Should I make a fawn or an adult deer first?
A fawn. Its body is rounder and easier to shape, its legs are shorter compared to its body so they carry the weight better, and it has no antlers. A stag needs a longer, leaner build, a thick neck and antlers.
How do you make antlers for a felted deer?
Either wrap fine wire in a thin strand of pale brown wool while twisting the wire, then bend the branches and join each pair at the base, or push two small forked twigs into the head. At small sizes, real twigs usually look better than felted ones.
How do you make a simple felt deer from sheet felt?
Cut a body, a head with ears and two antler pieces from 1 mm felt, stitch white spots or a white chest patch onto the front, then blanket stitch front and back together with a little stuffing. With a loop at the top it becomes a Christmas ornament; left open at the bottom it becomes a finger puppet.