How to Needle Felt a Perfectly Round Ball
4 min read Beginner
We may earn a commission from links on this page, at no extra cost to you. As an Amazon Associate I earn from qualifying purchases. Learn more.
The foundation shape behind almost every felted figure. Learn how to build a ball that is genuinely round, genuinely firm, and smooth on the surface.
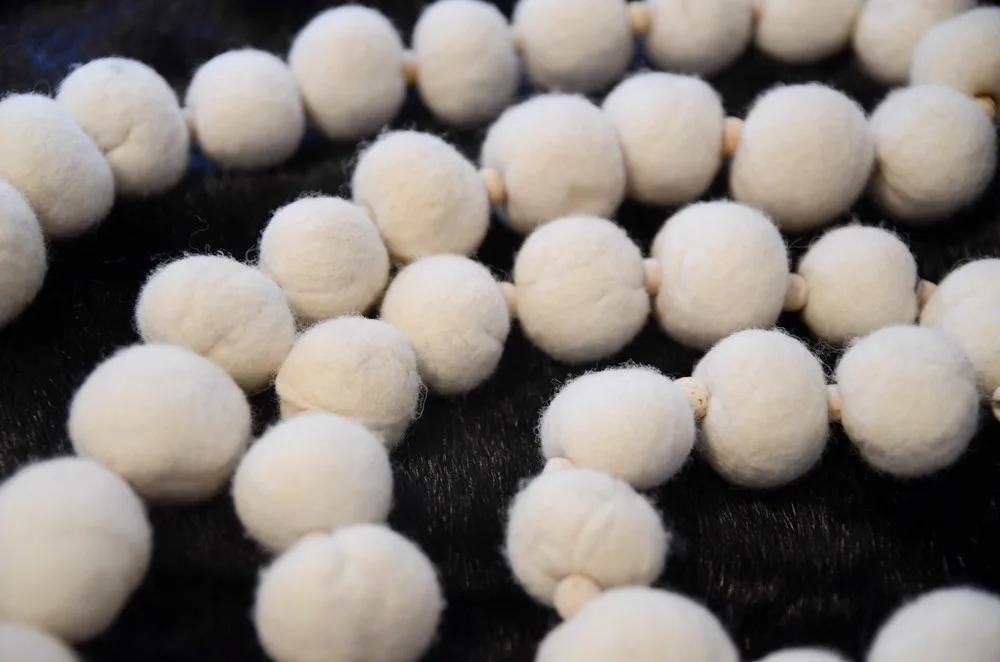
Learn to make a good ball and you have learned most of needle felting. Heads, bodies, berries, snowmen, beads and the starting mass of nearly every animal are all balls, and the two skills involved — building even density and controlling a curved surface — carry into everything else.
It takes about twenty minutes. Doing it properly is a different experience from doing it quickly.
What you need
- Core wool, roughly 10 g for a 4 cm ball
- A 38-gauge needle for the main work
- A 40-gauge needle for finishing
- A foam pad or brush mat
- Optional: coloured merino tops for a surface layer
Step 1: Estimate the wool
Pull off a length of core wool. Wool compacts to roughly a third of its loose volume, so start with a loose mass about three times the diameter you want. Under-estimating is the more common error, and adding wool later leaves a visible seam if you are not careful.
Pull the fibre apart with your hands rather than cutting it. Cut ends stay blunt and refuse to blend.
Step 2: Wind, don't crumple
Here is where most balls go wrong. If you screw the wool into a random wad, you build in dense patches and hollow patches, and no amount of stabbing will even them out.
Instead, fold the length back on itself into a rough square, then roll it up tightly like a bandage, changing direction every couple of turns so the fibres cross. Tuck the loose end under. You now have a starting mass with roughly even density throughout.
Step 3: Lock the outside first
Hold the bundle in your palm — not on the mat yet — and tack the loose end down with a few careful stabs so the roll cannot unwind. Then move it to the pad.
Work all over the surface with the 38-gauge needle, stabbing straight in and out to a depth of about a centimetre. You are creating a skin that holds the shape while you compact the inside.
Step 4: Rotate constantly
This is the whole secret to roundness. Every fifteen or twenty stabs, turn the ball to a new face. Working one area continuously creates a flat, and once a flat has formed you can only remove it by adding wool.
Work in an imagined pattern rather than at random: north pole, equator all the way round, south pole, then repeat. It feels fussy and it produces spheres instead of potatoes.
Step 5: Go deeper as it firms
As the surface tightens, drive the needle deeper — most of its length — to compact the core. You will feel the resistance change: soft and silent at first, then springy with a faint crunch on entry.
Keep going considerably longer than you think necessary. A finished ball should not dent under firm thumb pressure. Beginners almost always stop at the point where it merely looks round.
Step 6: Add colour
If you want a coloured ball, do it as a surface layer rather than felting a coloured ball from scratch. It uses far less of the expensive fibre.
Pull a thin, wide veil of merino — thin enough to see through — and wrap it around the ball, overlapping the ends. Tack it with the 38-gauge needle, working lightly so you do not drag the colour deep into the core, then cover the whole surface evenly.
A crown needle, if you have one, is ideal here: its barbs sit near the tip so it attaches the surface without pulling the under-colour up.
Step 7: Finish the surface
Switch to the 40-gauge needle and work at a shallow angle, almost skimming the ball. This tucks stray fibre ends back into the surface and removes the fuzz. Small, light, rapid stabs — you are grooming, not building.
Roll the finished ball firmly between your palms for a few seconds. It smooths the surface and reveals any remaining soft spots, which will squash while the rest holds.
Fixing the usual problems
- It is oval. You worked one axis more than the other. Add a thin wisp of wool over the flat area and felt it in, rather than trying to stab the high sides down.
- The surface is hairy. Not enough finishing with a fine needle. Ten more minutes with the 40 at a shallow angle will fix it.
- It stays squashy. Not enough wool, or not enough stabbing. If the ball is the right size but soft, keep going; if it is too small and soft, wrap another layer on.
- There are visible holes. Too coarse a needle used for too long. Finish with a finer gauge — see the needle guide.
What to make with it
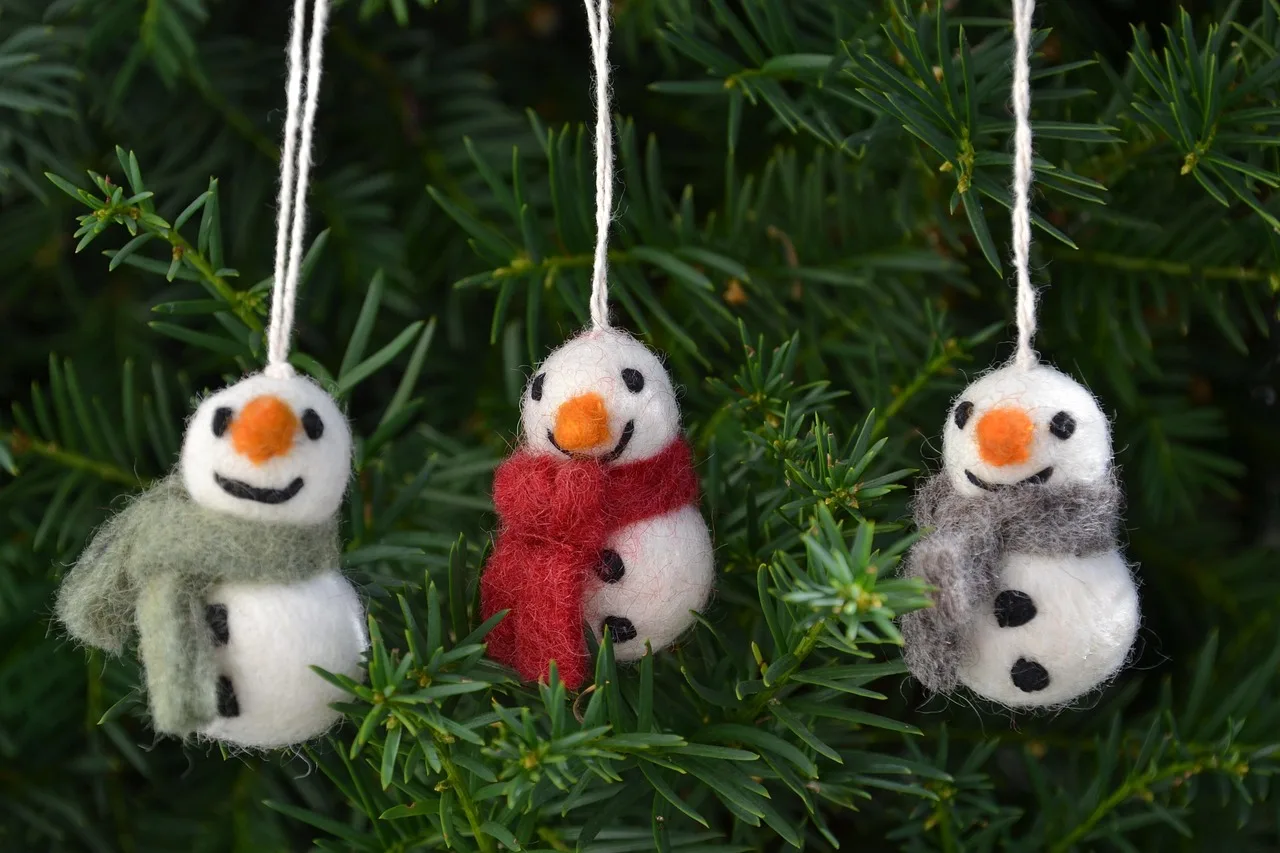
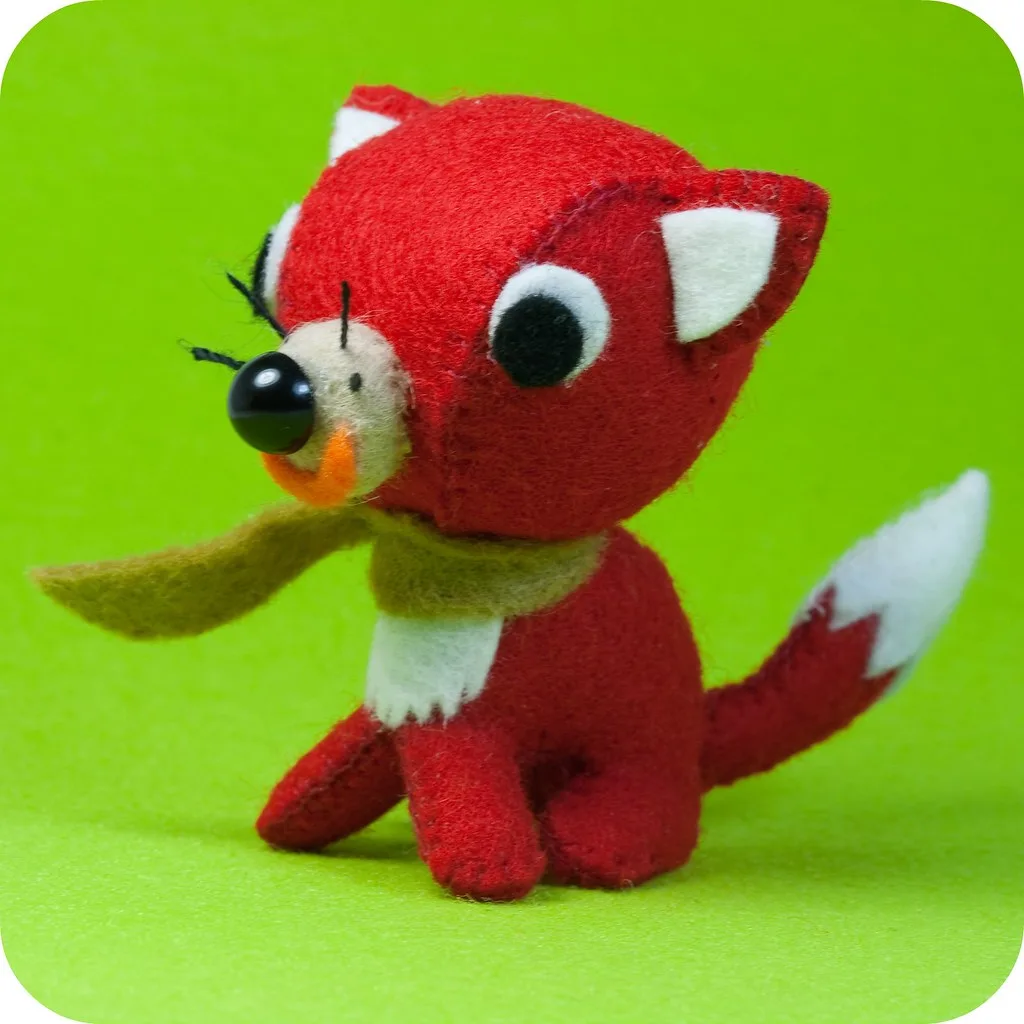
Two balls of different sizes, joined, are a bird or a mouse — a needle felted chick is exactly that plus a beak, and it is the shortest route from this page to a finished animal. Work a single ball flat on one axis instead and you have the shell for a needle felted turtle. Three graduated balls are a snowman. A ball with a needle-felted stalk is a berry or an apple. Strung on cord, small ones become a garland.
From here, simple animals are the natural next step, and wet felted balls are worth learning too — they are much faster when you need thirty of them.
Frequently asked questions
How do I needle felt a perfectly round ball?
Rotate constantly instead of working one spot. A ball goes lopsided because one area received far more stabs than the rest, so turn it in your fingers every few strokes and work evenly all over it.
Should I wind or crumple the wool to start?
Wind it, changing direction every few turns. A crumpled wad has dense and hollow regions inside it and will felt into an oval with a soft middle, however long you work at it.
Why is my needle felted ball still soft in the middle?
The early stabs only lock the outer surface. Once the outside holds together you have to push the needle in far deeper, right through the centre, or you end up with a firm shell wrapped around loose wool.
Which needle gauge should I use for a ball?
A 38 for most of the work, dropping to a 40 for the final surface pass. Finishing with a coarse needle leaves visible holes that a fine needle would have closed.