Felt Christmas Ornaments: Baubles, Stars, Animals and Twelve Worth Making
17 min read Beginner
We may earn a commission from links on this page, at no extra cost to you. As an Amazon Associate I earn from qualifying purchases. Learn more.
Needle felted in the round or cut and stitched from felt sheet: the two routes to a felt ornament, a star template that comes out even, animals that hang level, and twelve designs sized so a whole set gets finished before December.
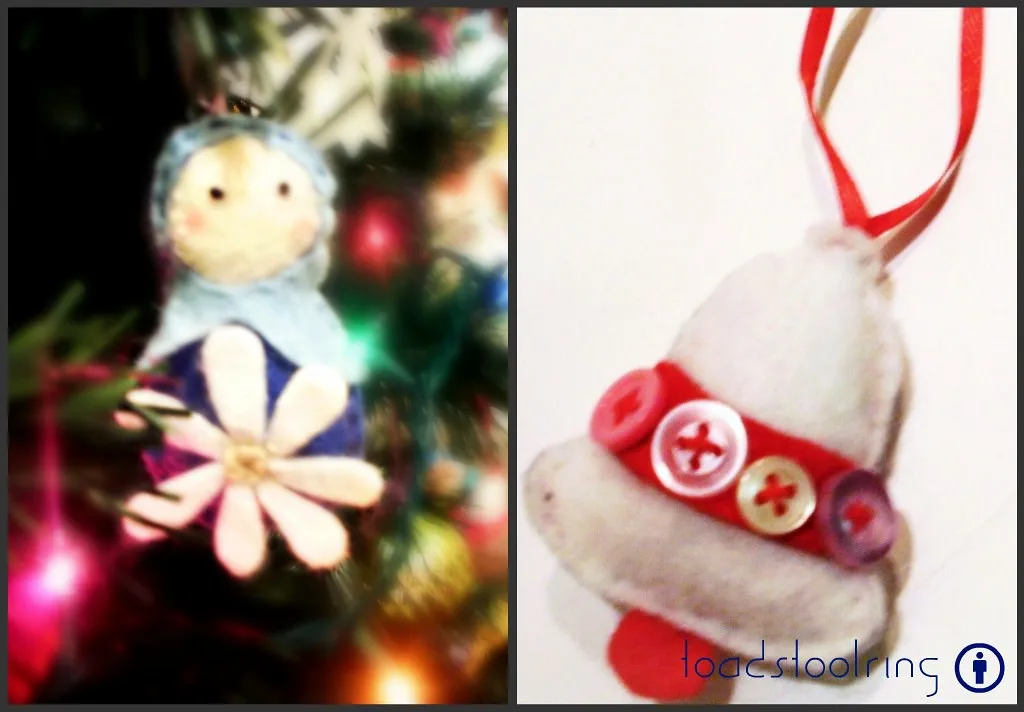
Felt ornaments survive a household better than almost anything else on the tree. They do not shatter, a cat can pull one off without consequence, and a set of twelve costs what one blown-glass bauble does. Wool softens rather than degrades, so the same set goes back up for twenty years — provided it gets a few minutes of attention each December, because the one thing felt does do is fluff.
What most people never discover is that there are two entirely different ways to make them: needle felted in the round from loose wool, or cut from felt sheet and stitched. They want different materials and very different amounts of time, and each suits shapes the other handles badly. Choosing the wrong route is why a box of half-made ornaments is still there in January.
Most of the shapes below are covered in detail elsewhere — chiefly the felted ball, the base of half of them.
The two ways to build an ornament
Needle felted in the round
Loose wool stabbed with a barbed needle into a solid three-dimensional object. Core wool inside, colour on the surface, no sewing and no template. A 50 mm bauble is about 14 g of wool and twenty-five to forty minutes.
Use it for anything seen from every side: baubles, puddings, snowmen, gnomes, animals. It is also the only route to a real sphere. The cost is time: twelve ornaments is twelve separate builds.
Cut and stitched from felt sheet
Shapes cut to a template from wool felt fabric, two identical pieces blanket stitched round the edge with two strands of embroidery thread, then stuffed lightly or left flat. Ten to twenty minutes a piece, with all the cutting done in one sitting.
Use it for crisp outlines: stars, hearts, trees, mittens, gingerbread people, letters. What it cannot do is a sphere — a stuffed felt circle is a small cushion — or the furred surface that makes a wool animal look alive.
Which to choose
Per piece, cut and stitched is roughly twice as fast, and the gap widens with quantity: cutting twelve pairs of stars is under an hour of scissor work, needle felting twelve baubles takes six hours. For a dozen in two evenings, cut and stitch; for roundness and a wool surface, needle felt and start earlier. The two mix in one set, and felt applique bridges them.
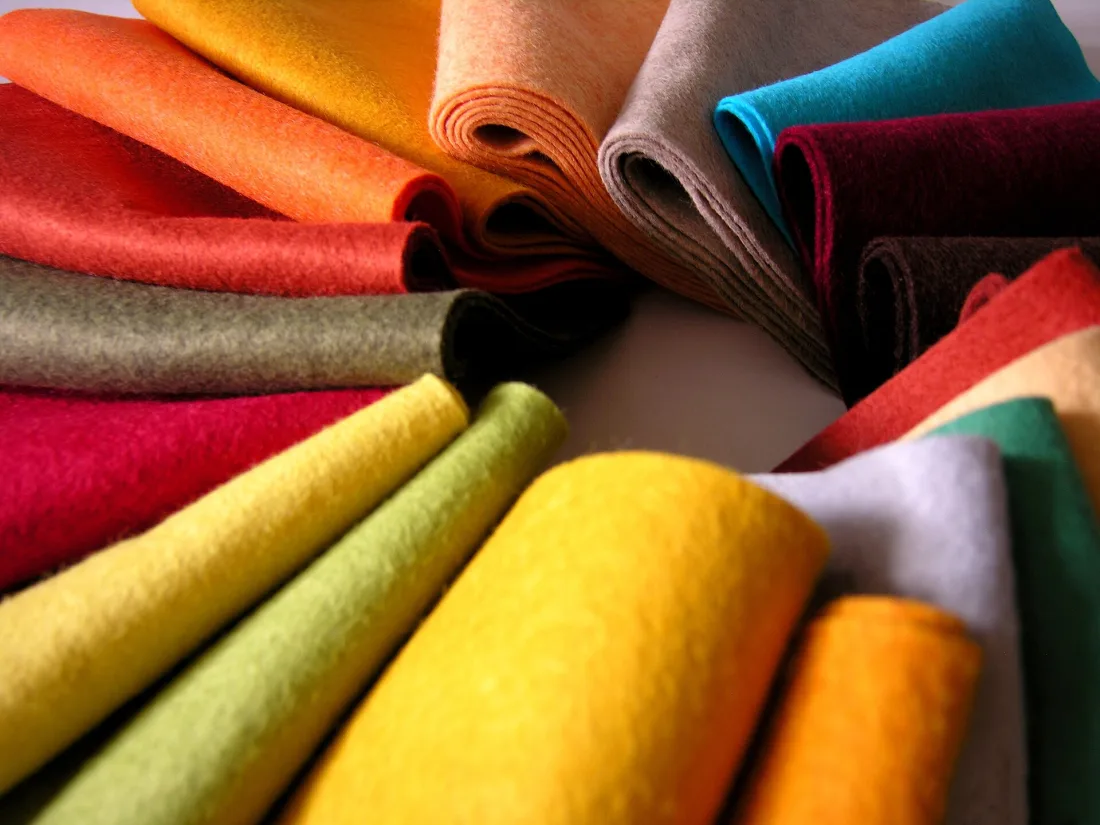
Which felt to use for ornaments
The single question that decides how a cut-and-stitched ornament looks is which felt it is cut from, and most disappointing results come from the wrong grade rather than the wrong technique.
Craft felt (acrylic or rayon)
The cheap squares in every craft aisle. It cuts cleanly, comes in every colour, and costs almost nothing — and it pills within a season, goes shiny at the folds, and its edges go furry where fingers touch them. For something that lives in a box eleven months a year and is handled twice, it is worse value than it looks.
Wool-blend felt
Typically around a third wool, the rest rayon. The usual compromise: it holds an edge far better than acrylic, takes a blanket stitch neatly, and costs a fraction of pure wool. This is what most ornament kits contain, and for a set of a dozen it is a sensible choice.
100% wool felt
Dense, matte, with a slight fibrous bloom to the surface, and it cuts without fraying at all because there is no weave to fray. It takes stitching beautifully and it survives being squashed in a box. It is the expensive option and it is the one worth buying for anything that has a name and a year stitched on it.
Thickness matters as much as fibre: about 1 mm is right for ornaments — thick enough to hold a shape, thin enough to stitch two layers without a fight. The grades and weights are set out in wool felt fabric.
How much you need
A 9 × 12 in sheet yields roughly six to eight ornament pairs at 70 mm, depending on how tightly you nest the templates. Buy one sheet per main colour and one extra of whatever the backs will be — backs can all be the same colour and nobody looks.
For needle felted ornaments the arithmetic is different: around 14 g of wool for a 50 mm bauble, most of it cheap core wool with a thin surface layer of colour over it.
Size and weight
Most tree ornaments want to be 50 to 80 mm across. Below 40 mm they vanish into the branches; above 100 mm you are making a statement piece, not a set.
Weight decides where a piece can hang, and solid wool is heavier than people expect. Firm needle felted wool runs about 0.22 g per cubic centimetre, so a solid ball goes 7 g at 40 mm, 14 g at 50 mm, 25 g at 60 mm, 40 g at 70 mm and 59 g at 80 mm. The figure roughly trebles every time the diameter goes up by half, which is why an ornament that felt reasonable at 50 mm is unhangable at 80. Past roughly 40 g a spruce tip bends and the ornament faces the floor.
Cut and stitched pieces are in a different class altogether: a stuffed felt sheet star of the same width is 2 to 3 g and hangs from anything. Keep solid pieces on thick inner branches and stitched ones at the tips. Do not fix weight by under-firming: a soft ornament pills and loses its shape for good. Make it smaller instead.
Plan the set, not the ornament
The mistake is one elaborate decoration in November and no time left. A tree needs a dozen ornaments to look intentional, so pick designs of twenty to forty minutes and repeat them in colour variations.
A workable set: four baubles in three colours, three puddings, two robins, three stars. Roughly eight hours, spread over a few evenings.
A set that looks made, not accumulated
- One palette. Three colours and a neutral, chosen once. The usual failure is five different reds, each fine on its own. For depth within a colour, blend your own shades from the same two fibres.
- One scale. Pick a size and stay within a couple of centimetres of it. Mixed sizes read as a collection gathered over years.
- Repeated shapes. Three of each design rather than one of twelve. Repetition reads as intent, and the second and third are much faster than the first.
Beginner ornaments
1. Plain baubles
A firm felted ball with a hanging loop. That is the whole design, and a cluster in three toning colours looks better than the effort suggests. See felted Christmas balls for the method.
2. Striped and spotted baubles
The same ball with thin wisps of contrasting wool felted onto the surface. Spots are easier than stripes; a stripe wanders unless the line is laid carefully before you stab.
3. Christmas puddings
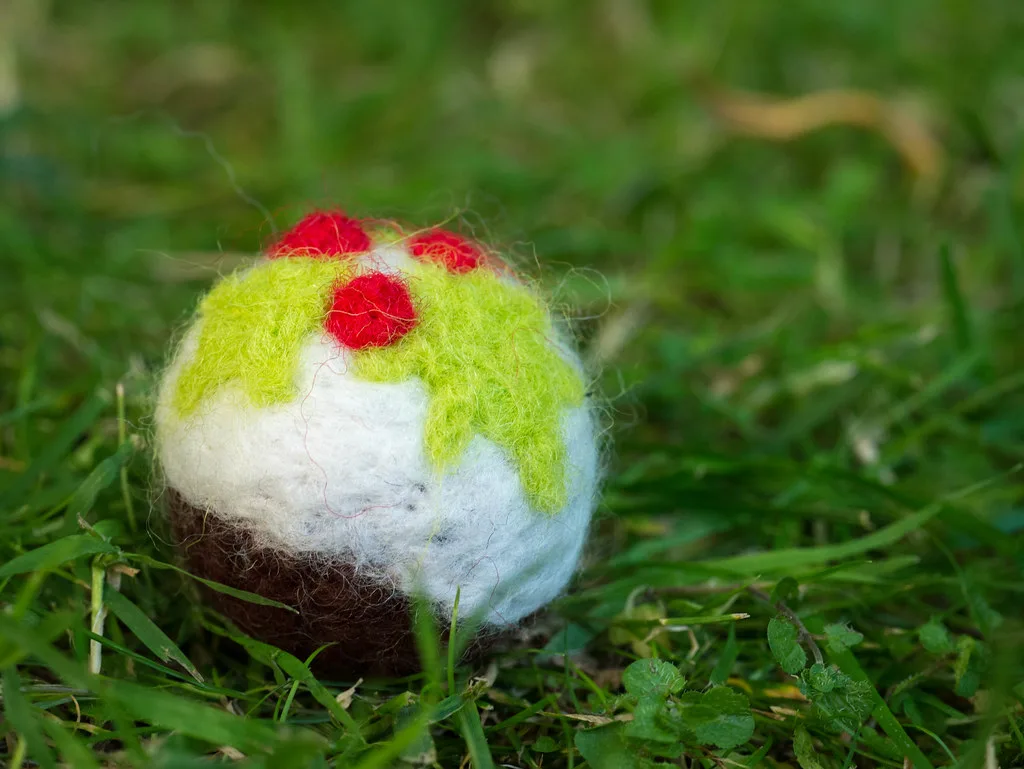
A dark ball with a white flat piece felted over the top so it drapes down one side like icing, finished with a red berry and two green leaves. Three colours, no template and no sewing, which is why it is the design most people make second.
4. Stars
A flat shape, either felted on the mat or cut from sheet. Five even points are the fiddly part, and the template, the cutting and the two-layer version are in the star section below.
5. Candy canes
A white sausage with a red strip spiralled round it, felted in, then bent into a hook and worked at the curve; a pipe cleaner inside makes it permanent.
6. Snowmen
Two or three graduated balls joined, with a fabric scarf and a tiny hat. Keep the face minimal — two dots and a carrot nose.
Intermediate ornaments
7. Robins
An egg-shaped body, a smaller head blended in, a red-orange breast panel on the front, a small beak and a flat tail. Good practice in joining and blending.
8. Gingerbread people
A flat shape with felted white piping. The icing lines teach controlled surface work with a fine needle.
9. Woodland animals
Foxes, deer heads, hedgehogs and owls, plus the three animals most often made for the tree: a felted penguin, a spotted fawn or reindeer and a felt rocking horse. Heads alone on a loop are quicker than whole animals and hang better. What changes once an animal hangs is in its own section below.
10. Holly and mistletoe sprigs
Flat leaves with a firm midrib and small berries — the same technique as felted flowers, in a seasonal palette.
Beyond the tree
11. Felt ball garland
Twenty to thirty wet felted balls threaded on cord. Wet felting is the right method — needle felting thirty balls one at a time is a joyless weekend, and wet felting makes them in batches.
12. Advent garland
Twenty-four small ornaments, numbered, pegged to twine. Enormous in December, manageable started in September at two a week.
Felt star ornaments
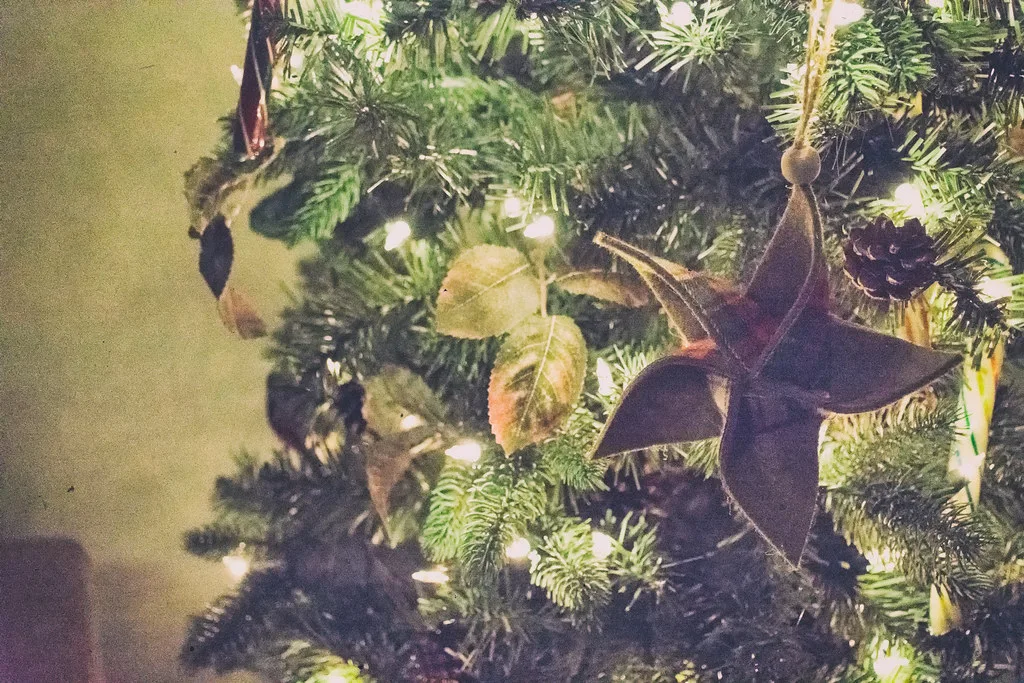
A star punishes a wobbly hand in a way no animal does. Nobody compares the ears on a felted fox, but everyone compares the five points of a star, because they sit in a ring. A freehand star is nearly always visibly wrong: one point longer, one valley deeper, the whole thing leaning. So stars are a template project, and once you accept that they are among the quickest ornaments on the tree.
The template
Five points cannot be made by folding a sheet in half repeatedly, which is why freehand stars fail. Construct it instead:
- Draw a circle on card with a 35 mm radius. The tips will sit on that 70 mm circle, which is a good tree size.
- Mark a point on the edge for the top tip.
- Open the compass to 41 mm (the radius × 1.176, the chord for 72 degrees) and step it round the circle five times. The fifth step should land back on the first mark; if it misses by more than a millimetre, adjust and step again rather than fudging the last gap.
- Join every second mark with a ruler: 1 to 3, 3 to 5, 5 to 2, 2 to 4, 4 to 1. Trace round the outside of the pentagram.
The valleys land about 0.38 of the radius from the centre, 13 mm here. That proportion is what makes a star look right: valleys further out give a pentagon with bumps, further in a spiky sea creature. With a protractor, rule lines at 0, 72, 144, 216 and 288 degrees instead. Tracing a printed star off a screen is entirely legitimate too, since a machine-drawn star is symmetrical by definition.
Before cutting felt, fold the card star through each tip and its opposite valley. The halves should sit on each other. Trim any tip that does not match on the card, once, and every star you cut from it afterwards is correct.
Cutting clean points
- Small sharp scissors. Embroidery scissors with 40 mm blades. Large ones cannot get into a valley without opening wide, and an open blade cuts past the corner.
- One closing of the blade per edge. Sawing leaves a stepped, furry line that no trimming rescues.
- Cut into each valley from both sides. Start at a tip, cut inwards, lift, turn, and cut into the same valley from the next tip. Pivoting inside the valley rounds it off.
- About 1.5 mm wool felt. Thinner craft felt holds a sharp point but looks cheap on a tree; 3 mm and thicker blunts the tips by its own thickness.
Two-layer stars
Most hanging stars are two identical shapes stitched together, which gives them body and hides both cut edges. Cut the pair separately, not stacked, because stacked layers shift under the blade. Start stitching at the valley beside the top tip and work away from it, so the top tip comes last. Stop 20 mm short of it, push in about 1 g of stuffing with a chopstick, slide the doubled loop in between the layers at the tip and stitch on through it. The star should still lie nearly flat; overstuffing strains the tips and turns it into a cushion.
For blanket stitch, hold the depth at 3 mm and the spacing at 4 mm and keep both constant. Uneven stitching shows more on a star than on any other shape because the eye follows it along ten straight edges. Take one stitch straight through each tip so it does not flatten. A single-layer star needs no edge finish at all: felt has no weave, so a cut edge does not fray, and a star with a punched hole and a ribbon is a finished ornament.
Needle felted stars are the other route. Lay wool on the mat, stab round the card template to score the outline, lift it and work inward, folding fibre back at the edges and firming each tip with a 40 gauge needle. The edge is softer and slightly furred, which suits a rustic undyed set, and it takes fifteen to twenty minutes a star against two minutes to cut one. Starting from prefelt roughly halves that.
The same template logic covers the rest of the flat set. Hearts and trees fold in half and cut once. Snowflakes fold into sixths, because a compass radius steps round a circle exactly six times; keep the notches shallow, as felt will not support as much open space as paper. Gingerbread people can be traced round a real cookie cutter.
Felt animal ornaments
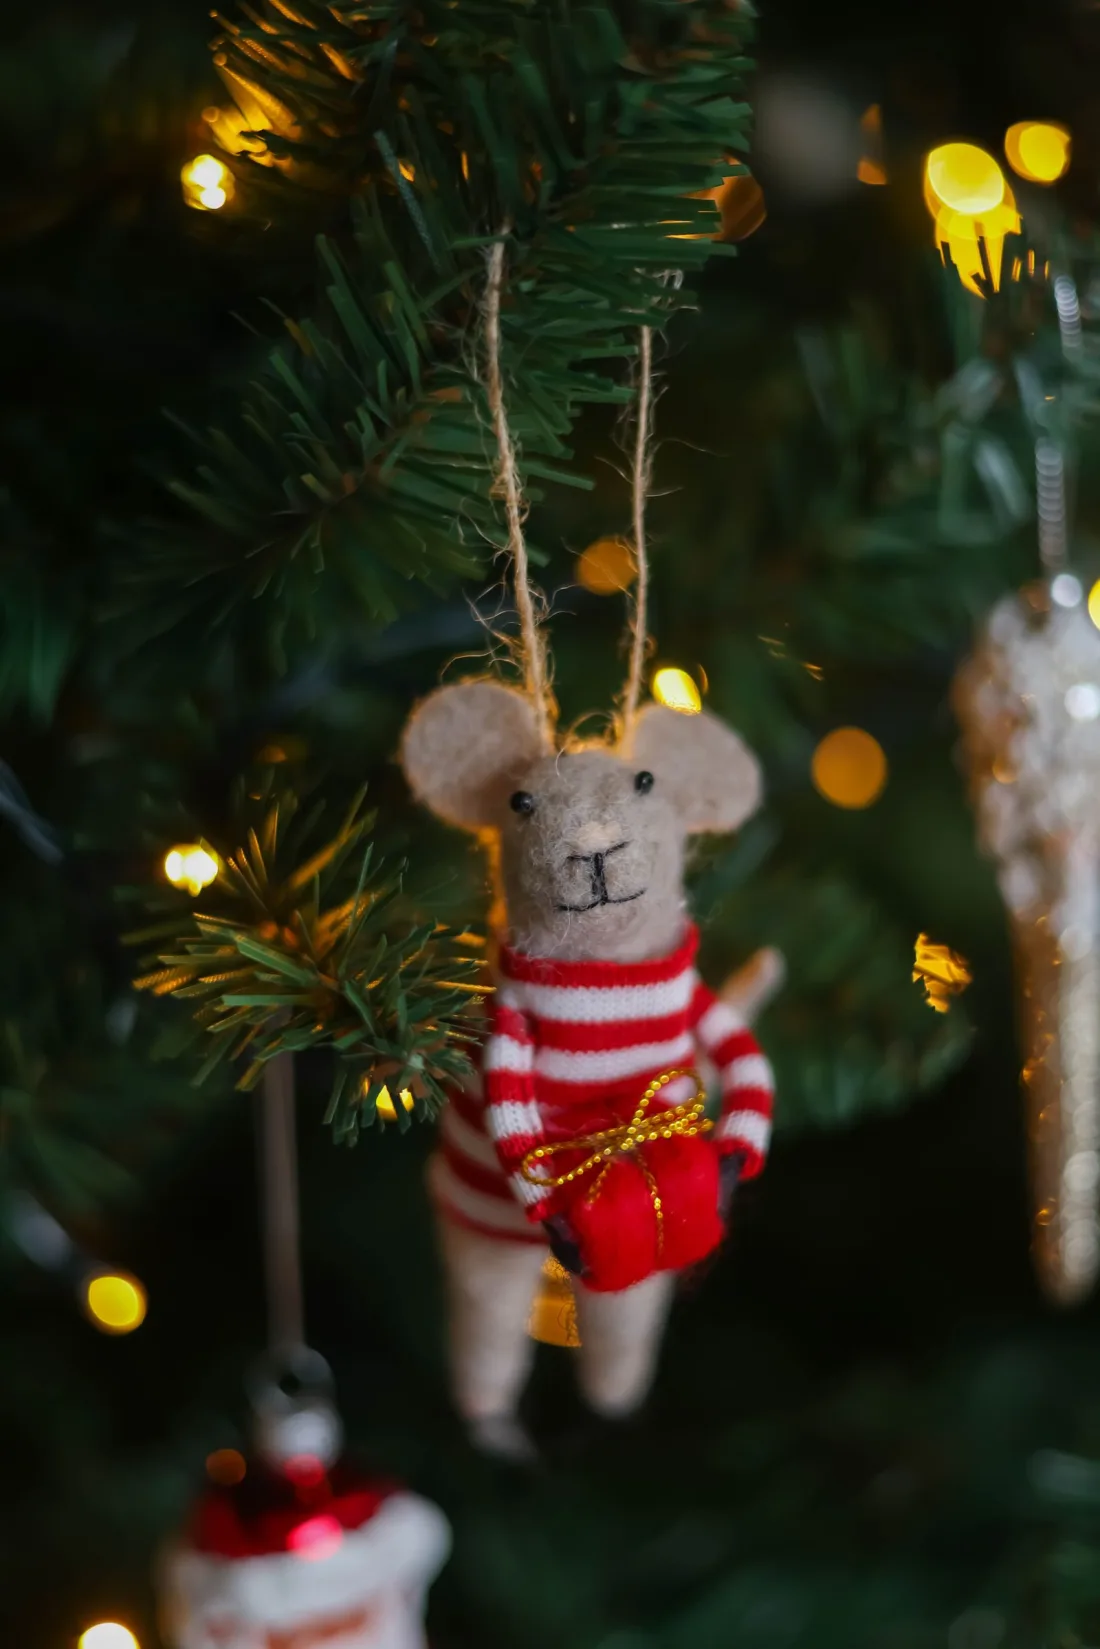
A standing felted animal is made for one viewpoint. Hang it from a cord and it turns slowly all December, showing the back of the head, the underside and every join you never finished, and it has to balance on a single point. That is the whole difference between an animal and an animal ornament. The species themselves are covered in their own tutorials; this is only what changes once the piece hangs.
Solid or flat
A solid needle felted animal is dense all the way through, so 6 to 8 cm and 15 to 25 g is a ceiling rather than a suggestion. Weight climbs with the cube: 20 g at 7 cm becomes nearly 60 g at 10 cm, and past 40 g the branch bends. Scale down rather than firm less.
The flat version is two identical outlines joined at the edge, built exactly like the two-layer star above: 3 to 6 g, a third of the time, and it hangs better because a flat piece does not spin edge-on. Use the thicker end of wool felt, or two or three layers of prefelt needled together to reach 3 to 4 mm, and decorate the faces before you close it. Twelve flat animals are about four evenings; twelve solid ones are the best part of a fortnight. The felt frog, felt turtle and felt horse pages each include a flat pattern ready to cut.
Finding the balance point
Almost every animal is head-heavy, so the loop does not go in the middle of the back.
- Push a fine pin into the back about a third of the way from the head and lift the animal by it.
- If the nose dips, the pin is too far back; if the tail dips, too far forward.
- Move it 3 or 4 mm at a time until the animal hangs the way you want, and leave the pin in to mark the spot.
Level is not always the goal: a bird looks right with the beak slightly up, a mouse with the nose a fraction down. Test for the pose, not for a spirit level. Then anchor into the core, not the coat. An animal carries two or three millimetres of soft surface wool, and a loop anchored in it pulls a patch away in the second season. Splay the two cord ends 15 to 20 mm apart across the balance point and needle each one hard into the core before the last surface layer goes on. If the animal has a wire armature, bend a small closed eye into the wire at the balance point before covering it; it is the one anchor that cannot be added later.
Finish the back, simplify the front
Work the piece in your hand rather than face-down on the mat, turning it every twenty or thirty stabs; resting it on foam is what flattens the back. Blend joins with a thin veil of surface wool and a 40 gauge needle so the ring where a head meets a body disappears under a lamp.
On a lit tree seen from two metres, the ornament is a silhouette with two or three blocks of colour. Outline, ear and tail shape, a strong contrast such as a robin's breast or a fox's white bib, and a dark eye set in a shallow socket all survive that distance. Toes, whiskers, nostrils and fur direction do not; they add weight and time and they break. If a piece reads as a brown lump, it needs a pale bib or face patch, not more modelling.
Which animals hang well
Compact animals with the mass near the centre need almost no adaptation: mice, owls (the best first animal ornament, essentially a decorated cone), curled hedgehogs, sitting bears and cats, curled foxes, penguins, and bunnies with the ears swept back. Birds suit the job best of all: a robin is a 6 cm brown egg with a small head blended in, a large orange-red breast panel and a flat tail set up at 20 or 30 degrees, around 15 g. A tail felted downwards makes a bird look dead rather than perched.
Long-legged animals are the hard ones: a horse or deer on a cord swings into things and the legs bend. Build the legs over 0.8 to 1 mm floral wire with every end bent back into a hook, make it lying down, or make a head only. A stag head with antlers is a strong silhouette at a fraction of the weight. In storage, give each animal its own compartment in a rigid divided box, and never hang them by their loops for eleven months.
Names, initials and years
A personalised ornament is the one that gets kept, and the trick is cutting letters rather than felting them. A cut letter needs no hem and no backing, which is what makes felt sheet the right material for lettering.
- Print the name at size: 25 to 30 mm for an initial, 12 to 15 mm for a full name across a 70 mm shape.
- Reverse the paper, pin it to the back of the felt and cut round it, hiding the pencil line.
- Stitch each letter down with a single strand and small stab stitches, or back stitch through the middle of thin letters.
- A year sits along the bottom of a star or across a stocking cuff, four digits at 15 mm.
Do not needle felt lettering below about 40 mm. Wool spreads as you stab it and a lower-case "e" fills in within a minute. A few seed beads round a name read better at that scale and weigh nothing.
Hanging loops: do it properly
A loop that pulls out on Boxing Day is the standard failure. Three methods hold.
- Felted-in loop: lay the two loose ends of a doubled cord across the top of the ornament and felt a wisp of wool over them. The wool traps the thread, and it is stronger than it looks.
- Sewn through: for a piece that is already finished. Start underneath, with a long doll needle and strong thread: up through the body and out at the top, leave a loop of the length you want, back down through the body a few millimetres from where you came up, and knot the two tails together against the underside. Both ends finish where they started, which is the only place a knot is out of sight. Best for heavier pieces.
- Caught in the seam: on a stitched ornament, trap a folded ribbon loop between the layers at the top before you blanket stitch past it, so the seam holds it rather than two stitches.
Never glue a loop on. Wool is fibrous, and when the glue fails it takes a patch of surface with it.
Common problems
- The bauble is not round. Keep rotating it as you stab; never finish one face before starting another.
- The branch droops. Too dense for its position. Move it inboard and make the next one 10 mm smaller, not softer.
- The blanket stitch gapes. Stitches too far apart, or too shallow to hold the two layers together — hold 3 mm deep and 4 mm apart all the way round.
- An animal hangs nose-down. The loop is too far back. Run the pin test again and set it 5 to 10 mm forward.
- One star point looks longer. Usually its valleys are shallower. Fold the template through that tip and correct the card, not the felt.
- The set looks random. Too many colours. Remake anything outside your three rather than trying to make it belong.
Making them last
Store ornaments in a box with tissue rather than compressed in a bag — felt takes a permanent crease under pressure. A sealed box with a cedar block, checked once a year, is enough; see protecting wool from moths if you have had an infestation.
Under-felted surfaces pill and every surface fluffs eventually. Work the outer layer with a 40 gauge needle until it stops taking fibre, and give each piece a pass as it comes out of the box.
If you are selling them
Felted ornaments sell well at Christmas markets, and the numbers work only if you batch: twelve bodies, then twelve sets of detail, rather than one whole ornament at a time. Batching roughly halves the time per piece. Cut and stitched pieces batch better and take personalisation, which is where the margin is.
The same shapes carry the rest of the year: a felted heart in February, felted eggs in spring, pumpkins in October. For the figure under the tree rather than on it, see needle felted Santa. Starting from nothing, make three plain baubles, then a felted angel or a gnome for the treetop.
Frequently asked questions
What felt is best for Christmas ornaments?
Wool or wool-blend felt around 1 mm thick. Pure wool cuts without fraying, holds a stitched edge and survives storage; acrylic craft felt is cheaper but pills and goes shiny within a season, which shows on something brought out year after year.
How much felt do you need to make felt ornaments?
A 9 x 12 in sheet gives roughly six to eight ornament pairs at 70 mm across. Buy one sheet per main colour plus a spare sheet for the backs, which can all be one colour. A needle felted bauble is different — about 14 g of wool for a 50 mm ball.
How long does a felted Christmas ornament take to make?
Twenty to forty minutes each for a needle felted bauble, pudding or star once the technique is familiar, and ten to twenty for one cut from felt sheet and stitched. A coordinated set of twelve is around eight hours, which is a few evenings rather than a project.
What is the easiest felted Christmas ornament for a beginner?
A plain bauble, which is a firm felted ball with a hanging loop. Spots and stripes are the same ball with wisps of contrast wool felted onto the surface, so an entire beginner set is one technique repeated in different colours.
How do you attach a hanging loop so it does not pull out?
Lay the two loose ends of a doubled cord across the top of the ornament and felt a wisp of wool over them, so the wool traps the thread. Never glue a loop on: when the glue fails it takes a patch of the surface with it.
How do you draw an even five-pointed star for felt ornaments?
Construct it rather than drawing freehand. On a 35 mm radius circle, set a compass to 41 mm and step it round five times to get five evenly spaced tips, then join every second mark. The valleys land about 13 mm from the centre, which is the proportion that makes a star look right.
Where should the hanging loop go on a felted animal ornament?
At its balance point, which is almost never the middle of the back because animals are head-heavy. Push a pin in about a third of the way back from the head, lift the animal by it, and move the pin a few millimetres at a time until it hangs the way you want. Anchor the loop there, into the firm core rather than the soft surface.
How should felted ornaments be stored?
In a box with tissue rather than compressed into a bag, because felt takes a permanent crease under pressure. Add a cedar block against moths and look through the box once a year.
Topics
Image credits
- Handmade felt Christmas ornaments — toadstool ring (BY)
- Sheets of wool felt in several colours stacked together — Andiec (BY SA 3.0)
- A needle felted Christmas pudding decoration — ptc24 (BY)
- A flat felt star decoration — CarbonNYC [in SF!] (BY)
- A needle felted mouse ornament in a striped jumper hanging on a Christmas tree — Valeria Boltneva (Pexels License)