Needle Felted Owl: One Shape, Every Species
4 min read Beginner
We may earn a commission from links on this page, at no extra cost to you. As an Amazon Associate I earn from qualifying purchases. Learn more.
An owl is a rounded cone with a face on the front. Why that makes it the easiest bird to felt, and how the facial disc turns a lump into a barn owl.
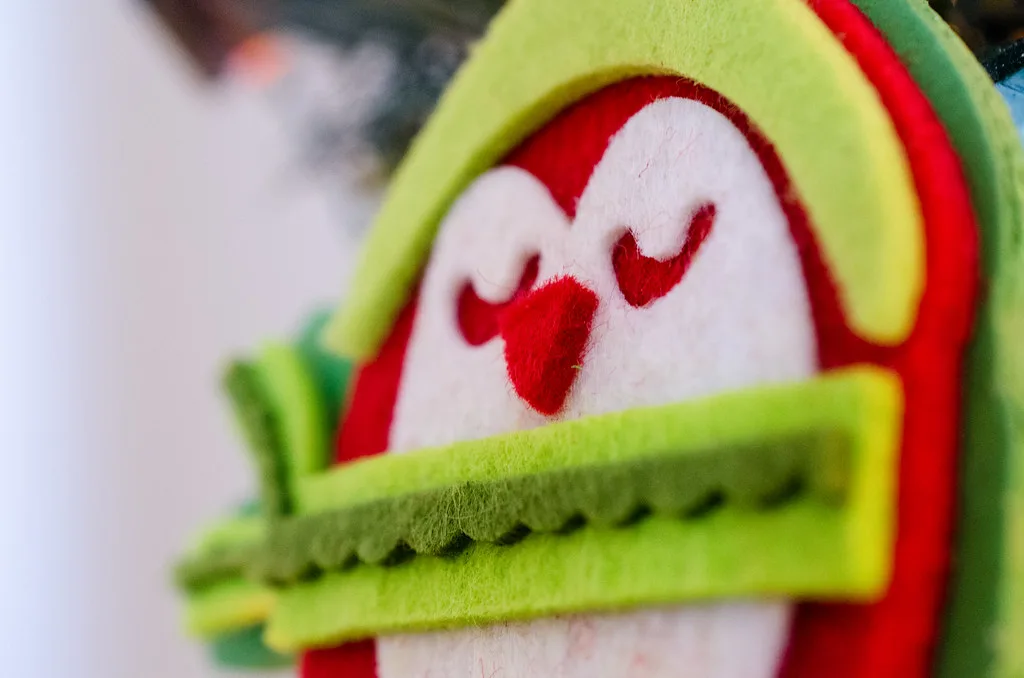
Owls are the easiest recognisable bird to needle felt, because an owl is essentially one shape. There is no visible neck, the head and body run together in a single cone, and the wings lie flat against the sides. Everything that makes it an owl happens on the front of the face.
What you need
- Core wool — 15–20 g
- Brown, buff, cream and white corriedale
- Scraps of black, grey and orange or yellow
- 38 and 40 gauge needles, foam pad
- Optional: 6 mm amber or black glass eyes
Step by step
- Body. Roll core wool into a firm egg about 7 cm tall, widest towards the bottom. Flatten the base so it stands.
- Head. Do not make a separate head. Instead, needle a shallow waist about two-thirds of the way up by working a groove all the way round — just enough to suggest shoulders. Round the top.
- Flatten the face. Needle straight into the front of the upper third until it becomes a flat plane. Owls face forwards; this is what makes them look at you.
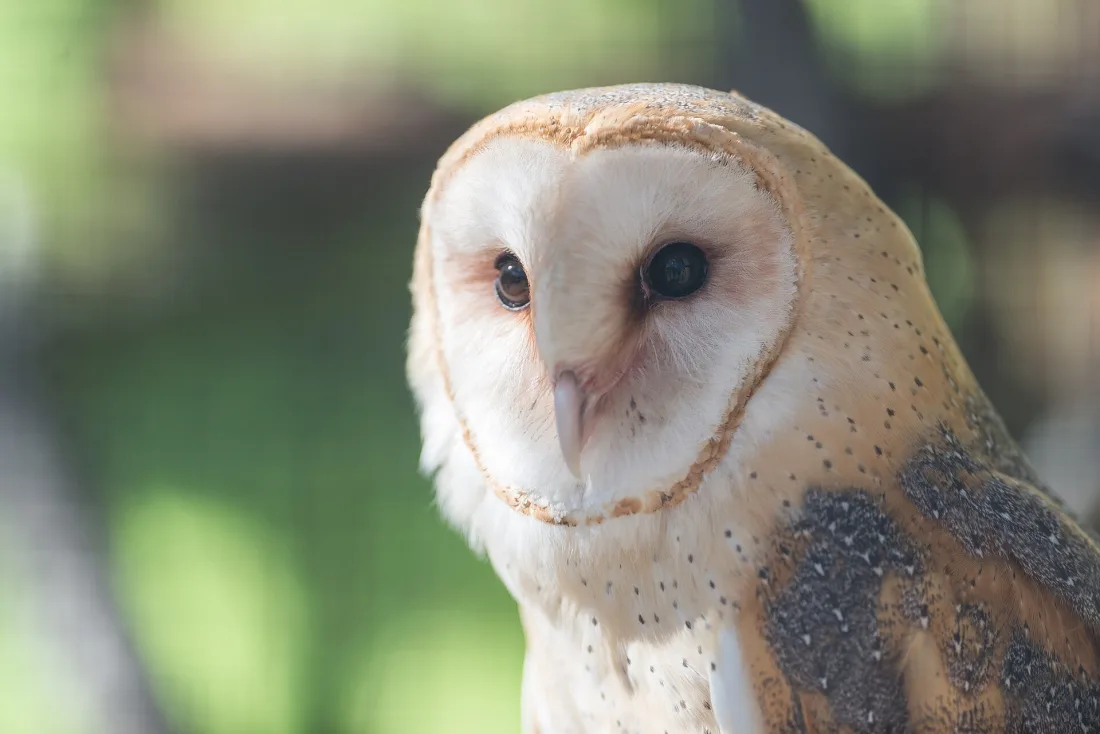
- The facial disc. Needle a shallow dish into that flat plane — a circle, or a heart for a barn owl — sinking it a couple of millimetres below the surrounding surface. Then lay a thin ring of a contrasting pale wool around its outer edge and needle it in as a rim.
- Eye sockets. Two dents inside the disc, set close together and low, either side of where the beak will go.
- Beak. A very small triangle of grey or yellow wool, point downwards, sitting between and slightly below the eyes. Owl beaks are mostly hidden — keep it tiny.
- Eyes. Large. Owls' eyes are enormous relative to the head and that is most of the charm. Either glass eyes pushed into the sockets, or a felted disc of amber with a black pupil and a white highlight speck. See needle felting eyes.
- Wings. Two flat leaf shapes made on the mat, attached at the shoulder and needled down along the top edge only, so the lower edge lifts slightly away from the body.
- Feet. Two small buff shapes at the base with three toes each, or leave them off entirely.
- Ear tufts, if you want a tawny or long-eared owl: two small pointed pieces attached at the top corners of the head. Barn owls and snowy owls have none.
Feather markings
This is where the time goes, and where a plain owl becomes a good one.
- Speckles. Pull tiny wisps of a contrasting colour, roll each between damp fingertips into a short line, and needle it on with two or three strokes. Rows of these, each row overlapping the one below, read as feathers.
- Chest barring. Short horizontal dashes in a darker shade across the pale breast, denser at the sides.
- Wing edges. A line of small pale marks along the lower edge of each wing.
- Work top to bottom, so each row of marks overlaps the previous one the way real feathers do.
Keep the needle shallow throughout. Straight-in strokes pull the base colour up through the markings.
Species variations
- Barn owl. White heart-shaped face with a fine buff outline, dark eyes, golden-buff back flecked with grey and white, pure white underside. The most striking and the most popular.
- Snowy owl. All white with sparse black bars, bright yellow eyes, no ear tufts, and a noticeably rounder, heavier body.
- Tawny owl. Warm brown, mottled, dark eyes, round face, no tufts.
- Little owl. Small, squat, grey-brown, heavily spotted white, with a low flat brow that gives it a cross expression.
- Long-eared owl. Slim body, orange eyes, and two tall ear tufts set close together.
Common problems
- It looks like a penguin. The facial disc is not sunk enough, or the face is not flat. Both are fixed by needling straight into the front.
- The eyes look wrong. Almost always too small or too far apart. Owl eyes nearly touch the beak.
- It topples. Widen and flatten the base, or add a small weight — a few glass beads pushed into the core before it is fully firm.
- The markings are muddy. Too much wool per speckle. Use amounts that look absurdly small in your fingers.
Turning them into things
- Ornaments. A thread loop needled into the top of the head before the final veils — see felted Christmas ornaments.
- A family of three in graded sizes on a branch.
- Autumn displays with felted mushrooms and felted pumpkins.
- Brooches, using a flat-backed owl made face-only.
The owl teaches the facial disc, flat wings and speckled markings, all of which transfer to other birds — most directly to a needle felted penguin, which reuses the same upright egg-shaped body and swaps the disc for a hard two-tone front. If it is your first sculpture, a bunny is slightly simpler; if you want the next step up, try a fox.
Frequently asked questions
How do you needle felt an owl?
Felt a firm rounded cone for the body, flatten the front into a face, needle a shallow heart or circle for the facial disc, add a small beak between the eyes and two wings at the sides. No head join and no armature are needed.
What makes a felted owl look like an owl?
The facial disc — the flat, dish-shaped area around the eyes and beak. Owls have it and almost nothing else does. Sink it slightly below the surrounding surface and the shape reads as an owl immediately.
How do you make a barn owl?
A white heart-shaped facial disc outlined in a thin buff line, dark eyes rather than orange, and a golden-buff back speckled with grey and white. The heart-shaped face is the identifying feature.
How long does a needle felted owl take?
About an hour to ninety minutes for a 7 cm owl, and most of that is the feather detail on the back, which you can do as much or as little of as you like.
Topics
Image credits
- A felted owl ornament — m01229 (BY)
- A barn owl showing the heart-shaped facial disc — Eric Kilby from Somerville, MA, USA (BY SA 2.0)