Needle Felted Easter Eggs: Wrapped, Sculpted and Decorated
4 min read Beginner
We may earn a commission from links on this page, at no extra cost to you. As an Amazon Associate I earn from qualifying purchases. Learn more.
A wooden egg wrapped in wool takes ten minutes; a solid felted one takes forty. Both methods, plus the decoration that stops them looking like coloured lumps.
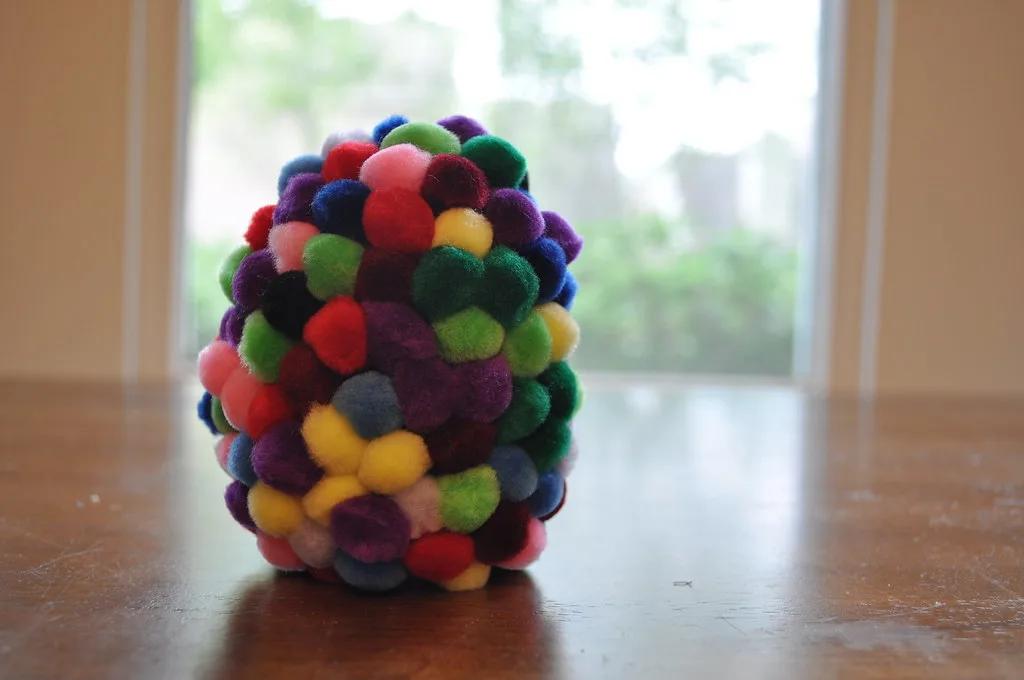
Felting Easter eggs is the ideal seasonal project: a shape with no anatomy to get wrong, a surface that invites decoration, and a size that means a whole bowlful is an afternoon's work rather than a fortnight's.
Method one: wrapping a core
Fastest, and the shape comes out perfect because it was already perfect.
- Wooden eggs give weight and a lovely solidity. Needles will not go in, so all the felting happens in the wool layer.
- Polystyrene eggs are light and cheap and the needle can penetrate — which is a mixed blessing.
- Plastic eggs that open are the trick for a hidden compartment.
- Wrap. Pull a long thin veil of wool and wind it around the egg, changing direction each pass so the fibres cross. Two thin layers, not one thick one.
- Tack it down. Needle at a shallow angle, almost parallel to the surface, working all over. The wool grips itself, not the core.
- Close the ends. The tips are where wrapping goes wrong. Add small extra wisps over each end and needle them in radially.
- Even it out. Keep turning; any patch you look at for too long ends up denser than the rest.
On polystyrene, keep the needle shallow. Straight-in strokes hit the foam, break needles and grind the core into beads that then work their way out through the wool.
Method two: a solid felted egg
Nothing inside, entirely wool, and squeezable.
- Roll core wool into a tight ball and needle it firm — the same start as a felted ball.
- Work one end narrower by needling more heavily there, rotating constantly. An egg is a ball with one end taken in, not a cone.
- Roll it between your palms every minute or so and look at the silhouette against a plain background. Eggs go wrong subtly, and the outline shows it before your hands do.
- Firm it fully, then cover in two or three thin veils of the surface colour.
Decoration that reads well
The difference between a felted egg and a coloured lump is the surface pattern, and small eggs need bolder patterns than you expect.
- Stripes. Pull a very thin strand of wool, lay it around the egg, and tack it down with a 40 gauge needle every few millimetres. Thin strands, firm tacking.
- Spots. Small pinches rolled between wet fingertips into pellets, then needled on. Wetting the fingers is what stops them fluffing out.
- Flowers and leaves. Five tiny petal shapes around a centre. Or make them separately as flat pieces and attach — see needle felted flowers.
- Marbling. Lay two or three colours on together and needle them in without blending, so they streak.
- Embroidery. Felt takes a needle and thread beautifully. French knots and simple running stitch add detail no amount of felting will. See sewing beads on felt.
Turning them into something
- Hanging ornaments. Needle a folded loop of embroidery thread into the narrow end before the last surface veil, then cover its base with wool. On a wooden core, glue the loop into a drilled hole instead.
- An egg garland. Six to ten eggs in graded colours, threaded on twine.
- A bowl of eggs. The easiest and best display. Make them in one colour family in three sizes.
- Nest and eggs. Three small eggs in a nest of wool locks and loose fibre, lightly needled into a ring.
- With a rabbit. A basket, a felted bunny and three eggs makes the whole Easter set.
The wet felted version
For children, or for a softer finish: wrap the wool around a core exactly as above, then dip in hot soapy water and roll gently between your palms, increasing pressure as it firms. It takes about ten minutes per egg and produces a smoother, denser surface than needling. The mechanics are the same as making felt balls, and the general method is in wet felting for beginners.
Felt Easter eggs from sheet felt
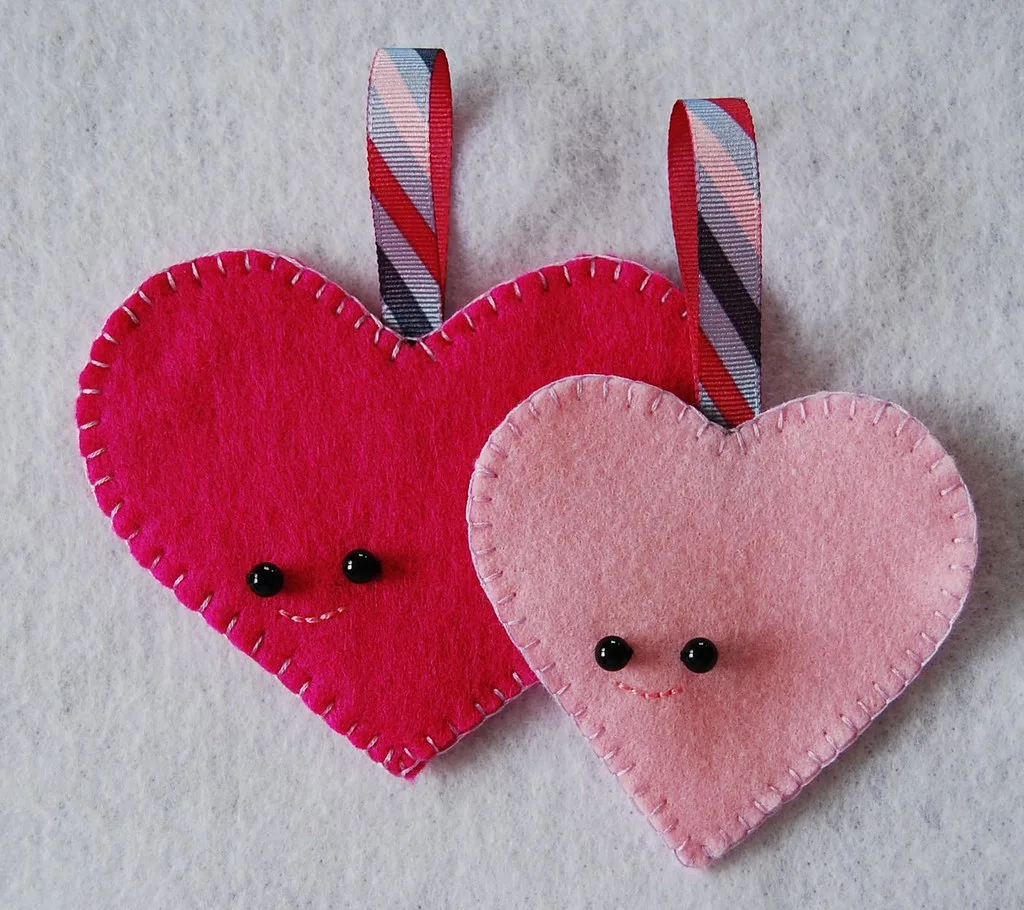
The quickest version needs no felting at all: two egg shapes cut from wool felt and stitched together, the same construction as a felt ornament. It is the one to choose for a class of children or a dozen eggs in an evening.
- Draw an egg 3 in (7.5 cm) tall on card: fold the card and cut half an egg against the fold so both sides match.
- Cut two pieces per egg from 1 mm wool or wool-blend felt.
- Decorate the front piece first while it is flat: bands of contrasting felt, running stitch, seed beads or a needle felted pattern.
- Blanket stitch the two pieces together, leaving a gap at the side, stuff lightly with wool scraps and close it. A ribbon loop at the top turns it into a hanging decoration for an Easter tree.
Cutting, stitching and templates are covered in more depth in felt ornaments; only the shape changes.
Storing them
Eggs are a staple of seasonal project kits too, wool weighed out per egg — Felted Sky kits explains what comes in one and what to buy once it is empty.
Wool eggs are a moth's idea of a good year. Put them away clean, in a sealed box rather than a cardboard one, ideally with cedar. See protecting wool from moths — seasonal decorations spend eleven months in storage, which is exactly when the damage happens.
Frequently asked questions
How do you needle felt an Easter egg?
Either wrap wool around a wooden or polystyrene egg and needle it down until it grips, or roll core wool into an egg shape and felt it solid. Wrapping is faster and gives a perfect shape; solid felting gives something squeezable with no core inside.
Can you needle felt onto a polystyrene egg?
Yes, and it is the usual shortcut. Use a long 38 gauge needle at a shallow angle so it travels through the wool rather than into the foam — needles snap easily in polystyrene, and stabbing straight in chews the core to crumbs.
How long does a felted Easter egg take?
Ten to fifteen minutes over a bought core, or around forty minutes for a solid felted egg. Decoration adds another ten to twenty depending on how fine the pattern is.
Are felted eggs safe for children to make?
Felting needles are extremely sharp and barbed, so under-tens should not use them unsupervised. Wet felted eggs, rolled between soapy palms around a core, are the safer version of the same project.