Needle Felted Hedgehog: Spikes That Actually Look Like Spikes
4 min read Beginner
We may earn a commission from links on this page, at no extra cost to you. As an Amazon Associate I earn from qualifying purchases. Learn more.
The body takes twenty minutes. The spines take the rest, and there are four ways to make them — only two of which look right.
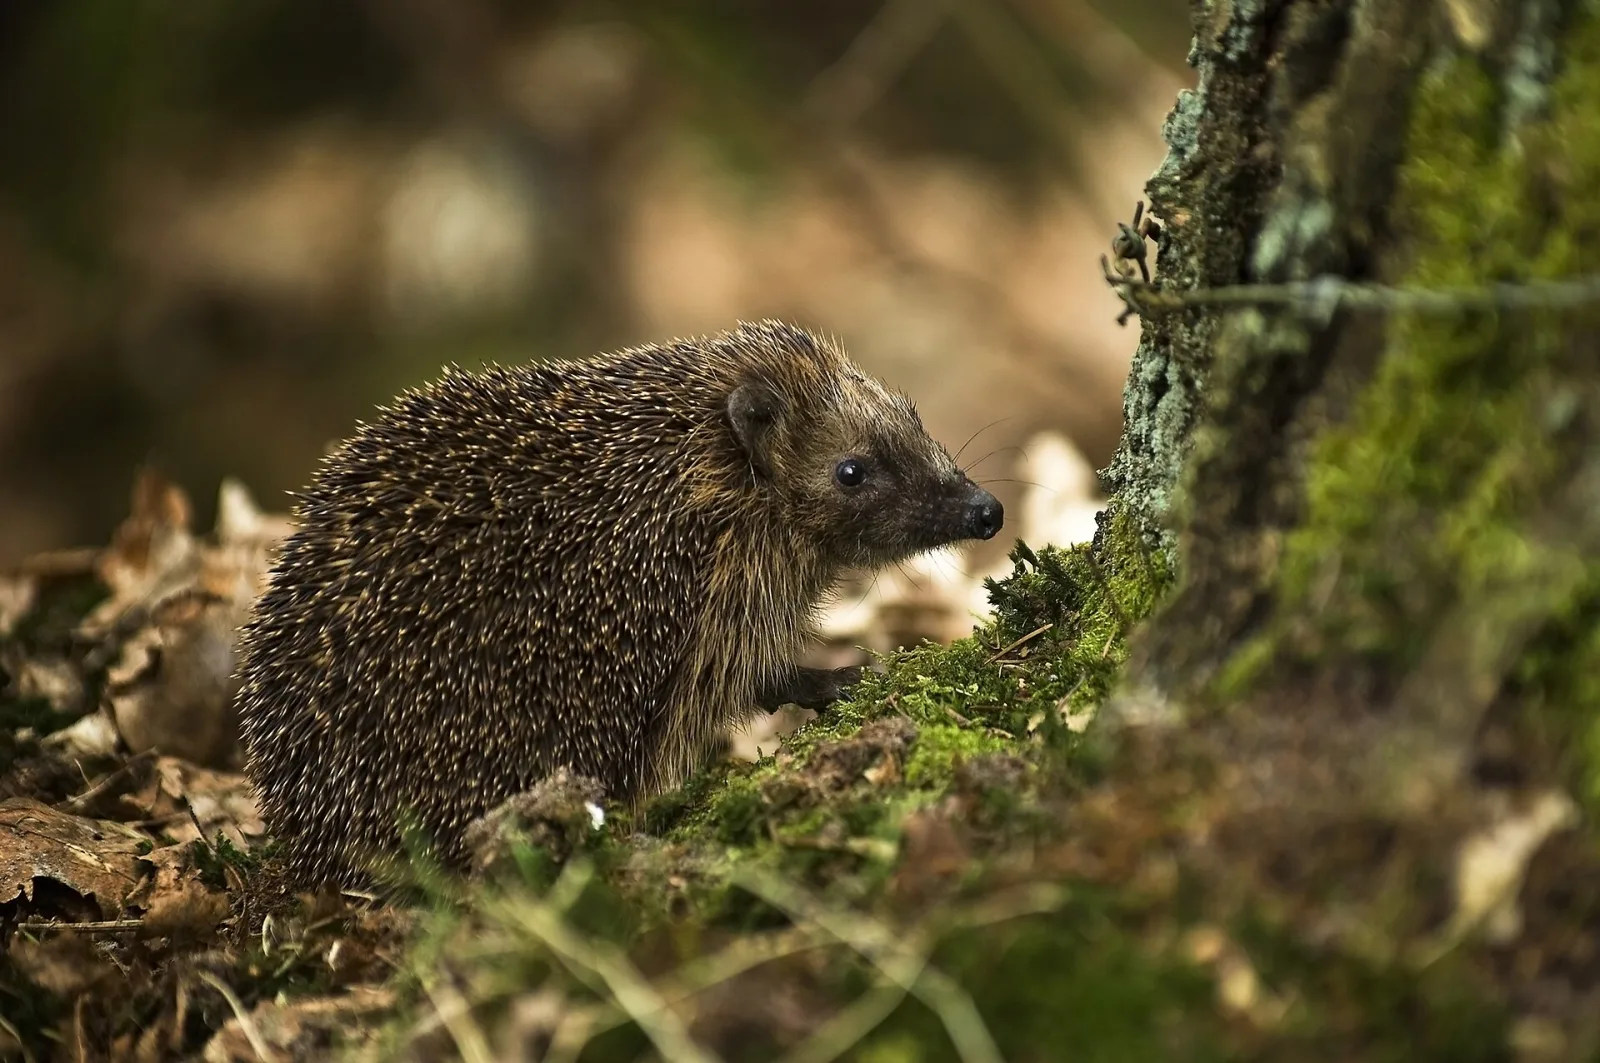
Hedgehogs are among the most-made needle felting projects, and most of them look like brown eggs. The body is trivially easy — a teardrop with a pointed face — and every bit of the difficulty is in making a surface that reads as spines rather than as fur.
What you need
- Core wool — 15 g
- Cream or pale fawn for the face and belly
- Dark brown, grey and black for the spines
- 38 and 40 gauge needles, and ideally a reverse-barb needle
- Scraps of black for the nose and eyes; small glass eyes if preferred
The body
- Roll a teardrop. Core wool wound tightly, needled into a shape that is broad and domed at one end and tapers to a blunt point at the other. Flatten the underside so it sits.
- Firm it hard. The spine layer goes on top, and a soft core will let the surface distort.
- Build the face. Add cream wool over the pointed third and needle it into a small cone that projects forward and slightly down. Hedgehog faces are surprisingly long and narrow, and they sit below the line of the spiny cap.
- Define the boundary. Needle a shallow groove where the pale face meets the dark back, running from behind the nose, over the brow and down each cheek. That line is what makes the spines look like a separate coat.
- Nose. A tiny black ball at the very tip, slightly upturned.
- Eyes. Small, dark and set low on the sides of the face, roughly halfway along it. Hedgehog eyes are small — resist making them cute-large.
- Ears. Two very small rounded flaps, mostly buried at the edge of the spines. Often barely visible.
- Feet. Four small pale paws just showing under the body, if you want them.
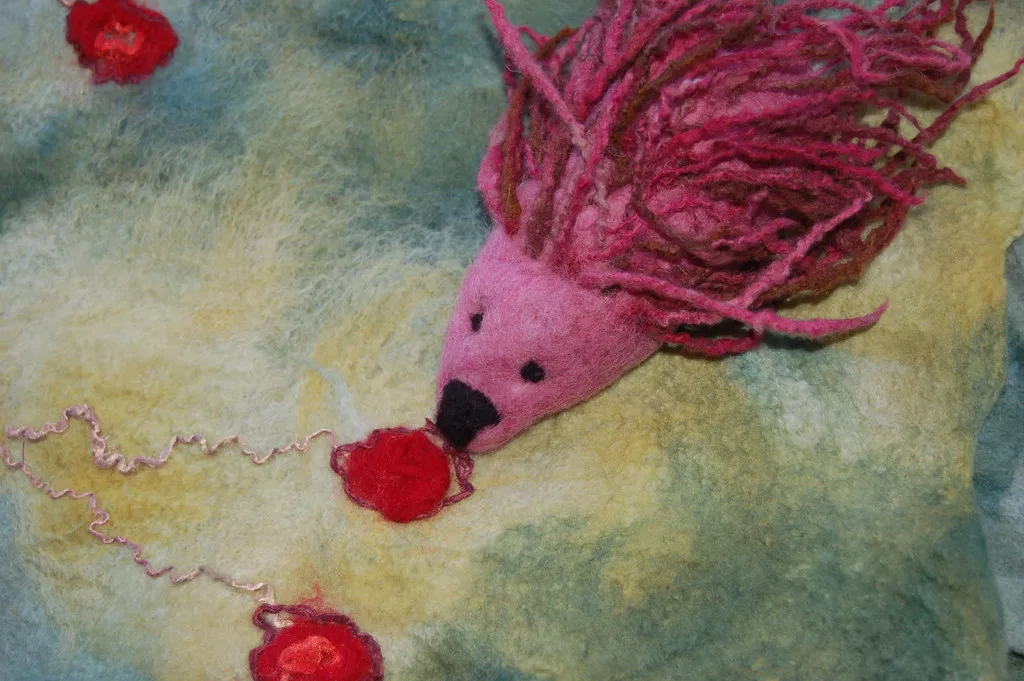
Four ways to make spines
1. Reverse needling — the best method
A reverse-barb needle has its barbs facing the other way, so it drags fibre out of the surface instead of pushing it in.
- Cover the back in two thin veils of dark brown, needled down normally.
- Add a thin scattering of black and grey on top, needled lightly.
- Go over the whole back with the reverse needle, stabbing shallowly and repeatedly. Fibres lift out in tufts.
- Work in the direction the spines lie — backwards, from the head towards the rump.
- Trim the raised fibre to an even length with sharp scissors.
The mixed dark colours are important. Real spines are banded cream and brown, and a single flat colour never looks right. More on the technique in needle felting fur.
2. Wool locks
Short, straight, coarse locks attached by one end in overlapping rows from the tail forwards. Slower, and it gives longer, softer spines — good for a stylised hedgehog. See wool locks.
3. Cut yarn
Lengths of coarse wool yarn, folded in half, needled in at the fold in dense rows, then unravelled and brushed out. Cheap and quick, and it looks good if the yarn is a heathered brown rather than a flat colour.
4. Loose fibre, needled in the middle
Lay short lengths of fibre across the back and needle only the centre of each so both ends stand free. Then trim. This is the no-extra-tools method and it works, but it is fiddly and the coverage is hard to keep even.
Common problems
- It looks like a brown egg. The face is too short and there is no groove between face and spines.
- The spines look like fur. Too fine, too even, too much the same colour. Mix three dark shades and trim the tips.
- The face is too big. Hedgehog faces are small and narrow; the body is nearly all spiny cap.
- Bald patches. Reverse needling exhausts a thin surface layer. Add more wool and go again rather than working the same spot harder.
Variations
- Curled up. A ball with a small nose just emerging. Extremely quick and quite charming.
- Baby hoglets. Pale cream spines, tiny bodies, made in threes.
- Autumn scene. A hedgehog with felted mushrooms and a few leaves.
- Pincushion. Firm the body hard, and the spiny back genuinely works as a pin store.
- Ornament. Add a hanging loop before the final surface layer.
The hedgehog is the best project for learning reverse needling, which then transfers to every furry animal you make afterwards — including cats and dogs.
Frequently asked questions
How do you needle felt hedgehog spikes?
The most convincing method is a reverse-barb needle, which pulls fibres back out of the surface instead of pushing them in. Work a dark grey-brown top layer, then go over it with the reverse needle until the whole back is raised and shaggy.
What shape is a hedgehog body?
A teardrop seen from above: broad and rounded at the rear, narrowing to a point at the nose, with a flat underside. The face is a small pale cone that emerges from beneath the spiny cap.
Can you make a hedgehog without special needles?
Yes. Attach short lengths of wool locks or cut yarn by one end in overlapping rows, or lay loose fibre so only the middle is needled down and both ends stand free. Both take longer than reverse needling but need no extra tools.
How long does a needle felted hedgehog take?
About an hour: twenty minutes for the body and face, and forty for the spines. The spines are the whole project.