Felted Penguin: Needle Felting a Clean Black and White Edge, Six Species and an Ornament
7 min read Beginner
We may earn a commission from links on this page, at no extra cost to you. As an Amazon Associate I earn from qualifying purchases. Learn more.
A felted penguin is two colours and one line between them. How to keep that line sharp instead of grey, what changes between an emperor, a gentoo and a little blue, and a felt penguin ornament for the tree.
Before you start, put the black wool and the white wool at opposite ends of the table, and do all the black work first, so your hands are clean when you reach the white. Black fibre travels, and on a penguin there is nowhere for it to hide.
A felted penguin is two colours with one line between them, and that line is the whole project. It has to be a sharp edge, not a gradual fade. The white front goes on last, as a separate panel over a finished black body, and its outline is cut in deliberately with the needle tip. The build itself is easy. It is a good second or third animal, and the most popular one to make as a Christmas ornament.
Choose the species first
"Penguin" usually means a generic black and white bird, but real species differ enough that choosing one makes a better piece. The white panel technique is the same for all of them; what changes is its shape, plus one or two coloured details.
| Species | Shape | What identifies it |
|---|---|---|
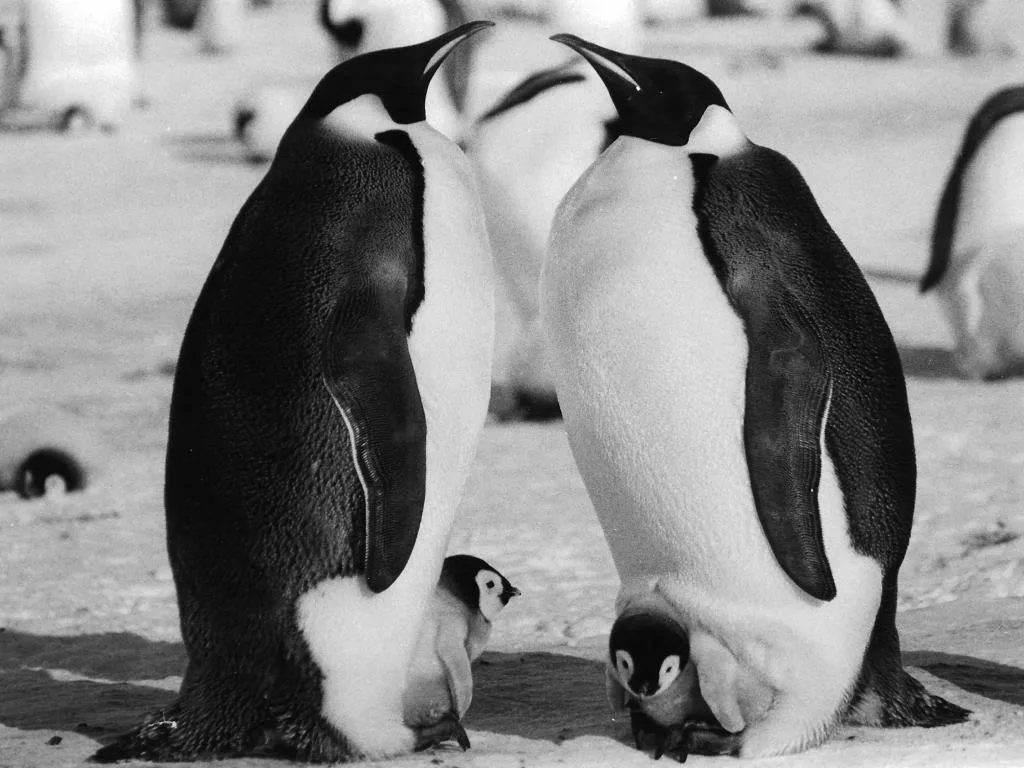
| Emperor | Tall and heavy, small head | Soft yellow-orange patch on each side of the neck, fading into the white |
| King | Tall, slimmer than an emperor | Bright orange ear patches shaped like commas, and an orange throat |
| Gentoo | Medium, rounded | Bright orange beak and feet, and a white band over the top of the head from eye to eye |
| Adélie | Small and neat | All-black head and a white ring round each eye |
| African | Small | A thin black band across the white chest, and black speckles |
| Little blue (fairy) | The smallest | Slate blue-grey instead of black, with a white front |
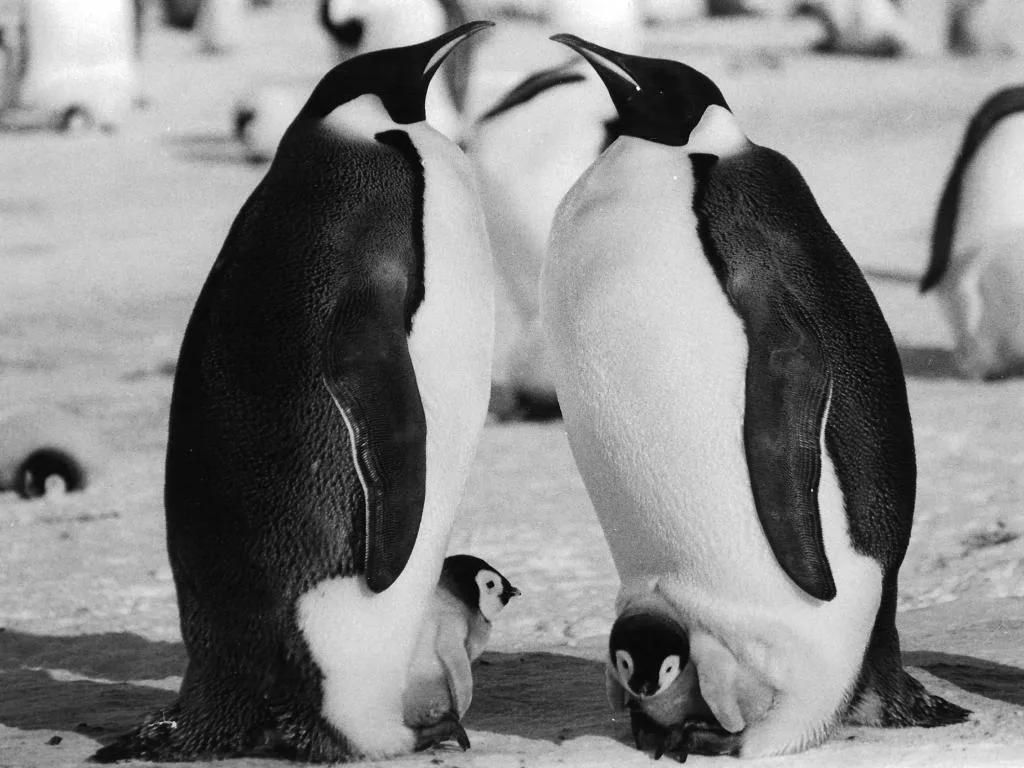
Whatever the species, keep the posture: a straight back from head to tail with no curve, the belly forward of that line, no visible neck, and flippers held against the sides.
Needle felting a penguin
Materials for a 9 cm penguin
- Core wool: 20–25 g
- Black corriedale: about 8 g
- White: about 5 g, kept away from the black
- Orange-yellow for the beak and feet, and a little pale grey
- 38 gauge for shaping, 40 gauge for the surface and the edge
Steps
- Core. Needle core wool into an upright egg about 9 cm tall, wider at the belly than at the shoulders. From the front a penguin is pear-shaped; from the side its back is almost straight.
- Base. Stand it on the mat and needle the underside flat, then tilt it very slightly forward. A penguin that leans back looks as if it is about to fall over.
- Firm it. Work the core until it hardly gives under your thumb. A soft core pulls the white panel's edge out of shape later.
- Head. Do not make a separate ball. Needle a slight waist about two-thirds of the way up and round off the top into a small head sitting straight on the shoulders.
- Tail wedge. A short flat triangle at the base of the back, pointing down and out. It stops the body rocking.
- Black. Two or three thin veils of black over the whole body, head and tail, until no core shows. Finish the black completely before touching the white.
- Flippers. Two flat, narrow paddles about 4 cm long, made on the mat, wider at the shoulder and rounded at the tip. Needle each one against the side along its upper length, leaving only the bottom third free.
- White front. See the next section.
- Beak, feet and eyes. A small cone for the beak, placed low and pointing slightly down. Two flat webbed feet sticking forward from the base. Eyes small, dark and close to the beak (needle felting eyes). On black wool they are easy to lose, so rim them in grey.
The white front, and a line that stays sharp
The panel runs from just under the beak to the base, narrow at the throat and wide across the belly. Its exact shape depends on the species; its edge matters on all of them.
Lay it thin. Pull a wide, see-through veil of white off the top of the wool rather than a thick rope. A thick clump makes you stab hard, and hard stabbing drives black fibre up through the white. Place the veil, hold it flat with a fingertip, tack the centre, then add a second and third veil until no black shows through. Three thin layers cover better and stay whiter than one heavy one.
Needle from the white side. Angle the needle so it goes in a few millimetres inside the edge and travels towards the middle of the panel. Each stroke pulls loose white fibre under itself, away from the black. If you needle from the black side you push black into the white and white over the black, and both go grey. Go all the way round the outline like this before firming the middle.
Cut the line in. Once the panel is attached, go along the edge with just the tip of a 40 gauge needle held almost upright, stabs close together and only 2–3 mm deep. This creases the surface and tucks the last stray fibres under. Check it in daylight. Wherever grey has crept in, pick it off, lay a scrap of fresh white slightly inside the old line and redo that section.
The emperor's and king's neck patches are the one place on a penguin where you should blend: lay a little yellow-orange over the edge of the white and let it fade in, as described in how to blend wool colours.
A felt penguin ornament
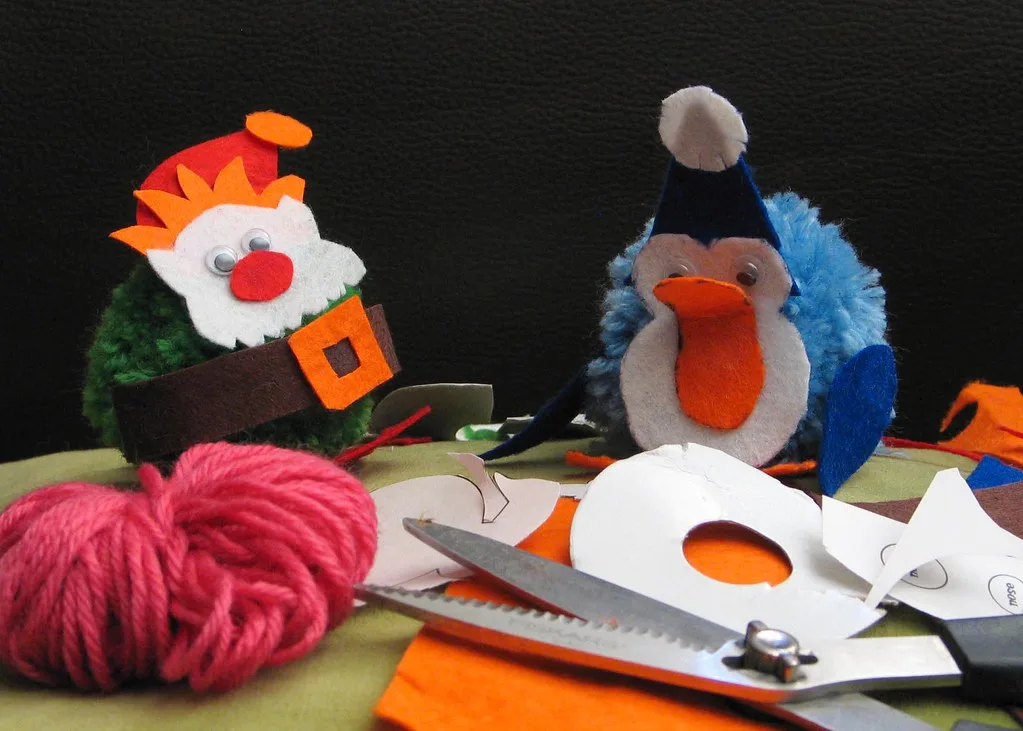
For the tree, a penguin can be made two ways.
Needle felted, small. Follow the steps above at 5 cm tall, and before the black goes on, needle the knotted end of a thread loop deep into the top of the head. Penguins are the easiest felted ornaments to make in batches, because there is no fur to raise and every one uses the same shape.
Sewn from sheet felt. The penguin in the photo at the top of this page is this kind:
- Body, cut 2 in black: a teardrop about 9 cm tall, rounded at the bottom.
- Front, cut 1 in white: a smaller teardrop about 7 cm tall that covers the belly and face, with a dip at the top for a heart-shaped face.
- Flippers, cut 2 in black; beak, cut 1 in orange; feet, cut 2 in orange.
- Stitch the white front onto one body piece with small stitches just inside its edge. Add two eyes as French knots or small beads.
- Tuck the flippers, beak and feet between the two body pieces, with only their outer ends showing.
- Blanket stitch all round, catching them in, and add a little stuffing before closing.
- Stitch a hanging loop at the top. Wrap a strip of felt or a scrap of knitting round the neck as a scarf, and add a felt hat if you like.
Wool felt about 1 mm thick keeps a crisp edge on the white. How to make a flat animal hang level is in felt animal ornaments, alongside the rest of the tree.
Common problems
| Problem | Cause | Fix |
|---|---|---|
| Grey halo round the white | Colours needled together at the edge | Remove the grey, re-lay white inside the line, needle from the white side |
| White looks dirty | Black showing through a thin panel | Add another veil; do not work the existing one harder |
| Will not stand | Round base, or leaning back | Needle the base flat, tilt forward, add a tail wedge |
| Looks like an ordinary bird | Flippers out, neck too long | Needle the flippers flat; remove the neck |
| Wobbly edge | Outline done freehand | Mark the line with light needle pricks first, then follow it |
Variations
- Grey chick. Soft mid-grey all over with a dark face and white patches round the eyes. Needle it loosely and raise the surface, as in needle felting fur.
- Parent and chick. An emperor with a grey chick standing on its feet.
- Walking penguin. One foot forward and the body tilted. It needs wire in the legs and is only worth doing once a standing one comes out reliably.
- Winter penguin. A knitted or felted scarf and hat, for a gift that is not a Christmas decoration.
For more two-colour edge practice, an owl has the same problem round its face, and a sheep reverses it with a dark face against pale fleece. Beginner mistakes in general are covered in needle felting mistakes.
Frequently asked questions
How do you keep the black and white separate on a felted penguin?
Finish the black body completely first, then lay the white front on top as a separate panel in thin layers. Needle the edge from the white side towards the middle, so stray fibres are pulled under the white instead of pushed out over the black, and finish the outline with the tip of a 40 gauge needle.
Why has my felted penguin gone grey?
Black and white fibres got mixed at the edge, usually from needling across the line or laying the white too thickly. Pull the grey fibres off, lay a fresh thin layer of white a few millimetres inside the old edge, and needle it from the white side only. You cannot needle grey back to white.
How do you make a needle felted penguin stand up?
Needle the base flat on the mat, tilt the body very slightly forward, and add a small tail wedge at the back as a third point of contact. If it still wobbles, add weight low in the belly rather than making the feet bigger.
How do you make a felt penguin ornament?
Cut a teardrop body in black felt, a smaller teardrop face and belly in white, two flippers, an orange beak and feet. Stitch the white onto the black, sandwich the flippers, beak and feet between front and back, blanket stitch round with a little stuffing, and add a loop at the top. A scrap of knitting or a felt strip makes the scarf.
Do penguin flippers stick out from the body?
Usually not. They lie flat against the sides with only the lower third free. A penguin with its flippers held out looks like an ordinary bird. Needle them on along their whole length and leave just the tip loose.
Image credits
- A handmade felt penguin ornament with a knitted scarf hanging on a Christmas tree — Lisa Fotios (Pexels License)
- Emperor penguins with a chick, showing the upright posture and the yellow neck patch — Mtpaley (BY SA 4.0)
- A sheet felt penguin craft being assembled among cut felt pieces and yarn — Phil and Pam (BY)