Needle Felted Bee: A Bumble Bee in Under an Hour
4 min read Beginner
We may earn a commission from links on this page, at no extra cost to you. As an Amazon Associate I earn from qualifying purchases. Learn more.
A striped oval with wings. Small, quick, sells well at craft fairs, and the one project where getting the stripes wrong ruins everything.
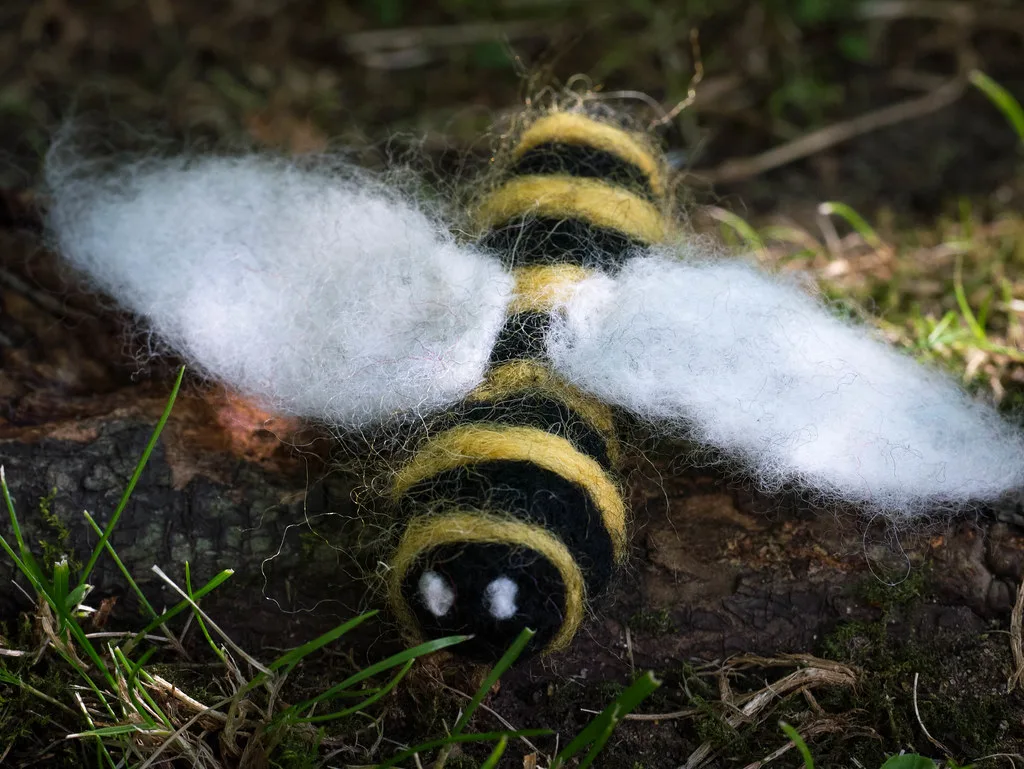
Bees are the small project that sells. They take under an hour, use less than ten grams of wool, look good in a group, and everyone likes them. They are also unusually unforgiving in one specific way: the whole thing rests on the stripes, and messy stripes cannot be rescued.
What you need
- Core wool or black wool — 5 g
- Black and yellow corriedale, plus a little white or cream
- 38 and 40 gauge needles, foam pad
- Organza, tulle or thin white felt for wings
- Optional: wire for legs, black thread for a hanging loop
The body
- Roll a core. Wind core wool tightly into a sausage about 4 cm long and needle it firm. Bumble bees are fat — the body should be nearly as deep as it is long, not a thin cylinder.
- Shape both ends. One end slightly narrower for the head, the other tapering to a blunt point for the tail. Needle more heavily at the ends and rotate constantly.
- Mark the waist. Needle a shallow groove about a third of the way along, between thorax and abdomen. It is subtle but it stops the bee looking like a rugby ball.
- Cover in black. Two thin veils over the whole body, needled at a shallow angle so the surface stays slightly fuzzy.
The stripes
This is the part worth slowing down for.
- Pull, do not tear. Hold the yellow tops loosely and draw out a very thin, even strand — thin enough to see through. Torn chunks give ragged edges.
- Lay the band right around the body, overlapping the ends on the underside where the join will not show.
- Tack, then press. Fix the band with a few 40 gauge stabs every 5 mm all the way round, checking that it is still straight, and only then needle it down properly.
- Work outwards from the middle. Lay the central band first and put the others either side of it. Starting at one end lets errors accumulate.
- Keep the needle shallow. Straight-in strokes drag black core up through the yellow and turn the stripe muddy.
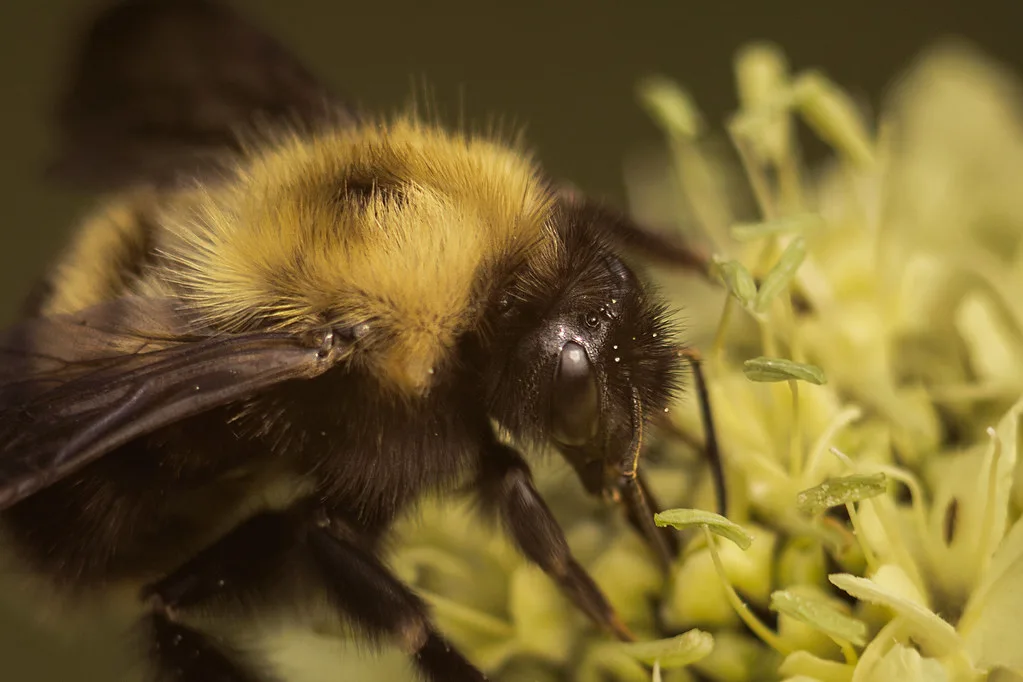
Two or three yellow bands is right. A white or cream tail band on the last segment is what makes it a buff-tailed bumble bee rather than a wasp.
Wings
Bumble bee wings are small — shorter than the body — translucent, and held back along the sides rather than spread flat.
- Organza. Cut two teardrops, singe the edges very briefly with a lighter to stop fraying, gather the narrow end and needle it into the thorax. The most convincing option.
- Thin white felt. Cut two shapes and needle them in at the base. Opaque, but tidy and child-safe.
- Wire and tulle. Bend wire into two loops, stretch tulle across and glue, then push the wire ends into the body.
- Felted wings. Two thin flat pieces of white wool needled on the mat until almost translucent.
Attach them on top of the thorax, angled back and slightly apart. Wings sticking straight out sideways look like a toy aeroplane.
Fuzz, legs and face
- Fuzz. Bumble bees are furry. Brush the finished body lightly with a small wire brush, or use a reverse-barb needle to pull fibres back out of the surface — see needle felting fur.
- Legs. Six short lengths of black wire or thread, pushed in with a dab of glue. Often omitted, and the bee is fine without them.
- Eyes. Two tiny black dots at the sides of the head, or a scrap of black wool needled in. Keep them small — the appeal of a felted bee is not its face.
What to do with them
- Hanging decorations. A thread loop needled into the thorax before the last veil.
- Brooches. Stitch a bar pin to the underside through a small disc of felt.
- Plant pot pokes. Push a length of wire into the body and stand it in a houseplant.
- Mobiles and garlands. Bees work best in threes and fives.
- With flowers. A bee on a felted flower is the combination that sells at fairs.
- Beehive scenes. A wrapped coil of cream wool for the skep, with several bees around it.
Making a batch
Bees are worth making in production runs. Roll six cores, then black all six, then stripe all six. Working in stages rather than finishing one at a time cuts the time per bee by roughly half, and the stripes come out more consistent because your hands are still calibrated. A needle felted chick batches the same way and for the same reason, and is the other animal worth learning before anything that needs an armature. The same logic applies to Christmas ornaments and any other craft fair stock.
Frequently asked questions
How do you needle felt a bumble bee?
Felt a firm oval body about 4 cm long, lay thin bands of black and yellow around it, needle them down at a shallow angle, then add wings and a fuzzy surface. It takes about 40 minutes.
How do you make felted bee stripes straight?
Pull very thin, even strands rather than tearing chunks, lay each one right around the body and overlap the ends underneath, then tack it down every few millimetres before pressing the whole band in. Working from the middle outwards keeps them parallel.
What can you use for felted bee wings?
Organza or crystal organza cut to shape and needled in at the base, thin white felt, or wire bent into loops and wrapped in tulle. Organza is the most convincing because it is translucent and holds a cut edge without fraying much.
How big should a felted bumble bee be?
A real buff-tailed bumble bee is 2 to 3 cm. Felted ones look best a little larger — 4 to 5 cm — because the stripes need room to read.