Needle Felted Bunny: An Easy Rabbit in Two Hours
4 min read Beginner
We may earn a commission from links on this page, at no extra cost to you. As an Amazon Associate I earn from qualifying purchases. Learn more.
Two balls, two ears and a tail. The simplest sculpture worth making, plus what to change to get a lop, a hare or a sitting rabbit that does not topple.
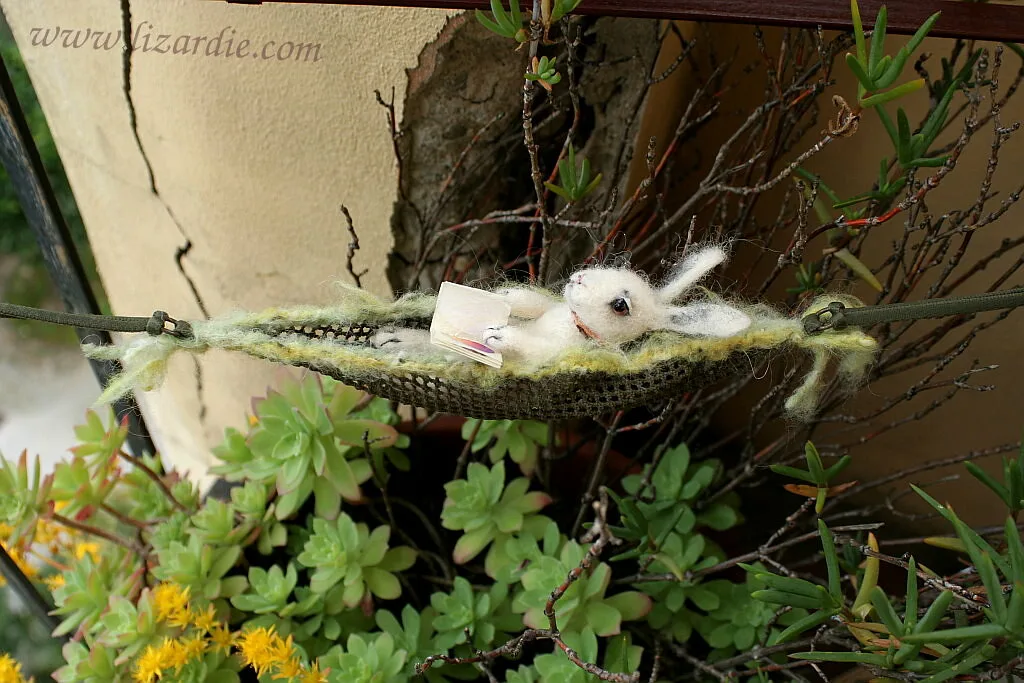
Bunny felting is the usual second project in needle felting, and arguably a better first one than a ball. It is two shapes joined together, it needs no wire, and it is forgiving — a slightly lumpy rabbit still looks like a rabbit, which is not true of a cat or a dog.
What you need
- Core wool — about 12 g
- Surface colour: cream, grey, brown or white corriedale — 5 g
- Scraps of pink, black and white
- 38 and 40 gauge needles, foam pad
- Optional: 4 mm glass eyes
Step by step
- Body. Roll core wool into a tight egg roughly 5 cm long. Needle all over until firm, keeping the wider end at the bottom. Flatten the base against the mat so it sits without rolling — a sitting rabbit's body is a pear, not a ball.
- Haunches. Needle two shallow curved grooves down either side, from the middle of the back to the base, and add a small wisp of wool outside each groove to build the thigh. This one step turns an egg into a rabbit.
- Head. A separate ball, about two-thirds the body's width. Firm it hard, then needle the front into a slightly flattened wedge — rabbits have a rounded face with a small blunt muzzle at the bottom.
- Join. Leave loose fibre at the base of the head, press it onto the shoulders and needle those fibres in from all directions. Lay a thin veil over the join and felt it down until the neck disappears.
- Ears. To needle felt rabbit ears, fold a small piece of wool into a long teardrop on the mat and needle it flat and firm, leaving loose fibre at the narrow end. Make both together so they match. Turn frequently so both faces are smooth, then trim the edges to shape and tidy the cut with a few strokes.
- Attach the ears at the back of the top of the head, angled slightly backwards and outwards, with the loose base fibres needled deep into the skull. Pinch a shallow fold into the base of each so it cups forward.
- Front paws. Two small sausages, attached at the chest and lying forward against the body.
- Tail. A loose ball of white wool, needled just enough to hold together and attached at the back. Do not firm it — the point is that it looks fluffy.
- Face. Two shallow dents for eye sockets, set wide on the sides of the head, not the front. Rabbits' eyes are almost on the sides. Add a tiny pink or brown Y-shaped nose and mouth with a 40 gauge needle.
- Coat. Thin veils of the surface colour over the whole body, needled at a shallow angle, with white on the chest, belly and around the eyes.
Why a felted rabbit ends up with floppy ears
Floppy ears on a rabbit that was meant to have upright ones. The cause is always density: an ear needled until it holds together is not the same as an ear needled until it is stiff. Keep going until it feels like thin card, and check by holding it upright — if the tip bends under its own weight, it needs more work or more wool at the base.
If it still will not stand, needle a short length of florist's wire into the centre of the ear before finishing it.
Variations
- Lop rabbit. Make the ears longer, wider and deliberately soft, and attach them low on the sides of the head so they hang.
- Hare. Longer ears with black tips, longer legs, a leaner body, head held higher.
- Lying down. Flatten the body into a loaf, tuck the paws under, and lay the ears back along the spine.
- Baby bunny. Larger head relative to the body, shorter ears, rounder everything. Roughly 5 cm total.
- Easter bunny. White wool, a ribbon, and a basket or a felted egg — see needle felted Easter eggs.
Making it a keyring or an ornament
Needle a loop of embroidery thread or a small screw eye into the top of the head before the final surface veils, then cover the base of the loop with wool. Doing it afterwards never looks as tidy. Small rabbits also work as bag charms.
Where to go next
The rabbit teaches the join, the flat-piece method for ears, and simple facial dents. All three carry directly into a fox, a sheep and a hedgehog. For a full run of starter projects see needle felting ideas for beginners.
Frequently asked questions
How do you needle felt a bunny?
Felt one egg-shaped body and one smaller ball for the head, join them, add two flat ears and a fluffy tail, then needle two eye dents and a small nose. A sitting bunny needs no armature and takes about two hours.
How do you make needle felted bunny ears stand up?
Needle them much firmer than feels necessary, leave them slightly thicker at the base, and attach them angled backwards rather than straight up. A soft ear will always flop; that is a density problem, not an attachment problem.
How much wool does a needle felted bunny take?
Around 15 to 20 g for an 8 cm rabbit — roughly 12 g of core wool and 5 g of surface colour, plus scraps for the ears, nose and tail.
What is the difference between felting a rabbit and a hare?
Length. A hare has longer ears with black tips, longer legs, a leaner body and a more upright, alert posture. Same construction, different proportions.