DIY Felt Bag Charms: Small, Fast and Genuinely Hard-Wearing
4 min read Beginner
A bag charm gets knocked against doorframes every day, so it has to be felted harder than it looks. Twenty minutes each, and a hardware fitting that will not shed it.
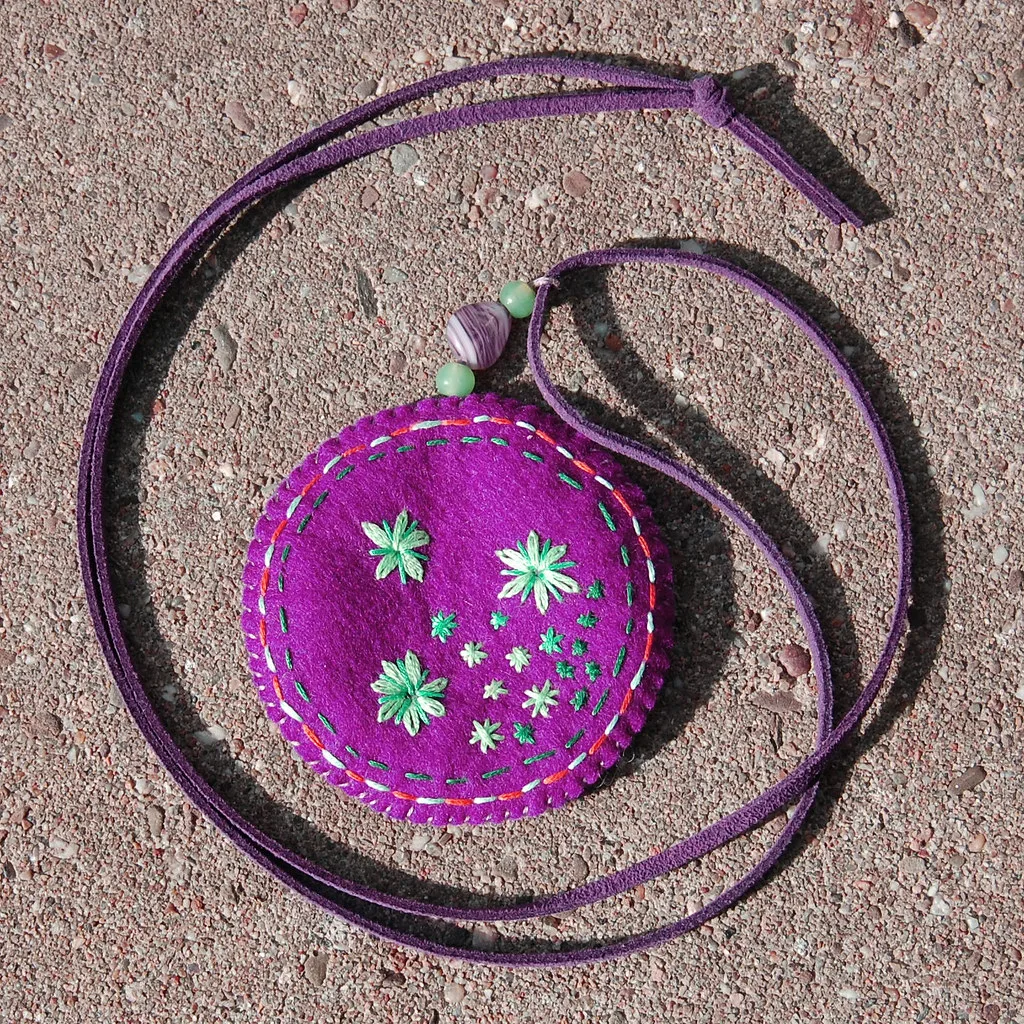
Bag charms are the ideal small felting project: they use offcuts, they take under half an hour, and they are small enough that nothing goes wrong for long. The only thing that separates a good one from a charm that pills into a grey lump is how hard you felt it.
What you need
- Core wool, 5–10 g per charm, plus surface colours
- 38 and 40 gauge felting needles, foam or brush mat
- Swivel lobster clasps, 25–30 mm
- Split rings, 10 mm
- Strong cord or waxed thread for the internal loop
- Optional: small screw eyes, beads, embroidery thread
The needle felted method
- Wind a core. Roll core wool tightly into the rough shape you want, slightly larger than finished size.
- Felt it firm with a 38 gauge needle, rotating constantly. Keep going past the point where it holds together — a charm needs to feel like a rubber ball, not a pompom.
- Test it: squeeze hard between finger and thumb. If it compresses more than a millimetre or two, keep needling.
- Add the surface colour in thin veils, needled down at a shallow angle with a 40 gauge for a smooth finish.
- Add detail — features, spots, stripes — with small amounts of wool and the fine needle.
The loop, which is where charms fail
Nothing glued into felt stays in felt. Two methods that hold:
Cord loop (best):
- Cut 12 cm of strong cord and fold it in half.
- Before the charm is fully finished, push the two cut ends deep into the top of the shape with a needle or an awl — at least halfway into the body.
- Splay the ends apart inside so they cannot pull straight out.
- Needle wool over and around the entry point, working the fibres down onto the cord until the join is invisible and immovable.
- Tug hard. Genuinely hard. If it moves, take it out and redo it.
Stitched loop: take a doubled strong thread right through the whole charm with a long needle, out the other side, and back again two or three times, finishing with a loop at the top. Slower, and unbreakable.
Then attach a split ring to the loop, and the lobster clasp to the ring. The split ring matters — clipping a clasp directly to a felt loop wears through it.
Wet felted charms
Denser and harder-wearing than needle felted ones, and better for balls and simple shapes:
- Make felt balls by the wet method — the technique is in how to make felt balls.
- Full them hard until they are genuinely solid.
- Dry completely.
- Thread a cord through with a long doll needle, knot inside, or stitch a loop across the top.
- Add needle felted detail on top of the dry wet-felted surface, which takes fine work beautifully.
Twelve designs that work at this size
- Toadstool — cap and stem, the smallest version of felted mushrooms
- Strawberry, lemon or pear
- Simple animal head — fox, cat, bear
- Heart or star
- A cluster of three felt balls in graduated sizes
- Acorn, with a real acorn cup glued to a felted body
- Pumpkin — see felted pumpkins
- Cactus in a tiny felted pot
- Rainbow — five felted cords stitched side by side
- Initial letter, cut from thick felt sheet and edged with blanket stitch
- Miniature felt mouse
- Tassel of loose roving bound with a felted cord
Making them last
- Felt harder than feels necessary. This is the whole difference.
- Use tightly-felted surface wool rather than fluffy fibre for the outer layer.
- Avoid protruding thin parts — legs, whiskers, thin tails — which snag and break off.
- Deal with pilling by shaving with a fabric shaver, then needling the surface smooth again.
- Spot clean with cool water and a drop of wool wash. Never machine wash.
As a product
Charms are the classic craft-fair item: cheap in materials, fast to make, and they sell at an impulse price. Two practical notes if you sell them — make them in batches by stage rather than one at a time, which halves the time per piece, and use the same hardware throughout so a broken clasp can be replaced from stock.
For more small, quick projects in the same vein, see needle felting ideas for beginners and felt animal hair clips, which use the same shapes on a different fitting.
Frequently asked questions
How do you make a felt bag charm?
Needle felt a firm shape from core wool, cover it in your surface colour, then fix a hanging loop by pushing a folded cord or a screw eye into the top and felting wool over the ends. Attach that loop to a lobster clasp or a swivel clip.
How do you stop a felt charm falling apart?
Felt it far harder than a decorative piece. A charm should be as firm as a rubber ball, with no give at all. Soft felt abrades on a bag within weeks.
What hardware do you need?
A swivel lobster clasp of 25 to 30 mm, a split ring, and either a screw eye or a length of strong cord for the loop inside the charm. Avoid glue-in eye pins, which pull straight out of felt.
How long does a felt bag charm take?
Fifteen to twenty-five minutes for a simple shape once you are practised. A set of six for gifts is an evening.