Needle Felting Techniques: The Core Skills Beyond Stabbing
4 min read Intermediate
We may earn a commission from links on this page, at no extra cost to you. As an Amazon Associate I earn from qualifying purchases. Learn more.
Everything in needle felting is one motion repeated. The difference between beginner work and good work is knowing which eight variations of it to use where.
Needle felting has one action. You push a barbed needle into wool and pull it out. Everything else — every animal, gnome, portrait and mushroom — is that action performed at different depths, angles and densities.
These are the variations worth learning deliberately, roughly in the order they come up in a project.
1. Wrapping the core
Do not start by stabbing a loose pile. Wind the wool into a firm roll first, changing direction every few turns so the fibres cross, then start needling. A wrapped core reaches density in a third of the time and comes out even, where a stabbed pile ends up hard in patches and hollow between them.
This is the single biggest speed difference between someone who has been shown and someone who has not.
2. Straight stabbing, to compact
Needle straight in and straight out, perpendicular to the surface, using a 36 or 38 gauge. Rotate the piece constantly — a shape needled from one side becomes an egg with a flat face.
Judge firmness by feel and sound. As wool compacts, the stab changes from a soft push to a distinct resistance, and the surface stops denting under a fingertip.
3. Angled stabbing, to sculpt
Fibre moves in the direction the needle travels. Stab at a shallow angle and you drag the surface that way, which lets you pull volume from where you do not want it to where you do.
To make a hollow — an eye socket, the dip of a spine — stab repeatedly into the same spot from directly above and the surrounding wool rises around it. To sharpen an edge, work from both sides at an angle so the fibres meet along the line.
4. Adding wool
To build a shape up, lay a wisp on and tack it down at one end with a few stabs, then work outwards. Never add a thick lump; three thin layers felt down smoothly where one fat one stays soft in the middle for a long time.
Tease the edges of every added piece so they blend. A piece with a cut or torn edge shows as a ridge under the surface indefinitely.
5. Attaching parts
Leave a tail of unfelted fibre on any part you intend to attach — a leg, an ear, a tail. Press it in place and needle those loose fibres into the body from several directions, then lay a thin veil of matching wool across the join and felt it in.
A join felted only on the surface will pull apart. The fibres have to travel into the other piece, which means going in deep and from more than one angle.
6. Surface colour
Build the mass in cheap core wool and add colour as a thin skin at the end. It costs less, works faster, and gives cleaner colour than mixing coloured wool through the whole shape.
Lay very thin veils. If the core shows through, add another veil rather than pressing the first one harder. Blended shades and gradients follow the same approach — see blending wool colours.
7. Finishing with a fine needle
Switch to 40 gauge for the last stage and work at a shallow angle with short strokes over the whole surface. This lays loose fibres down and closes the holes a coarse needle leaves.
A piece finished with a 38 gauge looks pitted, and there is no way to fix it later beyond adding another veil and starting the finish again.
8. Reverse needling
A reverse needle has its barbs facing the other way, so it pulls fibre out instead of pushing it in. Drag it lightly across a surface to raise a fuzzy nap — fur, moss, a sheep's fleece, a gnome's beard.
It is one of the few genuinely different tools in needle felting and it does something no ordinary needle can.
9. Working over prefelt or fabric
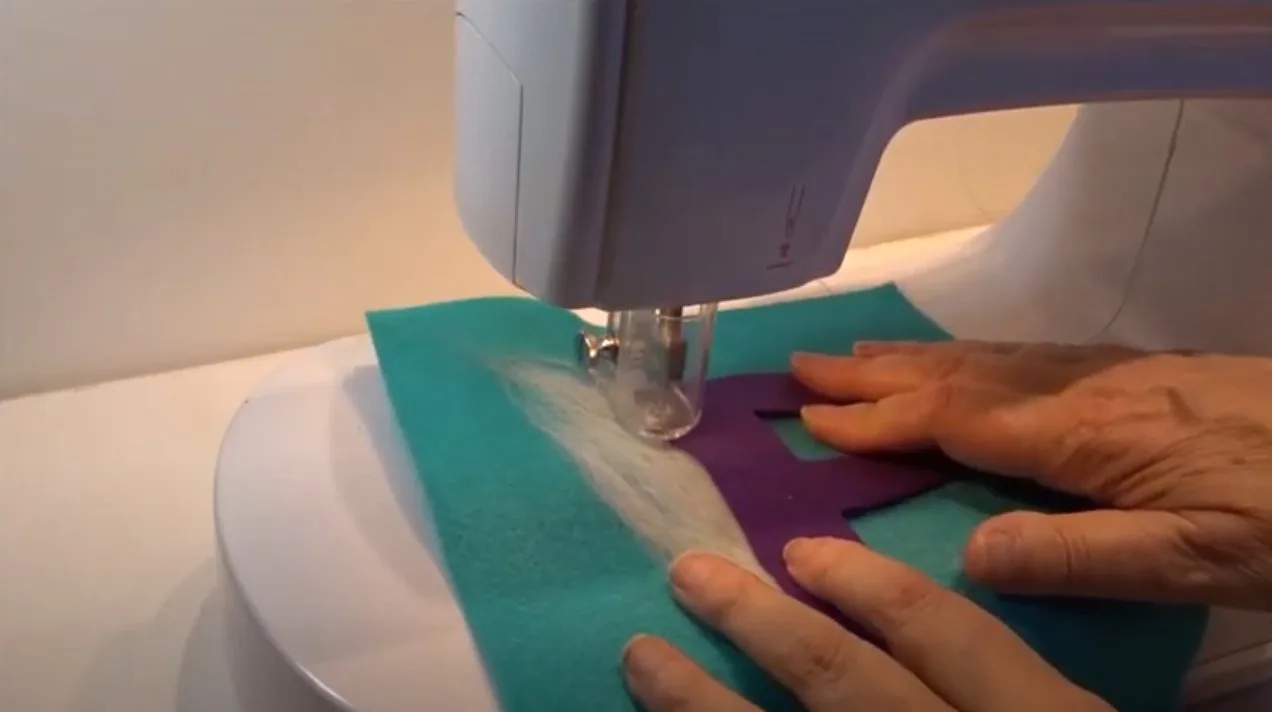
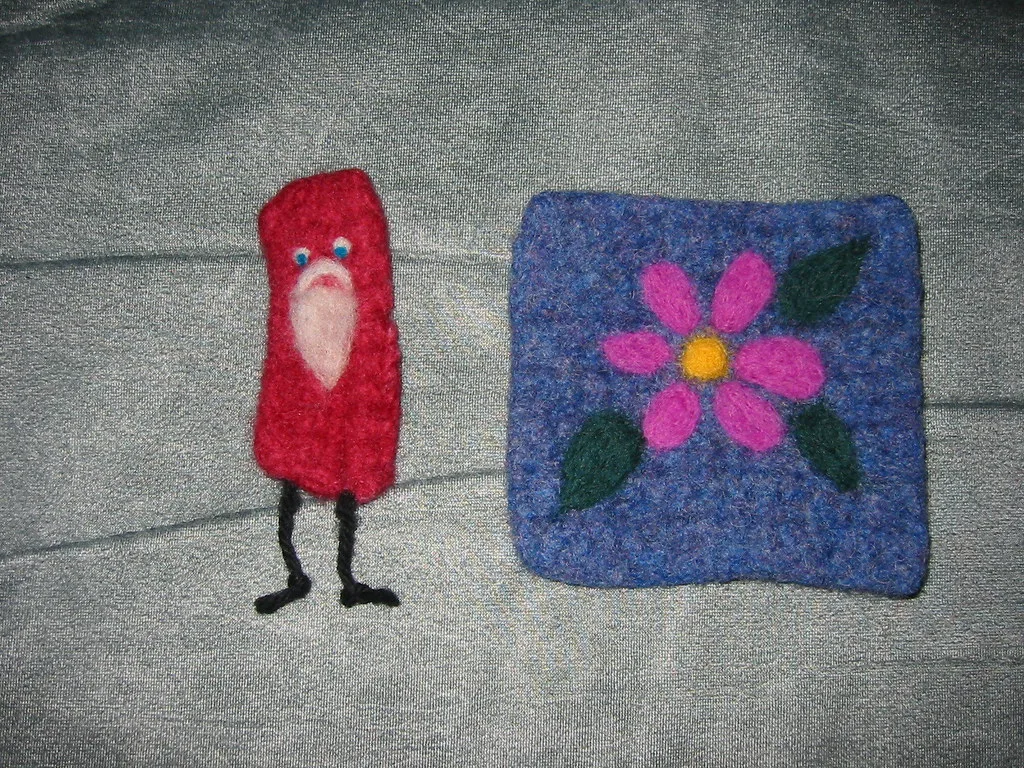
For flat pictures, cut shapes from prefelt and needle them onto a wool felt background. Crisp edges that loose fibre cannot give, and much faster. The base fabric question is covered in needle felting on fabric.
Where the technique usually goes wrong
- Stopping too soon. Most beginners stop at about half the density the piece needs. Firm work holds its shape; soft work sags within weeks.
- Levering. Angling the needle while it is buried snaps it, and it distorts the surface. More on this in breaking needles.
- Detail before form. Get the silhouette right before adding a single feature. A well-made eye on a badly shaped head still looks wrong. Animals that are almost all silhouette make the point quickly — a needle felted fish is a profile and fins, a needle felted turtle a dome and four stubs.
The common errors in more detail are in needle felting mistakes, and if you are looking for something to practise on, there is a list in needle felting ideas for beginners.
Frequently asked questions
What are the basic needle felting techniques?
Wrapping a core, stabbing straight to compact, angled stabbing to sculpt, surface layering for colour, attaching parts by feathering the join, and finishing with a fine needle to smooth the surface.
How do you get a smooth surface in needle felting?
Finish with a 40 gauge needle held at a shallow angle, working over the whole surface with short shallow strokes rather than deep ones. Deep stabs with a coarse needle leave visible holes that will not close.
How do you attach two needle felted pieces together?
Leave loose fibre at the join, press the pieces together, and needle the loose fibres into the other part from several directions. Then wrap a thin veil of wool over the seam and felt that down.
Which needle gauge for which stage?
A 36 or 38 gauge for building bulk, 38 for general shaping and 40 for surface finishing and detail. Using a coarse needle for the final pass is the most common cause of a pitted surface.