Needle Felted Chicken and Chicks: From a Two-Ball Chick to a Hen
7 min read Beginner
We may earn a commission from links on this page, at no extra cost to you. As an Amazon Associate I earn from qualifying purchases. Learn more.
A chick is two balls of wool and half an hour. A hen is the same two balls with a neck, a tail and a comb. Build them in that order, then make a nest of Easter chicks.
This page has one build and two birds. You make the chick first, because it is only two balls of wool and a surface. Then you make the hen from exactly the same two balls, adding the pieces that tell you a chicken has grown up: a neck, a tail and a comb. Making both side by side is the fastest way to understand how to felt a bird of any kind.
The chick
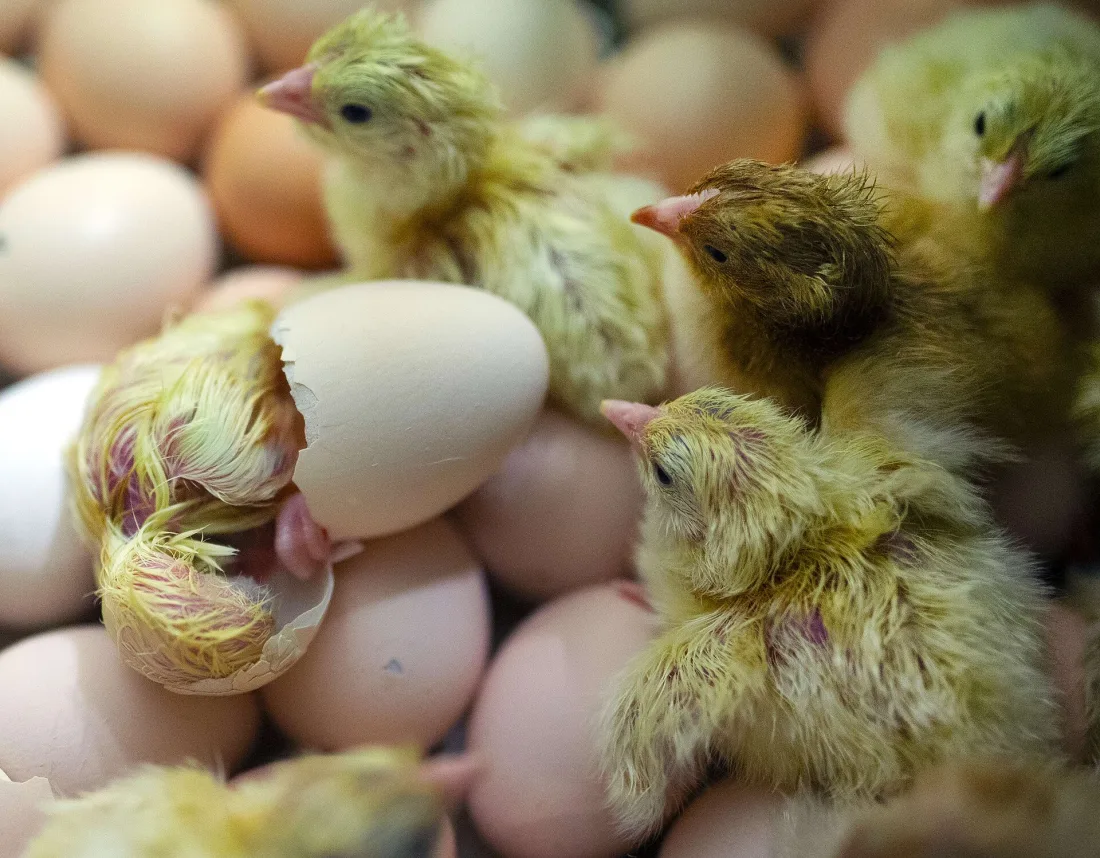
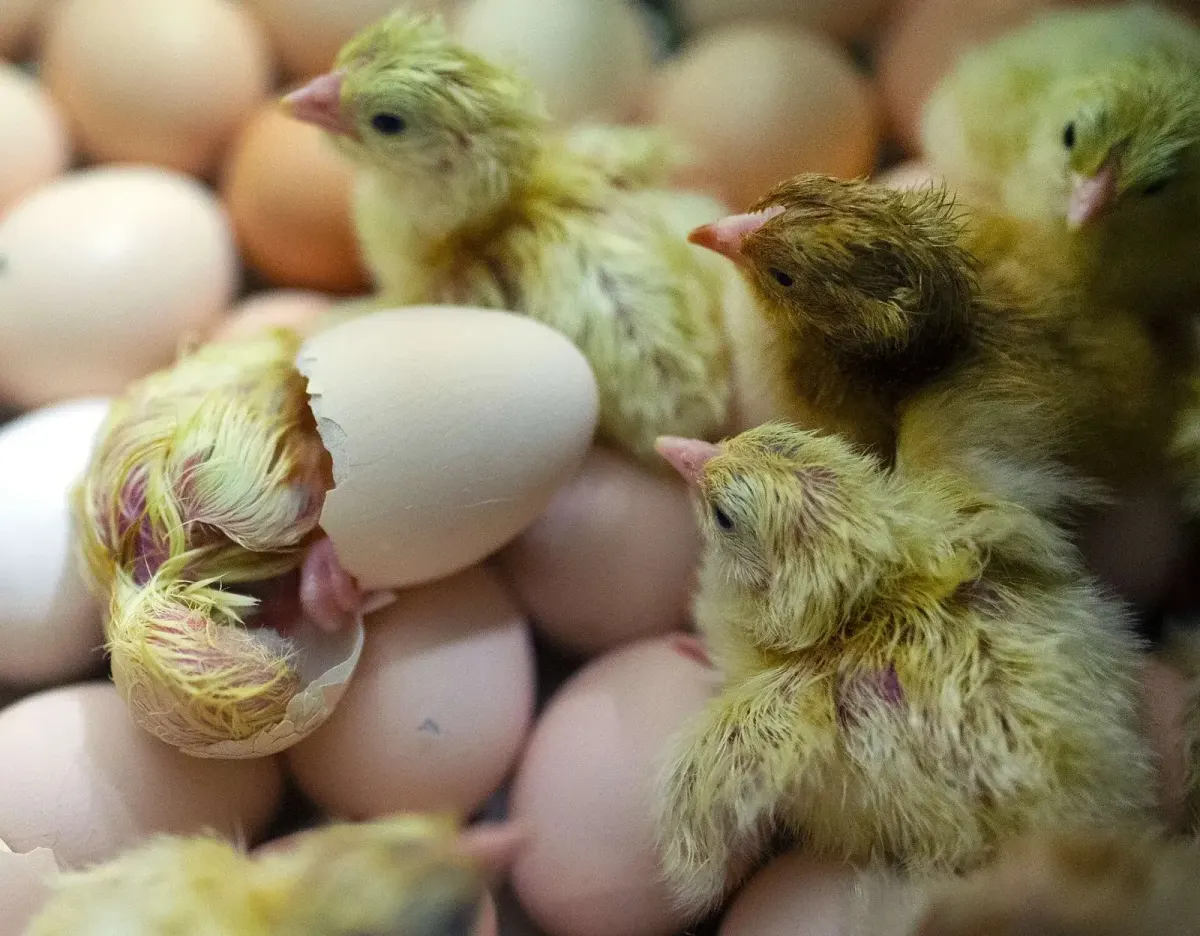
A newly hatched chick is a ball with a smaller ball parked on the front of it. There is a neck under the down, but you cannot see it, and any neck you build in wool will show. The head is large: about two-thirds the width of the body. The down stands up all over, which gives a real chick its soft, fuzzy outline.
Materials for a 6 cm chick
- Core wool: 8 g
- Bright yellow corriedale: about 5 g, plus a little for fluffing
- Orange: 1 g for the beak and feet
- Black scraps for the eyes, or 3 mm glass eyes
- 38 and 40 gauge needles, and a reverse-barb needle or a small pet slicker brush
Steps
- Body. Wind 6 g of core wool into a tight ball and needle it round, turning it all the time so no side goes flat. You want a firm sphere about 4 cm across that barely gives when you press it. If you have not made one before, how to needle felt a ball covers it.
- Head. A second ball about 2.5 cm across, with a tuft of loose fibre left at the bottom.
- Join with no neck. Press the head down onto the front of the body's top, not the very top, so it tips slightly forward, and needle the loose tuft in all around. Leave a crease where the two balls meet. That crease is the only neck a chick has.
- Yellow. Wrap thin veils of yellow over everything and tack them down lightly. Attach the colour; do not press it flat.
- Beak. Roll a pinch of orange into a tiny cone under 5 mm long and needle it in at the front, pointing slightly down.
- Eyes. Two small round dots, wide apart on the sides of the head and low, roughly level with the top of the beak. They sit further round the sides than you expect; see needle felting eyes.
- Wings. Two flat yellow ovals about 1.5 cm long, needled flat against the sides and angled slightly back. They are stubs, not wings.
- Feet. Two flat orange feet with three toes forward, attached underneath so they just show at the front. For a sitting chick, skip them and flatten the base instead.
- Fluff. Go over the whole body with a reverse-barb needle, or brush it hard with the slicker brush, until the yellow lifts into a soft halo. Trim long strays. This last step is what makes it a chick.
Stop needling the body before it is rock hard. A very dense surface has nothing left to pull up. Two yellows, a warm one over a pale one, give more depth than one flat colour. Needle felting fur explains the reverse-barb method in more detail.
From chick to hen
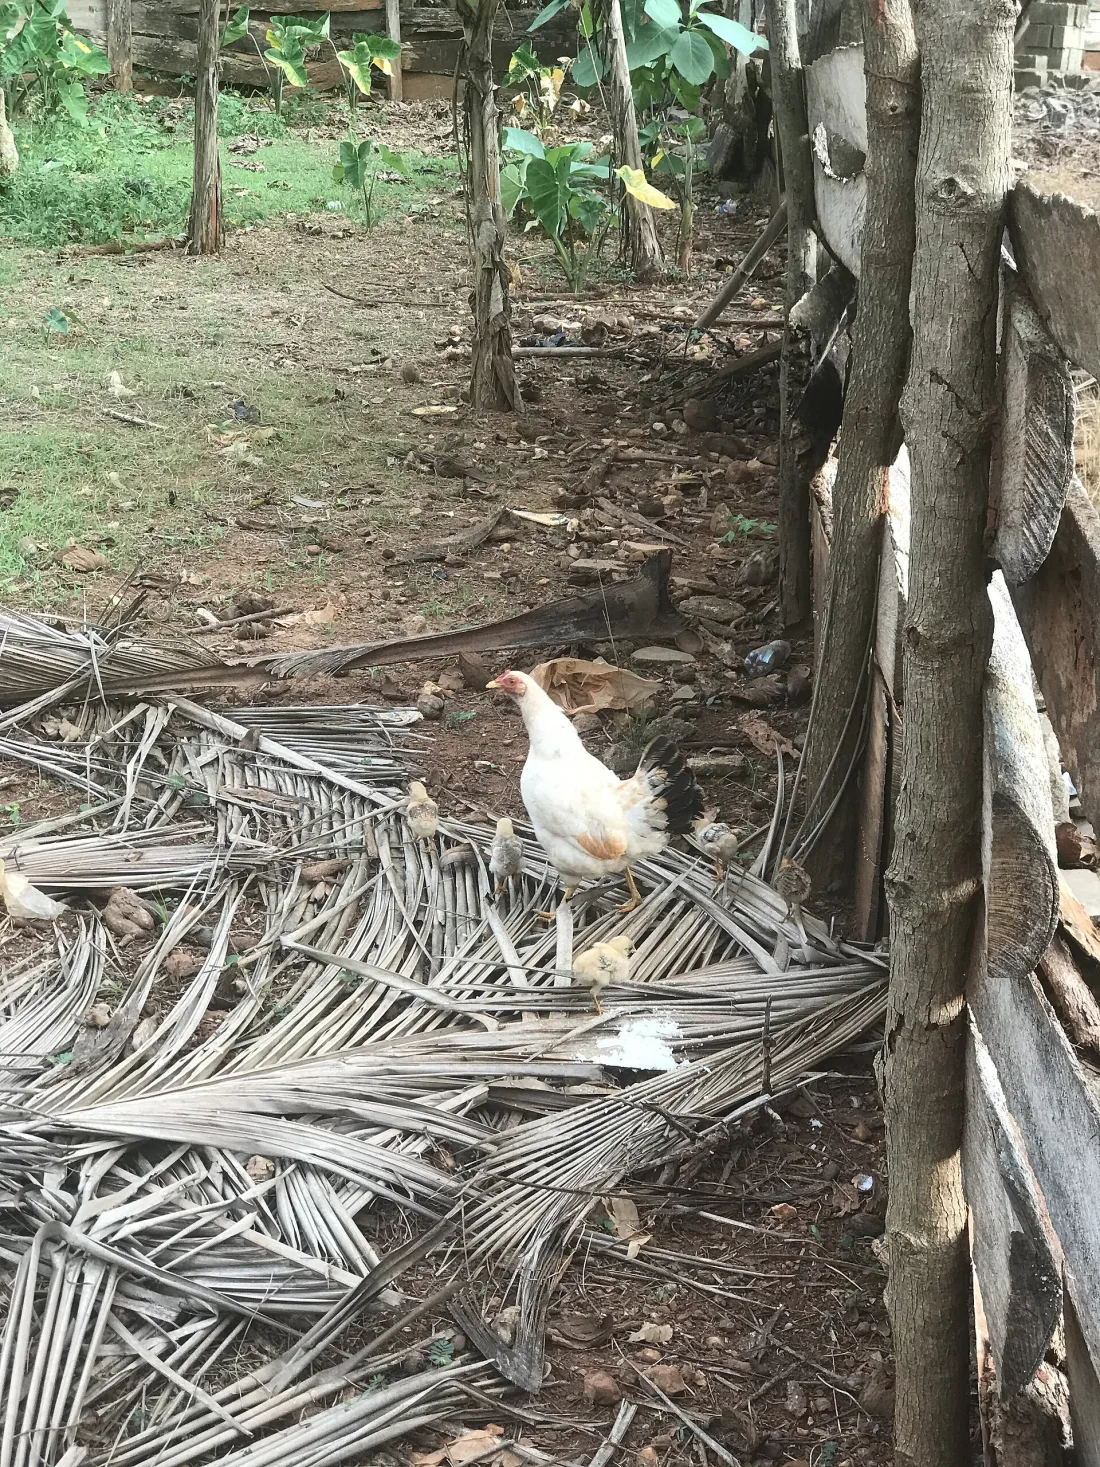
Put the finished chick next to the reference photo of a hen and the differences are few, and all structural. Start with two new balls at the same sizes and change these five things:
| Chick | Hen | |
|---|---|---|
| Neck | None visible | A 1–1.5 cm column between body and head |
| Head position | Forward and down | Up and slightly back |
| Body shape | Sphere | Egg on its side, rising to the tail |
| Tail | None | A fan of feathers rising at the back |
| Head decoration | None | Red comb on top, two red wattles under the beak |
Building the hen
- Body. Needle the large ball into an egg lying on its side, about 6 cm long. Build the back end up higher than the front, because the tail rises from it.
- Neck. Add a short thick column of core wool to the front of the back, angled up. It should be about as wide as the head.
- Head. Set the small ball on top of the neck, tilted slightly back so the beak points forward rather than down.
- Tail. Felt a flat fan shape on the mat, about 3 cm long, and needle its narrow end into the back of the body so the tail stands up at about 45 degrees. For a rooster, make it twice as long and add a few curved tail feathers that droop over the top, felted separately and needled on at the base only.
- Colour. Cover in the breed colour (see below), and needle the neck feathers in slightly lighter or darker wool, lying downwards over the shoulders.
- Wings. Two flat ovals, larger than a chick's, lying along the sides with the tips pointing back and up.
- Comb and wattles. Felt a flat red strip until firm, shape the top edge into three to five rounded points and needle the bottom edge along the top of the head from the beak backwards. Two small red teardrops go under the beak.
- Beak, eyes and legs. A short yellow beak, curved slightly down. Eyes on the sides, just above and behind the corner of the beak. For a standing bird, wrap two short wires in yellow wool for the legs and push them well into the body, with three toes forward and one back.
Chicken breed colours
| Breed | Body | Details |
|---|---|---|
| Buff Orpington | Warm golden buff all over | Big and round, short legs; the easiest hen to felt |
| Rhode Island Red | Deep reddish brown | Black tail and wing tips |
| Light Sussex | White | Black-flecked collar round the neck, black tail |
| Speckled Sussex | Mahogany | Small white and black dots all over, added last like fawn spots |
| Australorp | Black with a green sheen | Mix a little dark green into the black |
| Rooster, any breed | As the hen | Bigger comb, long wattles, long curved tail, brighter neck feathers |
Mix colours by pulling two wools apart and combining them several times rather than laying one over the other (how to blend wool colours). For the speckled breeds, lay each dot as its own pinch of fibre and press it in with the needle tip only. The same method is used for the spots on a felted fawn.
Easter chicks, ornaments and a nest
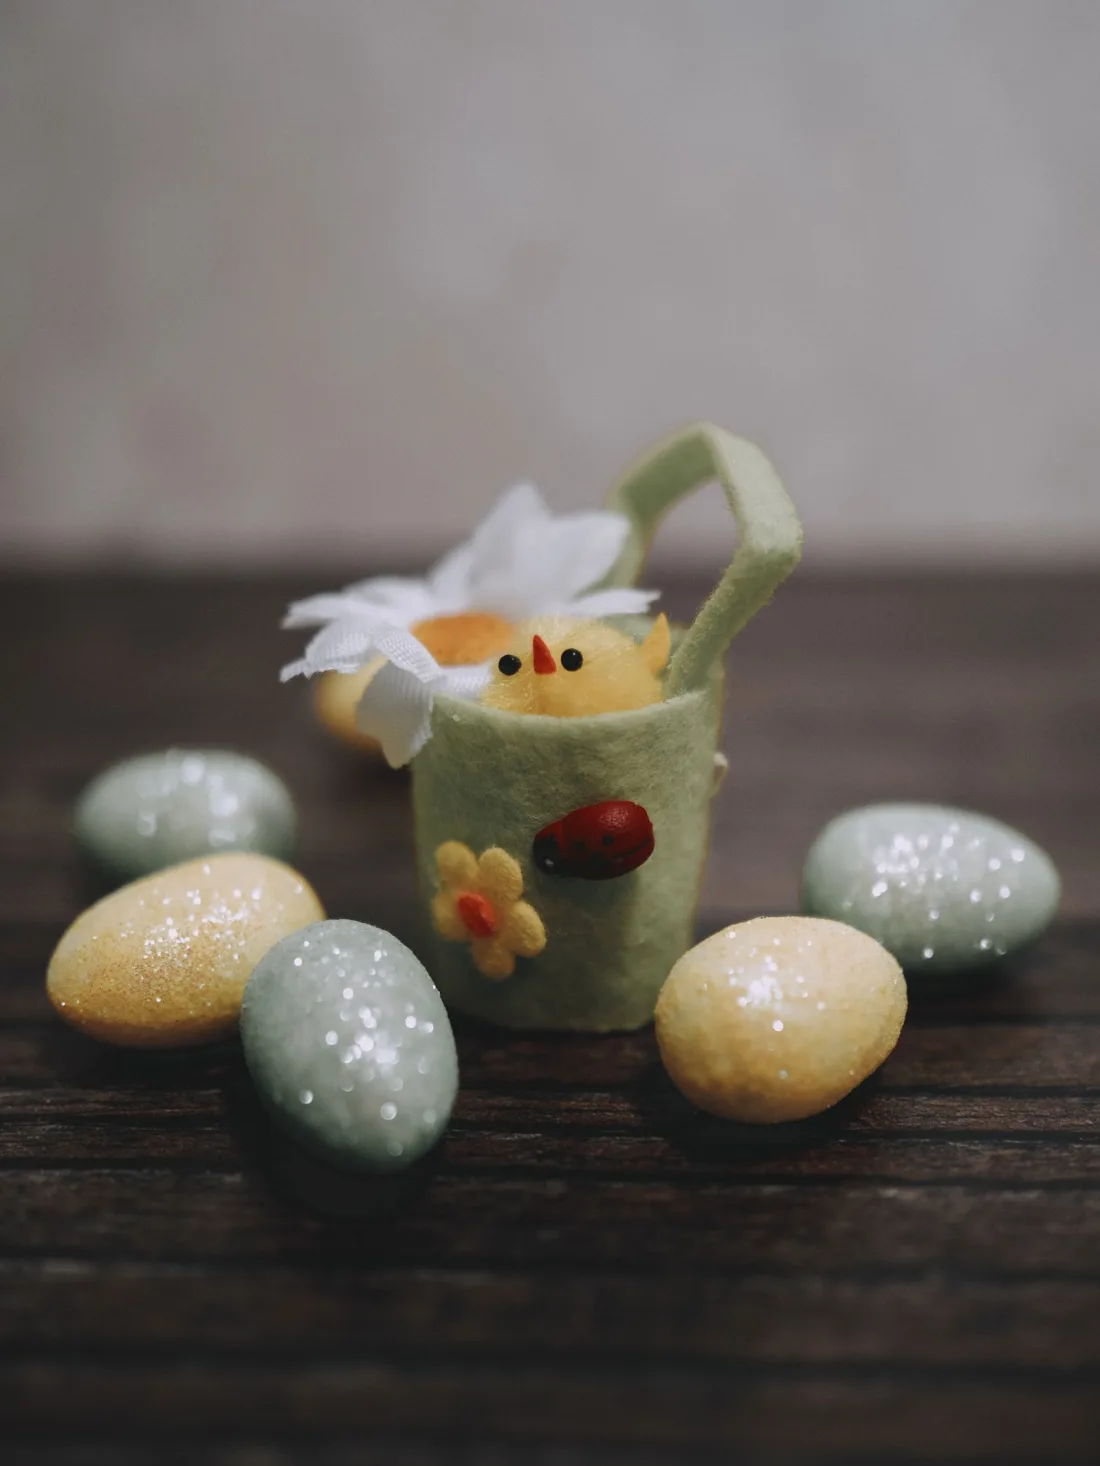
The chick is the project people make most in spring, and it scales down well:
- Three chicks in a nest. Make them at 4 cm, in slightly different yellows, and settle them in a nest of wool locks or raffia with a few needle felted Easter eggs. About an hour for the whole set.
- Hanging ornaments. Before the yellow goes on, needle the knotted end of a loop of thread deep into the top of the head. Chicks and hens hung on a branch, as in the photo at the top of the page, are the Easter version of a Christmas tree. Felt animal ornaments explains how to make one hang straight.
- Hatching chick. Just the head and shoulders, coming out of a white felted eggshell with a jagged top edge.
- Duckling. The same chick with a flat, rounded bill instead of a cone and a slightly longer body.
- Hen with chicks. One hen and four chicks on a felted base. It is the best way to show the neck lesson, and it makes a good gift.
If it looks wrong
- The chick looks like a lemon: the body is oval and the surface is polished. Round it off and fluff it.
- The chick looks like a small hen: there is a neck. Push the head down and redo the crease.
- The hen looks like a chick: no neck, or the head is too far forward. Add a short column and tilt the head back.
- The hen looks like a duck: the body is too long and flat and the tail is too low. Raise the back end and stand the tail up.
- The beak is too big: a chick's beak is a stub. If you can see it from across the room, it is at least twice the size it should be.
- The fluff comes off in clumps: the yellow was tacked down too lightly. Add another layer and needle it properly before brushing.
The chick teaches the two skills every animal needs, a firm round core and a raised surface, and the hen adds joining a neck and attaching thin flat pieces. A bunny is a good next step, and felting supplies for beginners lists the tools worth buying.
Frequently asked questions
How do you needle felt a chicken?
Start with the same two balls as a chick, a large one for the body and a smaller one for the head, but join them with a short neck and tilt the head back. Then add a tail that rises at the back, a red comb and wattles, a short beak and two legs. The neck and tail are what turn a chick into a hen.
How long does a needle felted chick take?
About half an hour for a 6 cm chick, including fluffing the surface. A hen of the same height takes two to three hours because of the neck, tail and comb. A set of three small Easter chicks in a nest is about an hour.
Why does my felted chick look like a lemon?
The body is oval instead of round, and the surface has been needled smooth. A chick is almost a sphere, and its down stands up. Round the body off and raise the surface with a reverse-barb needle or a slicker brush.
How do you make a chicken comb from wool?
Felt a flat strip of red wool on the mat until it is firm, cut or needle the top edge into three to five rounded points, and needle the straight bottom edge along the top of the head from the beak backwards. Two small red teardrops under the beak make the wattles.
Can children make a needle felted chick?
Children of about eight and over can, with an adult beside them. The shapes are simple and it is finished in one sitting. The needles are very sharp, so use a 38 gauge needle, a thick foam pad and short sessions.
Topics
Image credits
- Felted chicken and chick ornaments hanging on an Easter branch — Efrem Efre (Pexels License)
- Newly hatched chicks showing the round body and no visible neck — Otwarte Klatki (BY 2.0)
- A hen in a farmyard — Otuo-Akyampong Boakye (BY SA 4.0)
- A felt Easter basket holding a small chick and speckled eggs — Lisa Fotios (Pexels License)