Felted Acorns: Wool Nuts in Real Caps, for Bowls, Garlands and Ornaments
9 min read Beginner
We may earn a commission from links on this page, at no extra cost to you. As an Amazon Associate I earn from qualifying purchases. Learn more.
How to make felted acorns the classic way, with real acorn caps: baking the caps to kill weevils, sizing a wool nut to each cap, gluing it with a hanging loop, and all-felt caps for when you have none. With a sizing table, garland spacing and ornament ideas.
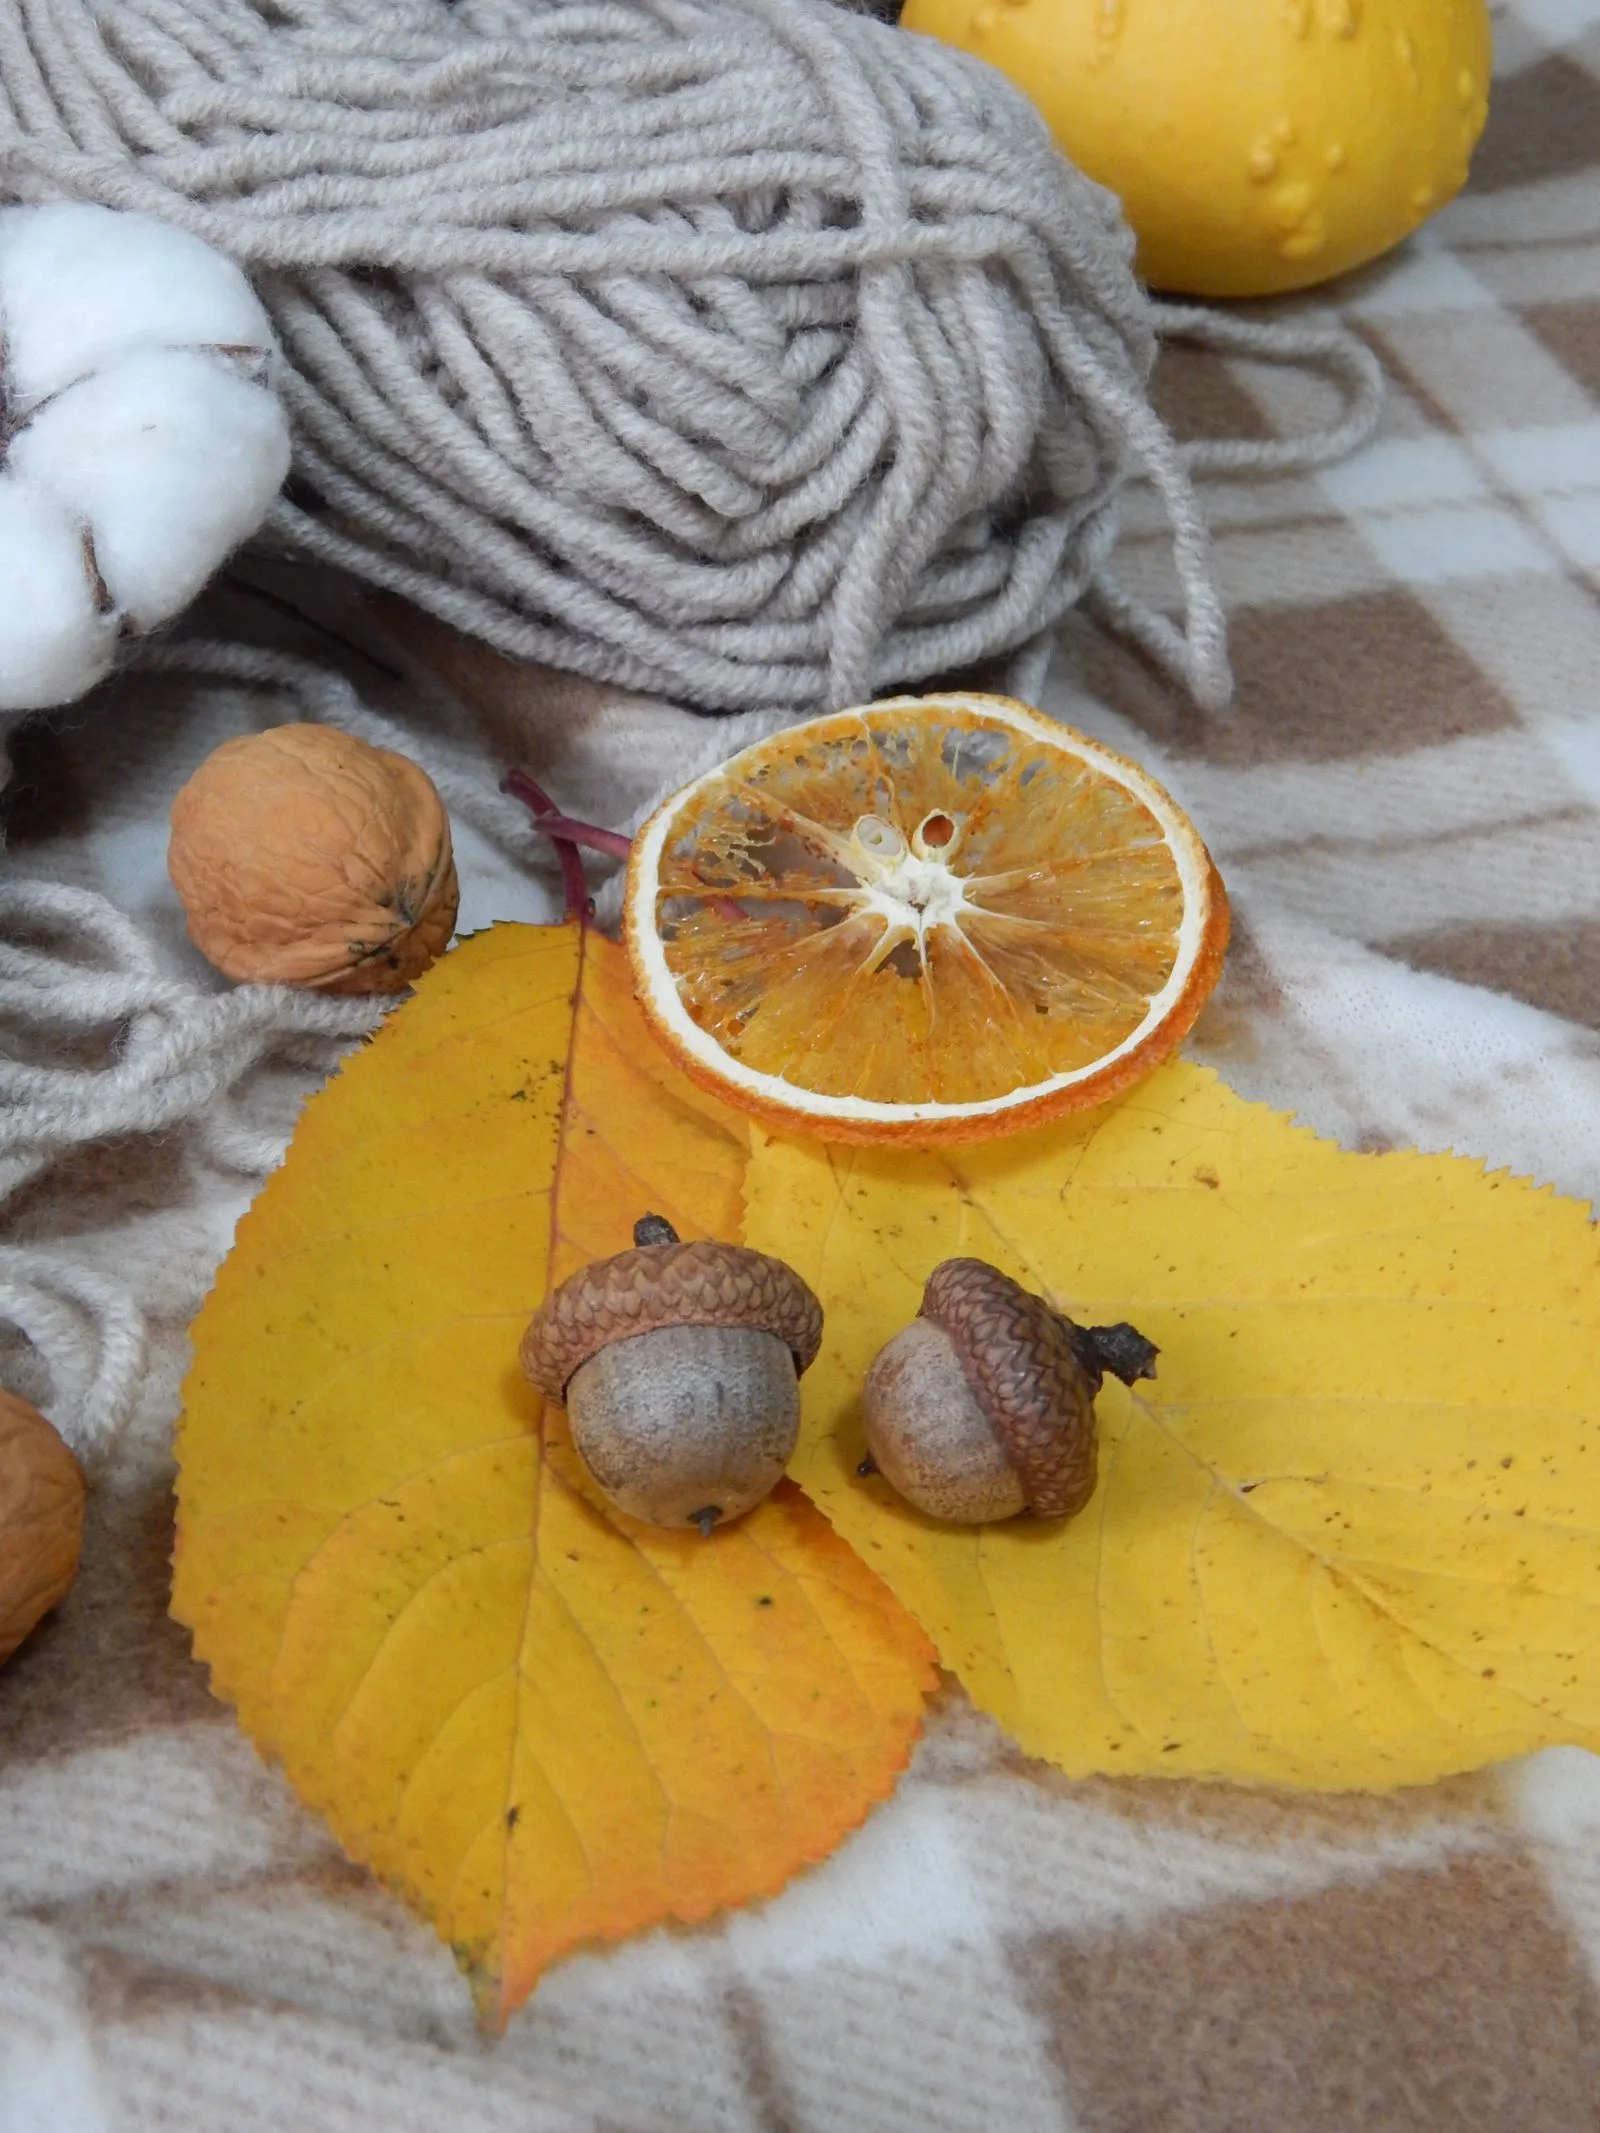
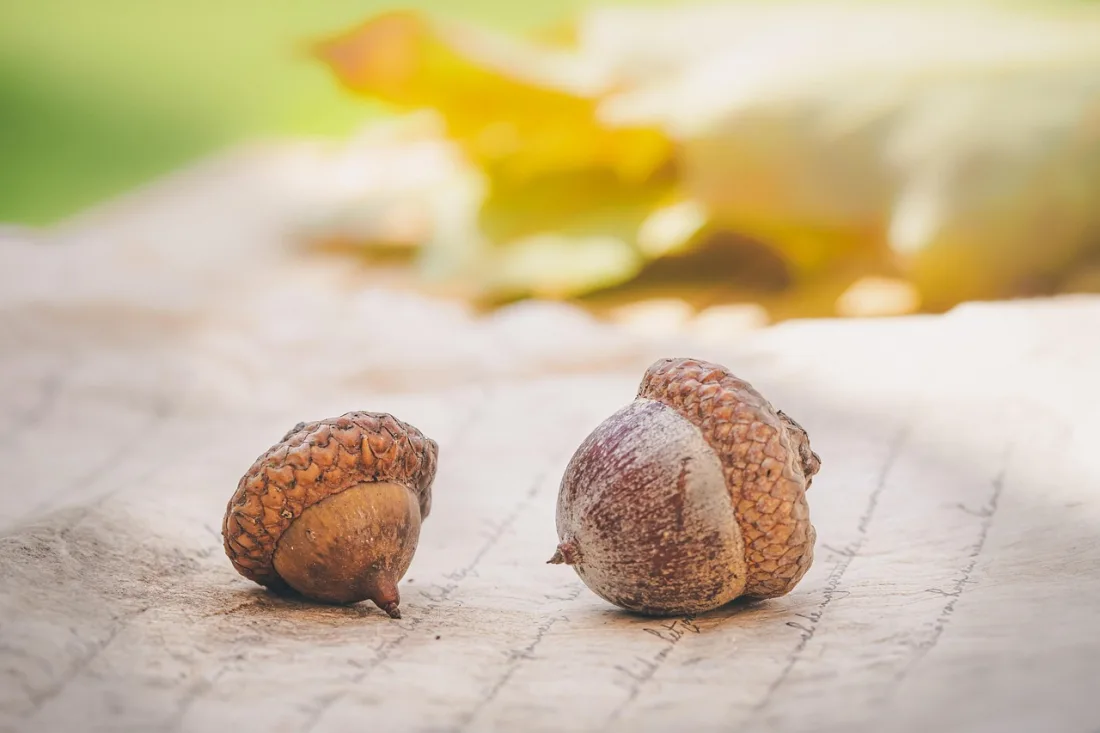
Collect the real caps before you touch any wool, because each felted nut is sized to its cap: measure across the rim, then felt a nut to fit. A ¾ in (19 mm) cap wants a nut about 1 in (25 mm) long, about 1–1½ g of wool, and five minutes of needling or rolling. Glued together, the pair passes for a real acorn in a bowl, since the scaly cup, the fiddliest part to imitate, is the genuine article.
Below: preparing the caps, making nuts by needle or wet felting, gluing in a loop, felt caps for when there are no oaks nearby, and how many acorns a garland or a bowl takes.
How do you prepare real acorn caps for crafts?
Collect caps that have already come off their nuts, in early fall. Look under the tree a few days after a windy spell; the empty caps lie in the leaves, often still with a short stem. Pick ones without cracks and with an even rim.
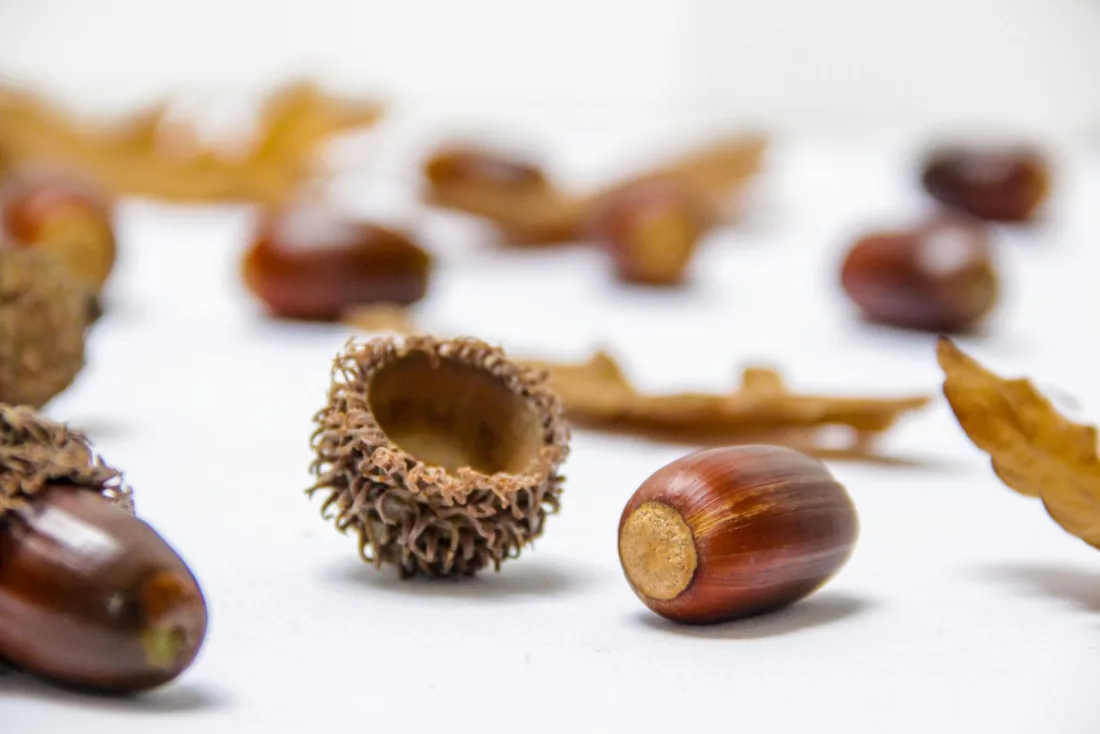
Then clean and treat them, because caps can carry weevil larvae, mold spores and damp:
- Brush them. Use a dry toothbrush to knock dirt out of the inside and from between the scales. Do not soak them; wet caps can split as they dry.
- Bake or freeze. Spread them on a foil-lined tray and bake at about 200 °F (93 °C) for 1–2 hours, checking every 20 minutes, until bone dry. Low heat matters: a hotter oven can scorch them or crack the rim. If you would rather not use the oven, seal them in a bag and freeze them for at least 48 hours, then let them dry at room temperature for a few days.
- Sort by size. Measure across the inside of the rim and group the caps. You will make one nut size per group.
Stored dry in a paper bag or a jar with the lid ajar, treated caps keep for years.
Which oaks give which caps?
Caps vary by species, which is why one walk can fill a bowl with different shapes:
- White oak: a bowl-shaped cap with knobby, warty scales, usually ½–¾ in (13–19 mm). The most useful size.
- Red oaks (northern red, pin, black): flatter, saucer-shaped caps with fine, tight scales. Pin oak caps are small and shallow, about ½ in, and sit on top of the nut like a beret.
- Bur oak: a large, deep cap, often 1–1½ in (25–38 mm), with a shaggy fringe around the rim. Showy, and the one for a single ornament.
- Sawtooth oak, planted in many towns: a cap with long curling scales that looks like a small bird's nest.
What size should the felted nut be?
Make the nut as wide as the inside of the cap rim and about 1¼ to 1⅓ times as long. Real acorns vary, but this proportion reads as an acorn rather than a ball or a bullet. The wool weights below are for firm, needle felted nuts; wet felted ones come out similar.
| Cap diameter (inside rim) | Nut length | Nut width | Wool per nut | Typical oak |
|---|---|---|---|---|
| ½ in (13 mm) | ⅝ in (16 mm) | ½ in (12 mm) | about ½ g | Pin oak |
| ¾ in (19 mm) | 1 in (25 mm) | ¾ in (18 mm) | 1–1½ g | White oak |
| 1 in (25 mm) | 1¼ in (32 mm) | 1 in (24 mm) | about 3 g | Northern red oak |
| 1¼ in (32 mm) | 1½ in (38 mm) | 1¼ in (30 mm) | about 5 g | Bur oak |
An ounce (28 g) of wool therefore makes about twenty medium nuts. Weigh the first pinch you use, check the result against its cap, and pull the same amount for the rest; that keeps a batch even without measuring each one.
Colors
Ripe acorns run from tan to chestnut brown, often darker at the tip. Unripe ones are green, from olive to a yellowish green, and a mixed bowl of green and brown nuts looks like a real windfall. Blend a little gold or rust into plain brown so the nut is not flat in color. For winter decor, white, cream, gray and soft metallic-dyed wools look good in real caps.
How do you needle felt an acorn?
Needle felting gives you the most control over the shape, including the slight point at the tip. You need a 38 gauge needle, a 40 gauge for finishing and a foam pad; needle felting for beginners covers the basics, and felting needles explained the sizes.
- Roll a tight sausage. Take the weighed wool, fold in the ends, and roll it up tightly from one end, like a sleeping bag. For the bigger nuts, a core wool center with a colored outer layer saves fine wool.
- Firm it into an egg. Stab all over with the 38 gauge, turning the piece constantly. Work the ends more than the middle so it shortens and rounds.
- Make the tip. Pinch one end and needle around it at a shallow angle to draw out a small blunt point. Add a tiny dot of darker brown on the very end.
- Flatten the top. Stab straight down into the other end a few dozen times. A flat top sits deeper in the cap and gives the glue a good surface.
- Check the fit. Push the top into the cap. It should go in firmly with about a quarter of the nut hidden. Too loose, add a wisp around the top; too tight, needle it smaller.
- Smooth it with the 40 gauge.
It is firm enough when a squeeze barely dents it. Soft nuts pull away from the glue. Felting needles are very sharp and barbed, so keep fingers out of the line of the needle and read is needle felting dangerous before working with children.
Can you wet felt acorns instead?
Yes, and it is the quicker method for a large batch. Make small balls following how to make felt balls, then shape them while they are still wet: roll each ball between flat palms in one direction only, back and forth rather than in circles, and it lengthens into an oval. Pinch one end into a point between finger and thumb and roll that end a little more.
Wet felted nuts come out smooth and very firm. Leave them to dry completely, a day or two for the big ones, before gluing; trapped moisture makes the cap go moldy inside. You can also make a batch of balls and needle the tips and flat tops afterward, which combines the speed of one method with the control of the other.
How do you attach the cap and a hanging loop?
Glue the nut into the cap, and catch a loop between them if the acorn will hang.
- Hot glue from a hot glue gun sets in seconds and is fine for acorns that will sit in a bowl. On cold glass or in a cold garage it can let go of the cap's waxy inside.
- Tacky glue: a thick tacky craft glue soaks into the wool fibers and stays slightly flexible, which is better for anything that hangs or gets handled. Hold the nut in place for a minute, then leave it upright in an egg carton for an hour or two to set.
Use a pea-sized dab, no more. Glue that squeezes out around the rim shows as a shiny ring.
For a loop, cut 6 in (15 cm) of thin jute twine or embroidery floss, fold it in half and knot the ends together. Put a dot of glue in the cap, lay the knot in the center, add a little more glue and press the nut in over it. The loop comes out between the nut and the rim. For a cleaner look, drill a 1/16 in (1.5 mm) hole through the cap's stem with a small bit or an awl, thread the loop out through the hole, and knot it inside before gluing.
What if you don't have real acorn caps?
Make them from wool or felt. Neither looks quite as convincing as a real cap, but both are softer and safer to handle, and you can match any size of nut.
Needle felted cap
Lay a thin disk of dark brown wool over the top of a finished nut and needle it on around the edge, so it covers the top quarter. Build up a slight lip at the rim. Then add the texture: needle short crossing lines with a single 40 gauge needle to suggest scales, or felt in a spiral of thin brown wool yarn, or tiny knots of loopy textured yarn for a bur oak look. Roll a wisp of brown into a thin stalk about ¼ in (6 mm) long and felt it to the top.
Sewn felt cap
Cut a 1½ in (38 mm) circle of brown wool felt for a 1 in nut. Sew a running stitch around it ⅛ in (3 mm) from the edge, set the nut in the middle and pull the thread up so the felt gathers around the top. Stitch it to the nut through the gathers, and cover the top with a tiny circle and a stalk. A few French knots on the cap give it texture.
How many acorns for a garland, bowl or ornaments?
| Use | How many | Notes |
|---|---|---|
| Garland | 3–4 per foot (30 cm) | 3–4 in (7.5–10 cm) apart, center to center |
| Mantel garland, 6 ft (1.8 m) | 18–24 | Fewer if you alternate with felt balls or leaves |
| Bowl filler, 8 in (20 cm) bowl | 30–40 medium | Or a layer on top of pinecones |
| Tree ornaments | 1 large, or a cluster of 3 | Bur oak caps, or three small acorns on one loop |
For a garland, thread a large-eyed needle with jute twine and pass it through each nut sideways, about a third of the way down from the cap, so the acorns hang straight and do not need loops. Knot either side of each to stop it sliding. Leaves, mushrooms and small balls make good spacers; more ways to join and hang a long string are in felt garland.
Where do felted acorns look best?
- A fall table. Scatter them along a Thanksgiving runner with felted pumpkins and a few real leaves, or fill a wooden bowl at the center.
- A woodland group. They sit naturally with felted mushrooms, and a needle felted squirrel holding one is the obvious companion.
- A wreath. Glue clusters of three into a grapevine ring, or onto a felted wreath, with the caps facing outward.
- Winter. White and gray acorns in real caps carry fall decor into December; there are more ideas in felt Christmas decorations and felted Christmas ornaments.
- A nature table. Children like sorting them by color and size. Every acorn here is small enough to be a choking hazard for children under 3, and the glued cap can come off, so keep them out of reach of babies and toddlers.
Frequently asked questions
Do you need to bake acorn caps before crafting with them?
Yes, or freeze them. Acorn weevil larvae and moisture can come indoors with them. Bake the caps on a lined tray at about 200°F (93°C) for 1 to 2 hours, checking often, or seal them in a bag in the freezer for at least 48 hours, then let them dry. Brush off dirt with a dry toothbrush first.
How much wool do you need for a felted acorn?
Very little. A nut for a ¾ in (19 mm) cap is about 1 in (25 mm) long and takes about 1 to 1½ g of wool, so ¼ oz (7 g) makes five or six. A nut for a large 1¼ in (32 mm) cap takes about 5 g.
What is the best glue for felted acorns?
Hot glue is fastest and fine for bowl fillers. For ornaments and garlands that hang and get handled, a thick tacky craft glue grips wool fiber better and stays flexible, though it needs an hour or two to set. Use a small amount either way, so none squeezes out around the rim.
How many felted acorns do you need for a garland?
About three or four per foot, spaced 3 to 4 in (7.5 to 10 cm) apart center to center, so a 6 ft (1.8 m) mantel garland takes 18 to 24 acorns. Alternate them with felt balls or felted leaves to stretch the count.
Are felted acorns safe for small children?
No, not for children under 3. A finished acorn is small enough to be a choking hazard, and a glued cap can come off. Keep them out of reach on a nature table or garland, and give toddlers larger felt shapes with no small parts instead.