Wire Armature for Needle Felting: A Skeleton That Holds a Pose
4 min read Intermediate
We may earn a commission from links on this page, at no extra cost to you. As an Amazon Associate I earn from qualifying purchases. Learn more.
How to build a wire armature that lets a felted figure stand, bend and stay bent — and how to wrap it so the needles never meet the wire.
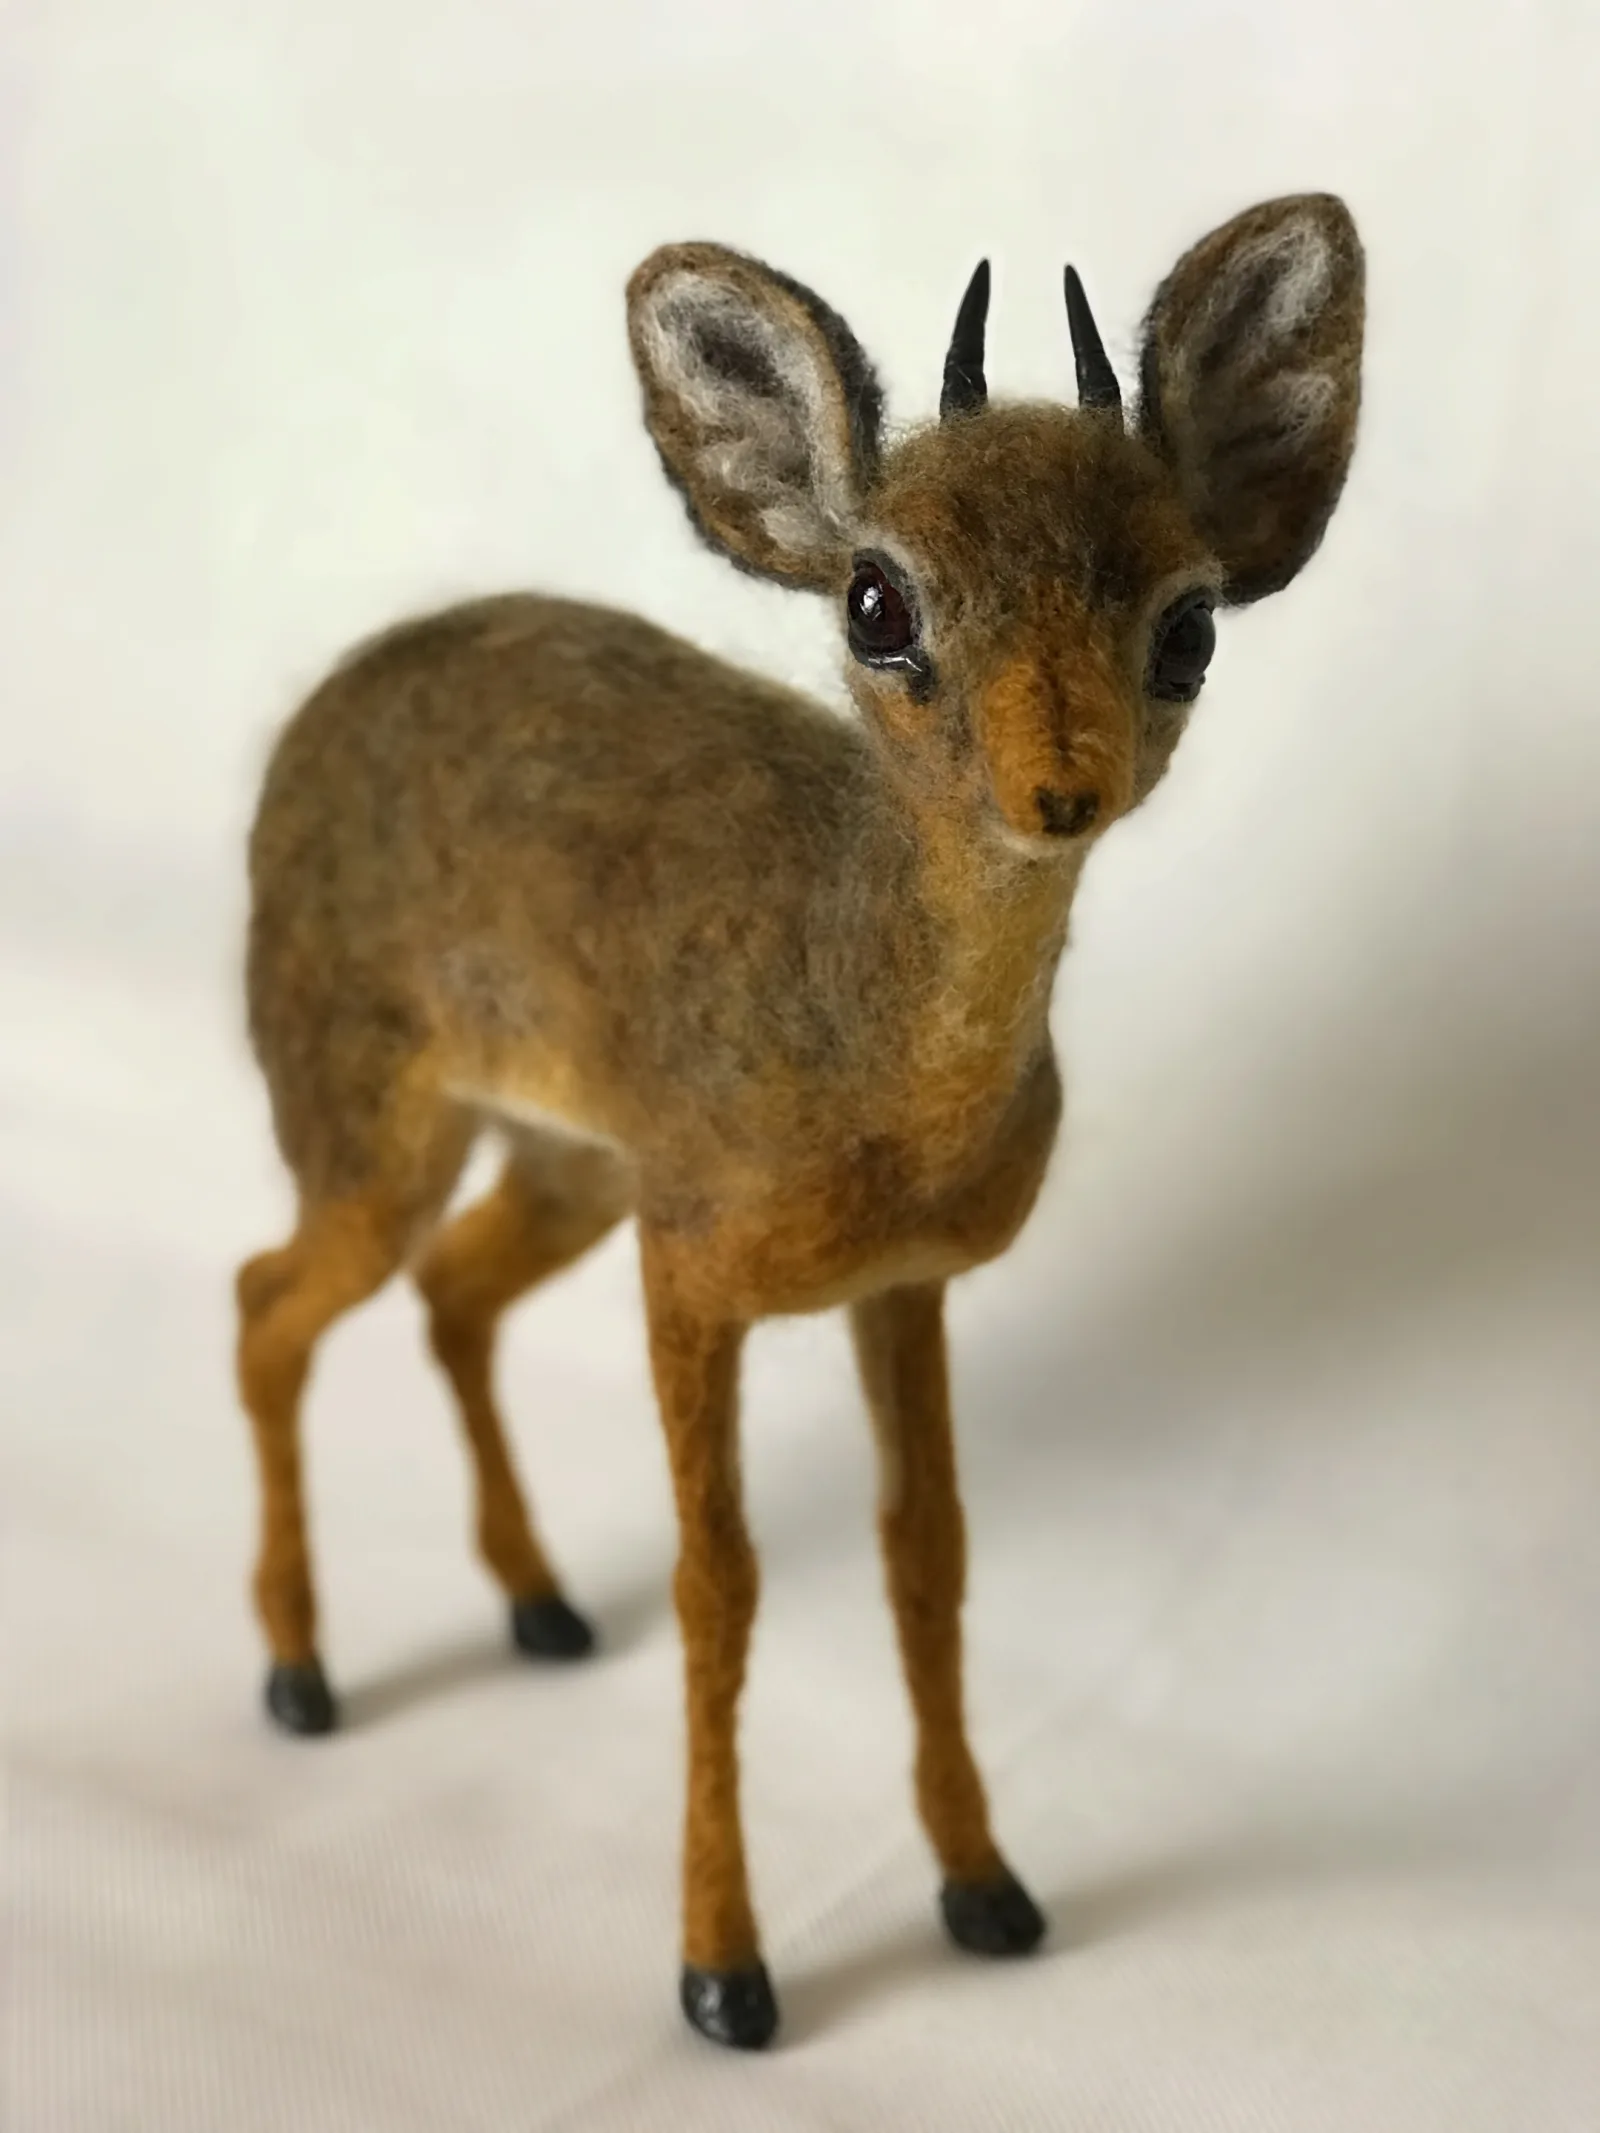
A needle felted animal made entirely of wool is a lovely solid object that cannot stand on thin legs and cannot be posed. Put a wire skeleton inside it and it will do both — a deer stands, a cat looks over its shoulder, a fox curls up and stays curled.
What wire to use
- Aluminium craft wire, 1 mm — small figures under 10 cm.
- 1.5 mm — the general-purpose gauge for 10 to 20 cm figures.
- 2 mm — larger work, or anything that must carry weight on two legs.
- Pipe cleaners — perfectly good for very small figures and for children's work, with the enormous advantage that wool grips the fuzz.
Aluminium is the right material: soft enough to shape with fingers, stiff enough to hold, and it will not rust inside a piece that gets damp. Avoid galvanised steel and coat hanger wire, which fight back and blister your hands.
Building the skeleton
Work from a single length wherever you can — joins are weak points.
- Front legs and shoulders. Take a length roughly four times the leg length, fold it in half, and twist the middle section to form the chest. The two free ends are the front legs.
- Back legs and hips. Do the same with a second piece.
- Spine. A third length runs from the chest twist to the hip twist, with extra at each end for neck and tail. Wrap it around both twisted sections several times.
- Feet. Bend the last centimetre of each leg forward at a right angle. This is what stops the figure toppling; a straight wire leg has no foot to balance on.
- Check proportions against a reference before adding any wool. Wire is trivial to adjust now and a nuisance later.
Trim ends with wire cutters and squeeze any sharp tip flat with pliers. A wire end that works its way out through the wool six months later is worth two minutes of prevention.
Wrapping it — the step people skip
Bare wire is slippery. Wool wrapped straight onto it rotates around the skeleton, and every needle stroke that meets wire risks a snapped tip.
Two good methods:
- Pipe cleaners. Wind them tightly along every limb and around the body. The fuzz gives wool something to grip immediately and cushions the needle.
- Wool and glue. Wind a thin strip of core wool along the wire, smear a little PVA over it, and let it dry. Firmer than pipe cleaners and invisible under the finished surface.
Masking tape or floral tape also works, though wool grips it less well.
Adding the wool
- Wrap, do not stab, at first. Wind core wool firmly around each limb and the body until you have roughly the right volume, keeping tension high.
- Needle at an angle. Work along the limb rather than into it, so the needle travels beside the wire instead of towards it.
- Build the body up in layers, checking silhouette against your reference as you go.
- Firm the surface with a finer needle — 40 gauge — once the shape is right.
- Add the colour layer last, as a thin skin over the core. The wider method is in needle felted animals for beginners.
Legs that actually hold
Thin legs are the whole reason for an armature, and they are also where figures fail. Keep the wool tight and thin — a fat, soft leg bends at the wool rather than the wire, and looks wrong. Wrap firmly, felt hard, and accept that a needle felted deer's leg will be about 5 mm thick. A needle felted horse is the same problem one size up: the leg carries more weight, so the answer is a heavier wire rather than more wool around it.
For a standing figure, get the feet flat and the weight over them before adding any detail. A figure that will not stand at the wire stage will not stand at the end.
When not to bother
Balls, birds, sitting animals, mushrooms, gnomes and ornaments need no armature at all. Wire adds time and a permanent constraint — a wired figure cannot be reshaped by felting alone. If the piece will sit, leave it out. A needle felted frog is the clearest case — the folded hind legs are thick enough to hold the pose in wool alone.
Posing
Bend gently, supporting the joint on both sides with your fingers, and expect the wool to crease slightly on the inside of the bend. A few passes with a fine needle smooths it out. Aluminium will take repeated repositioning, but not forever — every bend work-hardens the metal, and a limb bent thirty times will eventually snap inside the wool.
Frequently asked questions
What wire is best for a needle felting armature?
Aluminium craft wire in 1 to 1.5 mm for small figures and 2 mm for anything over about 20 cm. Aluminium bends easily by hand, holds its position and does not rust. Florist wire is too soft; steel is too hard on your hands.
How do you stop needles breaking on the armature?
Wrap the whole skeleton in pipe cleaners or a tight layer of wool before you start felting, then work at a slight angle so the needle never travels straight towards the wire. Most armature needle breakages are a direct hit.
Do I need an armature for a needle felted animal?
Only if it needs to stand on thin legs or be posed later. A sitting rabbit or a bird does not. Legs thinner than about a centimetre almost always do.
Can you add an armature after the figure is made?
Not sensibly. Pushing wire into a firmly felted body distorts it and the wool will not grip the wire. Build the skeleton first and felt around it.