Wet Felting Tutorials & Techniques
Warm water, soap and friction turn loose fibre into solid fabric. Learn layouts, shrinkage and resists for scarves, soaps, vessels and flat felt.
Wet felting turns loose wool into cloth using hot water, soap and your own hands. There is no machine involved and nothing to sew: the fibres tangle into each other permanently, and what you lift off the table at the end is a piece of fabric that did not exist an hour earlier. It is the oldest textile process we know of, and it is still the cheapest craft to start.
This page is the map for everything on the site about it — the method, the equipment, the sizing maths, and the projects worth making first. If you have never done it, work through the steps below once with a small square of wool before you commit to anything shaped.
- New to the whole idea? Start with what felting actually is.
- Want the full walkthrough with timings? Read wet felting for beginners.
- Want a finished thing this evening? Make a bar of felted soap.
- Wool refusing to felt? Go straight to the diagnostic guide.
What wet felting is
Every wool fibre is covered in microscopic overlapping scales, a bit like roof tiles running along its length. Those scales are the whole trick. When wool is warm, wet and slippery with soap, the scales lift and the fibres can slide against one another. Rub them and they push past each other in a mass of different directions; the raised scales catch, hook, and cannot slide back out. Thousands of those one-way movements are what make felt.
So you need four things at once, and removing any one of them stops the process dead:
- Wool that still has its scales intact. Superwash yarn has had them chemically stripped or coated and will never felt, no matter how long you work at it.
- Heat, to open the scales. Water as hot as your hands can comfortably bear.
- Soap, to raise the pH and let the fibres move. Slippery water, not just soapy water.
- Agitation — rubbing, rolling, throwing. This is the part you supply.
The change is irreversible. That is worth saying plainly, because it cuts both ways: you cannot undo a mistake by unpicking it, but you also end up with a fabric that does not fray, does not unravel and can be cut in any direction without finishing the edge.
Wet felting is not the same as needle felting, where a barbed needle does the tangling in dry fibre. Needle felting is better for small sculptural shapes; wet felting is better for anything you want to be flat, large, drapey or hollow. Most people end up doing both, and the two combine well — see wet felting after needle felting for the order to do them in. If you have a bag of wool and no needles at all, felting without a needle covers what you can still make.
What you need
The shopping list is short and most of it is already in your kitchen.
Wool. Merino tops are the standard beginner choice because they felt quickly and come in every colour. Coarser breeds felt more slowly but give a harder, more hard-wearing fabric, which is what you want for bags, rugs and slippers. Choosing felting wool goes through the breeds and micron counts; for a first flat piece, 80–120 g of merino tops is plenty. Prefelt — wool that has been half-felted into a sheet already — is worth knowing about early, because it lets you cut clean shapes and lay them into a piece as decoration.
Soap. Olive oil soap is traditional and works well. Plain bar soap or a little washing-up liquid in hot water will also do. Avoid anything sold as gentle, moisturising or pH-neutral, since that is formulated to protect wool from exactly what you are trying to do to it. Felting soap compared has the details.
Bubble wrap. Bubbles facing up, as your friction surface. A metre is enough for most projects and it lasts for years.
A piece of net. Old net curtain, tulle, or a fine sheer works. It holds the fibres in place while you do the first, most fragile minutes of rubbing.
Something to roll around. A pool noodle, a length of dowel, or a rolling pin. A bamboo mat is the proper tool: it rolls, it provides friction of its own, and it drains water away as you work.
Towels. More than you expect. Wet felting makes a mess, and blotting is a real step, not tidying up.
That is the whole kit. If you would rather have someone show you in person before buying anything, wet felting classes lists what to look for in a workshop, and the best wet felting books covers the reference books worth owning once you are past the basics.
The method step by step
1. Lay out the wool
Pull thin, wispy tufts from the cut end of your wool tops — draw them off, never cut them, and never pull thick chunks. Lay the tufts on the bubble wrap in overlapping rows, all pointing the same way, like tiles. When the whole area is covered, lay a second layer at right angles to the first. Add a third at right angles again for a firmer fabric.
Layout decides everything about the finished piece and it is where nearly everyone rushes. Thin and even beats thick and patchy. Hold the layout up to a window if you can: the bright patches are thin spots, and thin spots become holes.
2. Wet it down
Lay the net over the fibre, then sprinkle hot soapy water across the surface and press it through with flat hands, working from the middle outwards. You want the wool thoroughly wet but not floating. If the fibres drift and shift when you press, there is too much water — blot the excess with a towel before you go further.
3. Rub
Through the net, rub in small circles with flat palms. Gently at first: for the first five or ten minutes the fibres are barely holding on to each other and hard rubbing will drag your careful layout into a swirl. After a few minutes lift a corner of the net. If wool comes up with it, keep going. Once the net peels away cleanly, take it off and rub directly on the wool, gradually leaning in harder.
4. Test the surface
Pinch the top of the piece and lift. If individual fibres pull away, it is not felt yet. If the whole thickness lifts as one sheet, you have prefelt: it holds together, but it is still soft, stretchy and weak. This is where a lot of people stop, and it is why so much homemade felt stays floppy.
5. Full it
Fulling is the stage that makes felt dense and strong, and it is done by shock and pressure rather than rubbing. Roll the piece up inside the bubble wrap around a pool noodle or a bamboo mat and roll it back and forth under your forearms — a hundred rolls, then unroll, turn the piece ninety degrees, and roll again. Work through all four directions several times, and turn the piece over as well.
To speed it up, alternate hot and cold water. The temperature shock makes the fibres contract sharply. Throwing the bundled piece down on the table thirty or forty times does the same thing and is oddly enjoyable.
The piece will visibly shrink and thicken. Finished felt does not stretch out of shape when you pull it, does not shed fibres when you rub it, and holds a crease when folded.
6. Rinse and dry
Rinse in warm water until it runs clear, then in cool water with a splash of vinegar to neutralise the soap. Squeeze, never wring. Roll in a towel, shape the piece flat or over a form, and let it dry naturally. Felt can be steam-ironed once dry if you want a crisp finish.
Shrinkage and sizing
Wet felting shrinks the wool by roughly 20–40 per cent, and the exact figure depends on the breed, how many layers you laid, how hard you fulled and even the direction the fibres were pointing. Pieces usually shrink more across the fibre direction than along it, which is why a square layout can come off the mat slightly rectangular.
The practical consequence is that you cannot lay out a scarf the size you want the scarf to be. You lay it out substantially larger, then full it down to size. The way to know your own numbers is to make one unglamorous 20 × 20 cm sample from each wool you own, measure it before and after, and write the percentage on a label pinned to it. Wool shrinkage when felting works through the arithmetic and the templates.
Shrinkage is also a tool, not just an obstacle. It is how a flat oval becomes a fitted hat, and it is what makes felted fabric so much firmer than the wool it came from.
Resists and hollow forms
Wool laid over both sides of a barrier will felt to itself around the edges but not through the barrier, so when you cut an opening and pull the barrier out you are left with a seamless hollow shape. That barrier is called a resist, and it is usually a sheet of bubble wrap, thin foam or laminate offcut cut to the shape you want.
This one idea is behind most of the impressive wet felting you see. Resist felting explains how to size a resist against your shrinkage rate and how to keep the wool from creeping round the edge where you do not want it. From there, a felted bowl is the easiest first attempt and a felted bag the most useful.
Projects
Flat pieces
Felted soap is the best possible first project: one evening, a scrap of wool, and the result is a genuinely useful thing that lathers through its own flannel — why felted soap works covers what it actually does for your skin. A wet felted scarf is the natural second project once you trust your layout, and cobweb felting takes the same skill in the opposite direction, laying wool so sparsely that the finished fabric is lacy and almost weightless. If you like flat work for its own sake, wet felting as art looks at using wool as a painting medium.
Round and three-dimensional
Felt balls are the cheapest way to build up hand strength and get a feel for fulling, and they are the raw material for a lot of other things: strung as garlands, sewn into a felt ball rug, or scaled down into felt beads for jewellery. Felted Christmas balls are the same technique with a decorative surface, and a felted heart works either wet or with a needle. For sculptural work, wet felted animals shows how far you can get with resists and shaping alone. On a larger scale, a felted rug is mostly a question of stamina and coarse wool, and wool dryer balls are the most practical thing in this whole list.
Wearables
Felted slippers are the classic resist project with a real fitting problem attached, since they have to shrink onto your actual feet. Felting a hat is the same principle over a head-shaped form. And if you want to skip the felting and go straight to the shaping, felting a wool sweater in the washing machine gives you a dense fabric to cut up into mittens, cushions and slippers.
Wet felting with other crafts
Wet felting combines with almost anything made of wool. Needle felt a shape first, then wet felt it to smooth and harden the surface — the order matters and this guide explains why. Knit or crochet a piece deliberately oversized in feltable yarn and then full it: felting crochet covers the yarn choice and the sizing, which is the same shrinkage problem in a different shape.
Loose wool can also be felted directly into hair. Wool roving dreads uses the same fibre and the same scale-locking, just with no bubble wrap involved. And if you want fabric drape rather than solid felt, nuno felting bonds a thin layer of merino through an open-weave cloth, which is the natural next technique to learn.
Why it went wrong
Almost every wet felting failure has one of a handful of causes, and most of them are about the materials rather than your hands.
Nothing is happening at all. The wool is superwash, or it is not wool. Test a pinch of unfamiliar fibre in hot soapy water for two minutes before you commit an afternoon to it — why won't my wool felt works through the seven usual causes in order.
It is felting but very slowly. The water is not hot enough, the soap is not alkaline enough, or you are using a coarse breed and expecting merino timings. Reheat the water, switch to a proper felting soap, and check what you actually bought against the wool guide.
Holes have appeared. Thin spots in the layout. Patch them by laying a wisp of wool over the hole and felting it in — this works, and works better the earlier you catch it.
The layout slid into a swirl. Too much rubbing too early, or too much water. Keep the net on for longer next time and blot harder before you start.
It stayed soft and stretchy. You stopped at prefelt. Get it wet and hot again and full it properly; there is no time limit on going back to a piece.
It came out much smaller than planned. Normal, and the reason for making shrinkage samples. See shrinkage when felting.
It is stiff and scratchy. Either a coarse breed, which is a material choice rather than a mistake, or soap left in the fibre. Rinse thoroughly with a vinegar rinse at the end.
Learning more
Wet felting rewards repetition more than reading. Make the same small square three times with three different wools and you will learn more than any amount of watching. Once you want to push further, the reference books are where the technical depth lives, and a class is worth it mainly for the one thing writing cannot give you — someone putting their hands on your work and telling you it needs another twenty minutes.
Everything else on this site branches out from the six steps above. Get those right on a piece the size of a beer mat, and the bags, hats and rugs are the same process with more wool and more patience.
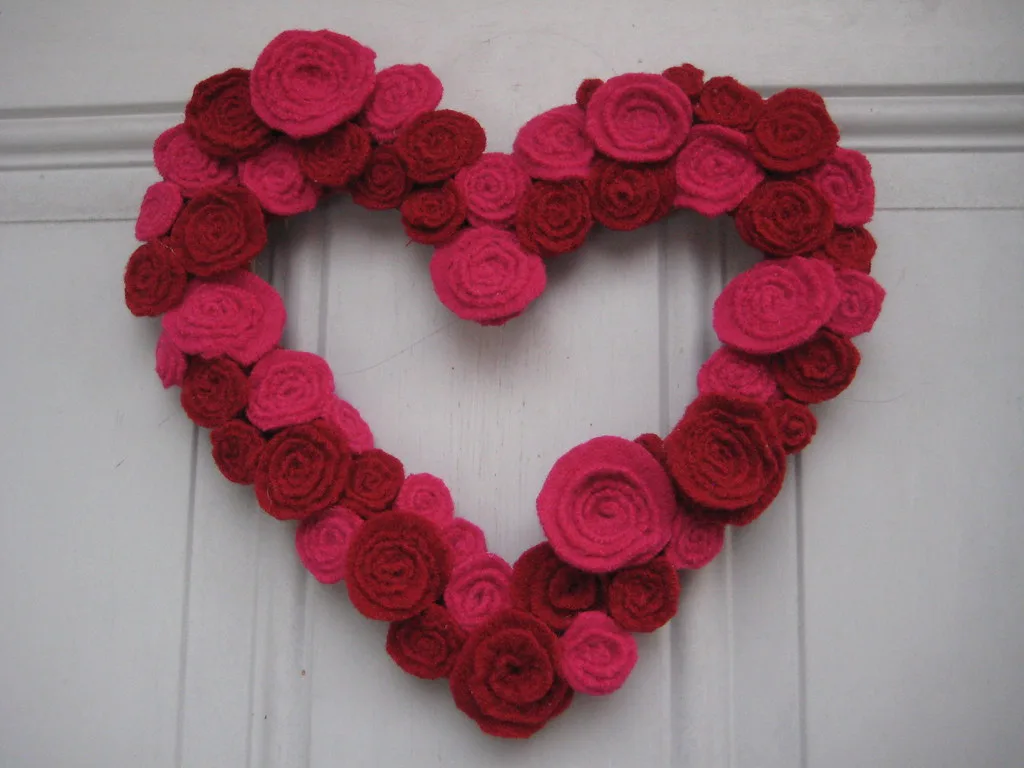
Felted Wreath
Felt ball, rolled rose, fringed and felted wreaths, with how many balls or roses a ring takes, which base to use, and how to keep a wool wreath looking good on a door.
6 min read Beginner
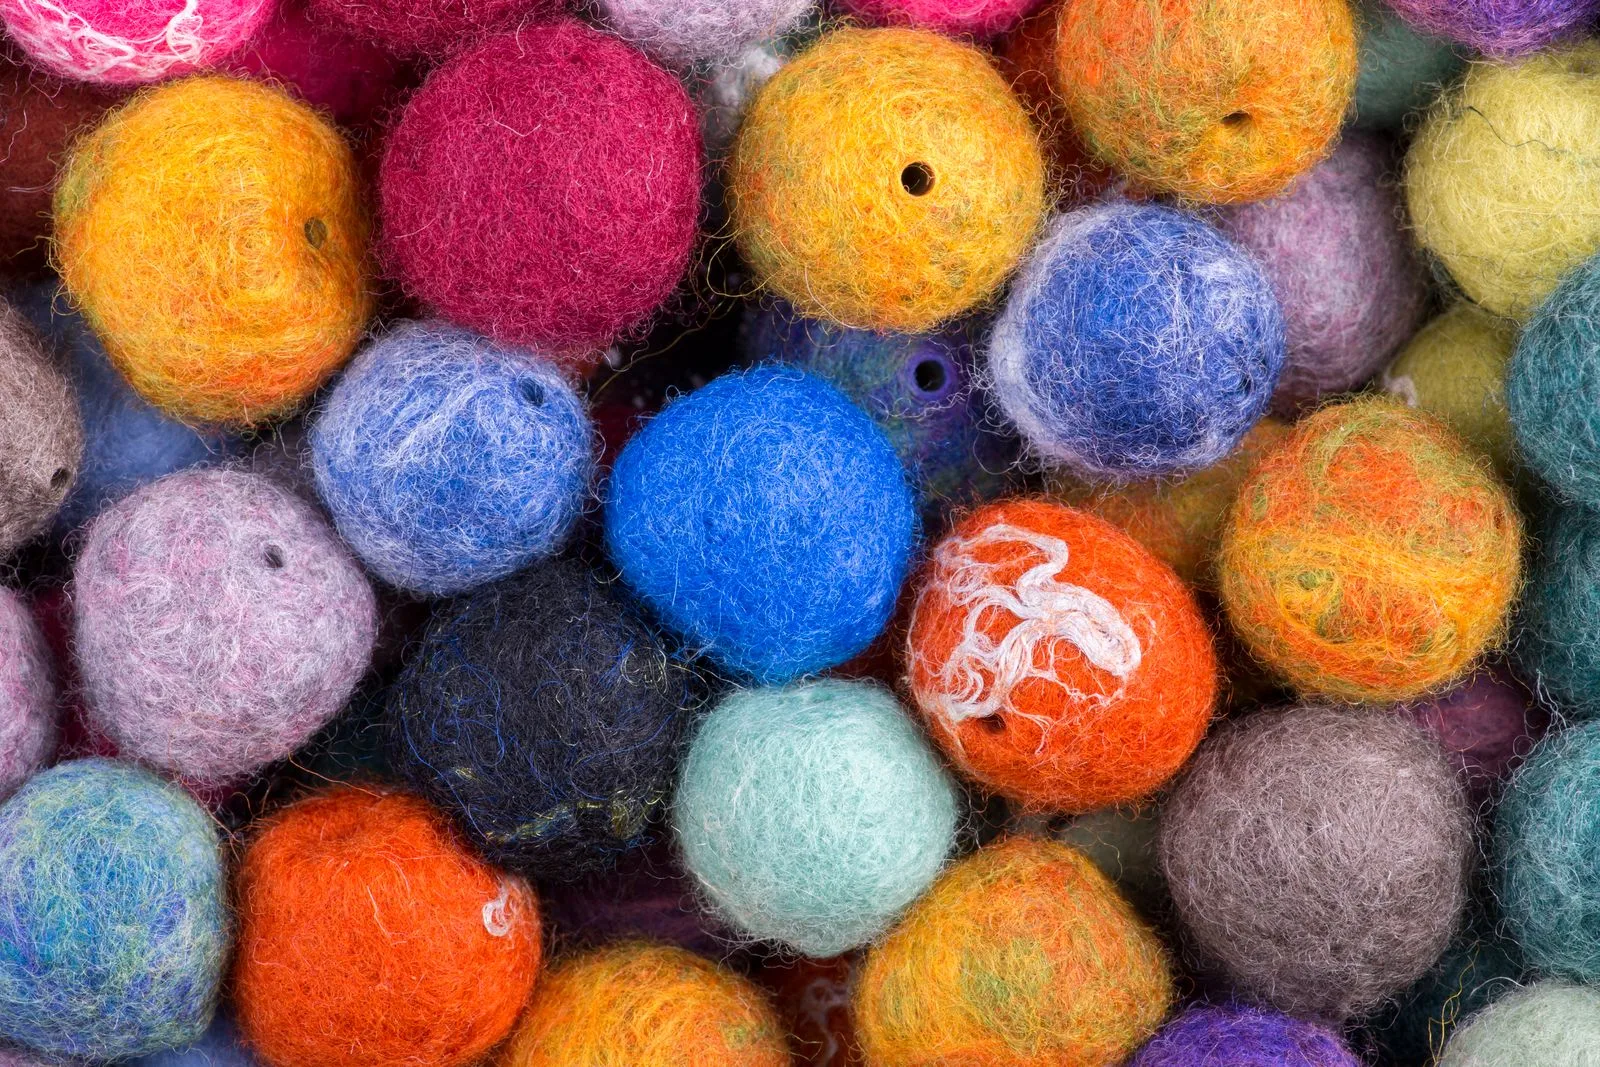
Felt Garland
How to make a felt garland that hangs properly: how many balls a length takes, how to get a needle through a hard felt ball, spacing that stays put, and Christmas, Halloween and Valentine versions.
8 min read Beginner
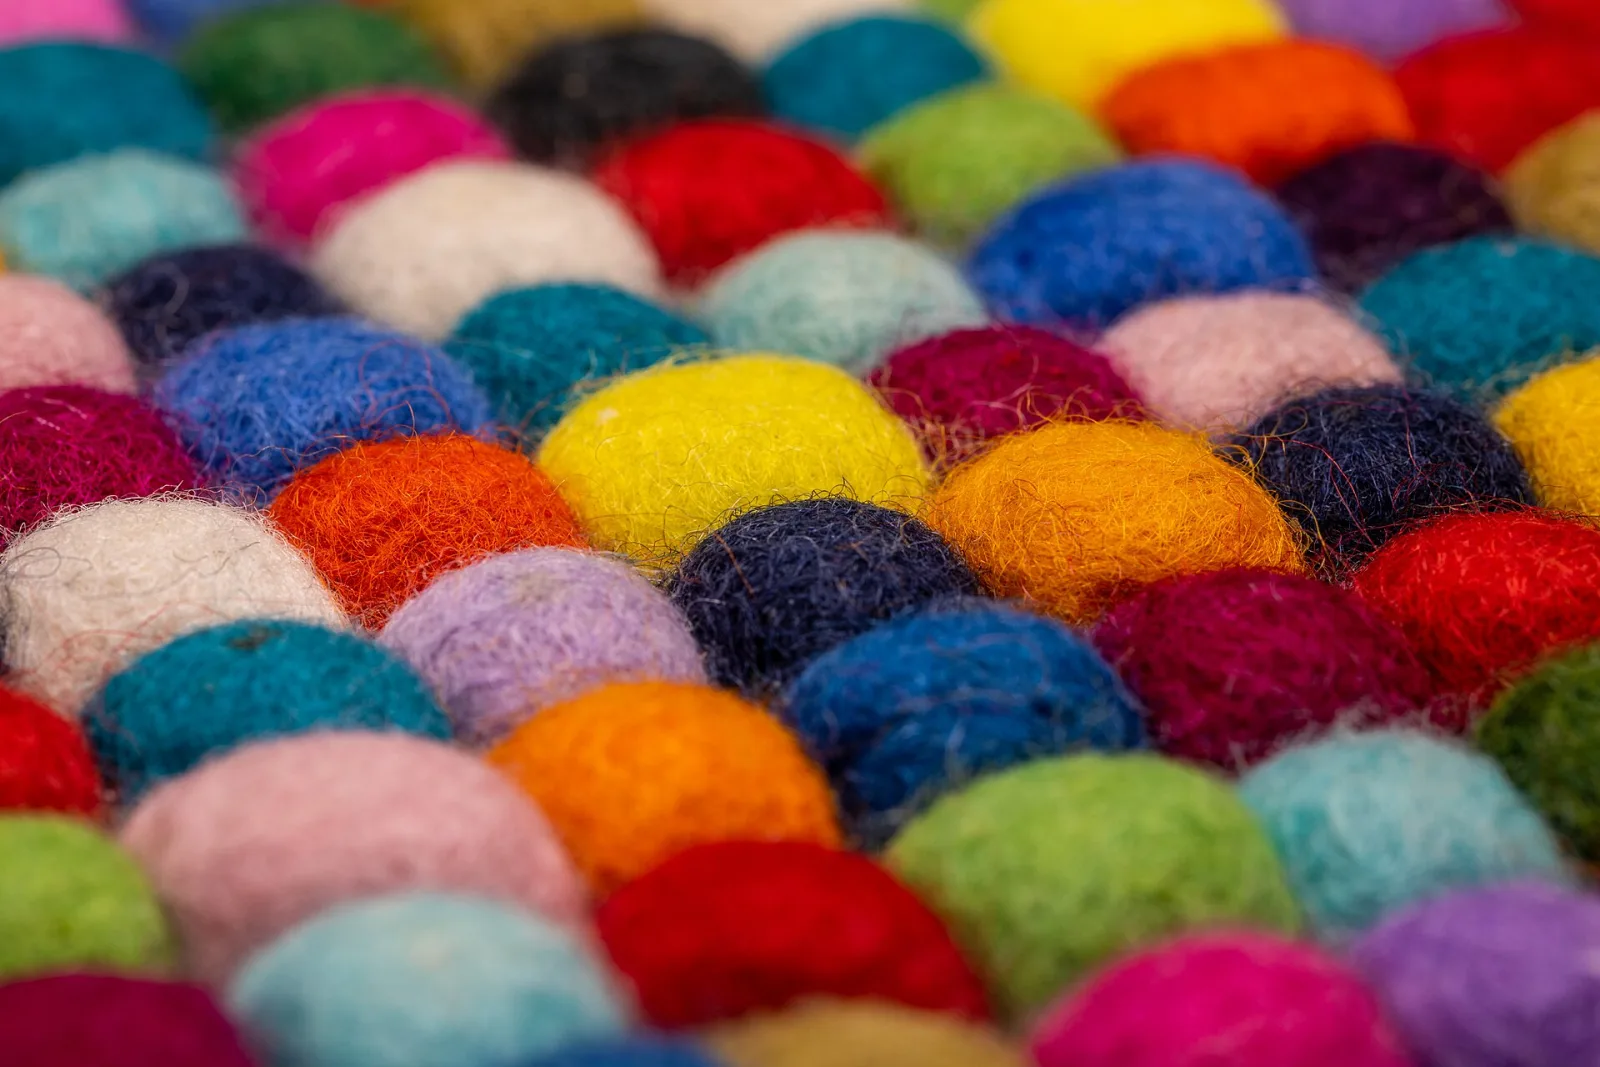
Felt Coasters
Three ways to make felt coasters that lie flat and do not lift with the mug: the right felt thickness, how many felt balls a coaster takes and how to sew them, and wet felted coasters with a design laid in.
5 min read Beginner
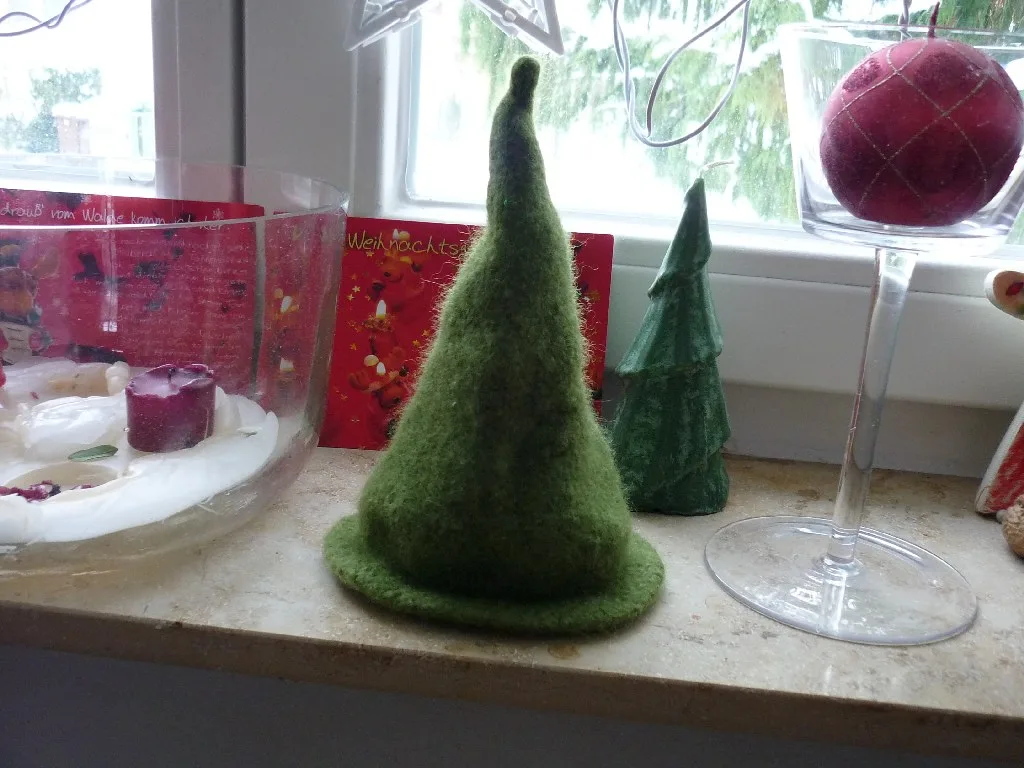
Felt Christmas Tree
How to make a felt Christmas tree, from the children's wall tree with detachable ornaments to felted cones and tabletop trees, with sizes, materials and what holds the ornaments on.
7 min read Beginner
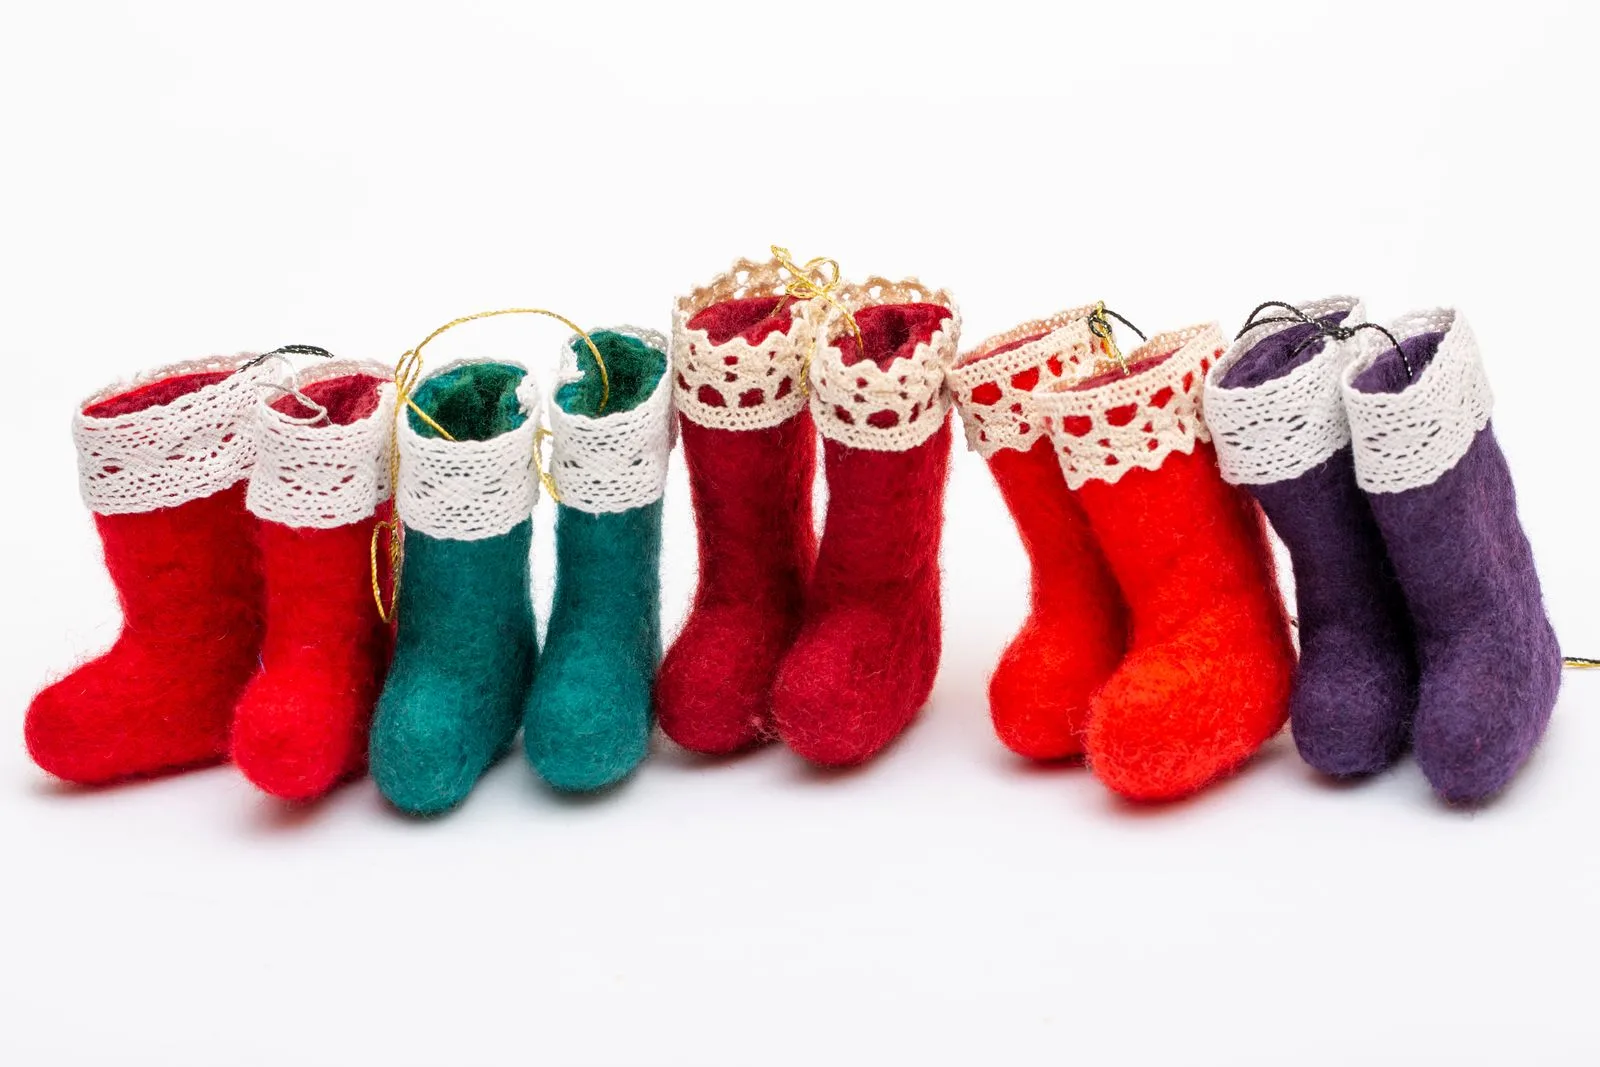
Felt Christmas Stocking
How to make a felt Christmas stocking: a pattern that holds its shape, the felt that survives being filled, names and appliqué, sequin kits, and a seamless wet felted stocking.
6 min read Beginner
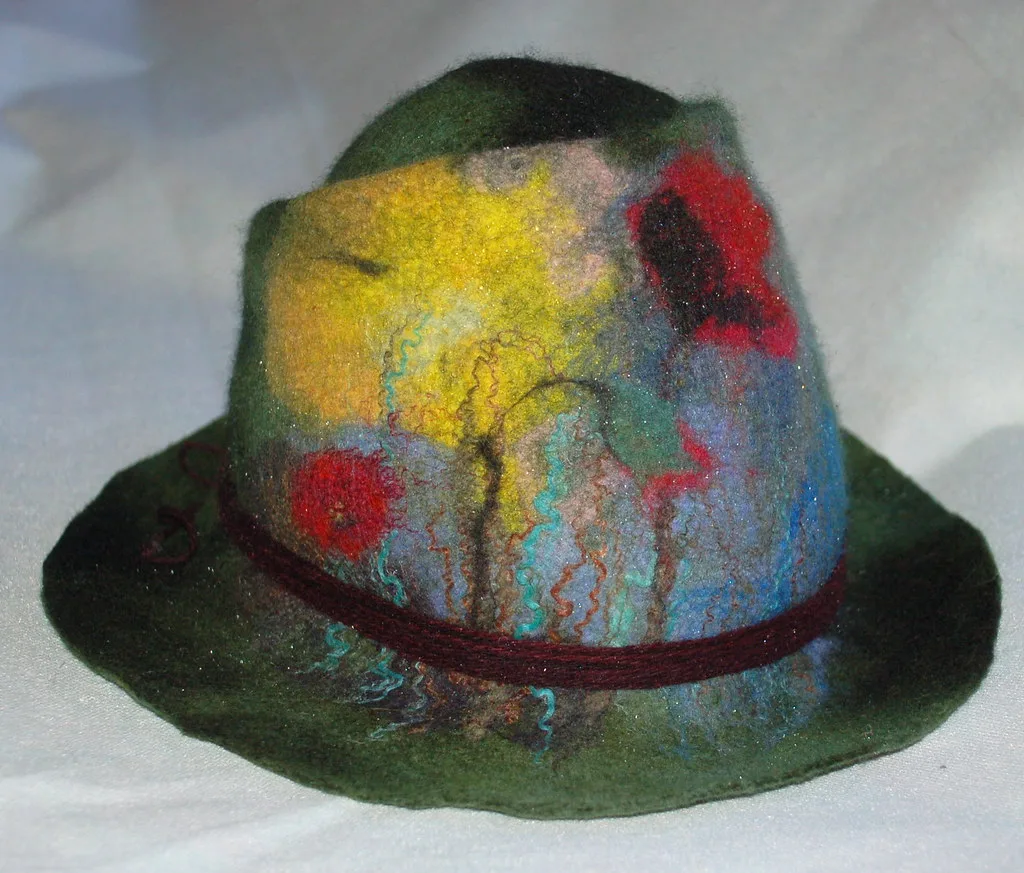
Wool Sauna Hat
A felt hat in a hot room sounds backwards until you understand what it is doing. Why wool is the only sensible fibre for it, the Russian banya and Finnish styles, how to choose one, and how to felt your own with real template sizes.
8 min read Intermediate
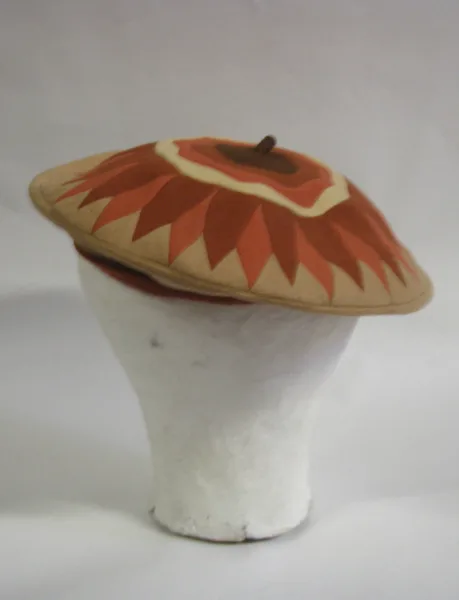
Wool Felt Beret
A felt beret and a knitted one behave nothing alike. What blocked wool felt does that knitting cannot, how to judge a good one, and how to get the shape back when it goes soft.
8 min read Intermediate
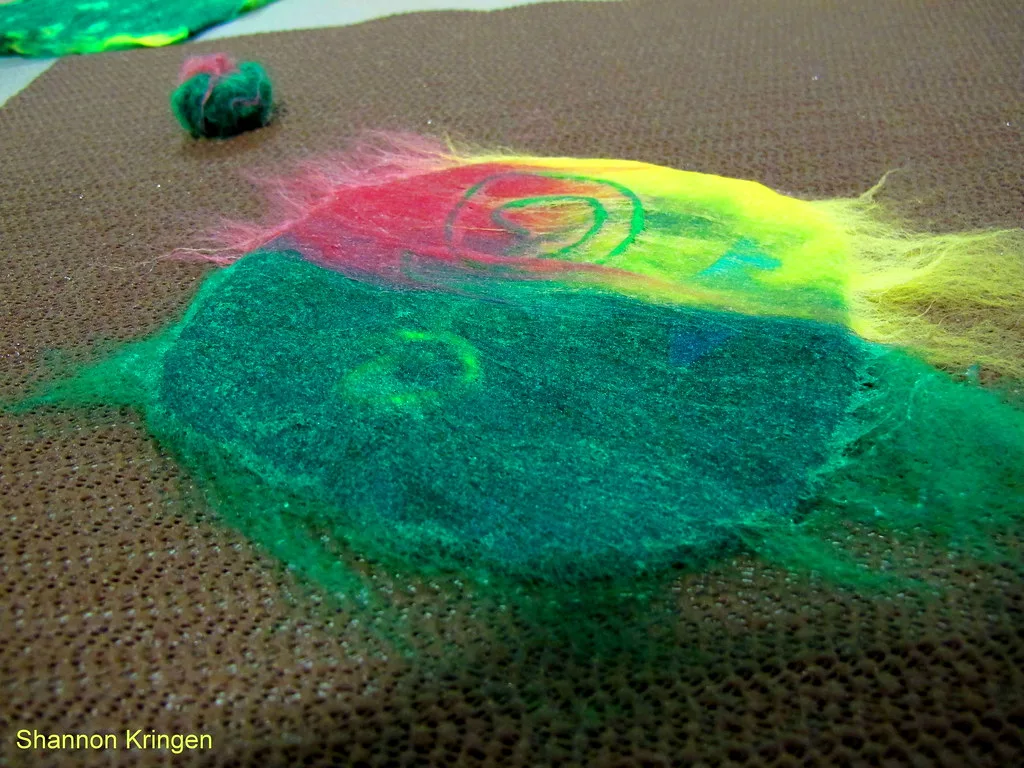
Wet Felting Materials
Wet felting needs four things and forgives almost no substitutions in the first one. Which fibres actually mat, which quietly refuse, and what the water, soap and surface are really doing.
6 min read Beginner
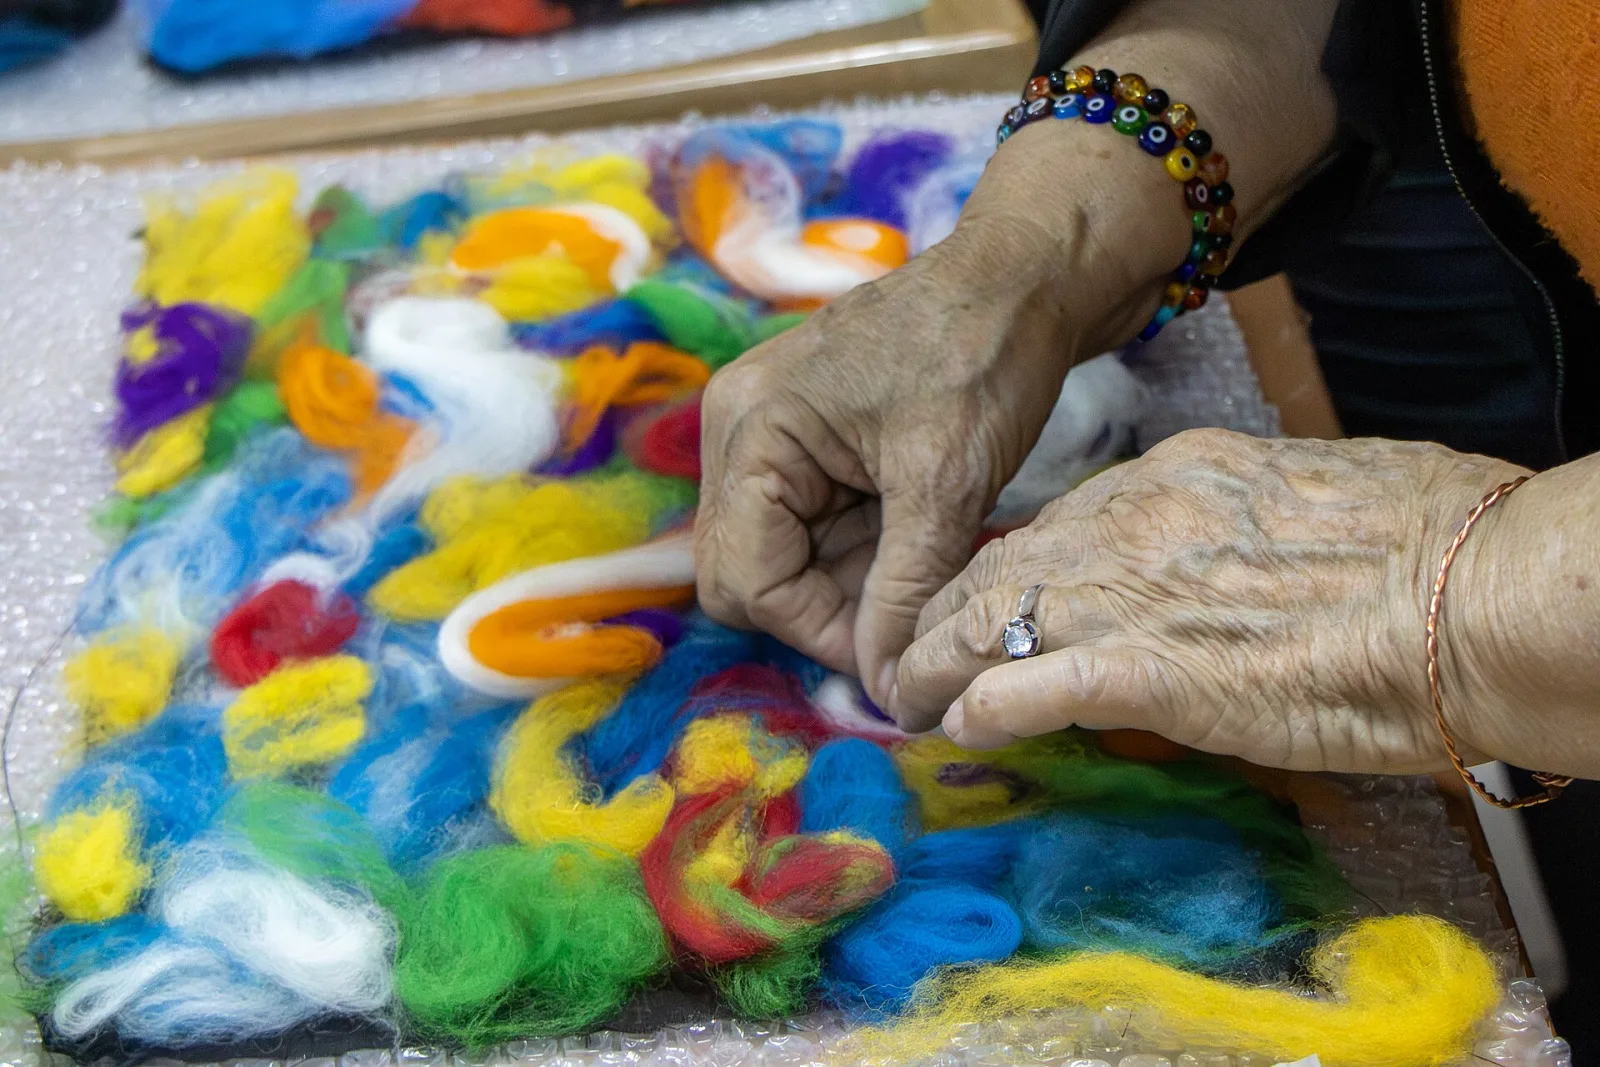
What Is Felting
Wool is the only common fibre that permanently tangles itself into cloth. What actually happens to the fibre, and the four different crafts that all get called felting.
6 min read Beginner
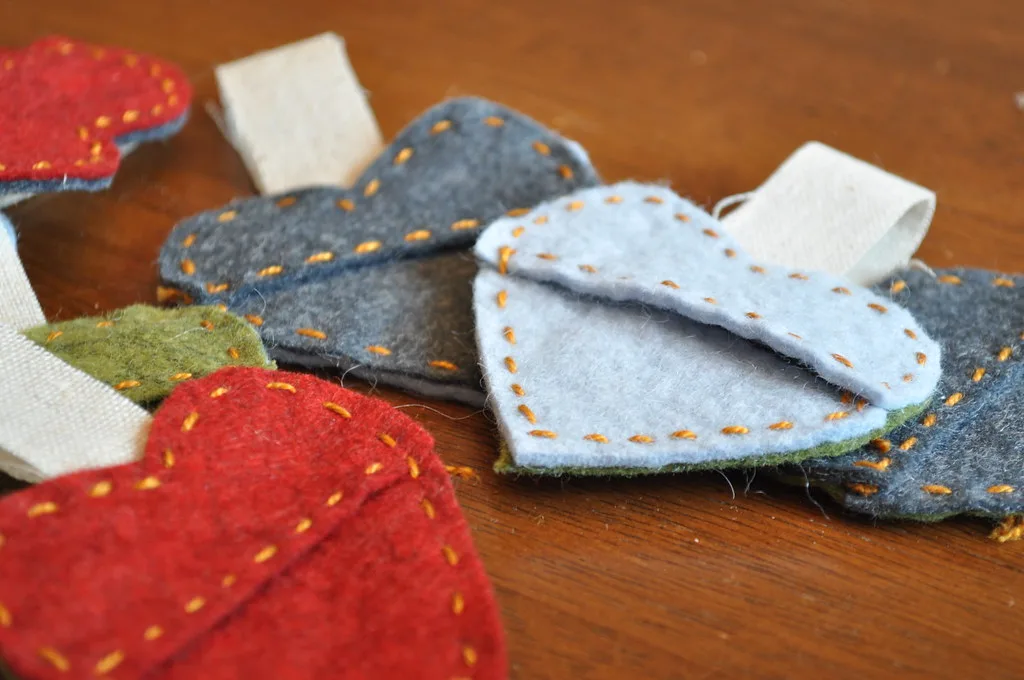
Felted Heart
The shape everyone gets slightly wrong. Three ways to make a heart in wool, and the one adjustment that stops it looking like a leaf.
4 min read Beginner
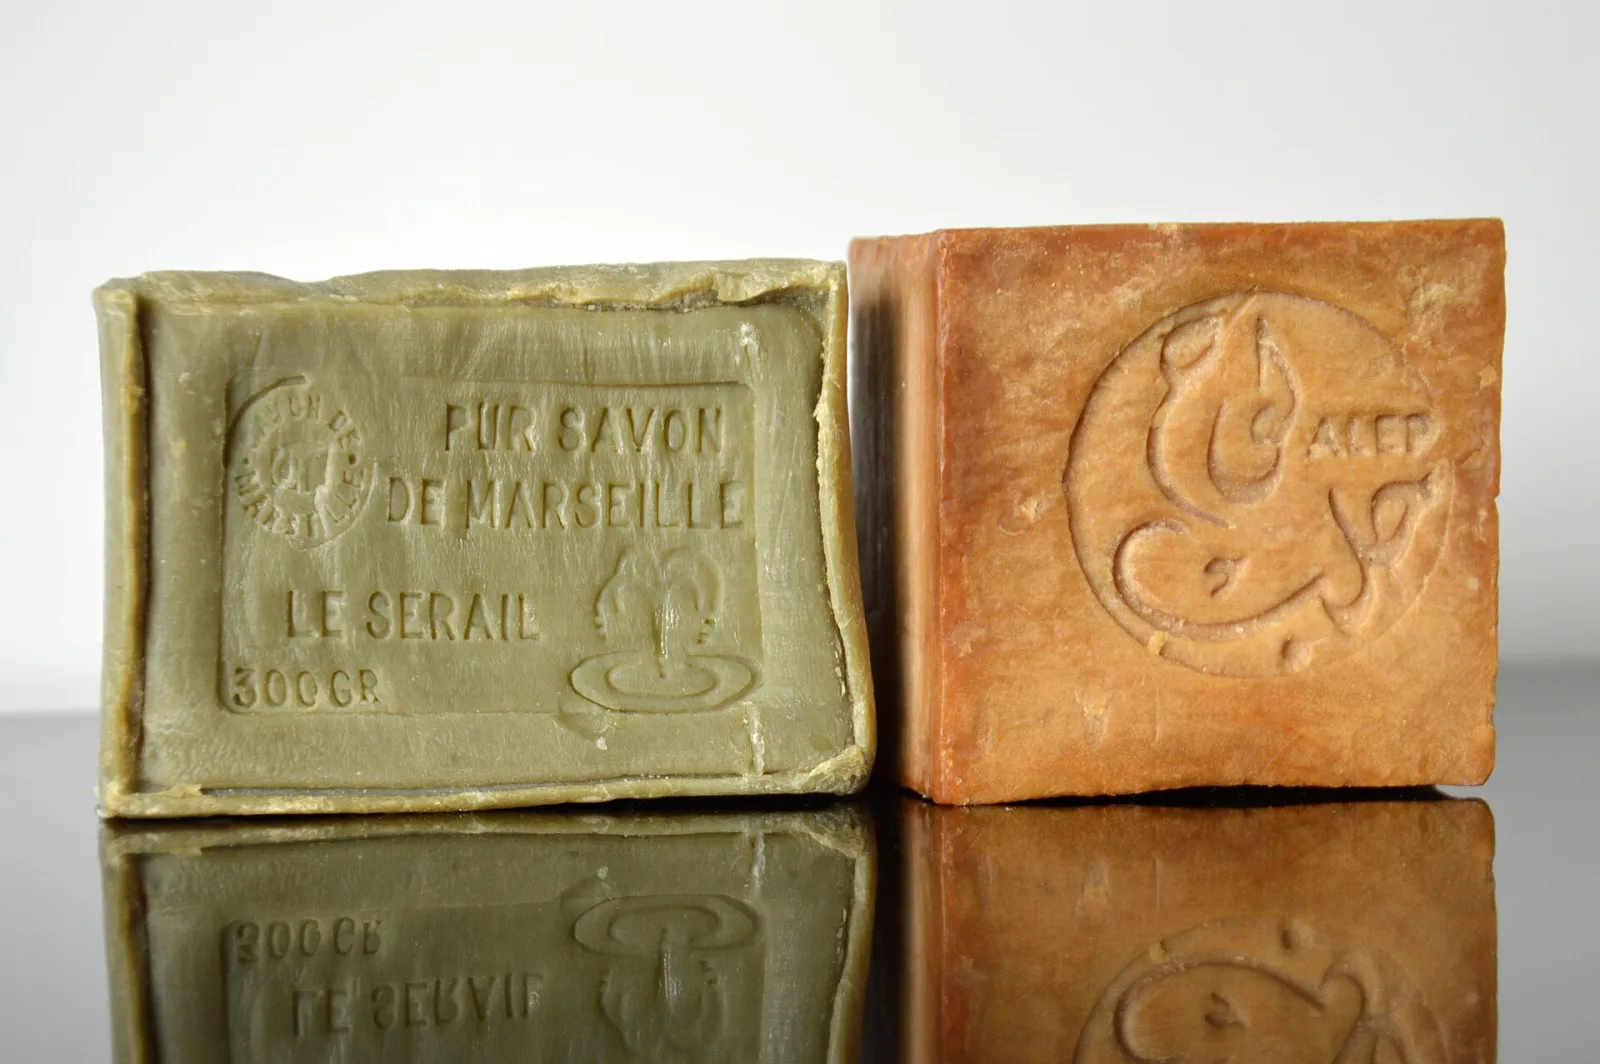
Best Soap for Felting
Soap does two jobs in wet felting — it lubricates and it raises the pH so the scales open. Which soaps do both, and why washing-up liquid is a compromise.
4 min read Beginner
Browse Wet Felting by topic
Other sections
Needle Felting
Sculpt wool into animals, figures and decorations with barbed needles. Start with the basics, then work up to armatures, faces and fine detail.
Nuno Felting
Felt merino through open-weave fabric to create light, drapey textiles. Fabric choice, fibre weight and migration, explained clearly.
Projects
Complete makes with photos at every stage — animals, flowers, ornaments and home decorations, sorted by how much experience they need.
Patterns
Printable templates, measurements and shaping guides you can follow exactly, or adapt once you know what the shapes are doing.
Tutorials
The core techniques, one skill at a time — each written as a sequence you can follow at the table with wool in your hands.
Supplies & Tools
Which needles, wool and mats are actually worth buying — what the gauges mean, what to skip, and what a starter kit really needs.
Tips & Troubleshooting
Fixes for the things that go wrong: fuzzy surfaces, broken needles, wool that will not felt, and shapes that refuse to hold.
Knitting
The knitting side of working with wool — leaf patterns, casting on, needle sizes and knitting faster — including the pieces that go on to be felted.
Seasonal & Nature
Why leaves fall when they do, what a cobweb actually is, and the seasonal makes that follow from both.
Recipes
What to do with the pumpkin once it is carved — cooking from fresh, including the parts most people throw away.