How to Needle Felt: A Complete Beginner's Guide
10 min read Beginner
We may earn a commission from links on this page, at no extra cost to you. As an Amazon Associate I earn from qualifying purchases. Learn more.
How the barbs actually work, which of the four needle gauges to reach for, how to hold and angle the needle, how to join one piece to another, and a first project that teaches all of it.
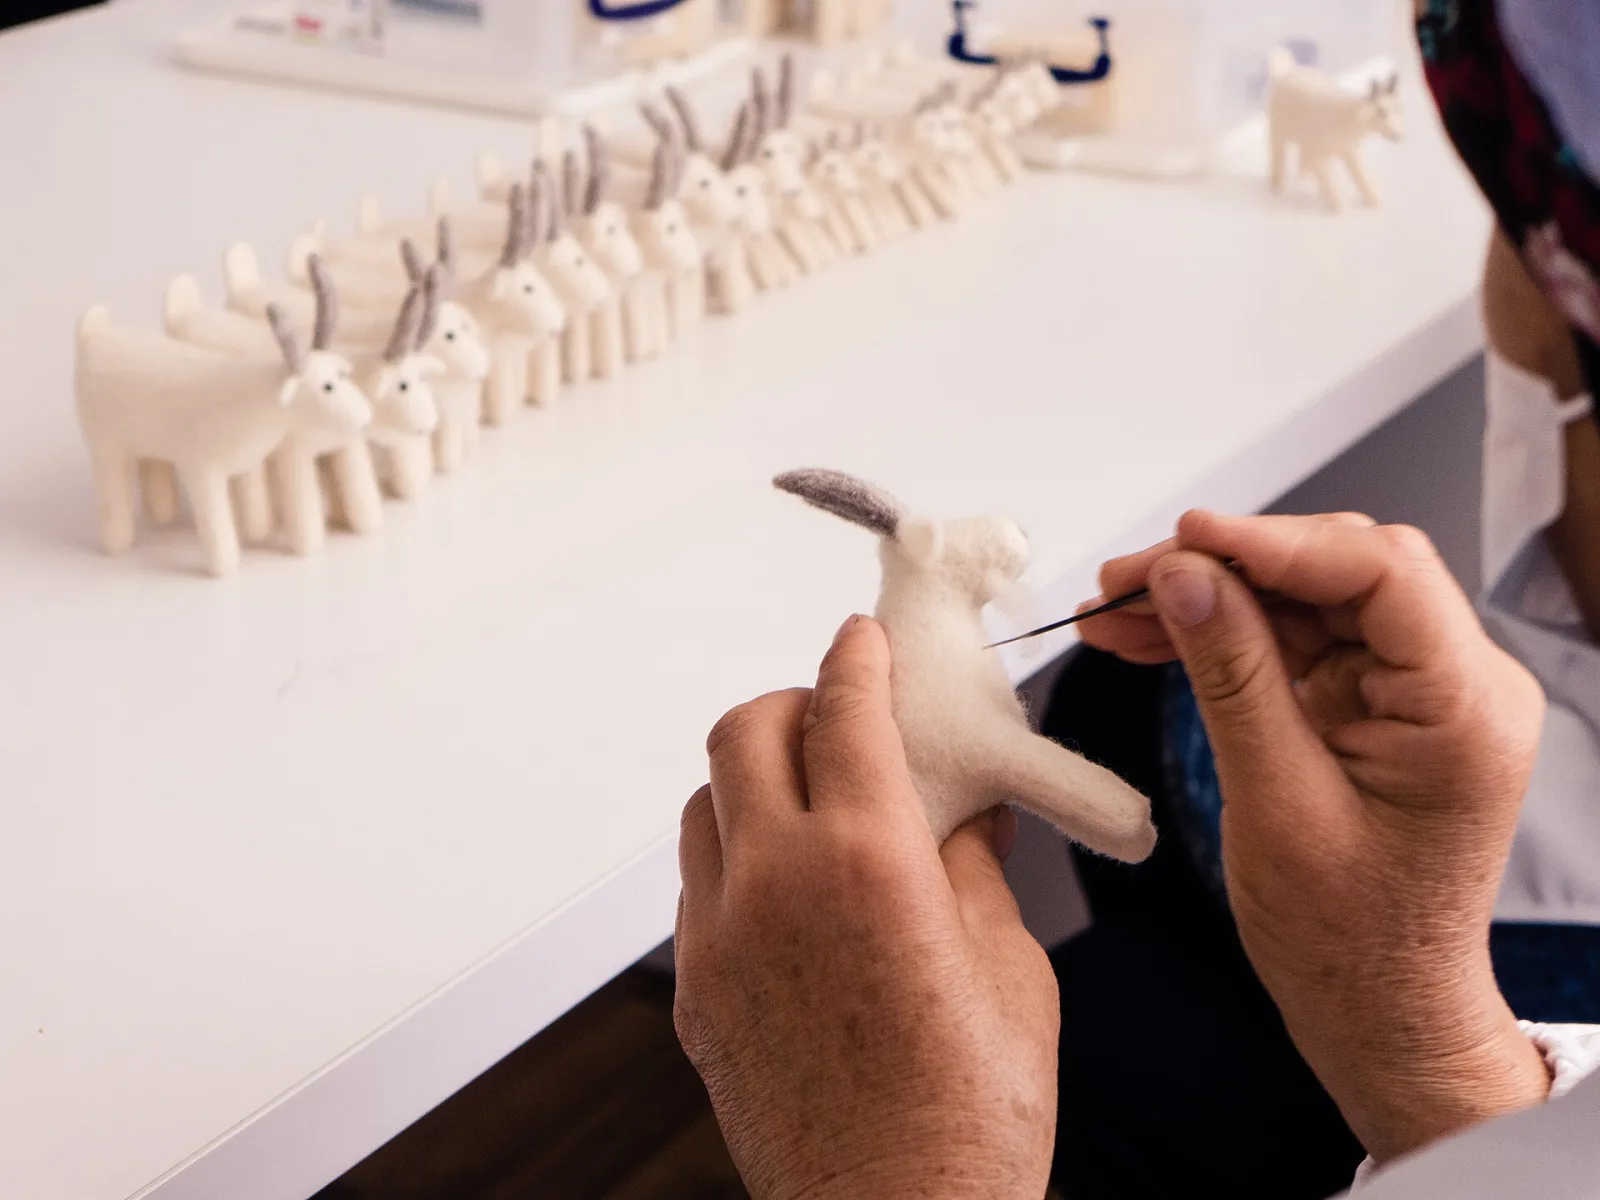
Needle felting is sculpture with wool and a sharp stick. You take a wisp of loose fibre, stab it repeatedly with a barbed needle, and it becomes solid. No glue, no sewing, no water. It is one of the very few crafts where the technique can be explained in a sentence and still take years to exhaust.
This guide covers what you need to buy, why the process works, and how to make your first firm, tidy shape rather than a fuzzy blob.
How needle felting works
Wool fibres are not smooth. Under magnification each one is covered in overlapping scales, like roof tiles. A felting needle is a steel shaft with tiny barbs cut into its sides, all facing the same direction. When you push the needle in, the barbs drag fibres downwards and tangle them past one another. When you pull it out, the scales catch and hold them in the new position.
Repeat that a few thousand times and loose fluff becomes dense enough to carve. Everything else in needle felting is a variation on this one mechanism: stab where you want it tighter, add wool where you want it bigger.
This is also why some wool refuses to felt. Superwash yarns and fibres have had their scales stripped or coated so they will not shrink in the wash — which is exactly the property you are trying to exploit.
What you need to start
Four things. Everything else is optional for a long time.
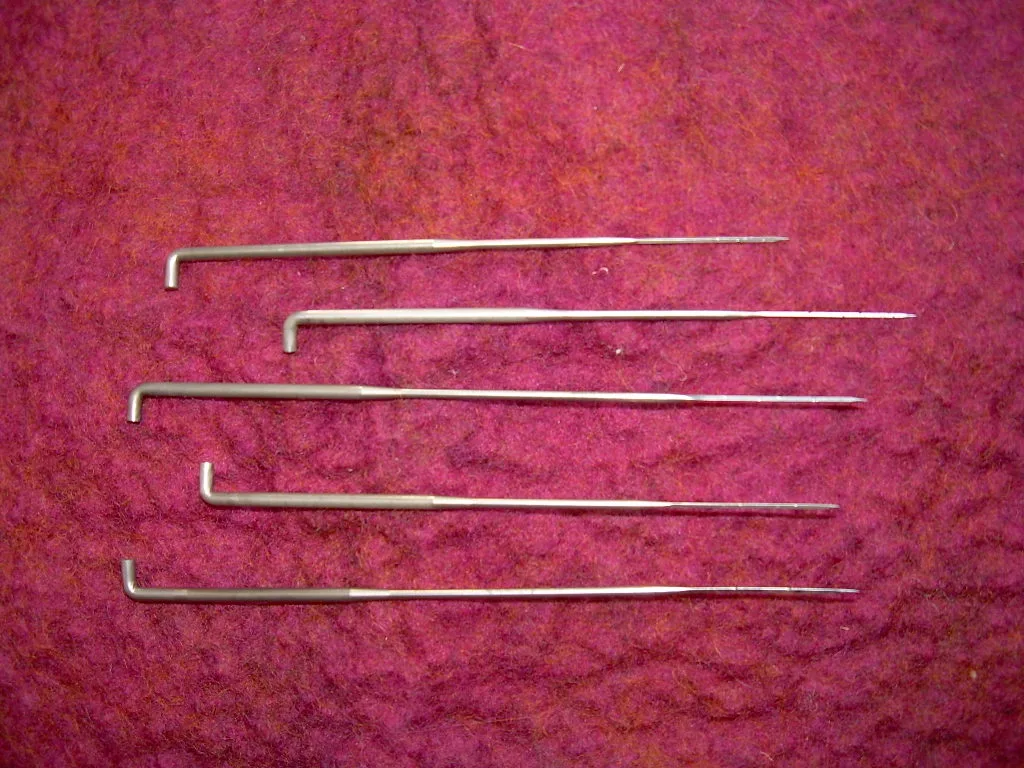
- Felting needles. Start with 38-gauge triangle needles, which handle most of a project, and a few 40-gauge for finishing. Buy at least five of each — they break, and the day you snap your only needle is the day you stop.
- A work surface. A dense foam pad or a wire brush mat. Its job is to receive the needle after it passes through the wool, protecting both your table and the needle tip.
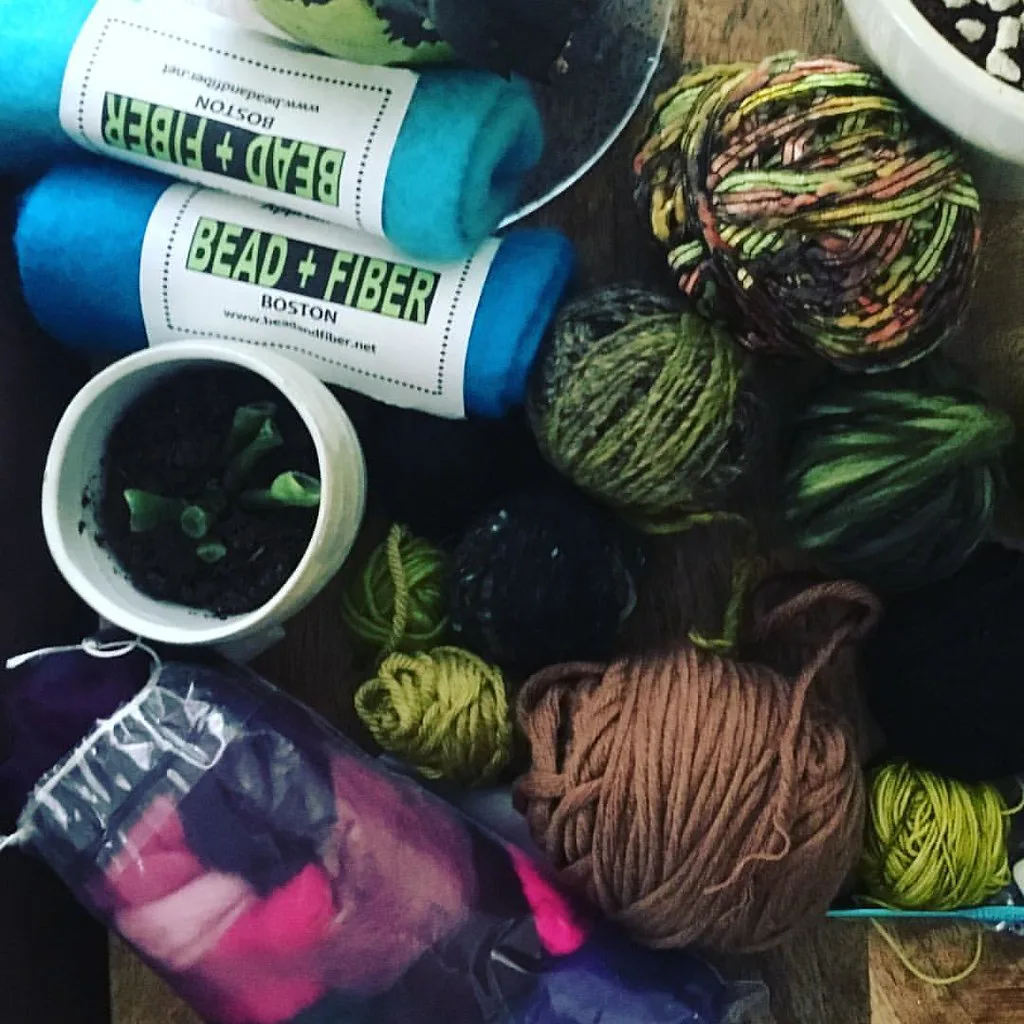
- Core wool. Cheap, undyed, coarse wool for building bulk. Corriedale core wool is the standard choice.
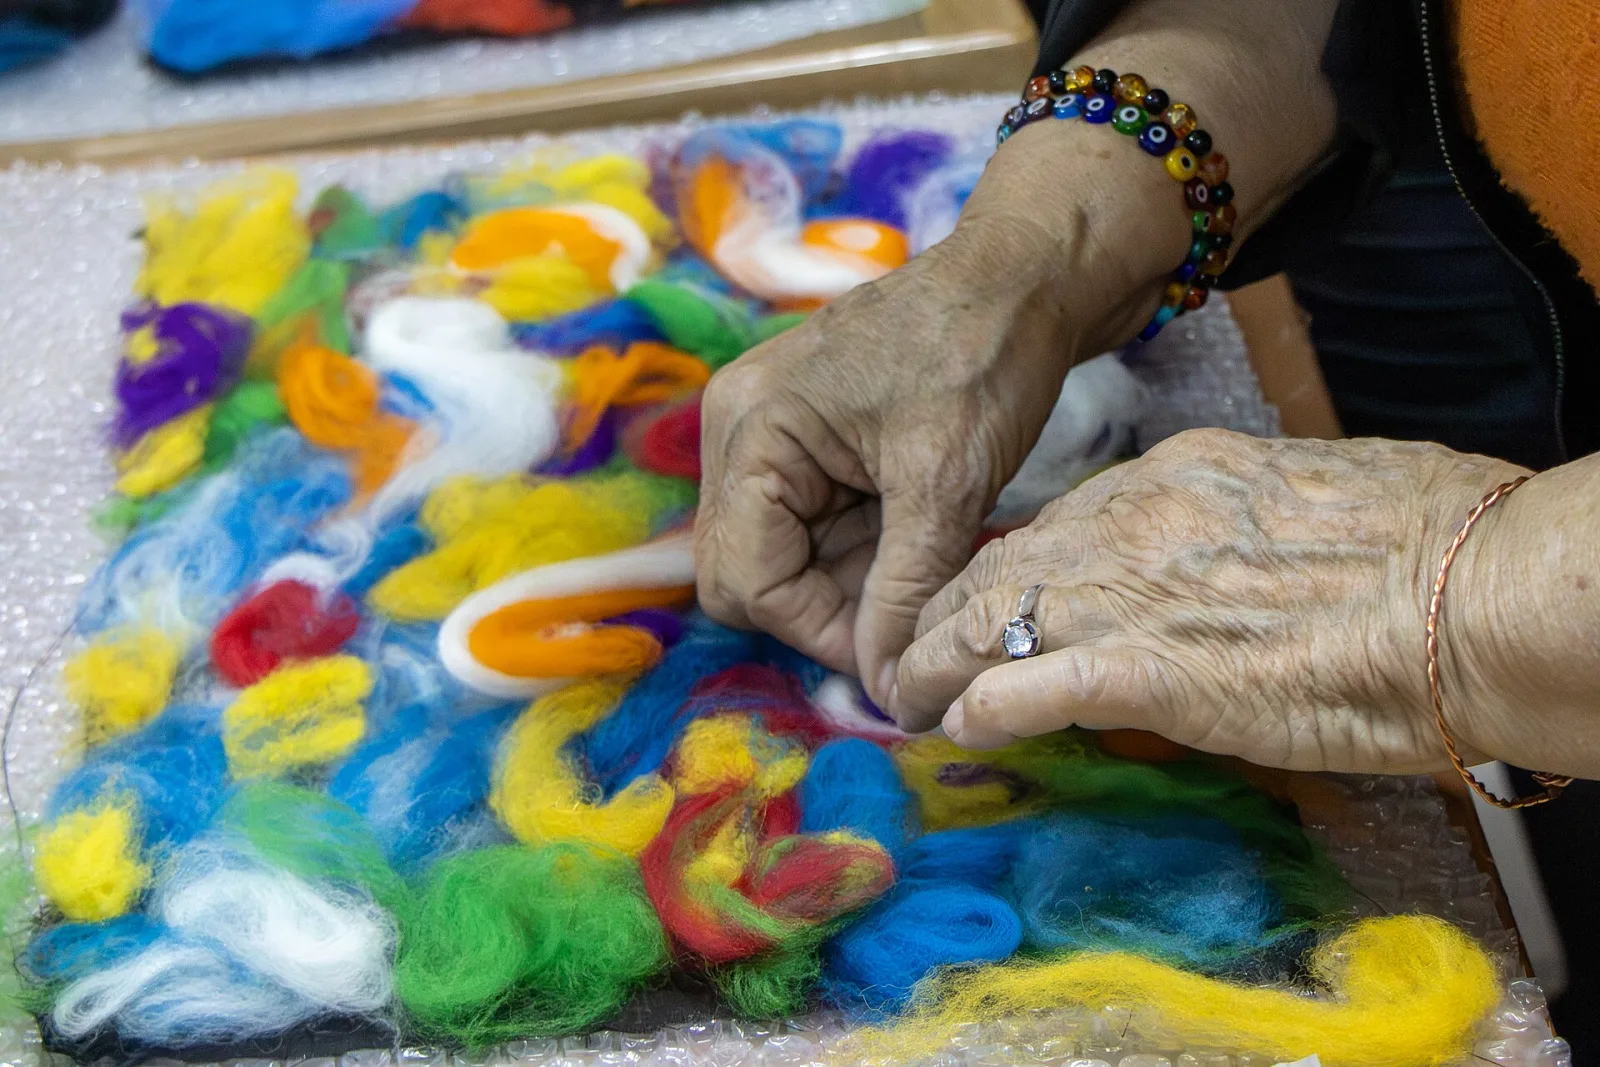
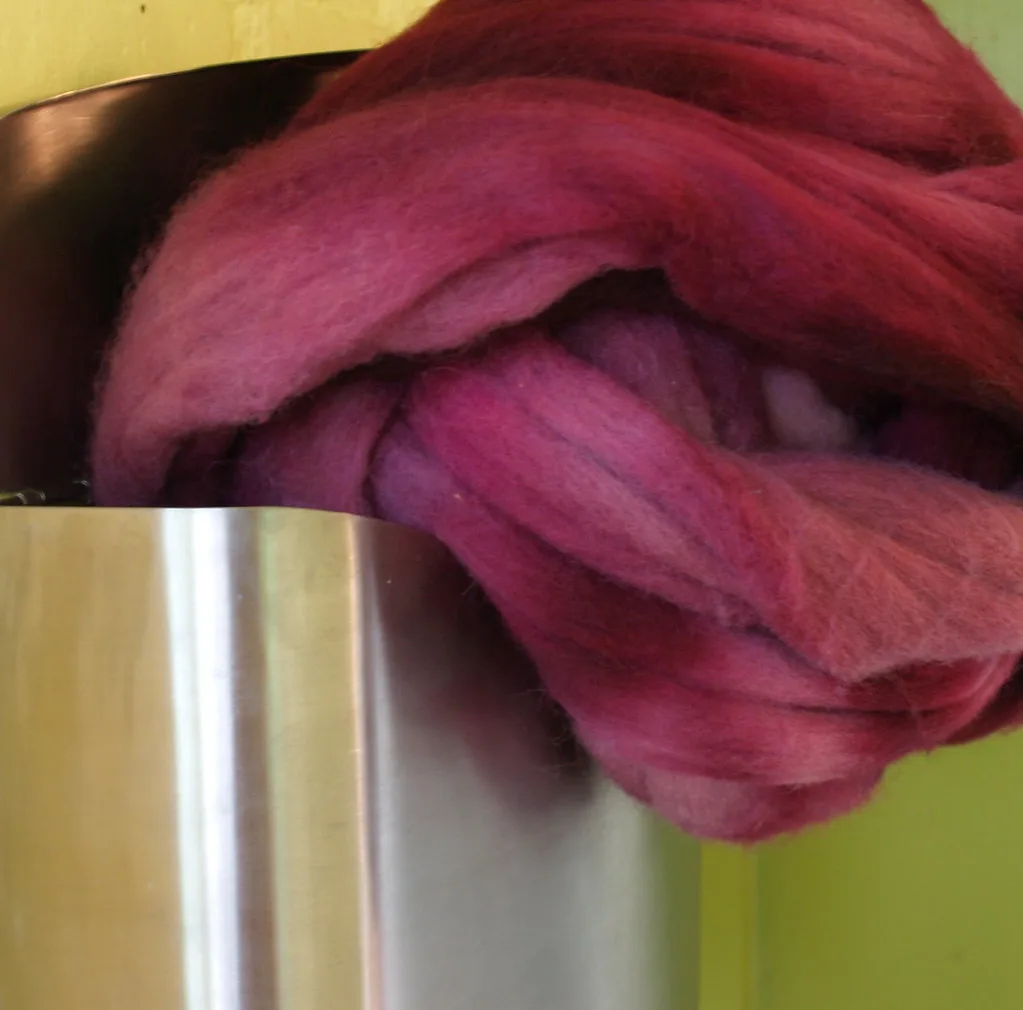
- Coloured wool tops. Merino for the outer surface, where you want colour and a smooth finish.
You do not need a kit, a carrier, a multi-needle tool or a turntable. Our starter supplies guide goes through what is worth adding later and what tends to sit in a drawer.
A word about safety, before you start
Felting needles are surgically sharp and brittle. They will go through a fingernail without slowing down, and every felter stabs themselves eventually. Three habits reduce it to almost never:
- Keep your supporting fingers behind the needle's path, not under it.
- Watch the needle, not the shape, while you work.
- Stop when you are tired. Nearly all injuries happen in the last ten minutes of a session.
Leather finger guards exist and are worth having for detail work, where your fingers are necessarily close to the point.
Which needle, and why the number matters
Gauge is the thickness of the needle, and it runs backwards: the higher the number, the finer the needle. Four cover everything.
- 36 — coarse and fast, for compacting a large core. It leaves visible holes, so it never touches a finished surface.
- 38 — the workhorse. If you own one gauge, own this.
- 40 — surface work and smoothing. Small holes, slower progress.
- 42 — faces, fine detail and anywhere a mark would show.
The cross-section matters as well, and shops rarely explain it. A triangle needle carries barbs on three edges and is the general-purpose shape. A star or quad needle has four, so it works faster and leaves a finer finish. A spiral or twisted needle sets the barbs round the shaft rather than in rows, which gives the smoothest surface of the three. A reverse needle has its barbs facing the other way and pulls fibre out instead of pushing it in — useless for building, indispensable for fur. There is more on each in felting needles explained.
How to hold and move the needle
This is the part that decides whether you get a firm, smooth shape or a lumpy one, and almost nobody is taught it.
- Straight in, straight out, along the same line. The barbs sit on the shaft, so any sideways lever while the needle is buried snaps it. Needles are hardened steel and brittle by design.
- Depth controls what you are doing. The barbs are clustered near the point, so a shallow stab that buries only the first few millimetres tidies the surface and moves almost nothing underneath. A deep stab binds the interior. Building a core wants depth; finishing wants a needle that barely enters.
- Angle controls shape. Stabbing straight down flattens. Stabbing at 45 degrees pulls the surface towards the direction you came from, which is how you draw a waist in, define a jaw, or lift a cheek without adding wool.
- Rotate constantly. Fifteen or twenty stabs, then turn. Working one face for too long gives a firm front, a soft back and a shape that has gone quietly oval.
- Rhythm over force. Speed comes from a steady light rhythm, not from pushing hard. Hard stabbing breaks needles and drives your own fingers onto the point.
Joining one piece to another
Beginners build a lovely head, a lovely body, and then discover that pressing them together does nothing. Parts are joined with loose fibre, not with pressure.
- When you felt a part, stop short at the end that will attach and leave a tuft of loose, unfelted wool hanging off it — a centimetre or two is plenty.
- Hold the part where it belongs and spread that loose tuft out flat across the surface of the body, like the roots of a tree.
- Needle the spread fibres down into the body, working around the whole joint and coming in from several different angles rather than always from above.
- Lay a thin veil of the surrounding colour over the seam and needle it in shallowly. The join disappears.
A joint made this way is as strong as the rest of the piece. One made by needling two already-firm surfaces together will come apart in your hands, because there are no free fibres left to tangle.
When you need a wire armature
Wool on its own holds any shape that is chunky. It will not hold a thin leg, a neck that reaches, or a pose. For those, twist pipe cleaners or florist's wire into a skeleton, wrap it with a thin layer of core wool so the wool has something to grip, and build on top of it. Anything with legs thinner than about a centimetre needs one, and so does anything you want to be able to reposition.
Nothing here is permanent
The most useful fact for a beginner: needle felting is almost entirely reversible in the direction that matters. Too thin, lopsided, an ear in the wrong place — you add more wool and needle it in. Nobody can tell afterwards. The only irreversible move is over-compacting a piece far smaller than you meant, and even then it becomes the core of something else.
So work in stages, look at it from arm's length every few minutes, and stop worrying about committing.
Your first project: a firm wool ball
Do not start with an animal. Start with a ball, because a ball is the foundation of nearly everything else — heads, bodies, berries, snowmen — and because it teaches you what "firm" feels like without any pressure to look like something.
1. Pull, don't cut
Take your core wool and pull a length off with your hands rather than cutting it. Cut ends are blunt and blend badly; pulled ends taper and disappear into the work. Grip the fibre with both hands about 15 cm apart and draw them apart slowly.
2. Roll a loose starting shape
Roll your wool into a rough ball, tucking the ends in. It should be roughly twice the size you want the finished ball to be. Wool compacts dramatically — expect to lose between a third and a half of the volume.
3. Stab straight, all over
Set the ball on your pad and begin stabbing. The needle must go straight in and come straight out along the same line. Levering it sideways is the single most common reason needles snap.
Rotate the ball constantly. If you work one side for too long you will get a firm face and a soft back, and the shape will pull oval. Every fifteen or twenty stabs, turn it.
4. Judge firmness by sound and feel
Early on the needle sinks in silently and meets no resistance. As the fibres lock, you will feel a distinct springiness and hear a faint crunch on each entry. When the surface no longer dents under thumb pressure, the ball is done.
5. Add a colour layer
Wrap a thin veil of merino around the finished core and tack it down with your 38-gauge needle, then smooth it with the 40. Using cheap core wool inside and good colour outside is standard practice: it costs less, felts faster, and gives a better surface than dyed wool all the way through.
What good work looks like
A well-made needle felted piece is firm. Beginners almost universally stop too early, because the shape looks right long before it is dense. If you can squash it easily between finger and thumb, it needs several hundred more stabs.
The surface should also be smooth rather than hairy. Loose fibre ends are tidied by working the 40-gauge needle at a shallow angle, almost grazing the surface, which tucks the stray ends back in.
How long things actually take
Expectations cause more frustration here than technique does. Rough figures for a beginner, and they halve with practice:
- A firm 3 cm ball — 15 to 20 minutes.
- A simple animal 7 or 8 cm tall — an hour and a half to two hours.
- A face you are pleased with — longer than the entire rest of the figure, every time.
The work is also front-loaded in a way that feels wrong: the shape appears in the first quarter of the time, and the remaining three quarters is firming it up with almost nothing visible to show for it. That stretch is where beginners stop, and it is exactly the stretch that separates a solid piece from a squashy one.
Looking after the needles, and yourself
- Needles blunt before they break. One that has stopped biting and is dragging at the surface has worn barbs. They are consumable — replace rather than persevere.
- A snapped tip buried in the work has to come out. Tease the wool apart and find it; a steel splinter inside a toy is not something to leave there.
- Store them point-down in cork or a block. Loose in a tin they blunt one another.
- The repetitive strain is real. It is one small motion, thousands of times, usually with the shoulder held up. Drop the elbow, keep the work at chest height rather than in your lap, and break every twenty minutes.
- Stop when you are tired. Almost every stabbed finger happens in the last ten minutes of a session, and is needle felting dangerous covers what to do when it happens.
Where to go next
Once a ball feels easy, the natural progression is:
- A more careful ball, worked to a properly even sphere.
- A simple animal, which is really two balls joined and shaped.
- A needle felted chick, the smallest version of that — two balls, a beak and nothing else to get wrong.
- A needle felted pig, once you want a shape that has to be recognisably one animal and not another.
- Flowers and botanicals, where irregularity reads as natural and forgives a great deal.
If your early attempts are frustrating rather than merely imperfect, the problem is usually one of five things — all covered in the beginner mistakes guide.
The ball is worth doing properly on its own first — how to needle felt a ball takes it further than this page does. When you are ready for a creature, needle felted animals for beginners orders the whole animal library by the technique each one teaches. For what to buy beyond the four essentials see felting supplies for beginners and felting kits, and for the fibre itself, wool roving for needle felting covers breeds, quantities and what each costs.
Frequently asked questions
Is needle felting hard to learn?
No. The technique is a single motion, stabbing wool with a barbed needle until the fibres tangle, and you can make something recognisable in an afternoon. What takes longer is judging firmness and proportion.
How does needle felting actually work?
The needle carries tiny barbs along its shaft that catch fibres and drag them past one another. Repeated stabbing tangles them permanently, so the wool compacts into a solid shape. No water, soap or glue is involved at any point.
How do I avoid stabbing my fingers?
Keep the hand holding the work beside the needle rather than underneath it, work slowly enough to watch the tip, and use a leather thimble for detail work. Everyone catches a finger eventually, and barbed needles make it worth avoiding.
How do I know when a needle felted piece is firm enough?
Judge it by sound and feel. The stab changes from a soft push to a distinct resistance, and the surface stops denting under a fingertip. Most beginners stop at roughly half that point.