Felted Gnome: The Hat and the Beard Are the Whole Figure
9 min read Beginner
We may earn a commission from links on this page, at no extra cost to you. As an Amazon Associate I earn from qualifying purchases. Learn more.
A gnome is a cone under a hat. Get the hat proportion right and it works; get it wrong and nothing else saves it. Includes a drawable flat pattern with real measurements.
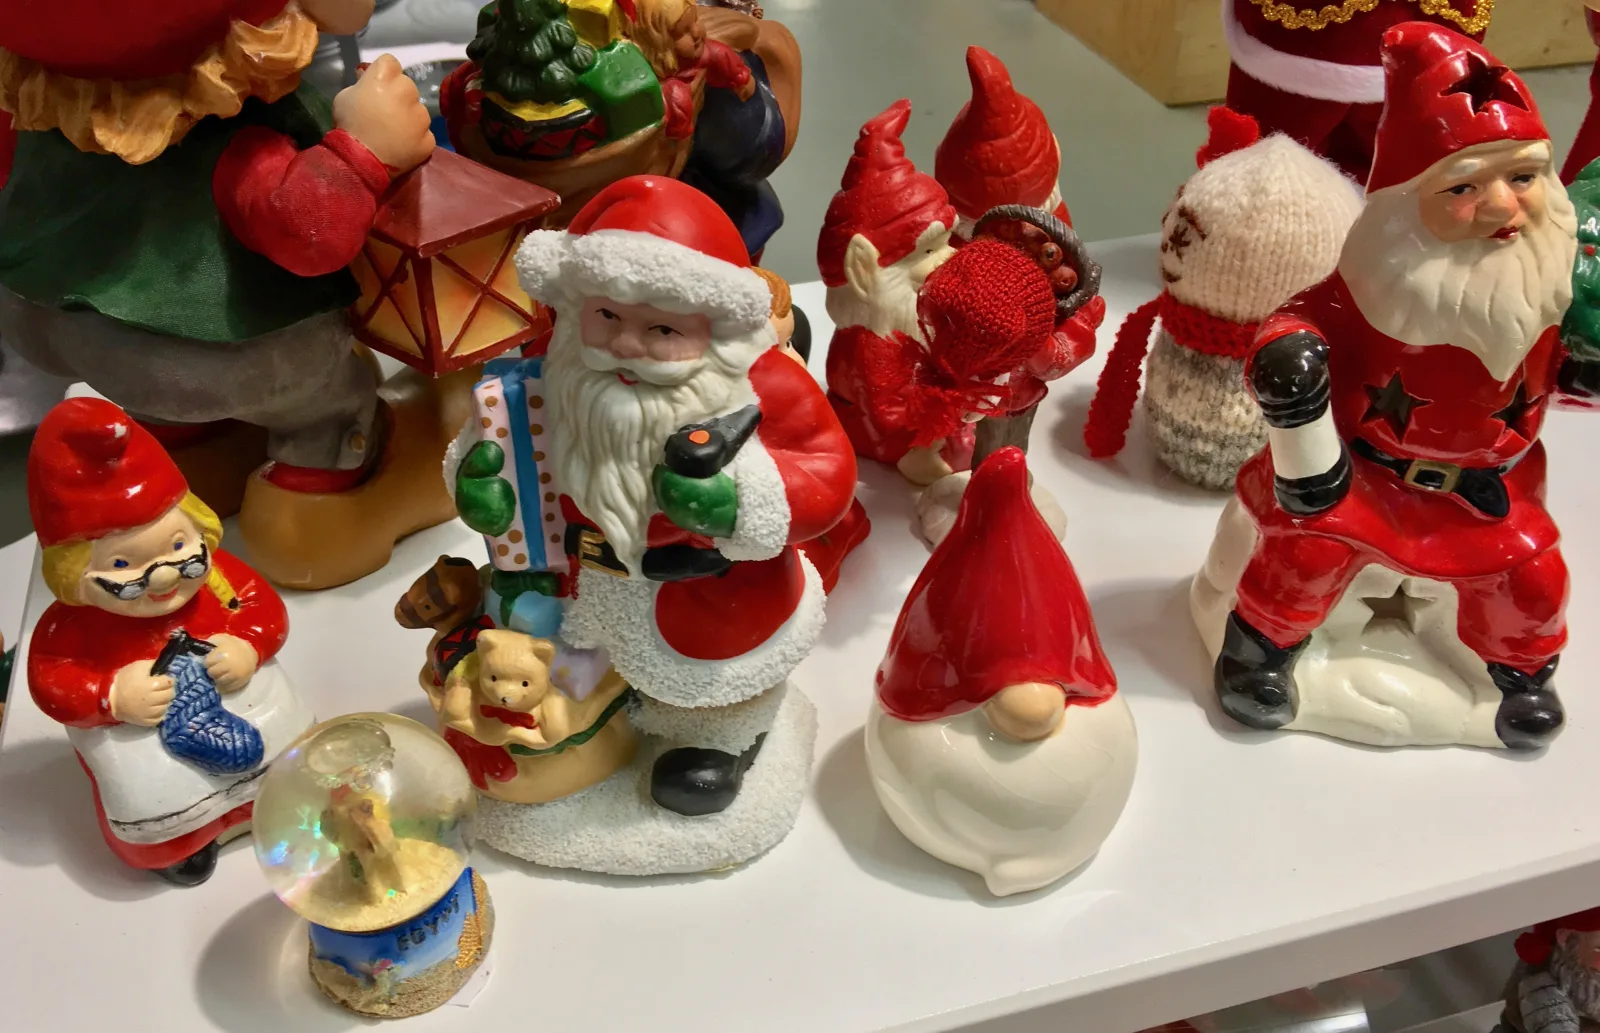
Gnomes have become the standard beginner sculpture, and for good reason: no face, no limbs, no anatomy. A cone, a beard, a nose and a hat, and it is unmistakably a gnome. There is very little that can go wrong and a great deal you can vary.
What decides whether one looks right is almost entirely the hat and the beard. The body underneath is a plain cone that nobody will ever see much of — by the time the hat comes down to the nose and the beard covers the front, perhaps a fifth of the body is visible. So the hat is where the drawing happens, and it is worth cutting a pattern for rather than guessing.
What you need
- Core wool — 15 to 20 g for a 15 cm gnome
- White, grey or cream for the beard, 3–5 g — wool locks if you can get them
- Coloured wool, or a piece of wool felt fabric about 12 cm square, for the hat
- A pinch of skin-toned wool for the nose
- Felting needles, 38 and 40 gauge
- A foam pad or brush mat
- Compass, ruler and protractor for the hat pattern
Proportions for a 15 cm gnome
Fix these before you start and everything else follows:
- Body cone: 9 cm tall, 5 cm across the base, tapering to about 2 cm at the top.
- Hat: 8 cm tall, 5 cm across the base, pushed 2 cm down over the body.
- Finished height: 9 + 8 − 2 = 15 cm, of which the hat is 8 cm — about 53%.
- Nose: a 1.2 cm ball, sitting right at the hat brim, 7 cm up from the base.
- Beard: hangs from just under the nose to about 1 cm above the base — roughly 5.5 cm long.
Step 1: The body cone
- Wind core wool into a firm cone, wider at the bottom and tapering to about 2 cm at the top. Wrapping first is much faster than stabbing a loose pile.
- Needle all over with a 38 gauge, rotating constantly so it does not develop a flat side.
- Work the base hard against a flat surface, stabbing straight down, until it stands square.
- Keep going until the surface does not dent under a fingertip. Most people stop at half this and end up with a gnome that slumps.
Keep the top few centimetres truly conical and symmetrical. A lopsided tip is the commonest reason a hat will not sit straight.
Step 2: The hat
A cone unrolls into a sector of a circle, so a hat pattern is two numbers: the radius of the sector, and the angle it sweeps through.
The pattern, worked
Take the base radius r (half the base diameter) and the hat height h. Then:
- Sector radius L = √(r² + h²) — this is the slant length of the cone.
- Sector angle θ = 360 × r ÷ L.
For the 8 cm hat on a 5 cm base: r = 2.5 cm, h = 8 cm.
- L = √(2.5² + 8²) = √(6.25 + 64) = √70.25 = 8.38 cm
- θ = 360 × 2.5 ÷ 8.38 = 107°
Check it: the arc of a 107° sector at radius 8.38 cm is 2π × 8.38 × (107 ÷ 360) = 15.7 cm, and the circumference of a 5 cm circle is π × 5 = 15.7 cm. They match, so the arc wraps the base exactly once.
To draw it: mark a centre point, set a compass to 8.4 cm, swing an arc, then use a protractor to mark 107° at the centre and rule both radii out to the arc. Cut on the two straight lines and the arc. Add 5 mm along one straight edge only, as a seam allowance, and overlap it under the other when you join.
The same working for a smaller hat — 5 cm tall on a 3.5 cm base — gives L = √(1.75² + 5²) = √28.06 = 5.30 cm and θ = 360 × 1.75 ÷ 5.30 = 119°.
Note what this means for the usual advice to "cut a semicircle". A 180° sector puts the base radius at exactly half the slant, which gives a hat whose height is only 0.87 times its base width — broad and squat, more mushroom than gnome. Semicircles make bad gnome hats. Narrow the angle.
Felt sheet or needle felted
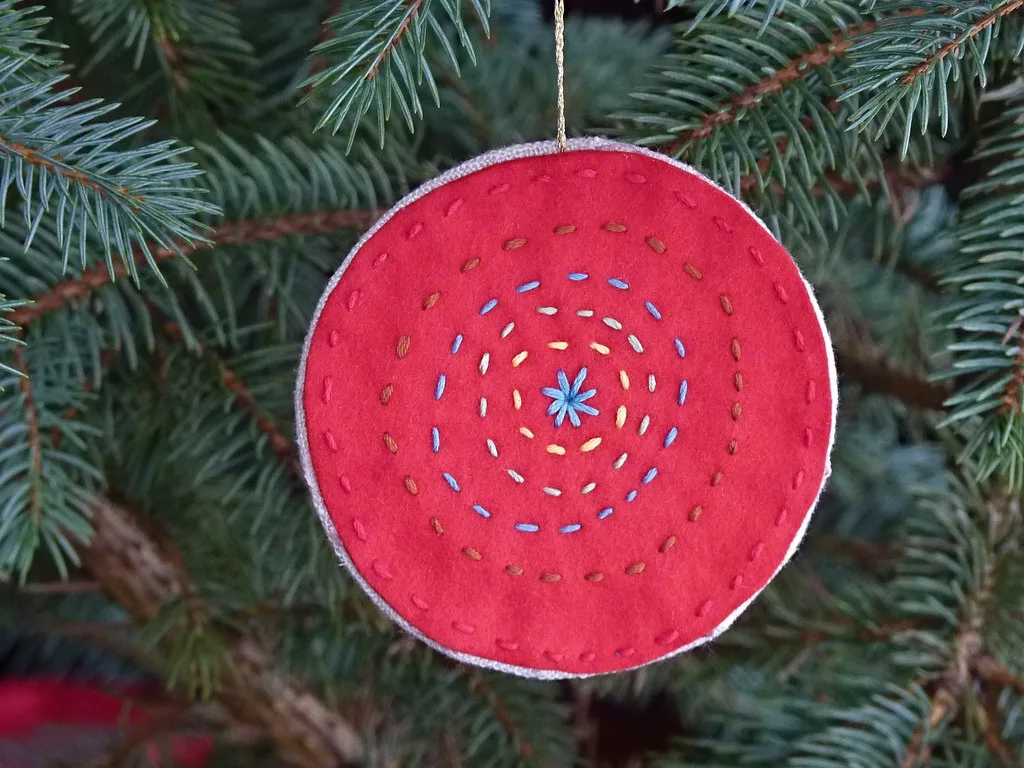
Cut from wool felt fabric, the pattern gives a crisp, thin, sharply conical hat, joined with a whip or blanket stitch up the seam. It is the fastest route, it holds a fold far better than needle felted wool, and it is why most gnomes you see are made this way.
Needle felted, roll the paper pattern into a cone as a former, wrap wool round it and needle over the paper, then slide the paper out: soft, seamless, any colour you own wool in. A solid felted cone is firmer and heavier and suits a large gnome, but it cannot flop, so choose it only if you want a stiff point.
The fold and the flop
A hat taller than about 1.5 times its base width flops under its own weight; ours is 8 cm on 5 cm, a ratio of 1.6, so it will. Bend the tip over and tack it with two stitches so it stays where you put it, and add a small felt ball on the point if you like.
For a turned-up cuff, cut the sector radius 1.5 cm longer than L and fold the bottom up. The folded edge came from the widest part of the cone, so it is slightly too big for the narrower point it now sits at and stands away in a soft flare. That is what makes a cuff read as a cuff — do not flatten it.
Step 3: The nose
Roll a small ball of skin-toned wool between your fingers, place it 7 cm up the front of the cone, and needle around its base only, leaving the middle untouched so it stays domed.
Nose size sets the character: small and neat reads as a tidy gnome, large and bulbous as a comic one. Err large — the brim sits on top of it, and a small nose disappears under the felt entirely.
Step 4: The beard
The beard should cover almost the whole front of the body. A short beard looks like a mistake rather than a style choice.
Locks or carded wool
Wool locks — washed but uncarded, curl intact — give the best beard by a distance, because the curl is already there and does not have to be faked. Wensleydale and Teeswater are the usual choice, and a 5 cm lock hangs as a proper ringlet. Carded wool tops give a straight, smooth beard instead, which needs a reverse needle dragged down it to look like anything other than a bundle of fibre.
Attaching at the root
Fix it at the top end only. Lay the locks side by side across the cone just under the nose, cut ends up and curls hanging down, and needle one firm line straight across the cut ends. Stab deep and from several angles: a beard tacked only at the surface pulls off the first time somebody picks the gnome up.
Then leave the rest alone. Every stab below the root line kills a curl. Trim the bottom to a point, a curve or a square cut, and if you want more volume add a second row above the first so it overlaps like tiles rather than needling the same row harder.
The no-face rule
A gnome has a nose and nothing else. The hat comes down to the nose and covers where a face would be, which is the whole reason gnomes make such a good first sculpture: the hardest part of any figure is simply removed.
It works because the brain reads three landmarks in the right relationship — brim, nose, beard — and supplies the rest. Add eyes below the brim and it collapses; the figure becomes a small person wearing a hat and looks distinctly odd. If you want a face you want a doll, and that technique is in needle felting a face.
Step 5: Assembly
Push the hat 2 cm down over the body and needle through it into the cone at four or five points around the rim, or stitch it with matching thread. A dab of glue inside is legitimate. Check from the front that the brim sits level and touches the top of the nose before you fix anything permanently.
The Santa gnome
A red hat, a broad white beard and a cream turned-up cuff, and the same figure reads as Christmas. Keep the beard straight rather than curly — Santa's is combed, a garden gnome's is not — and cut the hat from red felt sheet, which holds a sharper cone than red tops.
That is as far as the gnome goes. A proper felted Santa is a different figure, with a face, arms and a belt, and it is covered separately in needle felted Santa.
The ornament version
Scale the whole thing to about 9 cm: a 5 cm body, a 5 cm hat pushed 1 cm down, and the 119° pattern worked above. Smaller than that and the beard stops reading as a beard.
Two things change. The hanging loop goes in before the hat seam closes: lay the two ends of a doubled thread inside the tip and felt a wisp of wool over them so the wool traps the thread. A loop glued to the outside pulls off and takes a patch of surface with it. And both sides now matter — an ornament turns on its thread, so put the seam at the back, finish it neatly, and give the back of the body the same surface layer as the front. That is work you can skip entirely on a gnome that stands on a shelf.
Hang it with a set of felted Christmas ornaments, or string six small ones on cord through their hat tips as a garland. Beside a shelf of gnomes, felt animal ornaments give the tree something that is not a cone, and a needle felted Santa is the same construction scaled up with a beard.
Other variations
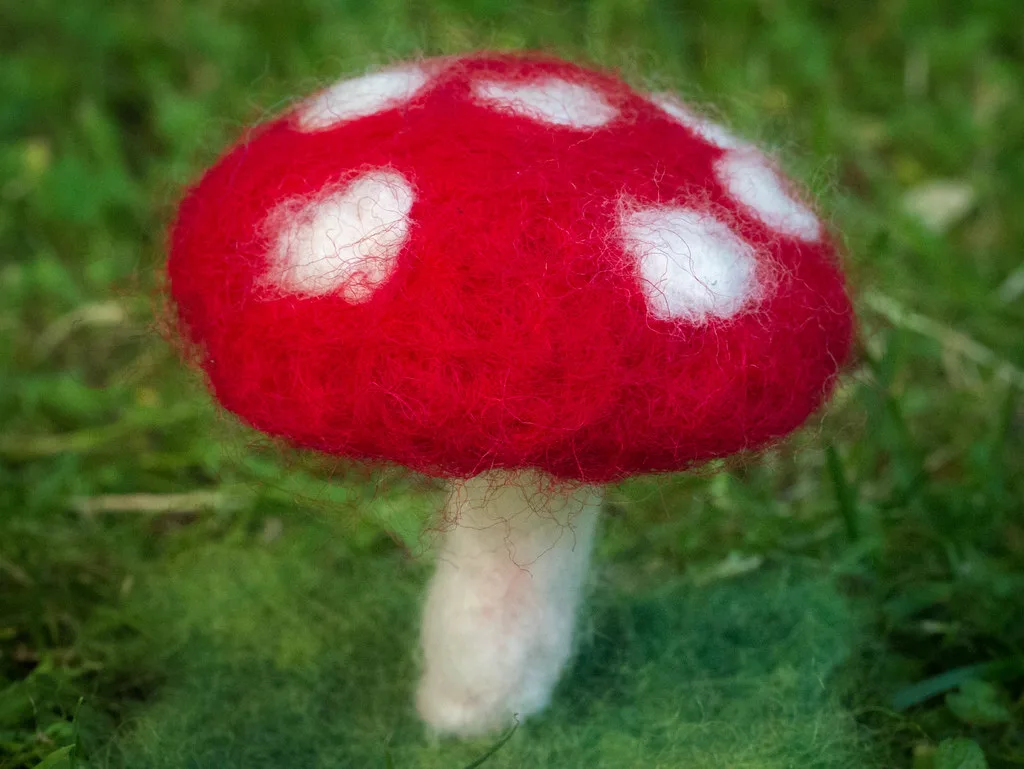
- Autumn gnome — rust and mustard, with a felted mushroom under one arm.
- Weighted — a stone or a spoonful of rice wound into the body cone gives heft and total stability.
- Hollow body — felt the cone over a resist, using the method in resist felting.
- A family — 20, 15 and 9 cm. Recalculate L and θ for each unless you scale base diameter and height by the same factor.
Common problems
- Falls over. Base not flat, or the body is too soft. Work the base against the table.
- Beard falls off. Only tacked at the surface. Needle the root line deep, from several angles.
- Beard looks like a bundle of fibre. You needled below the root line and flattened the curl. Add a fresh row over the top.
- Looks like a cone in a hat. Beard too thin or too short. It should cover the front.
- Hat is too squat. You cut a semicircle. Work out the angle instead.
- Hat will not sit straight. The top of the body cone is not symmetrical. Needle it back to a true point before fitting.
Gnomes are also the most common subject in beginner project kits, for the same reason they are a good first figure: a cone forgives everything. Felted Sky kits covers what those boxes contain if you would rather start from one.
Once the pattern is drawn, keep it — the same two numbers give you every hat you will ever cut, and the second gnome takes half as long as the first, which is how people end up with a shelf of them. The habits worth picking up alongside are in needle felting techniques, and if a figure with limbs starts to tempt you, needle felted animals for beginners is next.
Frequently asked questions
What is the pattern for a felt gnome hat?
A sector of a circle. For a hat 8 cm tall on a 5 cm base, draw an arc of radius 8.4 cm through an angle of 107 degrees, cut along both straight edges, and join them. The rule is: radius = the square root of (base radius squared plus height squared), and angle = 360 x base radius divided by that radius.
How tall should a gnome hat be?
A little over half the finished figure. On a 15 cm gnome the hat is about 8 cm of that, which is 53%. Under about 40% it reads as a nightcap rather than a gnome hat, and the tip will not flop.
How much wool do you need for a felted gnome?
About 20 to 30 g for a gnome 15 cm tall: 15 to 20 g of core wool for the body, 3 to 5 g for the beard, a few grams or a small piece of felt sheet for the hat, and a pinch for the nose.
Why does a felted gnome have no eyes?
The hat brim sits at the nose, so there is nowhere for eyes to go. That is the design, not a shortcut: the brim, the nose and the beard give the brain three landmarks in the right places and it fills in a face on its own. Adding eyes below the brim makes the figure look wrong immediately.