Wet Felting Animals: Hollow Shapes, Resists and Where the Needle Comes In
4 min read Intermediate
Wet felting makes bodies, not faces. Build the animal as a hollow form over a resist, full it hard, then dry-felt the detail on top — that combination is how the best felted animals are made.
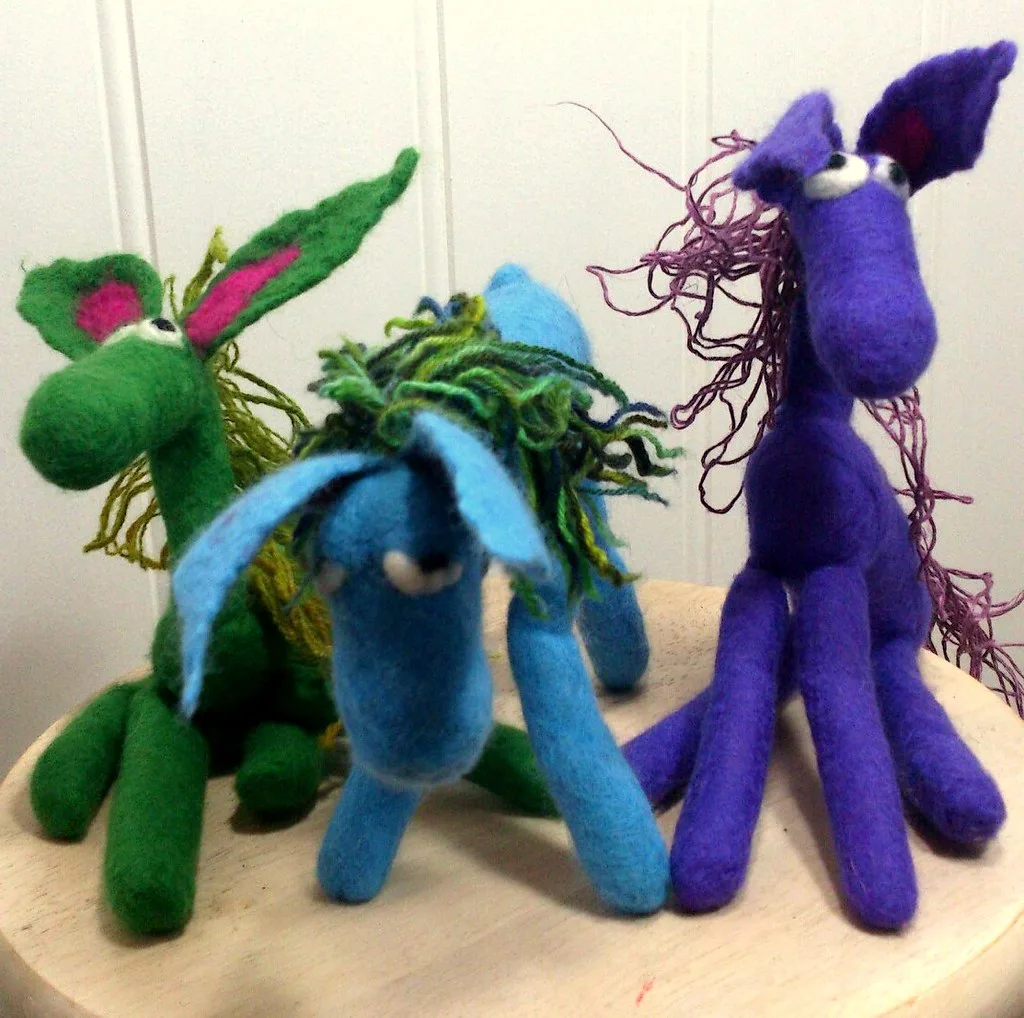
Most felted animals you see are needle felted, because it is the obvious way to sculpt. Wet felting gets used less and does two things far better: it makes hollow forms with no seam, and it makes a surface that survives being handled by a child.
The three approaches
- Hollow, over a resist. The body is felted around a flat template, then the opening is cut and the shape is turned or stuffed. Strongest and most professional-looking.
- Solid, rolled. Wool rolled into a sausage or ball and fulled hard in the hands. Fast, good for simple animals and for the components of a larger one.
- Wet felted body, needle felted detail. The combination almost every experienced maker uses.
Method: a hollow animal over a resist
Worked here as a small bird or a rounded animal body, about 12 cm.
- Cut the resist. Draw the animal's silhouette on bubble wrap or foam underlay, 40 per cent larger in every direction than the finished size. Cut it out with smooth curves — every corner in the resist becomes a crease in the felt.
- Lay the first side. Pull fine tufts from your wool tops and lay them across the resist in one direction, overlapping like roof tiles, extending 2 cm past every edge.
- Wet and flip. Sprinkle with warm soapy water, press flat, and turn the whole thing over. Fold the overhanging edges neatly over the resist — those folds become the seamless join.
- Lay the second side the same way, and flip again.
- Repeat for a total of four layers, alternating direction each time. Three is the minimum; four gives a body that holds a shape.
- Rub through netting — flat palms, light pressure, ten minutes, working both faces and especially the edges.
- Roll in a bamboo mat, 50 rolls, then turn 90° and repeat. Four directions, several times.
- Cut the opening. Choose a spot that will be hidden — the base, or where the head joins. Cut a slit and pull the resist out.
- Full hard. Now the shaping happens: hot water, more soap, throwing the piece against the table, rubbing it, working it against a ridged board. It will shrink 30–40 per cent. Keep shaping with your hands inside it as it tightens.
- Rinse in cold water, squeeze out, shape and stuff with wool or fibrefill while damp, and let it dry in shape.
The full resist principle, including how to draw templates for other shapes, is in resist felting, and the same method built as a vessel in wet felting a bowl.
Legs, ears and tails
- Cut into the resist — draw the animal flat, legs splayed. Strongest, but thin legs felt unevenly and can stay soft.
- Separate tubes — roll wool around a cocktail stick or thin dowel with soapy hands until firm, remove the stick, then attach. Good, poseable legs.
- Needle felted on — make legs separately, leave loose fibre at one end, and needle that fibre deep into the wet-felted body. The join method is the same as in felted mushrooms.
- Wire armature inside — for anything that must hold a pose. Insert before stuffing; see wire armature for needle felting.
- Ears — small flat pieces of felt made separately, cut to shape and needled or stitched on. Wet felt them as a single flat sheet and cut several from it.
Faces
This is where wet felting stops and dry felting starts. A wet felted surface is smooth and dense — ideal to work into with a fine needle:
- Use a 40 gauge needle for detail on a firm wet-felted surface.
- Build muzzle and brow as raised areas with small amounts of wool, needled on.
- Set eyes by needling a shallow socket first, then adding the dark wool into the depression. Eyes sunk slightly look alive; eyes sitting on the surface look stuck on.
- Glass eyes on wire can be pushed into a stuffed body and secured, but not on anything for a child under three.
Technique detail in needle felting techniques and needle felted animals for beginners.
Wool choice
- Merino — fast, smooth, and the easiest to felt. Slightly soft for a toy that will be dragged around.
- Corriedale or crossbred — the practical choice for animals: felts well, wears hard, holds detail.
- Core wool inside, merino outside — the standard economy, and it gives a better surface than either alone.
- Curly locks — Wensleydale or Teeswater laid on the surface for fleece, mane or tail, felted in at one end only.
The comparison in full is in best wool for felting.
Where it usually goes wrong
- Under-fulling. The commonest fault by far. A body that still gives under a squeeze will go baggy. Keep going past the point where you think it is done.
- Sharp corners in the resist, which become permanent creases.
- Thin patches — hold the piece to a window before cutting the opening; light shows every gap while it can still be fixed with another layer.
- Cutting the opening in the wrong place and having a visible seam on the animal's face.
- Drying without stuffing, which gives you a flat animal with a crease down it.
Frequently asked questions
Can you wet felt an animal?
Yes, and it is the right method for anything large or hollow. A resist makes a seamless body with no join to hide, and the surface is smooth and strong in a way needle felting never quite achieves. Faces and fine detail are then added with a felting needle.
Is wet or needle felting better for animals?
Needle felting for anything under about 10 cm and for detail. Wet felting for larger bodies, hollow forms and hard-wearing pieces such as toys. Most good felted animals use both.
How do you make legs on a wet felted animal?
Either cut them into a resist shaped like the flattened animal, or wet felt them separately as small tubes over cocktail-stick resists and needle felt them on afterwards. Cut-in legs are stronger; separate legs pose better.
What wool is best for wet felted animals?
Merino for the outer layer because it felts fast and gives a smooth surface, over a cheaper coarse wool core. For toys that will be handled hard, a coarser breed throughout is tougher, if slower to felt.