Felted Soap: A One-Evening Introduction to Wet Felting
4 min read Beginner
We may earn a commission from links on this page, at no extra cost to you. As an Amazon Associate I earn from qualifying purchases. Learn more.
Wrap a bar of soap in wool and felt it with your hands. The fastest way to understand wet felting, and the wool becomes a built-in washcloth that never slips.
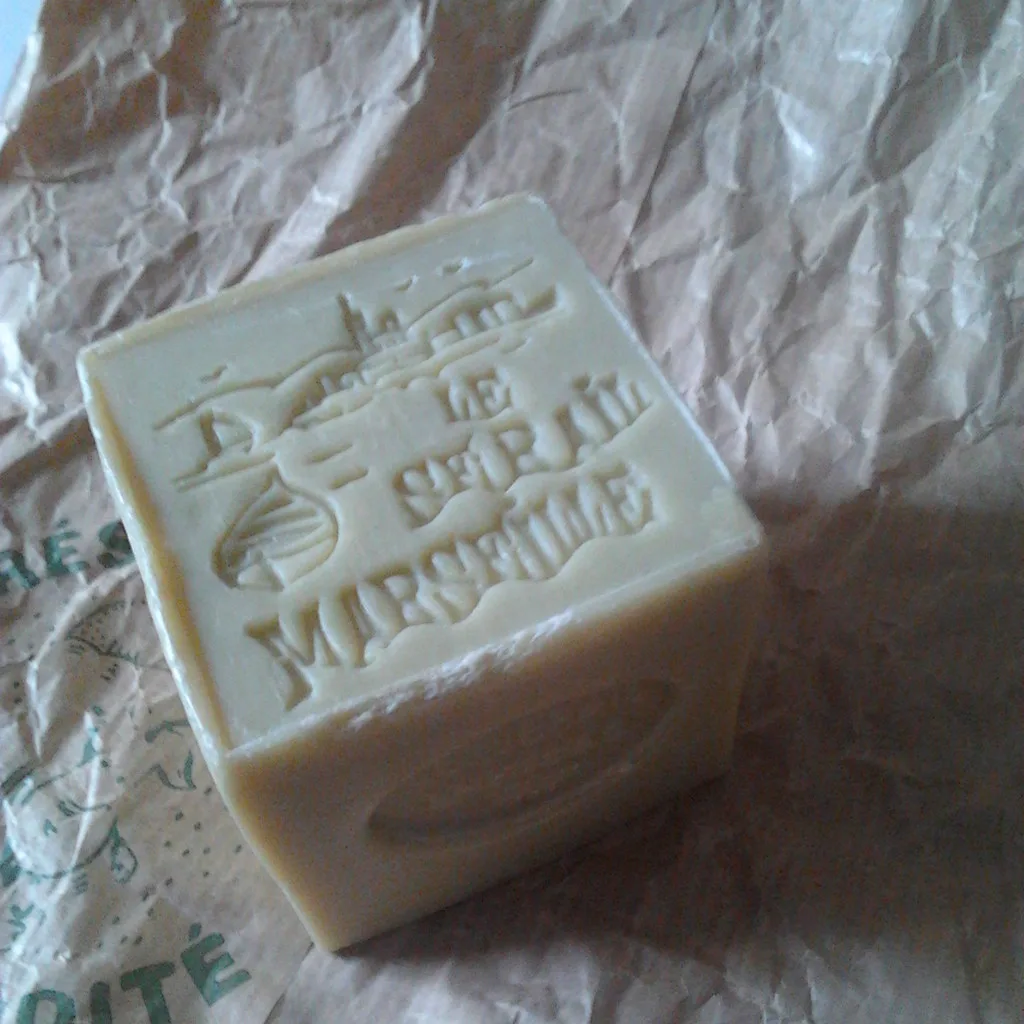
Felted soap is a bar of soap wearing a wool jacket. The wool felts tightly around the soap, shrinks as the bar wears down, and acts as a gentle exfoliating cloth that never needs to be found because it is attached to the soap.
It is also the best possible first wet felting project. There is no layout to get wrong, no shrinkage to calculate, and the whole thing takes half an hour.
What you need
- A bar of soap — any kind, though a firm bar works better than a soft one
- 10–15 g of wool tops. Merino is softest against skin; see wool types
- Hot water and cold water in separate bowls
- Optional: a piece of net or a leg cut from old tights
- A towel
You do not need soap for the felting itself — the bar inside provides it as soon as it gets wet, which is the elegant part of this project.
Step 1: Wrap the soap
Pull thin wisps from your wool top. Lay them over the bar in one direction, covering it completely and overlapping the edges by a couple of centimetres so the ends fold round the back.
Turn the bar ninety degrees and lay a second layer across the first. Then a third layer, back in the original direction. Three thin layers in alternating directions is much stronger than one thick layer, and the crossing fibres are what stop the wool from splitting along a line.
Pay attention to the edges and corners — they are where the covering fails, and where soap breaks through first in use.
Step 2: Add a colour layer, if you want one
A final thin veil in a contrasting colour gives you the decorative surface. You can also lay small tufts in a pattern — stripes, spots, a simple spiral — and they will hold their position surprisingly well as long as the layer beneath is even.
Step 3: Contain it, then wet it
Slide the wrapped bar into a piece of net or the foot of a pair of tights. This is optional but makes the first two minutes far less frustrating, because it stops the wool sliding off before it grips.
Dip the whole thing briefly in hot water. Briefly is the operative word: soaking it means soap everywhere and wool that slips rather than felts.
Step 4: Rub, gently at first
Cup the bar in both hands and roll it very gently, as if you were washing your hands with it. Almost no pressure for the first two or three minutes — the wool is only just beginning to grip and firm rubbing now will shift it out of place.
As it starts to hold, increase the pressure. Work all faces, edges and corners. If you used net, remove it once the wool stops sliding.
Step 5: Shock it with cold
After five minutes or so, dip the bar in cold water, then back into hot. The sudden temperature change makes the fibres contract and speeds the felting noticeably. Repeat this several times as you continue rubbing.
Total rubbing time is usually ten to fifteen minutes.
Step 6: Know when it is done
The wool should be tight to the soap with no loose areas, no visible fibre ends lifting, and no movement when you push the surface with a thumb. If any part still slides over the bar, it needs more work.
Rinse in cool water, squeeze gently and stand it on end to dry — a soap dish that lets air circulate underneath is ideal. Give it a couple of days before using it.
Using it
Wet it, work up a lather through the wool, and wash as normal. The wool exfoliates gently and the whole thing grips even in wet hands, which makes it a genuinely good gift for anyone who has trouble holding a slippery bar.
As the soap wears down, the wool contracts with it. When the soap is finished, the remaining felt shell can go in the compost.
Common problems
- The wool slides off in a sheet. Too much water, too early, or too much pressure at the start. Squeeze the excess out, wrap it back on and start again more gently.
- Soap breaks through a corner. That corner was under-covered. You can felt a patch over it — lay a small tuft, wet, rub — and the join will disappear.
- The wool stays fluffy however long you rub. Almost certainly superwash or synthetic fibre, which cannot felt. See why wool refuses to felt.
- It takes forever. The water is not hot enough. Heat is what opens the fibre scales.
Where to go next
Felted soap teaches you what felting feels like under your hands, which is the hard part to convey in writing. Once that is familiar, move on to flat wet felting, where laying out the wool evenly becomes the main skill, or to felt balls, which use the same rolling motion.
Frequently asked questions
What is the point of felting soap?
The wool becomes a built-in flannel. It exfoliates gently, gives a wet bar something to grip, and shrinks along with the soap as it wears down, so it stays snug right to the end.
How long does it take to felt a bar of soap?
Ten to fifteen minutes of rubbing. It is the quickest way to learn how wool behaves under water and soap, which is exactly why it is the usual first wet felting project.
Why is the wool sliding off my soap?
Either it was wetted too heavily at the start or it was rubbed hard too soon. Contain the bar in net or an old pair of tights for the first minutes and rub very gently until the surface begins to grip.
Which wool should I use for felted soap?
Merino tops felt fastest and leave the smoothest finish. Wrap the bar in several thin layers running in different directions rather than one thick layer in one direction.