Felted Vest: A Seamless Nuno or Wet Felted Vest Made Over One Resist
8 min read Intermediate
We may earn a commission from links on this page, at no extra cost to you. As an Amazon Associate I earn from qualifying purchases. Learn more.
How to make a felted vest with no seams: nuno or all wool, measuring and sizing the resist so it shrinks to fit, how much wool to buy, cutting the neck and armholes, and fulling it to size on your own body.
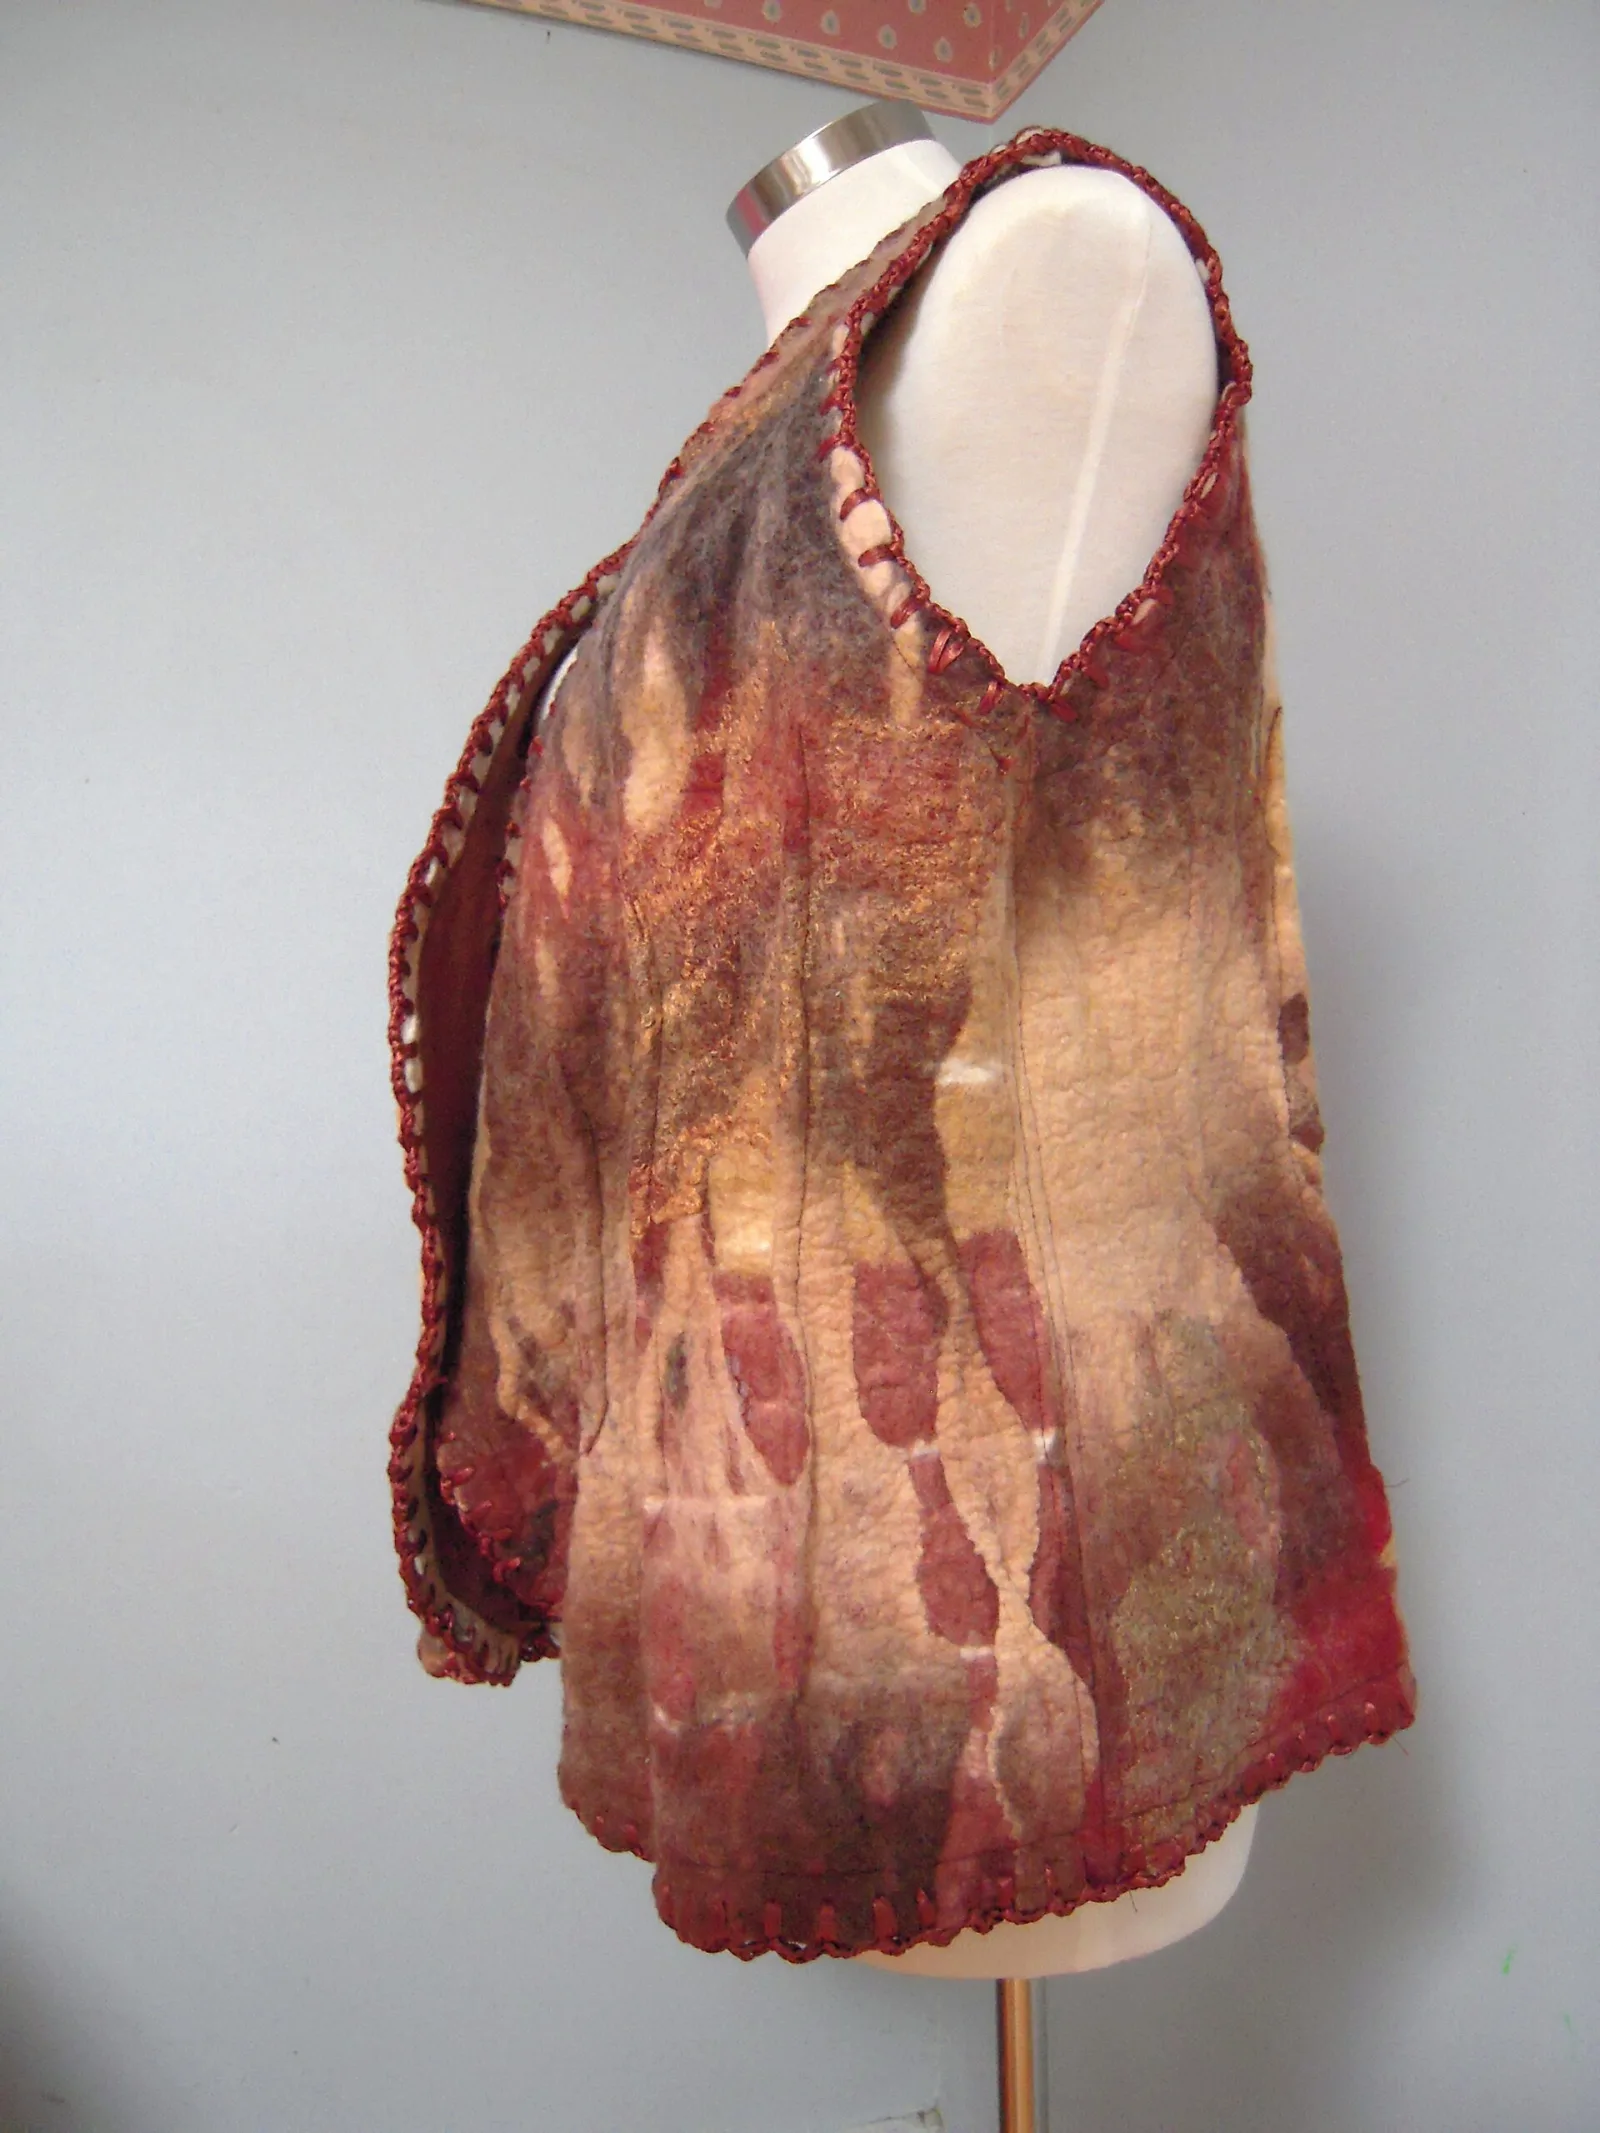
A felted vest shrinks by about a third, so a vest meant to measure 22 in across the front is laid out over a resist about 31½ in wide. Much of this page is about finding that number for your own wool and fabric, because a resist sized by guesswork produces a tent or a corset.
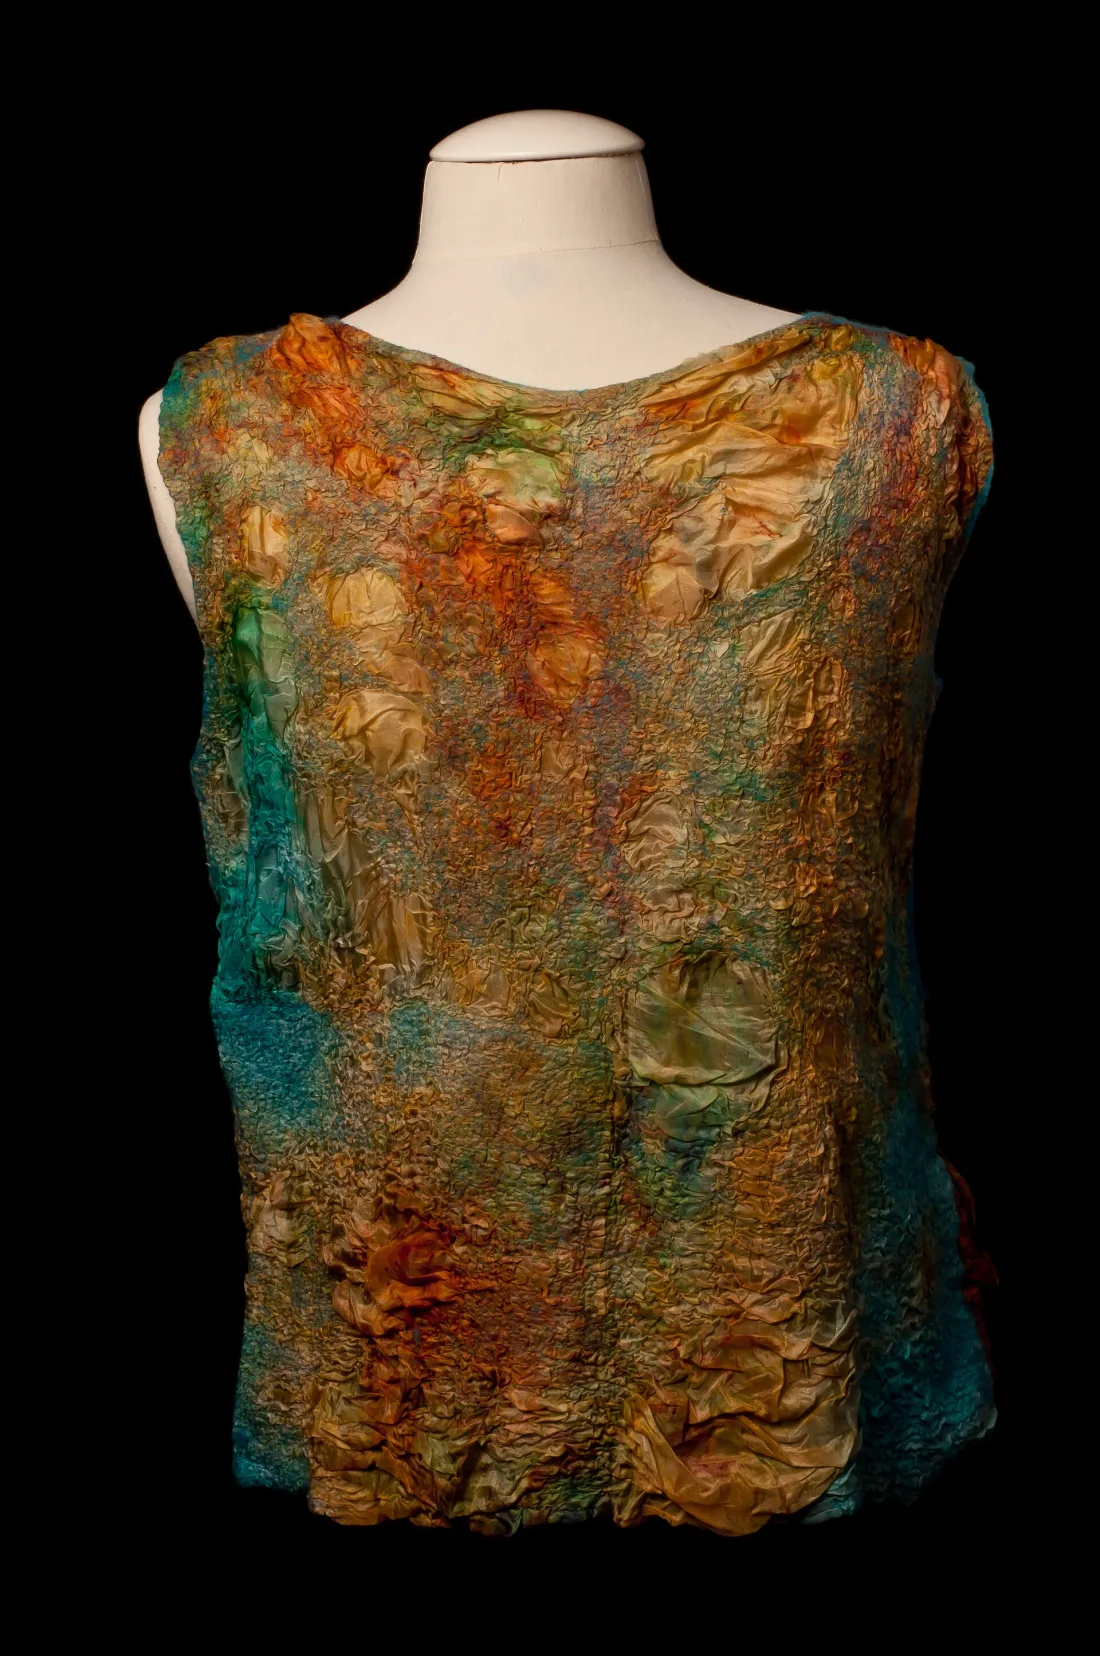
It makes a good first garment. There are no sleeves to size, it only has to fit round the body, and it can be fulled to fit while you wear it. Made over a single resist, it has no seams at all. The sides and shoulders are wool that wrapped round the edges of the resist and felted to itself.
Nuno or all wool
| Nuno vest | All-wool vest | |
|---|---|---|
| Built from | A thin layer of merino felted through silk or cotton gauze | Two or three layers of wool each side |
| Weight and drape | Light, drapes and moves | Thicker, holds its own shape |
| Warmth | A layer for spring and autumn | Properly warm |
| Wool, average size | Roughly 2½–4 oz (70–110 g) | Roughly 9–12 oz (250–350 g) |
| Shrinkage to plan for | Often around 30%; depends on the fabric | Around 35% for merino fulled firmly |
| Time | Most of a day | A full day, and tired arms |
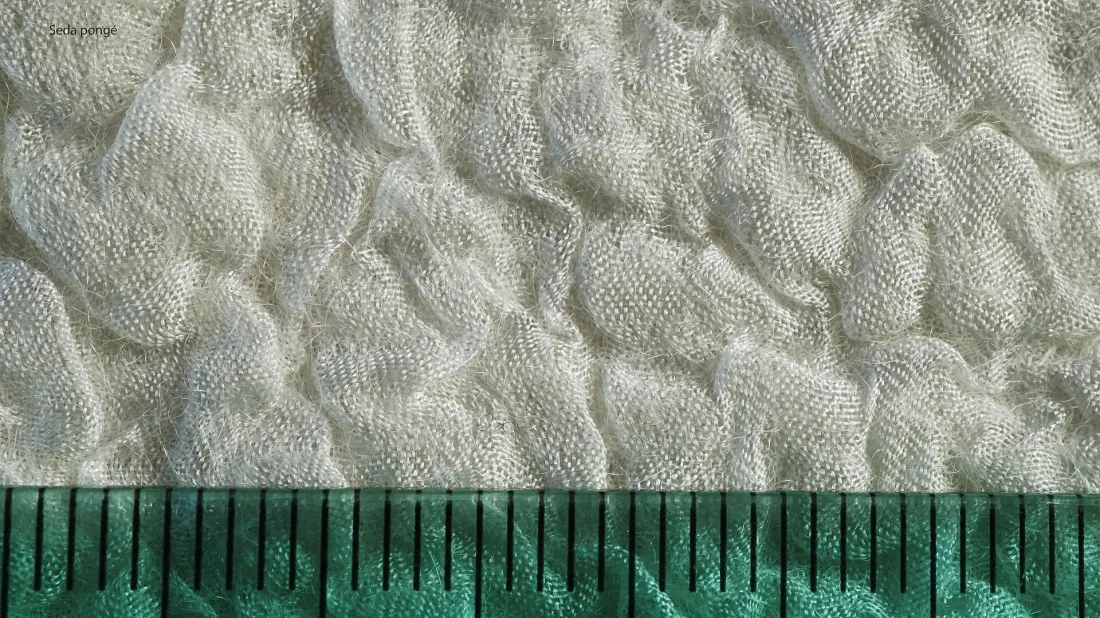
A nuno vest is the better first garment. It uses less wool, it is quicker to lay out, and the puckered silk surface hides small irregularities that a plain wool surface shows. How nuno works, and which fabrics let the wool through, is in nuno felting for beginners and best fabrics for nuno felting.
Measure and decide the shape
The simplest felted vest is an open-front vest: a tube felted over a rectangle with rounded corners, then cut open down the centre front, with a neck and two armholes cut at the top. You need four measurements:
- Chest, round the fullest part, plus ease. For an open vest worn over a shirt, add 2 to 4 in (5 to 10 cm). The finished width of the vest laid flat is half of that.
- Length, from the top of the shoulder to where you want the hem.
- Armhole depth, from the top of the shoulder down to about 1 in (2.5 cm) below the armpit, usually 8 to 10 in (20 to 25 cm).
- Shoulder width, from the side of the neck to the edge of the shoulder.
Draw the finished vest at full size on paper, front view, laid flat. That paper pattern is your reference for every check later, when the felt is wet and half shrunk and hard to judge by eye.
Sizing the resist
First make a sample, an 8 in (20 cm) square of exactly the wool, fabric and layer count you will use, felted the way you will felt the vest. Measure it at the end. If it is now 5½ in (14 cm), your shrinkage is 31%. It takes under an hour and can save a whole vest, because nuno shrinkage varies a lot with the fabric, and the general figures in wool shrinkage when felting are only a starting point.
Then divide each finished measurement by one minus that rate. Never add the percentage instead: that is the usual mistake, and on a garment it comes out several inches too small.
| Finished vest | Resist at 30% shrinkage (nuno) | Resist at 35% shrinkage (merino) |
|---|---|---|
| Width 22 in (56 cm), for a 44 in chest with ease | 31½ in (80 cm) | 33¾ in (86 cm) |
| Length 26 in (66 cm) | 37 in (94 cm) | 40 in (102 cm) |
Cut the resist from foam floor underlay: a rectangle of that width and length, with the top corners cut down in a gentle slope for the shoulders and every corner rounded. A resist this size will not fit most tables, so work on a large sheet of bubble wrap on the floor or on two tables pushed together.
Laying it out
Weigh the wool and divide it into two equal piles, one for each side, so the front and back felt at the same rate.
For a nuno vest
- Cut two pieces of silk chiffon or gauze to the size of the resist, washed first so the fabric does its shrinking before you start. The side folds will be wool only, which is expected; that wool is what makes the side seams strong.
- Lay a thin, even veil of merino over the first side of the resist, overhanging every edge except the bottom by about 1½ in (4 cm). Keep it thin; on nuno, too much wool stops the fabric bonding.
- Lay the first piece of silk on top. This is the reverse of a flat nuno scarf, where the fabric goes underneath: here the wool migrates up through the silk, so the silk ends up on the outside of the vest.
- Cover with net, wet with warm soapy water and press flat. Rub gently through the net until the wool starts to come through the silk.
- Turn the whole thing over, fold the overhanging wool onto the second side, and repeat: wool veil with overhang, silk on top, wet, rub.
- Turn it over once more and fold the second side's overhang back onto the first side, tucking it just under the edge of the silk. Wet it down and rub it in before you start rolling. Every side edge and the shoulders are now wrapped from both directions.
For an all-wool vest
Lay two or three thin layers each side, each at right angles to the last, overhanging every edge except the bottom by about 1½ in (4 cm), and fold each side's overhang onto the other side as you turn the work. Thickness has to be even: hold a flat hand on the layout and feel for thin patches, especially along the folds, which become the side seams. Add a little extra wool across the shoulders, which carry the weight of the garment.
Leave the bottom edge without an overhang, as an open edge. The hem then forms as a soft felted edge instead of having to be cut. Covering the shoulders and sides properly matters more: the fibres folded round those edges are what hold the vest together.
Felting, then cutting the openings
Rub both sides through the net until the surface holds together, then roll: in a bamboo blind or towel round a pool noodle, 50 to 100 rolls, unwrap, turn the work 90 degrees, and roll again. Roll from all four directions equally. A vest rolled mostly from one direction shrinks mostly in that direction, and comes out long and narrow or short and wide.
Cut the openings once the pinch test passes and the wool no longer pulls away from itself or from the fabric.
- Centre front: a straight cut up the middle of one side, from the hem to the top.
- Neck: cut through the top fold between the shoulders, a shallow curve on the back and a deeper curve or V on the front that runs into the centre-front cut.
- Armholes: a curve at each top corner, cutting through front and back together, so that the side fold remains below the armhole and the shoulder fold remains above it.
- Take the resist out.
To size the openings, take the armhole depth and neck from your paper pattern and allow for the shrinkage still to come. If you expect 30% in all and the piece has already shrunk 10%, about 22% is left, so a 9 in (23 cm) armhole is marked at about 11½ in (29 cm). Check the shoulder width between neck and armhole the same way. Then cut a little inside the marks, because cut edges stretch as they are worked.
Work each cut edge with a little soap until the fibres close over, and reach inside to smooth the inner surfaces where they lay against the resist.
Fulling it to fit
This is where a felted vest gets its fit. Keep rolling and throwing the vest, now open, checking it against your paper pattern every few minutes. As it nears the size:
- Try it on, damp. Felt shrinks most where it is worked, so rub hard where it needs to come in, such as the back of the neck or across the shoulders, and leave alone areas that are already right.
- Shape the shoulders on your own body or over a padded coat hanger, pulling the shoulder line out a little where it has drawn in.
- Stop slightly large. The last rinse and drying pull it in a little more.
Rinse thoroughly in warm and then cool water until no soap remains; a splash of white vinegar in the last rinse helps clear soap from the wool. Press out the water in a towel, never wring, and dry it flat or on a wide hanger, eased into shape. Fasten it, if you want to, with a single large button and a loop, or a shawl pin.
When it goes wrong
- Too big. The easy one: keep fulling, concentrating on the areas that are too big.
- Too small. Much harder. While it is still damp it can be stretched a little, perhaps an inch, over a form. A vest that is far too small is a sample for the next one.
- A thin patch at the side seam. Not enough wool folded round the edge. Catch it early, before fulling, by laying a wisp of wool over it from both sides and rubbing it in; on finished felt, needle felt a patch in.
- The silk will not bond. Too much wool, an unwashed fabric, or not enough gentle rubbing before rolling. More rubbing usually fixes it.
- It came out lopsided. Uneven layout or rolling from one direction more than the others. Full the long side harder to even it up.
A vest without a resist
If the resist method is more than you want to take on, a vest can also be cut and sewn from felt. Felt old wool sweaters in a washing machine, as in felted sweater projects, or felt a large flat sheet by hand, then cut it with any simple vest pattern. Felt does not fray, so raw edges are fine, and blanket stitch in wool yarn makes a decorative edge.
Before a full garment, a felted scarf is the best practice piece for layout and rolling, and a felt hat teaches resist sizing at a smaller scale. A vest uses both skills at once.
Frequently asked questions
How big should the resist be for a felted vest?
Each finished measurement divided by one minus your shrinkage rate. For a nuno vest shrinking 30% with a finished width of 22 in across the front, the resist is 22 ÷ 0.7, about 31½ in wide. Measure your own shrinkage on a sample with the same wool and fabric first; the rate is what makes or breaks the fit.
How much wool do you need for a felted vest?
Roughly 2½ to 4 oz (70 to 110 g) of fine merino for a nuno vest of average size, and 9 to 12 oz (250 to 350 g) for an all-wool vest. Weigh it out and divide it equally between the two sides of the resist before you start.
What fabric is best for a nuno felted vest?
Silk chiffon or silk gauze, which let the wool through easily and drape well. Cotton gauze and muslin work too and cost much less. Hold a fabric up to the light: if you can see clearly through the weave, wool will migrate through it.
Can you make a felted vest without a resist?
Yes, by sewing it. Felt flat sheets of wool, or felt old wool sweaters in the washing machine, then cut and sew a vest from them using an ordinary vest pattern. Felt does not fray, so the edges can be left raw.
Topics
Image credits
- A handmade felted vest in warm reds, golds and browns displayed on a dress form — Ozifelt (PUBLIC DOMAIN)
- The back of a sleeveless nuno felted top in greens, golds and rust on a dress form — Nimrod Scott (BY SA 3.0)
- Close view of cream nuno felt, its surface rippled into small puckers where the wool shrank against the fabric — Drfreinke (BY SA 4.0)