Wet Felting Art: Painting Pictures with Wool
4 min read Intermediate
We may earn a commission from links on this page, at no extra cost to you. As an Amazon Associate I earn from qualifying purchases. Learn more.
Wool paintings are laid, not brushed, and they move when they get wet. How to compose a felted picture that still looks like your sketch afterwards.
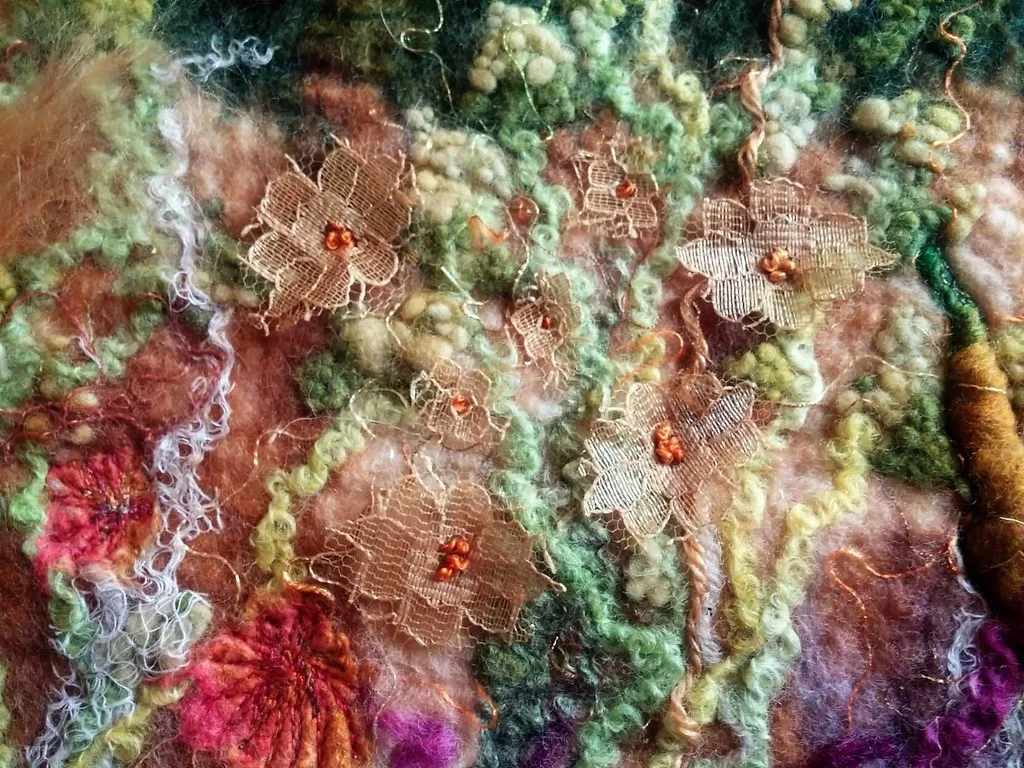
A felt painting is made by laying coloured wool onto a base, layer by layer, and then wet felting the whole thing into one piece of cloth. There is no brush, no drying time and no way to lift a colour back off — which sounds restrictive and turns out to suit landscapes and skies remarkably well.
What the medium is good at
Soft transitions, atmosphere, weather, water, distance. Wool blends into itself the way pastel does, and a sky made of three merino colours pulled thin over each other looks like a sky in a way that is very hard to achieve deliberately.
It is bad at straight lines, small faces, lettering and anything requiring precision — unless you bring in prefelt or a needle, which most felt artists do.
Setting up
- Bubble wrap larger than the picture
- Merino tops in your palette, plus white and a dark neutral
- A base layer: two thin crossed layers of wool, or a sheet of prefelt
- Net curtain to cover the layout
- Warm soapy water, ideally in a sprinkler bottle
- Optional: silk fibres, silk hankies, yarn, wool locks
Lay out 30 to 35% larger than the finished picture. A 30 cm square finished picture starts as a 40 cm square layout, and everything in the composition scales with it.
Composing
- Base first. Two thin crossed layers of white or a mid neutral. This is the canvas and it should be even.
- Work back to front. Sky, then distant hills, then middle ground, then foreground. Each layer covers the bottom edge of the one behind it, exactly as in painting.
- Pull, do not cut. A pulled wisp has a feathered end that blends invisibly; a cut end leaves a hard line where you did not want one.
- Thin veils for colour mixing. Pale blue over grey reads as distance. Layering is more controllable than pre-blending, though blended fibre has its uses — see blending wool colours.
- Prefelt for hard edges. Roofs, trunks, boats, the moon. Cut the shape and lay it on.
- Silk for shine. Silk does not felt, so it sits on the surface as highlights — water, snow, sunlight through leaves.
Photograph the layout before you wet it. It will move, and the photo is often the only record of what you intended.
Wetting without wrecking it
This is where compositions get destroyed.
- Cover with net first, then wet through it.
- Sprinkle from above. Never pour, and never push water sideways across the surface.
- Press straight down with flat hands to expel the air, working from the centre out.
- No rubbing for the first few minutes. Press only, until the fibres have locked into position.
Felting it
Rub gently through the net for five to ten minutes, then peel the net back and check nothing lifts. Roll in a bamboo mat, 50 rolls, turn 90 degrees, repeat, four or five times. Standard wet felting from here on.
Full it less than you would a scarf. Heavy fulling contracts the surface unevenly and distorts a composition — a horizon that was straight comes out bowed. Stop when the fabric is firm and the design still reads.
Adding detail afterwards
Once dry, the felt is an excellent surface for needle felting. Fence posts, birds, branches, figures, reflections — anything too fine to survive the wet stage goes on now with a 40 gauge needle. Hand stitching in embroidery thread does the same job differently.
Most exhibited felt pictures are built this way: wet felted atmosphere, needled detail, occasional stitch.
Finishing and mounting
- Stretched over board. Wrap the felt around a canvas stretcher or foam board and lace or staple the back. Clean and modern.
- Box frame, no glass. Depth and shadow, texture visible.
- Under glass only when the piece will be handled or hung somewhere greasy. It flattens the look considerably.
Steam press the finished piece from the back before mounting. It squares up the edges and settles the surface.
A first subject worth choosing
A simple landscape with three bands — sky, hills, field — and one prefelt tree. It uses every technique on this page, forgives everything, and looks better than it has any right to. Ambitious subjects with buildings and figures are much harder in wool than they look on paper.
Frequently asked questions
What is wool painting?
Building a picture from loose wool fibre laid onto a base and then wet felted so it becomes a single piece of cloth. The fibre is placed rather than brushed, and colours blend by layering thin veils.
How do you stop wet felted art from blurring?
Use cut prefelt for anything that needs a hard edge, wet the piece from above rather than sliding water across it, and press rather than rub during the early stages. Loose fibre always spreads a little.
Do you frame felt paintings under glass?
Usually not. The texture is the point and glass flattens it visually. Most felt art is stretched over board or mounted in a deep box frame with the glass left out.
Is needle felting or wet felting better for pictures?
Wet felting gives soft, painterly blends and a fabric that drapes. Needle felting gives sharp control and fine detail. Many pictures use both — wet felt the background, needle felt the detail on top.