How to Make a Felt Hat: Wet Felting, Resist Sizes and Blocking
4 min read Advanced
We may earn a commission from links on this page, at no extra cost to you. As an Amazon Associate I earn from qualifying purchases. Learn more.
A felted hat is a resist project with one unforgiving constraint — it has to fit a head. How to size the resist, and how to stop when it fits.
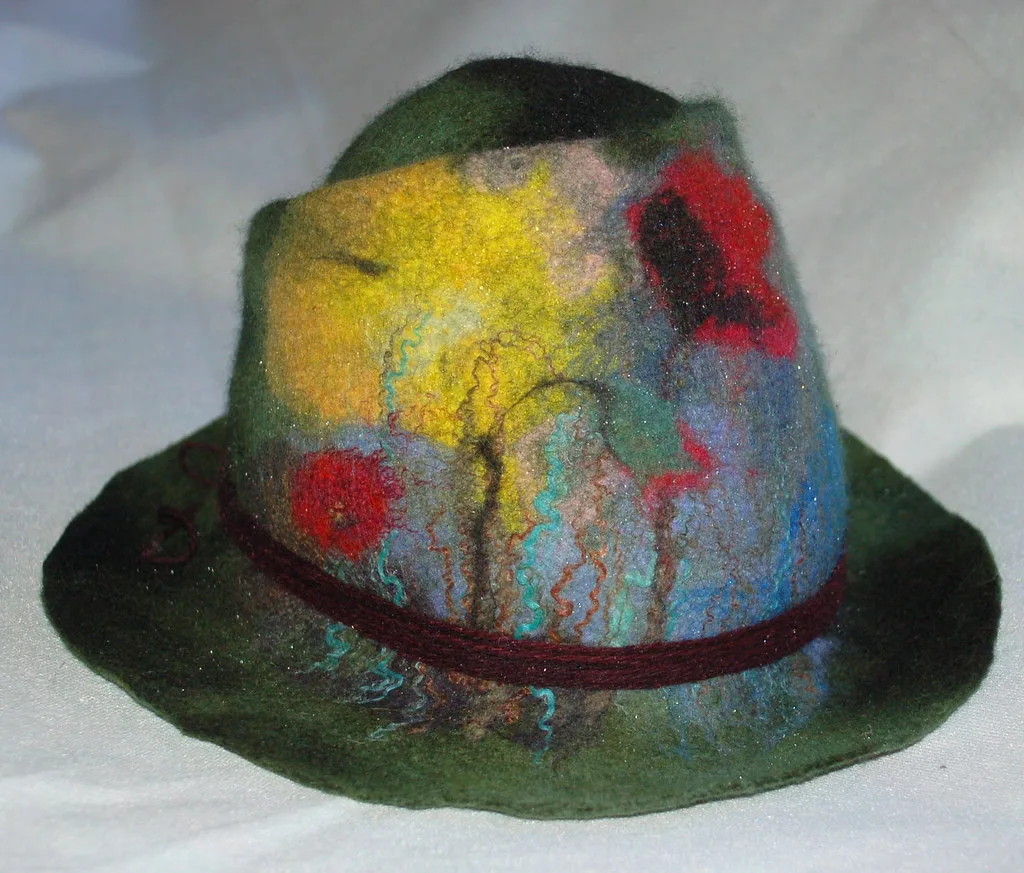
Hats are where wet felting stops being forgiving. A bowl that comes out slightly small is a smaller bowl; a hat that comes out slightly small is not a hat. Everything below is about controlling the size.
Measure first
Measure around the head just above the ears — typically 21½ to 23 in (55 to 58 cm) for an adult. Write it down. Then decide the crown depth: about 7 in (18 cm) for a beanie, 8½ in (22 cm) for a cloche.
Sizing the resist
The resist is a flat shape that becomes a tube when wrapped, so its width is half the circumference — plus a generous allowance for shrinkage.
- Width: (head circumference ÷ 2) ÷ (1 − shrinkage).
- Height: crown depth ÷ (1 − shrinkage), plus the brim if you want one.
For a 22½ in (57 cm) head in merino shrinking about 35%, that gives:
| Hat | Finished width × depth | Resist | Merino |
|---|---|---|---|
| Beanie | 11¼ × 7 in (28.5 × 18 cm) | 17¼ × 11 in (44 × 28 cm) | 2½–3 oz (70–85 g) |
| Cloche | 11¼ × 8½ in (28.5 × 22 cm) | 17¼ × 13¼ in (44 × 34 cm) | 3–3½ oz (85–100 g) |
| Brimmed | Cloche plus a 2½ in brim | 17¼ × 17 in (44 × 43 cm) | 4–4½ oz (115–130 g) |
Cut a dome: straight sides, rounded top. Foam camping mat is the ideal material because it holds a shape while you wrap it. General notes on resists are in resist felting.
The 35% figure assumes merino felted hard. With a medium wool such as Corriedale, or a lighter hand, 30% is closer, and the divisor becomes 0.7. Felt a test square with your wool first — the method is described in wool shrinkage when felting — and it converts guesswork into arithmetic.
Wool
Merino gives softness and drape and is the usual choice for a hat worn against the forehead. Adding 20 to 30% of a coarser wool in the inner layers gives structure without prickle. For a stiff, sculptural hat, use medium wool throughout.
Layering
- Lay two thin crossed layers over the resist, overhanging every edge except the bottom by about 1½ in (3 to 4 cm). Leave the bottom edge — the brim opening — flush.
- Wet and press flat.
- Turn over, fold the overhang onto the back, add two more layers, wet and press, fold that overhang to the front.
- Add a third pair of layers. Hats take wear at the crown and need the thickness.
- Check the top curve carefully — this is where wool thins out, and a hole in the crown at the fulling stage is not repairable.
Felting
Rub gently through net on both sides for ten to fifteen minutes, then roll in a bamboo mat: 50 rolls, turn 90 degrees, repeat, four rounds per side. Keep the water hot.
Once the fabric holds together firmly, cut along the bottom edge and remove the resist. Smooth the inside.
Fulling to fit
Now the careful part. Full in short bursts and measure between each one.
- Work the hat in hot soapy water — rub, squeeze, throw it down, alternate hot and cold.
- Every few minutes, rinse briefly and try it on, or measure the opening.
- As it approaches size, shorten the bursts. Wool shrinks quickly at the end.
- Stop when it fits with a little ease — it will tighten very slightly as it dries.
Work the brim edge between your fingers throughout so it firms up rather than staying floppy.
Blocking
Rinse the soap out, squeeze gently, and shape while damp:
- Over a hat block if you have one — the ideal, and worth improvising.
- A bowl of the right diameter for a cloche crown.
- A balloon inflated to head size, or a football.
- Your own head with a plastic bag over it, for two minutes, to set the fit before transferring to a former.
Pull the brim into shape, flat or turned up, and pin it if necessary. Let it dry completely — 48 hours for a thick hat. It keeps whatever shape it dries in.
Common failures
- Too small. Over-fulled. Wet it and stretch hard over a larger former; you may recover 5%, no more.
- Too big and floppy. Under-fulled. Wet it and keep working — this one is fixable.
- Thin crown. Wool laid too sparsely over the curve. Not repairable invisibly.
- Uneven brim. Trim it. Felt does not fray, so a cut edge is a legitimate finish.
Variations
A wide brim needs a wider resist and stiffening — a wash of diluted PVA, or a wire threaded through the brim edge. Ear flaps come from cutting shapes into the bottom edge before fulling. Nuno felting the crown onto silk gives a hat light enough for summer; see nuno felting.
The other forgiving first hat is a wool sauna hat — a deep crown, no brim, and a fit nobody measures.
The easiest first shape by some distance is a beret: small, round, no brim and no fitting to speak of — see wool felt berets for how the finished thing should sit and how to reblock it.
If precise fit worries you, knit and full one instead — the process is more forgiving and is described in felting in knitting.
Frequently asked questions
How much wool do I need for a felted hat?
Around 100 to 150 g of tops for an adult hat. Thin hats lose their shape within a season, so three to four layers per side is the sensible minimum.
How big should the resist be for a felted hat?
Halve the head circumference for the finished width, then divide by one minus your shrinkage rate. For a 22.5 inch (57 cm) head and merino shrinking about 35%, that is 11.25 ÷ 0.65, so a resist about 17 inches (44 cm) wide, and 11 to 13 inches tall depending on the crown depth.
How do you make a felted hat fit?
Full it in stages and try it on repeatedly once it is close. Felting only shrinks, so the process is a controlled approach to the right size — stop the moment it fits, because there is no going back.
Do you need a hat block?
It helps enormously but is not essential. A bowl of the right size, a balloon, a football or your own head with a plastic bag over it will all block a simple hat adequately.