Wet Felting for Beginners: How Wool Becomes Fabric
4 min read Beginner
We may earn a commission from links on this page, at no extra cost to you. As an Amazon Associate I earn from qualifying purchases. Learn more.
Warm water, soap and friction turn loose fibre into cloth. Learn the layout, the rubbing, the fulling and the point where most beginners stop too early.
Wet felting is the older of the two main felting methods and the one that produces actual fabric. Instead of tangling fibres with a barbed needle, you use hot water, soap and your hands. The wool does most of the work; your job is to give it the right conditions and then know when to stop.
It is also messy, physical and genuinely satisfying — a flat pile of fluff becomes cloth under your palms in about an hour.
Why it works
Three things acting together:
- Heat makes the scales on each wool fibre lift and open.
- Alkaline soap makes the fibres swell slightly and lets them slide past one another.
- Friction pushes them into each other so the open scales interlock and cannot slide back.
Remove any one and nothing happens. Cold water with soap, or hot water without agitation, will leave you with wet wool and no felt.
What you need
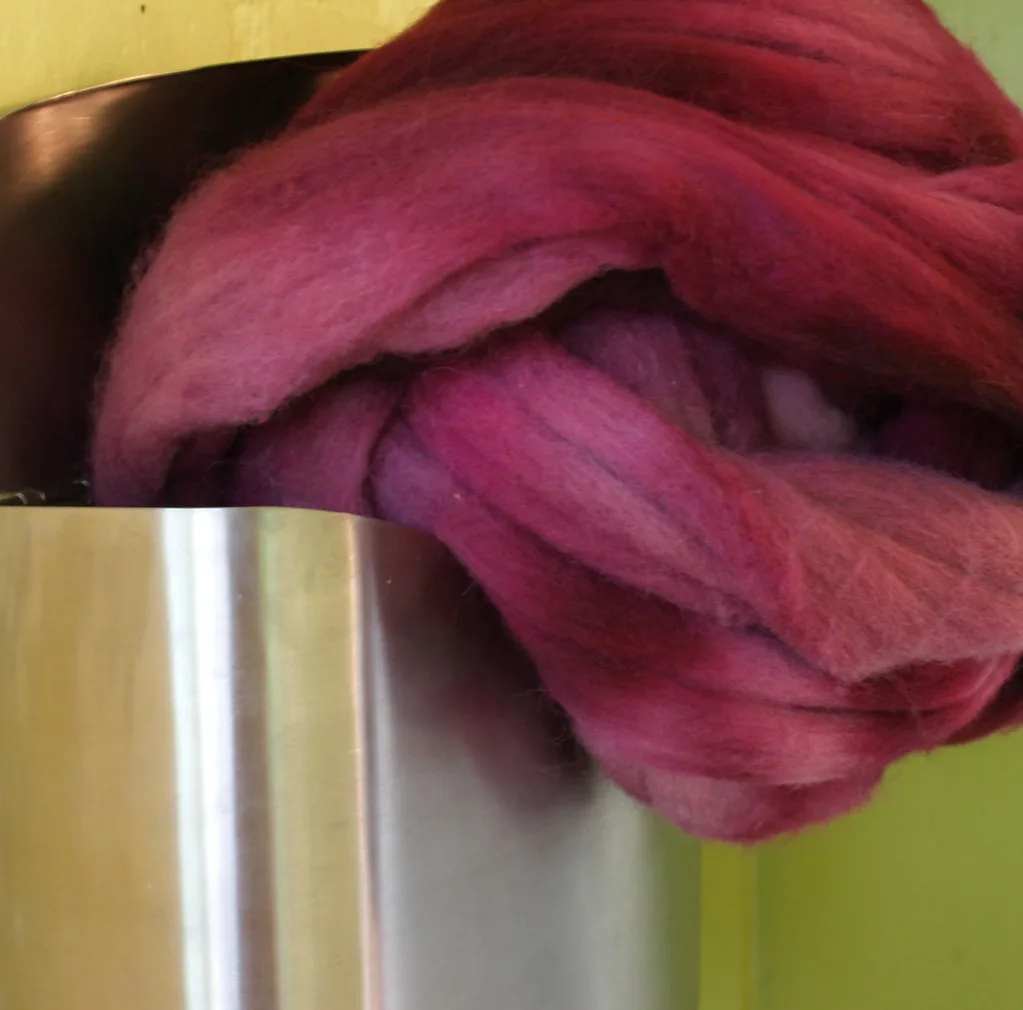
- Merino wool tops, 80–120 g for a first flat piece. Fine wool felts more readily than coarse — see choosing felting wool.
- Olive oil soap or a bar of plain soap. Nothing with heavy moisturisers.
- Hot water, as hot as your hands can stand, and a bowl of cold for contrast.
- Bubble wrap, bubbles up, as a friction surface.
- A piece of net or sheer curtain to hold the fibres while you begin rubbing.
- A towel, and more of them than you think.
- Optional: a pool noodle or length of dowel for rolling.
Step 1: Lay out the wool
This stage determines everything about the finished piece, and it is where beginners rush.
Pull wispy tufts from the end of your wool top — do not cut, and do not pull thick chunks. Hold the top loosely in one hand and draw thin, fine tufts off the end with the other.
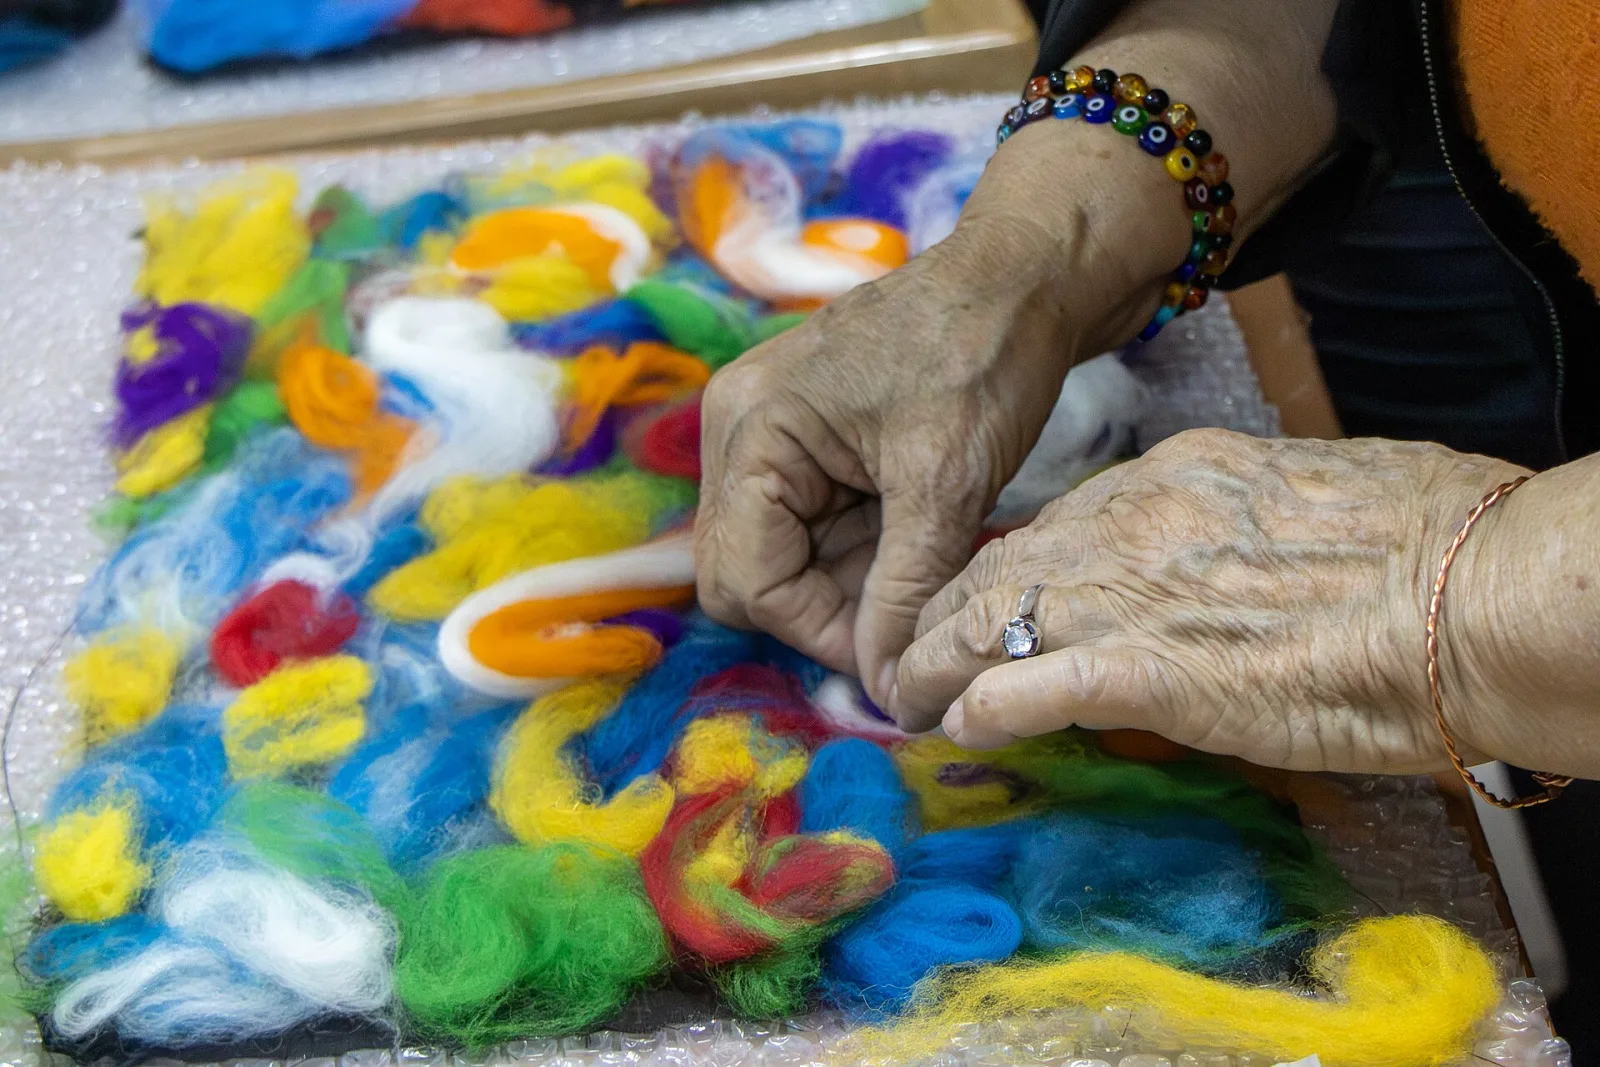
Lay them on the bubble wrap in overlapping rows like roof tiles, all pointing the same direction. Cover the whole area. Then lay a second layer at ninety degrees to the first. Then, for a firmer piece, a third at ninety degrees again.
Even and thin beats thick and patchy. Hold the layout up to the light if you can: bright patches are thin spots that will become holes.
Step 2: Wet it down
Lay the net over the fibre. Sprinkle or gently pour hot soapy water across the surface, then press with flat hands to push the water through. Work from the centre outwards.
The aim is thoroughly wet but not swimming. Press out excess with a towel. If the fibres float and shift, there is too much water.
Step 3: Rub
Through the net, rub gently in small circles with flat palms. Gently is important — early on the fibres are barely holding together and vigorous rubbing will drag the layout apart.
After a few minutes, lift a corner of the net. If the fibre lifts with it, keep going. When the net peels away cleanly, remove it and rub directly on the wool, gradually increasing pressure. Ten to fifteen minutes.
Step 4: Test with a pinch
Pinch the surface and lift. If fibres pull away individually, the felt is not made yet. If the whole fabric lifts as one sheet, the prefelt stage is done and you can move on.
Step 5: Full it
Fulling is the stage everyone skips, and the reason a lot of homemade felt stays floppy. Prefelt holds together; fulled felt is dense, strong and permanent.
Roll the piece around a pool noodle or dowel inside the bubble wrap and roll it back and forth under your forearms, a hundred rolls at a time. Unroll, turn the piece ninety degrees, roll again. Repeat through all four directions, several times.
To finish, alternate hot and cold water: shocking the wool between temperatures makes the fibres contract sharply and speeds the process considerably. Throwing the bundled piece down on the table a few dozen times does the same thing, more dramatically.
Your piece will get noticeably smaller. Expect 30–40% shrinkage overall — see how much felt shrinks if you are working to a specific size.
Step 6: Rinse and dry
Rinse in warm water until the water runs clear, then in cool water with a splash of vinegar to neutralise the soap. Squeeze — do not wring. Roll in a towel to remove most of the water, shape it flat, and leave to dry naturally.
How to tell when it is finished
Finished felt does not stretch out of shape when you pull at it, does not shed fibres when you rub the surface, and holds a crease when you fold it. If it does any of those things, it needs more fulling.
What to make first
- A flat sample, 20 × 20 cm. Unglamorous and by far the most useful thing you will make, because it teaches you your own shrinkage rate.
- Felted soap — one evening, almost no equipment, genuinely useful.
- A scarf, once you trust your layout.
For the shopping list behind all of this — which wools mat and which never will, what the soap and the mat are actually doing — see wet felting materials.
If your wool refuses to felt at all, the problem is almost certainly the fibre rather than your technique: this troubleshooting guide covers why.
Frequently asked questions
What do you need for wet felting?
Wool tops, hot water, soap, bubble wrap, a piece of net and some towels. Everything except the wool is usually already somewhere in the house.
Why does wet felting work?
Wool fibres are covered in microscopic scales. Heat, moisture, soap and friction make those scales open, slide past one another and then lock together, and that tangle is irreversible, which is what turns loose fibre into cloth.
How do I know when wet felting is finished?
Pinch the surface and lift. If a few fibres come away on their own, keep going; if the whole piece lifts as one, it has felted. Fulling afterwards shrinks and thickens it further.
How long does wet felting take?
Fifteen minutes to an hour for a small flat piece, depending on the wool and how firm you want it. Merino felts fastest, and coarser wools take noticeably longer.