How to Make Felt Balls by Hand — Including Thirty at a Time
4 min read Beginner
We may earn a commission from links on this page, at no extra cost to you. As an Amazon Associate I earn from qualifying purchases. Learn more.
The wet felting method for wool balls: fast, repeatable and much better than needle felting when you need a garland's worth rather than one.
Felt balls are the raw material for garlands, rugs, mobiles, necklaces and a lot of children's play. You can needle felt them one at a time, and for a single firm ball that is the right method — but when you need thirty, wet felting is the answer. It produces them in batches, in minutes each, with nothing but hot water and soap.
Which method to use
- Wet felting — fast, batchable, slightly softer, perfectly round with practice. Right for garlands, rugs and quantity.
- Needle felting — slower, denser, more controllable. Right when the ball is a component of a sculpture, or needs to be very firm. Method in the needle felted ball tutorial.
What you need
- Wool tops in your chosen colours. Roughly 3–4 g per 3 cm ball
- Hot water, as hot as your hands can stand
- Olive oil soap or plain bar soap
- A bowl, and a towel
- Optional: rubber gloves with a textured palm, which speed things up considerably
Any feltable wool works, since nobody sees the inside — though the outer colour should be something you like. Coarser wool felts faster; see choosing felting wool.
Sizing: start much bigger
Wool balls lose about half their diameter. For a finished ball of 3 cm, start with a loose ball of roughly 6 cm — it will look absurdly large and be correct.
Weigh the wool for the first few if you want consistency across a set. Eyeballing produces a pleasant variety; weighing produces a matched garland. Both are legitimate.
Step 1: Wind the wool
Pull a length off the top and wind it into a ball, changing direction every few turns so the fibres cross. Tuck the end in.
Do not simply scrunch it. A crumpled wad has dense and hollow regions and will felt into an oval with a soft middle.
Step 2: Wet it briefly
Dip the ball in hot soapy water and squeeze gently to push water through the middle, then squeeze most of it back out. Soaking wet wool slides instead of gripping.
Step 3: Roll with almost no pressure
Cup the ball loosely between your palms and roll it in a circular motion using barely any pressure at all. For the first two or three minutes the ball is fragile — press now and you will get creases and folds that never come out.
This gentle opening stage is the single thing that separates round balls from lumpy ones.
Step 4: Increase pressure gradually
As the surface tightens, roll more firmly. Keep changing the axis of rotation so you are not always rolling the same equator.
Dip back into hot water whenever it cools. Alternating with a dip in cold water speeds the process — the temperature shock makes the fibres contract.
Step 5: Roll until hard
Five to ten minutes per ball. A finished felt ball is genuinely hard — it should not dent under thumb pressure and should bounce slightly if dropped on a table. Most people stop at the point where it merely holds together, and those balls go soft and misshapen within months.
Step 6: Rinse and dry
Rinse in cool water until the soap is gone, squeeze firmly, and leave to dry somewhere warm. Balls take a day or two to dry through — they hold water in the centre long after the surface feels dry.
Making thirty at once
Batch production changes the maths entirely.
- Wind all the cores first. An hour of winding gives you thirty ready to felt.
- Work in rotation. Roll one for thirty seconds through the fragile stage, set it aside, start the next. By the time you return to the first, it has firmed slightly and can take more pressure.
- Once past the delicate stage, roll two at a time, one in each palm against the table.
- Rinse and dry as a batch.
A garland's worth is an afternoon rather than a week.
The washing machine method
Wind the balls, tie each into the toe of an old pair of tights with a knot between them, and run a hot wash with a little detergent and something abrasive like a towel. They come out felted.
The results are less round and less controllable than hand-rolled, but for a rug or a large garland where irregularity does not matter, it is a genuinely reasonable shortcut.
Two-colour and marbled balls
- Solid core, coloured surface: wind a cheap core, then wrap a thin veil of your colour around it before wetting. Uses far less of the expensive fibre.
- Marbled: lay two colours together as you wind. They blur into each other as the ball felts.
- Spotted: press small tufts of a contrast colour onto the surface before the first wetting and they will felt in place.
What to make
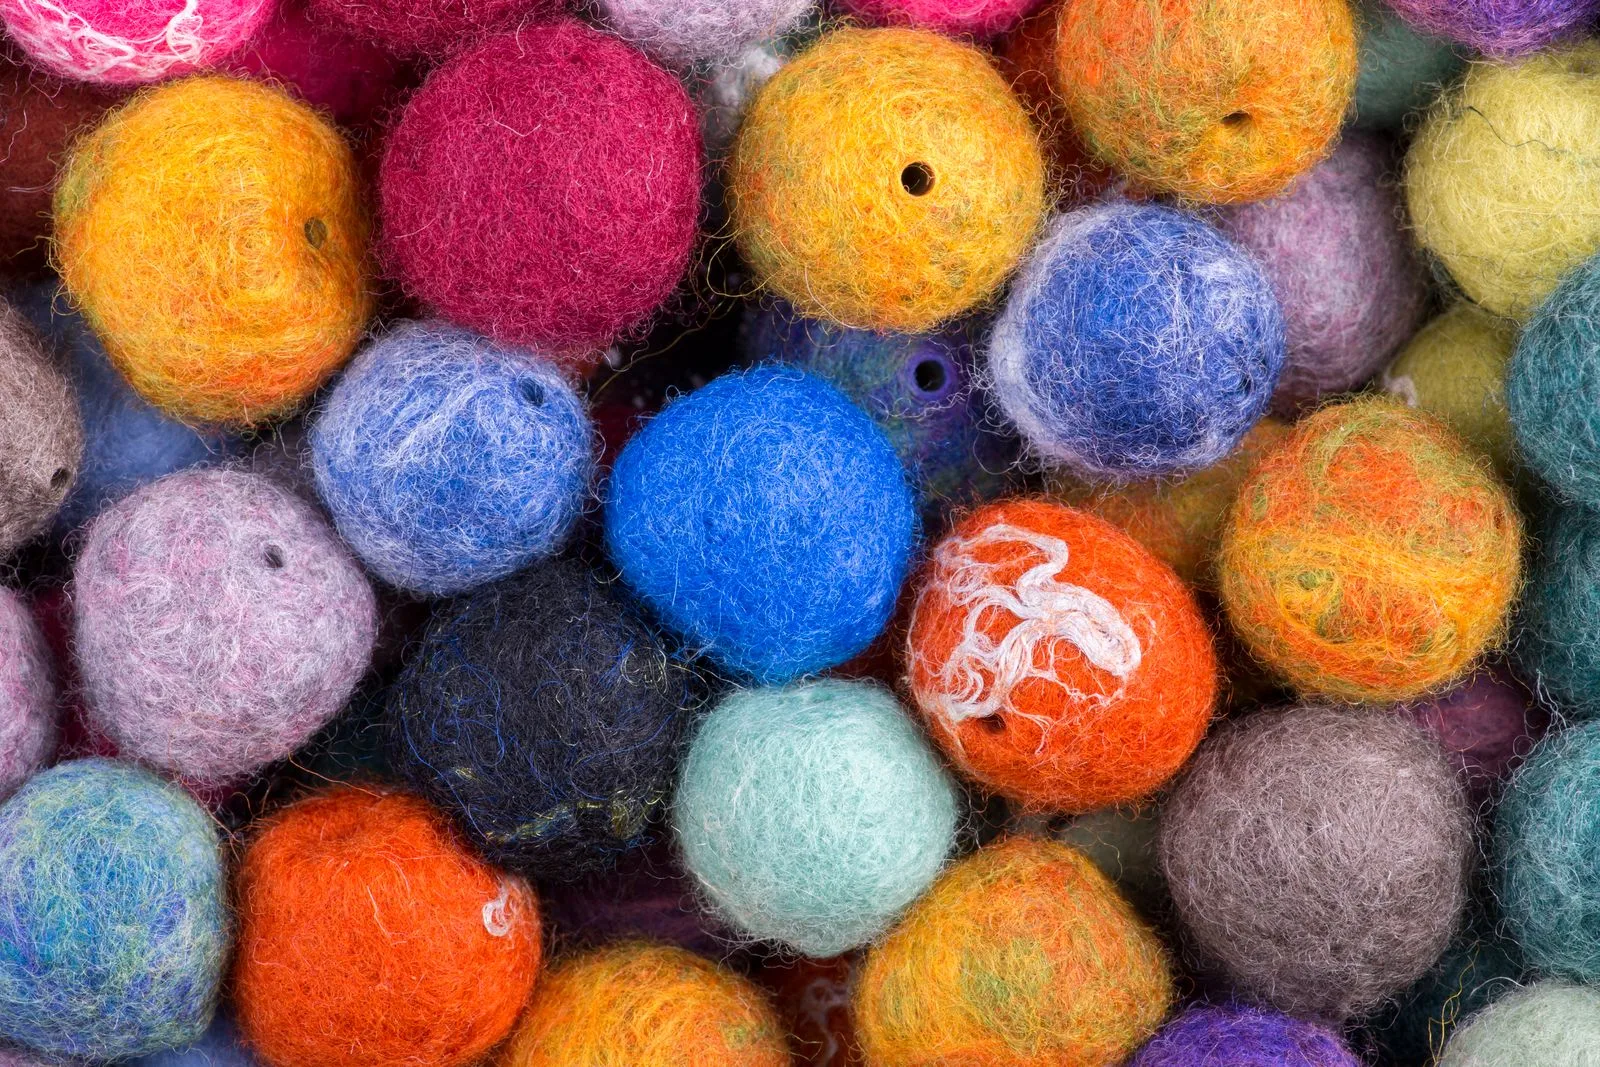
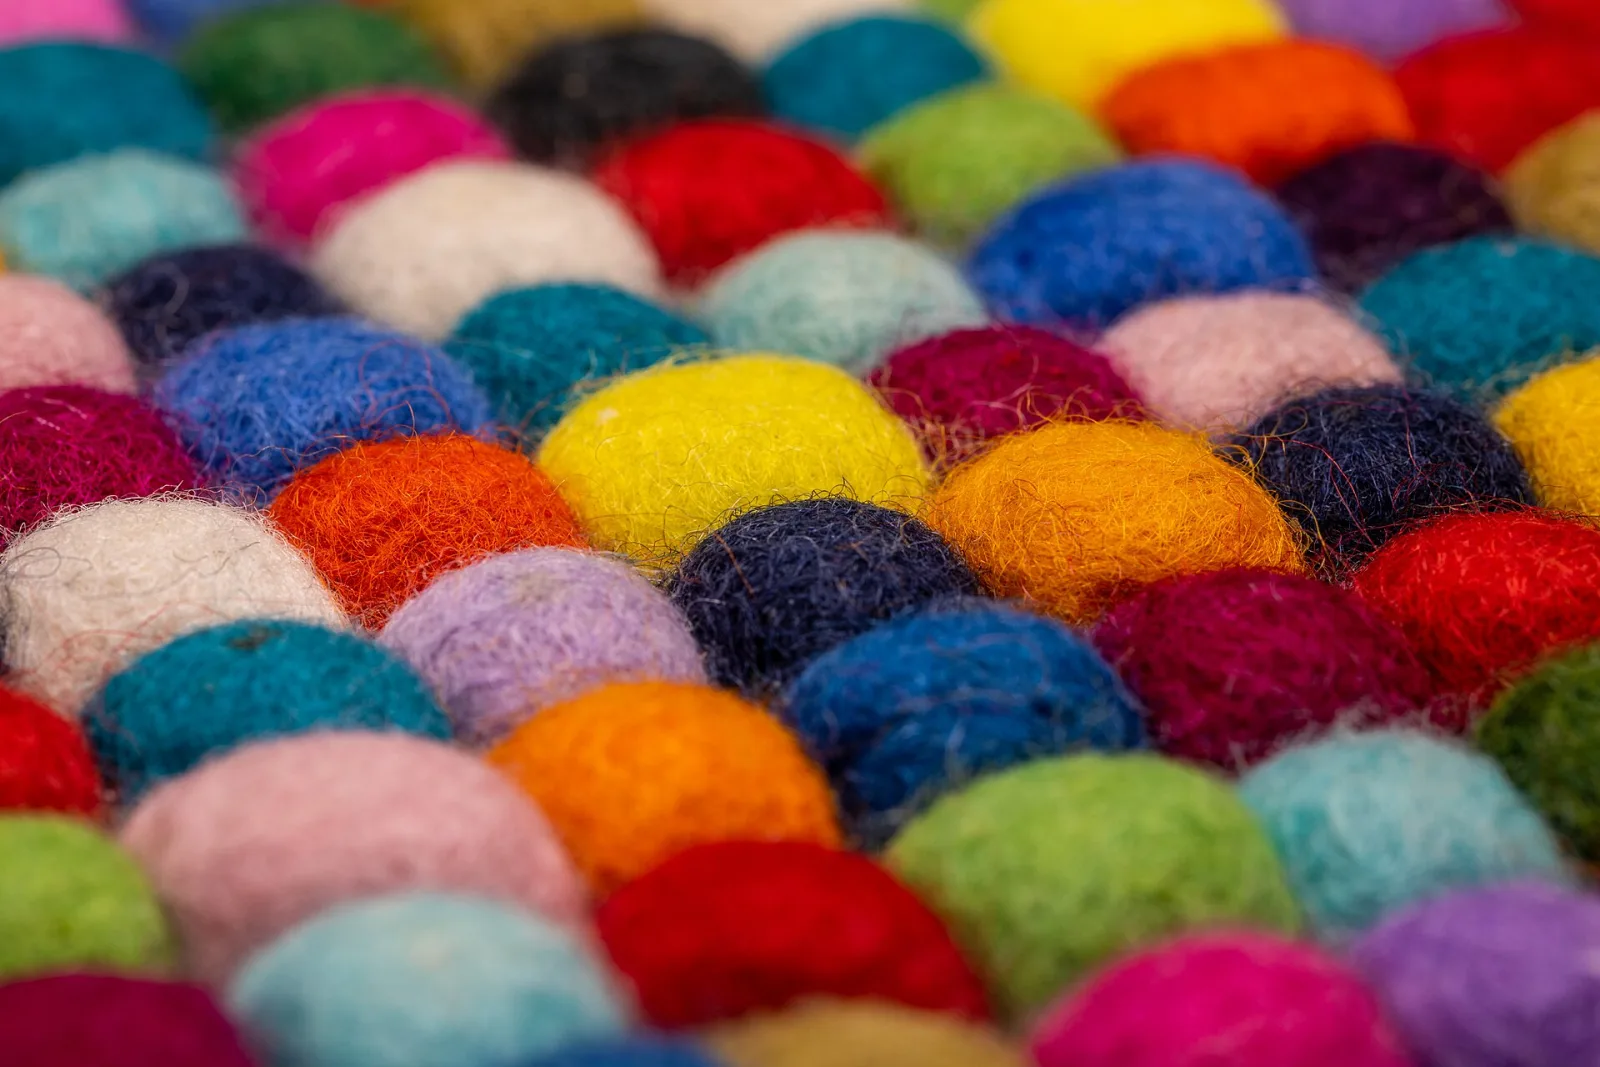
Threaded on cord with a long needle, felt balls become garlands and necklaces. Stitched side by side, they become trivets and rugs. Strung with a bell inside, they become cat toys. Small ones in graded colours make a mobile that costs almost nothing.
For seasonal versions, see felted Christmas ornaments.
Frequently asked questions
How much wool do I need for one felt ball?
Around 3 to 4 g for a finished ball of about 3 cm. Wind it to roughly 6 cm before wetting, because wool balls lose about half their diameter, so the loose ball should look absurdly large.
How long does it take to make a felt ball?
Five to ten minutes of rolling per ball by hand. Working thirty in rotation is much faster per ball, because each one firms up while you are working the next.
How do I stop felt balls coming out lumpy?
Roll with almost no pressure for the first two or three minutes. Pressing while the surface is still fragile creates creases and folds that never come out, and that opening stage is the whole difference between round balls and lumpy ones.
How do I know when a felt ball is finished?
It should be genuinely hard: it should not dent under thumb pressure and should bounce slightly if dropped on a table. Balls stopped at the point where they merely hold together go soft and misshapen within months.