How to Wet Felt a Scarf That Drapes Instead of Sitting Like Board
4 min read Intermediate
We may earn a commission from links on this page, at no extra cost to you. As an Amazon Associate I earn from qualifying purchases. Learn more.
A first wearable piece. How thin to lay the wool, how much length to add for shrinkage, and why a scarf needs less felting than you would think.
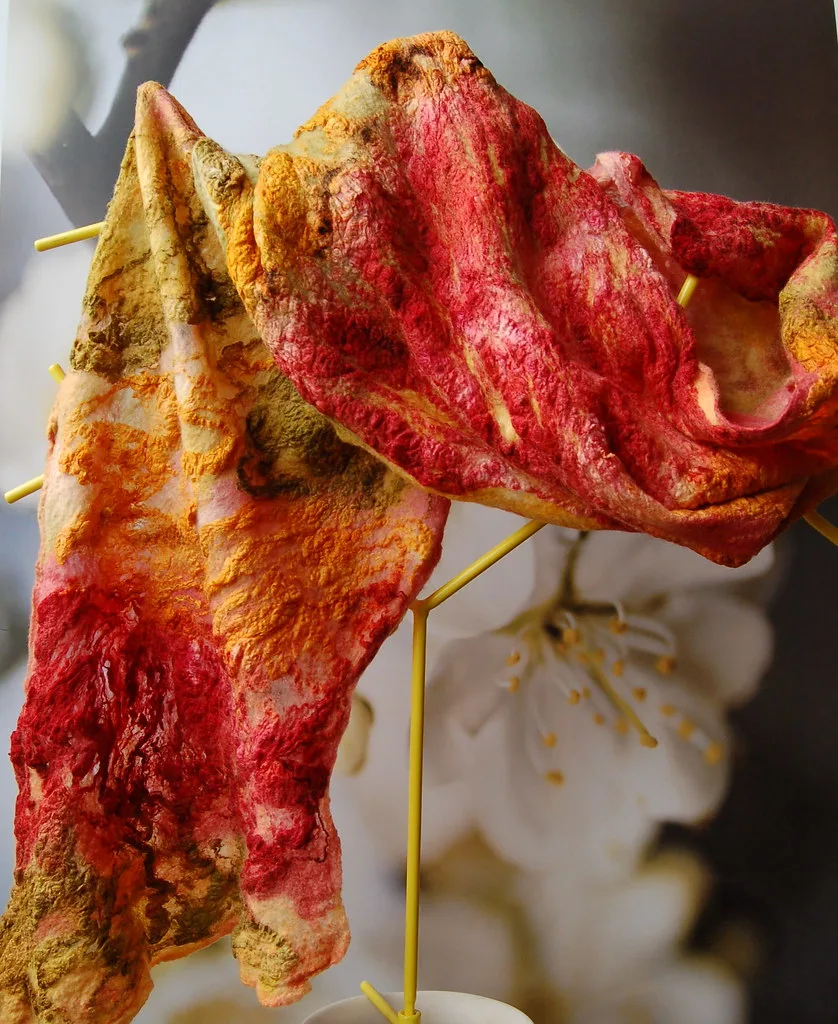
A felted scarf is the first project where the quality of your layout shows in the finished piece. Lay the wool too thick and you get a stiff plank; too thin and you get holes. Get it right and you get a light, soft fabric that drapes properly and weighs almost nothing.
Work through flat wet felting first if you have never felted a sample — this project assumes you know what prefelt feels like.
What you need
- 80–100 g of fine merino tops, 18–21 micron. Fine wool is what makes it drape
- Bubble wrap, longer than your intended scarf
- Net or sheer curtain
- Olive oil soap and hot water
- A pool noodle or length of dowel
- Optional: silk fibres or silk fabric for decoration
Sizing: build in the shrinkage
A wet felted scarf shrinks by roughly 30–40%, and it shrinks more along the fibre direction than across it. For a finished scarf of 150 × 25 cm, lay out roughly 210 × 35 cm.
These numbers vary with your wool, your water and how hard you work, which is why felters make a sample first. If you have not, add ten percent — a scarf slightly too long is wearable and one too short is not. There is more detail in the shrinkage guide.
Step 1: Lay out two thin layers
Mark your dimensions on the bubble wrap with tape so you can see the edges.
Pull fine wisps from the end of the wool top and lay them lengthways along the scarf, overlapping each wisp by about half its length like roof tiles. Then lay a second layer crossways.
Two layers is the key difference from a bag or a piece of flat felt, which want three or four. A scarf should be thin enough that you can see light through the dry layout in places. Every extra layer costs you drape.
Keep the edges as clean as you can — straight, slightly thicker than the middle, with fibres folded back rather than sticking out. Ragged edges are the most common flaw in a first scarf.
Step 2: Decorate, if you want to
Lay silk fibres, contrasting wool wisps or torn strips of silk fabric on top. They will bond into the surface as the wool migrates around them. Keep decoration on the top layer only, and remember it will compress by a third along with everything else.
Step 3: Wet and rub
Cover with net, sprinkle hot soapy water over the whole length and press it through with flat hands. Blot the excess with a towel.
Rub gently through the net in circles, working along the scarf in sections. Ten minutes. Then peel the net back — if the surface holds together as a sheet, carry on rubbing directly on the wool.
Step 4: Roll, and keep changing direction
Lay the pool noodle at one end and roll the scarf up inside the bubble wrap. Roll it back and forth under your forearms — a hundred rolls, then unroll.
Now the important part: turn the scarf around and roll from the other end, then roll it from each side. If you only ever roll one way, the scarf will shrink much more in that direction and come out narrow, thick and lopsided.
Expect four to six cycles of a hundred rolls each.
Step 5: Full it, but not too far
Unlike a bag or a pair of slippers, a scarf should be fulled just enough and no further. Over-fulling produces a dense, boardy fabric.
Stop when the fabric no longer stretches out of shape, holds together firmly when you pull at it, and has reached roughly your target dimensions. It should still feel supple.
Step 6: Rinse, shape, dry
Rinse in warm water until it runs clear, then in cool water with a splash of vinegar. Squeeze out — never wring.
Roll in a towel to blot, then lay the scarf flat and stretch it gently to its final dimensions, straightening the edges with your fingers. This is your last chance to correct the shape. Leave it to dry flat.
Once dry, it can be pressed with a warm iron under a cloth if you want a crisper finish.
Common problems
- Stiff and boardy. Too many layers, or fulled too hard. Nothing to be done afterwards — go thinner next time.
- Holes in the middle. Thin spots in the layout. Small holes can be patched by felting a wisp over them while the scarf is still wet.
- Wavy, uneven edges. Uneven fibre distribution at the sides. Building the edges up slightly during layout fixes this.
- Much narrower than planned. You rolled predominantly in one direction. Change orientation every cycle.
Next steps
The natural progression from a plain wool scarf is nuno felting, where the wool is felted through a fine fabric to make something even lighter and more drapey — the technique that makes felt genuinely wearable in warm weather.
Frequently asked questions
How much bigger should I lay out a wet felted scarf?
Roughly 30 to 40% larger in both directions than the size you want it to finish. A scarf meant to end up 150 cm long is laid out at around 210 cm, and it will look far too big until it is not.
How much wool do I need for a felted scarf?
About 100 g of merino tops for a scarf-sized piece, laid down in two thin layers running at right angles to each other. Thicker is not better here: a heavy layout gives you a stiff scarf, not a warmer one.
Why did my scarf come out stiff?
It was fulled too far. Fulling is what turns soft felt into fabric, but past a certain point it goes board-like, so stop while the piece is firm and still drapes over your hand.
How hot should the water be for wet felting?
As hot as your hands can comfortably stand. Lukewarm water is the most common reason a piece refuses to felt, and alternating hot water with a cold rinse speeds the process up further.