How to Make Felted Slippers: Four Routes to the Same Shoe
10 min read Intermediate
We may earn a commission from links on this page, at no extra cost to you. As an Amazon Associate I earn from qualifying purchases. Learn more.
Felted slippers are made four different ways — knitted, crocheted, wet felted over a resist, or cut from an old jumper. Which one you should use depends on which craft you already have in your hands.
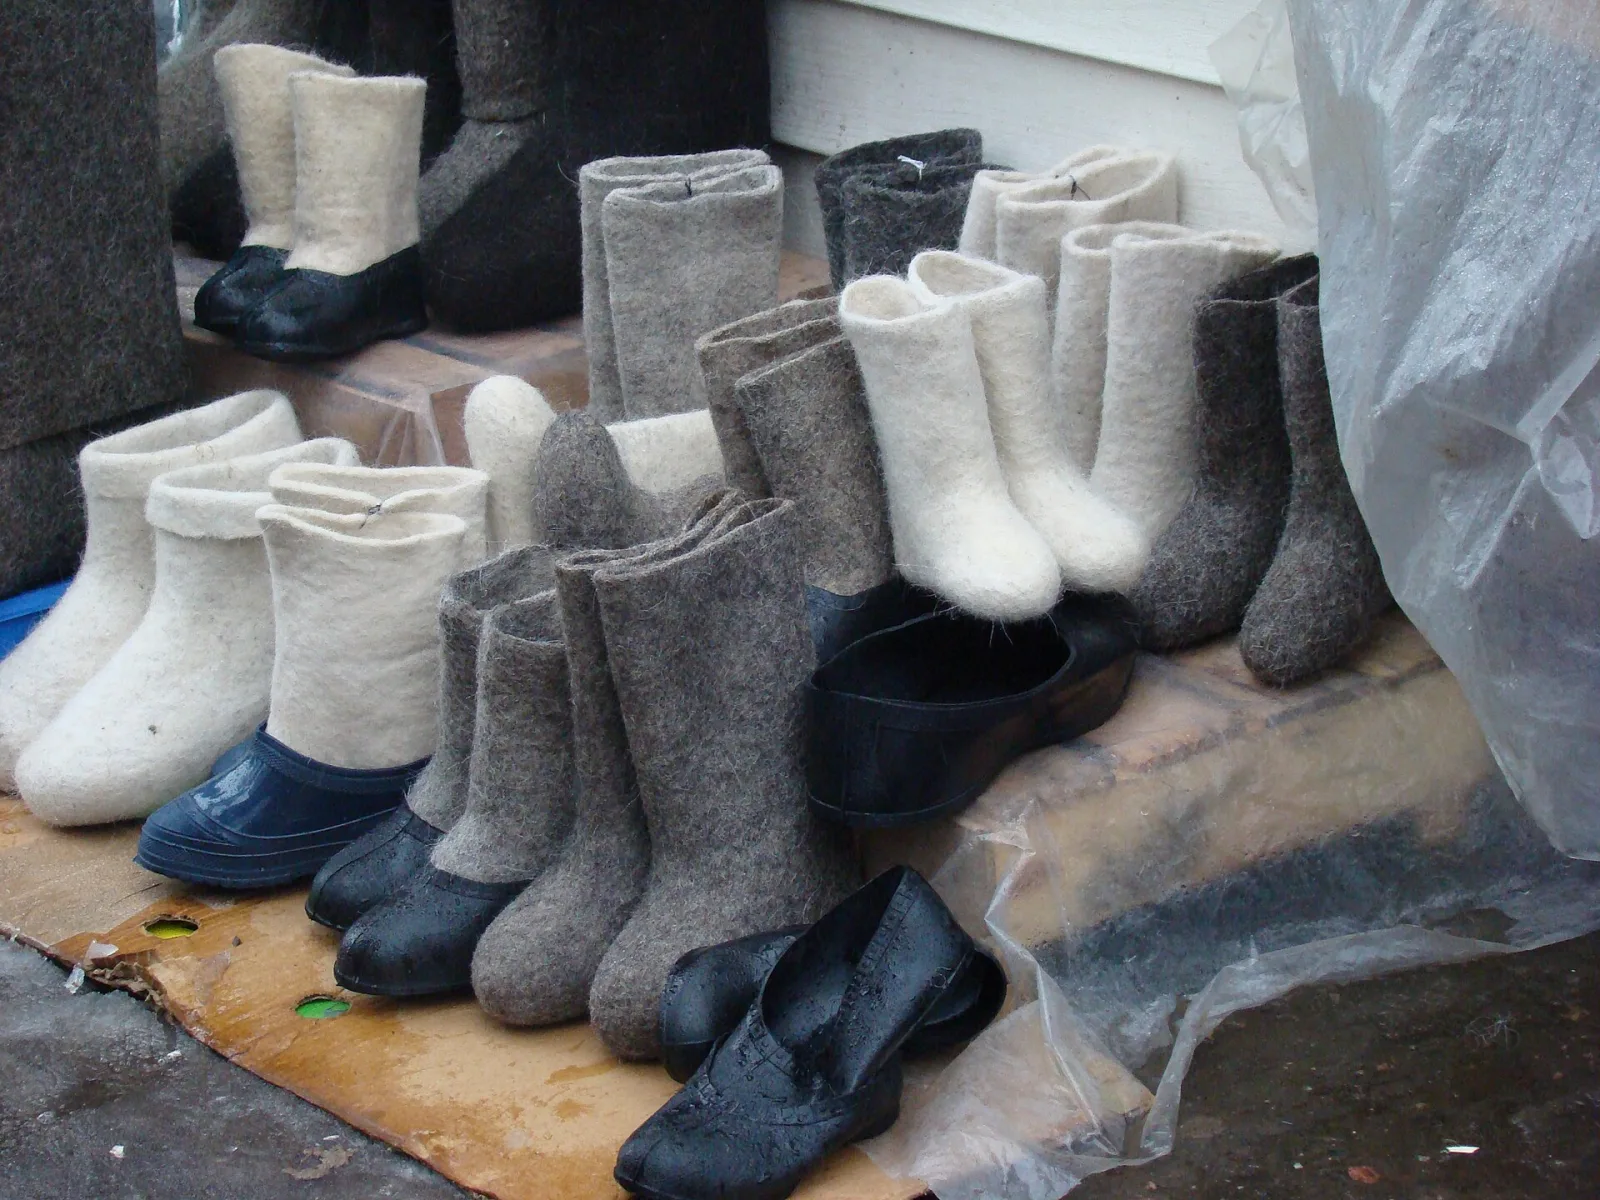
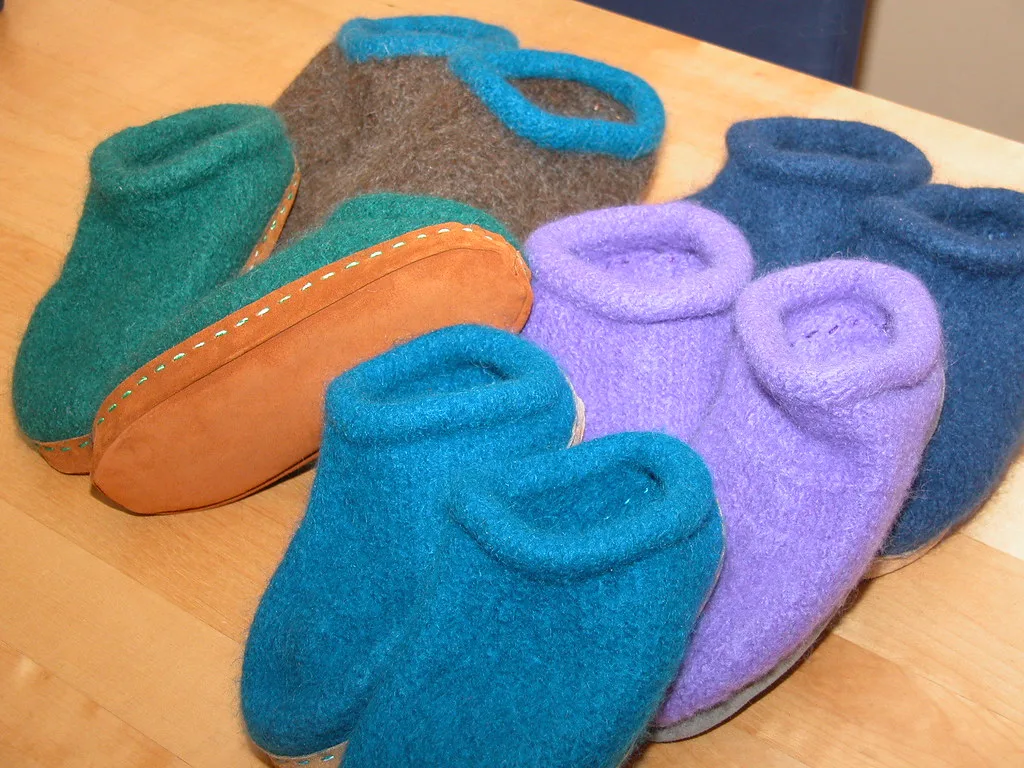
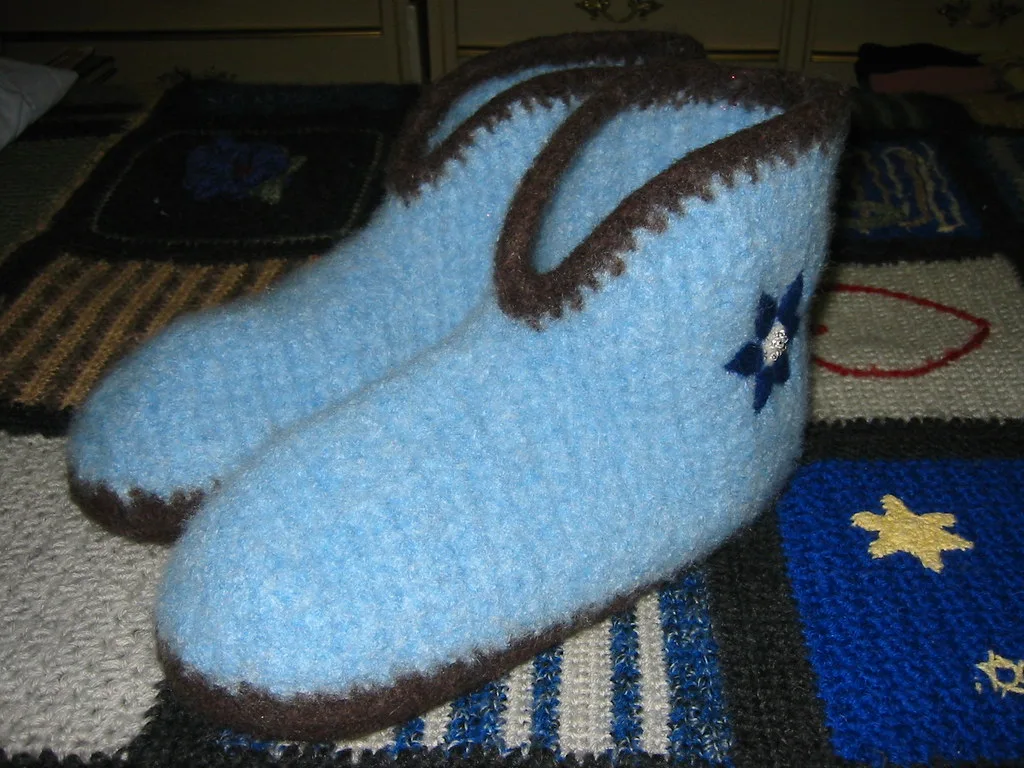
"Felted slippers" is one name for four different crafts. A knitter knits something enormous and shrinks it. A crocheter does the same with a hook, and gets a denser fabric that behaves differently in the wash. A wet felter builds a seamless shoe from loose wool over a resist and never touches a needle or a hook. Somebody with scissors cuts slippers out of a jumper that has already been ruined in a hot wash. All four end in the same object — a dense wool shoe that moulds to a foot — and no two of them share a tool.
So the first decision is not which pattern to follow. It is which of those crafts you can already do, because the fastest first pair is nearly always the one made in the technique already in your hands.
If you have none of them, knit and full. That is where almost every free felted slipper pattern lives, and it is the most forgiving: a slipper that comes out too large simply goes back in the machine.
The four routes, compared
- Knit and full. Six to twelve hours of knitting, then one or two wash cycles. Needs enough knitting to work in the round or to seam a flat piece. Extremely forgiving: size is corrected by washing again. Fit is good rather than exact. Wears for years. Nearly all the free patterns are here.
- Crochet and full. Four to eight hours, if you crochet faster than you knit. Needs one stitch and the confidence to increase and decrease. Forgiving in the same way, but harder to hit a size: the fabric starts denser and shrinks 20 to 30% rather than 30 to 40%, and less predictably. Chunkier, slightly stiffer finish.
- Wet felt over a resist. Three to five hours in one unbroken session. Needs real wet felting experience — the resist and the hard fulling are not beginner work — and it is the least forgiving of the four, because fulling cannot be undone. Fits better than anything else, since the shoe is shaped on the foot while wet. Densest, seamless, longest-wearing.
- Cut and sew from a felted jumper. An hour or two once the jumper has been through the wash, and no craft beyond a blanket stitch. The cheapest route by far. Not resizeable after cutting, the fit is the least precise, and durability depends entirely on the jumper.
Two rules cut across all four. Felting only goes one way, which is why the machine routes are kinder to a beginner — stop short, look, run the cycle again — and why a slipper fulled ten minutes too long is a slipper for a smaller person. And superwash wool will not felt at any temperature, in any machine, for any length of time, which accounts for most failed attempts. Anything labelled machine washable or shrink resistant is out; see best wool for felting.
Route one: knit and full
Knit a huge, loose slipper in untreated aran or chunky wool on needles two or three sizes larger than the band suggests, then shrink it at 60 °C. Stocking stitch felts most predictably; ribbing and cables disappear. The coarser the breed, the firmer the fabric and the longer it lasts. The landmark pattern is Fiber Trends "Felt Clogs" by Bev Galeskas, which most knitted felted clogs are descended from.
The full method — yarn, needle size, the swatch, working in the round, the wash cycle and the fitting — is on knitted felted slippers, with the underlying fabric behaviour in felting in knitting.
Route two: crochet and full
The same idea with a hook. Crochet fabric starts denser and pins more of the yarn's length inside each stitch, so it felts less, and less predictably, than knitting: expect 20 to 30%, and swatch every time. In exchange you get speed and a stiffer slipper that holds its shape unaided.
Hook size, stitch choice, the increase pattern and the different wash schedule are on crochet felted slippers, with the underlying fabric behaviour in felting crochet.
Route three: wet felting over a resist
The version with no stitching anywhere in it: wool laid around a flat foot-shaped template, felted through it, cut open, and fulled down onto the foot. An afternoon's work, and the densest, best-fitting slipper of the four.
Draw round the intended foot, add 1.5 cm all round — a slipper is not a sock — then scale that outline up by 65 to 70% in every direction, so a 25 cm foot, drawn round and eased to a 28 cm outline, wants a resist about 47 cm long. Cut it from something thin, stiff and waterproof, carry it well above the ankle so there is spare cuff to trim at the end, and round off every corner: a sharp one leaves a permanent ridge in the felt.
Three to four layers of wool per side, each at 90 degrees to the one below, and then the step that separates a slipper from every other resist project: two extra layers over the sole area of each side, set inside the outline so they never reach the fold. The ball of the foot takes all the wear, and reinforcement is far easier to lay in now than to patch on later. An adult pair runs 120 to 160 g, in something coarser than merino.
The rest — wetting out, rubbing through net, rolling in a bamboo mat or a mat alternative, when to cut the opening and how to seal the cut edge — is set out step by step in resist felting, with the underlying technique in wet felting. The one figure to carry over from here is how far to full it: 40% shrinkage from the laid-out size is normal, and the wall should end up feeling like thick leather rather than fabric. Shape and dry it as described for knitted felted slippers.
Route four: slippers from an old jumper
The cheapest way in, and the only one needing no yarn, no fibre and no felting skill: you buy the fabric ready-made and shrink it.
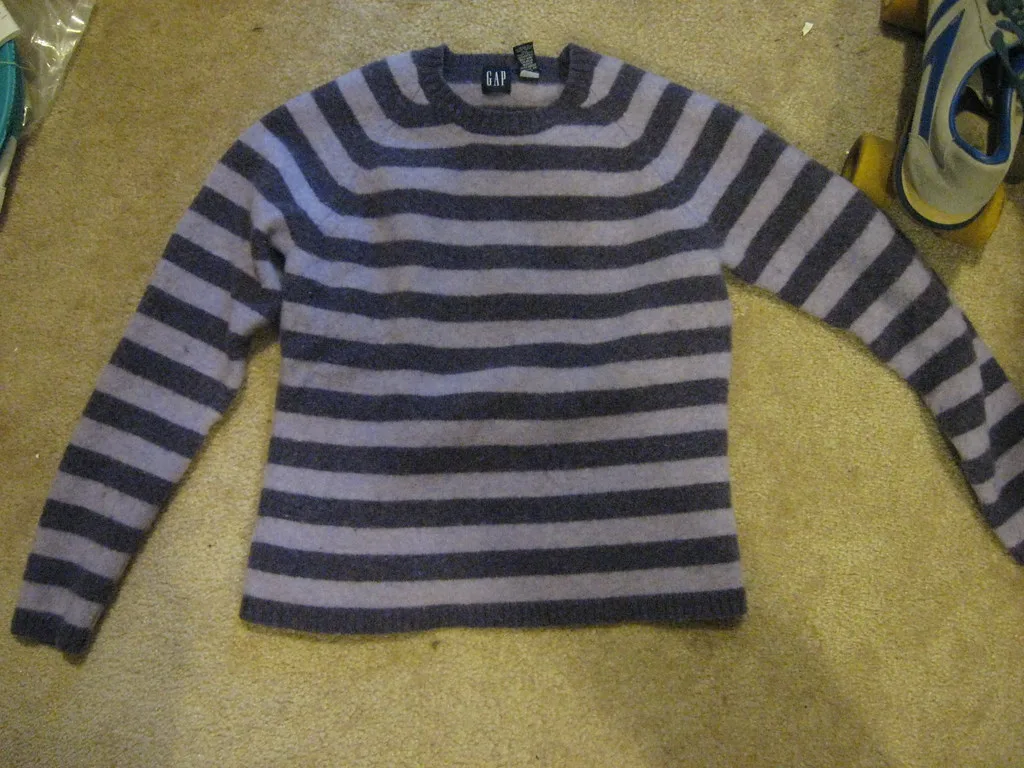
Find a jumper that is at least 80% wool and definitely not superwash; charity shops are full of them, and the label matters far more than the colour. Wash at 60 °C on the longest cycle with a pair of jeans for abrasion and a teaspoon of detergent, and run it twice if you can still see individual stitches — the detail is on how to felt a wool sweater.
What comes out is a flat fabric a third smaller, much thicker and considerably denser, and — the point of the exercise — non-fraying. The fibres are locked into each other, so a cut edge stays a cut edge: no hemming, no overlocking, no seam allowance. That is what makes a felted jumper worth the wash and an unfelted one not.
Cutting a slipper from it:
- Soles. Draw round each foot, add 1 cm all round, and cut two from the body of the jumper — mirrored, not identical. Double them if the fabric is thin.
- Uppers, the sleeve trick. A sleeve is already a tapered tube of roughly the right proportions. Cut a length off the cuff end: the existing cuff becomes a finished ankle opening, and the taper does the shaping for you. One jumper gives a pair.
- Uppers, the two-piece version. For more control, cut a vamp covering the toes and instep and a back piece wrapping the heel, joined at the sides.
- Seams. Blanket stitch, right sides out, doubled sock yarn or tapestry wool on a blunt needle, stitches 4 to 5 mm apart and equally deep. An outside seam reads as deliberate, and it does not press a ridge into the foot the way a turned seam does.
Keep the offcuts: they patch soles, and one jumper also yields a pair of sweater mittens.
Can you needle felt slippers?
Not the slipper itself, and the reason is worth knowing.
A barbed needle makes fabric by dragging fibres through each other so they tangle — a purely mechanical entanglement, held by friction wherever the barbs happened to catch. Wet felting does something else: hot water opens the scales, soap and agitation make the fibres migrate past one another, and the whole mass shrinks and locks into a fabric that behaves as one piece. Needle felted wool never gets that. It has none of the hot-water fibre migration that locks a wet-felted fabric into a single sheet — only the tangles the barbs made, and those work loose under load.
A slipper is the worst possible test of that difference. Walking puts thousands of cycles of shear and flex through the sole every day, and each one works the entanglement looser: needle felted soles go fuzzy, then thin, then open at the ball of the foot, usually within weeks. The wool is not weak; the structure is.
What needle felting is genuinely good for on a slipper:
- Surface decoration. Motifs, spots, initials and colourwork on an already-felted slipper. Work from the outside with a 40 gauge needle, then give the design a brief hot soapy rub so the added wool locks into the base rather than sitting on it.
- Joining. Tacking two felted pieces together before stitching them properly — far easier than pinning.
- Patching. The best repair there is for a thin sole.
The general technique is in needle felting, and applying wool to an existing fabric in needle felting on fabric.
Sizing quick reference
Two steps, and they hold for every route. First, finished length = foot length + about 1 cm of ease, because a slipper pressed tight to the foot is a sock. Then pre-felting length = finished length ÷ (1 − shrinkage).
Knitting at 30% shrinkage — the cautious end of the range, on the principle that more fulling is always available and less never is — a 24 cm adult foot gives a 25 cm finished slipper, knitted at 36 cm. The full table, child sizes through to a 28 cm foot, is on knitted felted slippers.
Change the assumption and every number changes with it:
- Crochet shrinks 20 to 30%, so that same 24 cm foot wants 31 to 36 cm, about 33 in the middle of the range. Take the numbers from crochet felted slippers, and swatch: crochet is the least predictable route.
- Wet felting over a resist uses a different figure again — the resist is 65 to 70% larger than the finished slipper, not the foot, because you full it far harder than a machine does.
- Knitting shrinks more in length than in width, so a slipper knitted toe-up loses most of its shrinkage in exactly the dimension you care about.
None of it beats your own measurement. Work a 20 × 20 cm swatch, mark 15 cm in each direction with contrast thread, felt it the way you mean to felt the slippers, and measure. That percentage is worth more than any pattern's stated gauge; see wool shrinkage when felting. And err large — a slipper slightly too big can be felted further, and one that is small is a gift for somebody else.
Where the free patterns are
Ravelry alone lists hundreds of free felted slipper patterns. Ignore any that does not state both pre- and post-felting measurements and the exact yarn used: without those numbers you are guessing at somebody else's machine. Our round-up is in free felting patterns for beginners.
Soles
Unsoled wool skates on sealed boards, and it grinds thin under the tread long before the rest of the slipper shows any age. A sole answers both at once, and a stitched leather one makes a pair last three to five times as long. The options — latex dots, puff fabric paint, leather and suede, non-slip fabric, and how to fix each of them on — are compared on slipper soles.
Washing, de-pilling and repair
Air them rather than wash them: most slipper smell is bacterial growth in damp wool, and a day on a windowsill deals with it. When they are genuinely dirty, wash by hand, lukewarm, 30 °C at the very most, wool detergent, no rubbing and no wringing, and squeeze the water out through a towel. A gentle wash will not hurt an already-felted slipper, but a hot machine cycle will shrink it another size — the commonest way people lose a pair they made themselves. Reshape on the foot while damp. More in can you wash felt.
Pilling is normal, especially on merino, and it is not damage — pills are fibres that had already worked loose. Take them off with a sweater comb, a battery pill shaver on its lowest setting, or a razor drawn lightly across the surface with the felt held taut. The slipper is no thinner for it.
Thin patches are worth mending the moment they appear, which takes minutes where rebuilding a sole that has holed through takes an afternoon. The needle-felted patch method, and how to sole over the repair afterwards, is on slipper soles; done properly it is invisible after a week of wear.
Two other routes reach the same slipper without a resist: knitted felted slippers, worked oversized on big needles and shrunk in the machine, and crochet felted slippers, which full denser for the same yarn.
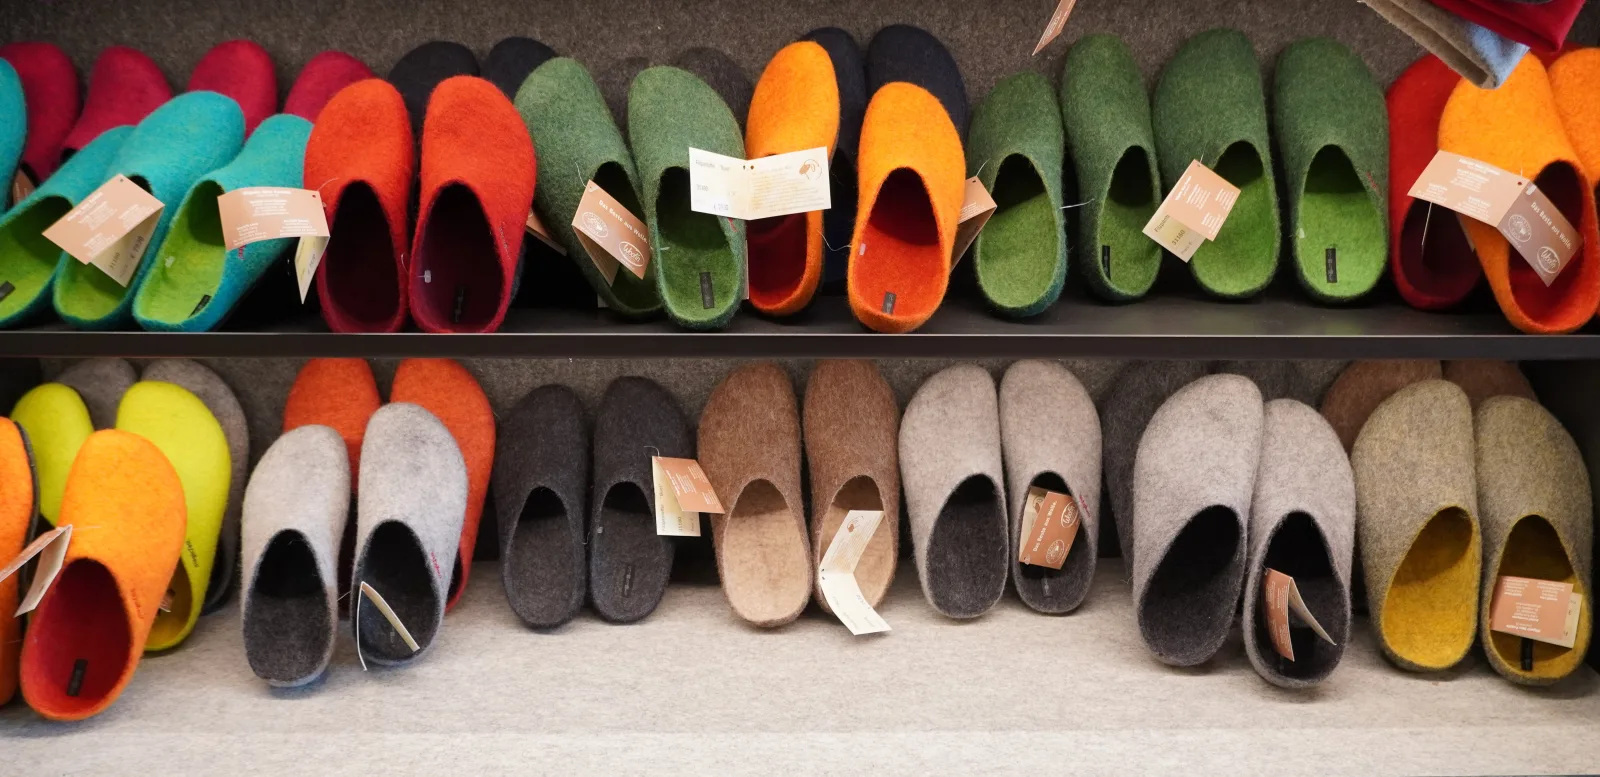
If you would rather buy than make, see best felt slippers, which also covers the traditional Nordic makes and which footbeds genuinely support an arch.
Frequently asked questions
How do you make felted slippers?
Four ways: knit them about half as long again as the finished slipper and shrink them in a hot wash, crochet them oversized and shrink them the same way, wet felt them seamlessly over a foot-shaped resist, or cut them from a jumper that has already been felted. For a first pair, knit and full — almost every free pattern uses it, and a slipper that comes out too big can simply go back in the machine.
How much do knitted slippers shrink when felted?
Typically 30 to 40%, and more in length than width. Knit a swatch in the same yarn and felt it exactly as you plan to felt the slippers, then measure — published patterns assume a yarn and a machine you may not have. Crochet shrinks less, usually 20 to 30%.
Can you needle felt slippers?
Not the slipper itself. Needle felted wool is held together by mechanical entanglement alone, with none of the fibre migration a hot soapy wash produces, so it comes apart under the shear and flex of walking and wears through in weeks. Needle felting is excellent for decorating, joining and patching a slipper that was made another way.
How do you stop felted slippers being slippery?
Add a sole: dots of liquid latex or puff fabric paint on the underside, a leather or suede sole stitched on with waxed thread, or non-slip fabric. Bare felt on a wooden floor is a real hazard on stairs, and the underside thins fastest exactly where you push off.