How to Blend Wool Colours: Mixing Shades You Cannot Buy
5 min read Intermediate
We may earn a commission from links on this page, at no extra cost to you. As an Amazon Associate I earn from qualifying purchases. Learn more.
Hand carders, the drum carder and the two methods that need no equipment at all. How wool colour mixing differs from paint, and why it does.
Commercial dyed wool comes in flat, saturated colours. Real fur, petals and leaves do not. The gap between a felted piece that looks like a craft object and one that looks like a living thing is usually colour blending, and it needs less equipment than people assume.
Wool blending is not paint mixing
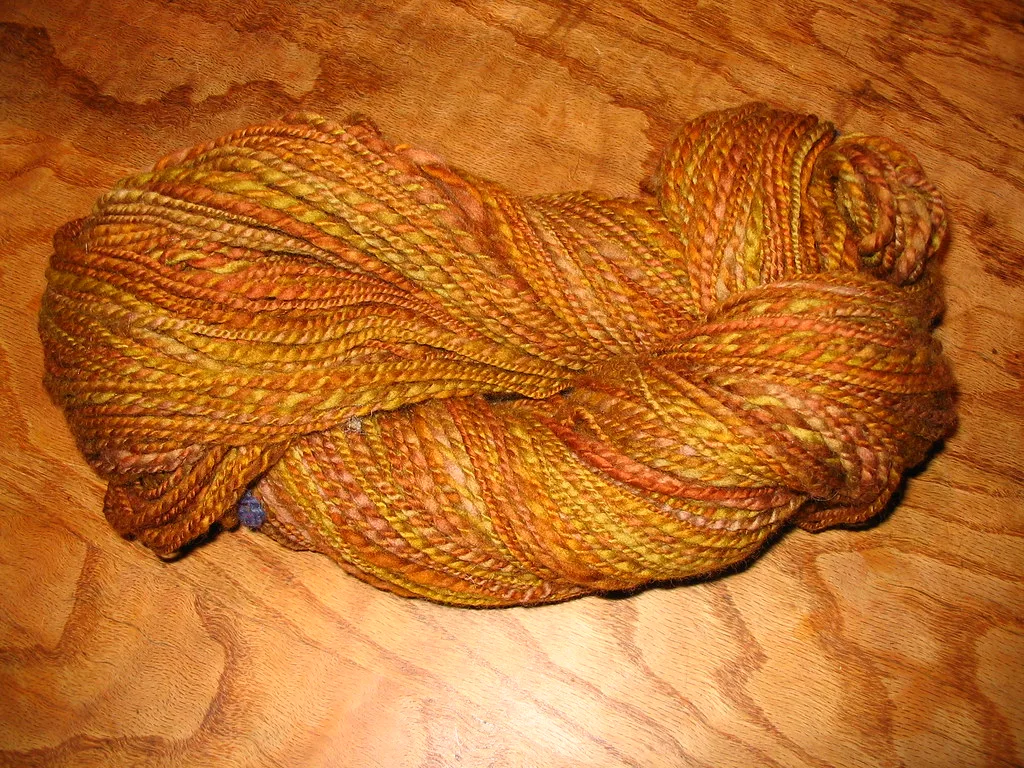
When you mix paint, the pigments combine into a genuinely new single colour. When you blend wool, the individual fibres keep their own colours and your eye does the mixing — the same effect that makes a tweed jacket read as heather grey from across a room and reveal itself as flecks of blue, brown and cream up close.
Two consequences follow:
- Blends stay lively. A blended brown has depth that a dyed brown does not.
- Blending never gets you a darker colour than your darkest fibre. Adding black to red gives you flecked dark red, not a deep maroon. If you need a colour darker than anything you own, you need dye, not carders.
Method 1: Fingers, no equipment
Perfectly adequate for small quantities.
- Pull thin wisps of each colour and lay them on top of one another in a small stack.
- Pull the stack apart into two halves, stack them again, and repeat.
- Ten or twelve repetitions gives a serviceable blend.
Coarse and streaky by the standards of a carder, and streaky is often exactly what you want for fur or foliage.
Method 2: Hand carders
Two paddles covered in fine wire teeth. The standard blending tool, and worth owning once you know felting has stuck.
- Load fibre onto one carder by drawing it lightly across the teeth. Do not overload — a thin, even layer.
- Add your second colour on top in the proportion you want.
- Draw the second carder across the first, teeth just meeting, transferring fibre between them.
- Repeat five or six times, transferring the fibre back and forth.
- Roll the blended fibre off the carder into a rolag — a soft tube ready to use.
The number of passes controls the result. Two or three passes give a marled, streaky blend with visible individual colours. Eight or more give a smooth, even shade. Both are useful, so stop deliberately rather than by default.
Method 3: A drum carder
A hand-cranked machine with two rollers. Expensive, and the right tool if you are blending in quantity — a drum carder produces a wide batt in a couple of minutes that would take half an hour on hand carders.
Only worth it if you are making large wet felted pieces or working through significant volumes of fibre.
Recipes worth knowing
Natural animal browns
Straight brown wool reads as flat and toy-like. Blend three parts mid brown, one part dark brown, and a small amount of cream or grey. The result has the variation real fur has.
Green that looks like a plant
Commercial greens are often too blue or too vivid. Add a small amount of yellow and a pinch of brown to knock the saturation back. Leaves are rarely as green as dyed wool is.
Skin tones
Build from cream or white plus tiny quantities of pink, yellow and brown. Add colour a wisp at a time — it is far easier to darken a blend than to lighten one, since lightening means adding a large volume of pale fibre.
Shadow and depth
Rather than blending a darker version of a colour, apply a thin veil of grey or a complementary colour over the surface of the finished piece. Because felting is optical, a translucent layer reads as shadow rather than as a different colour.
Gradients without blending
For a smooth transition from one colour to another across a surface — a petal tip, an animal's belly — do not blend at all. Lay the two colours side by side, overlapping in the middle, and let the felting process merge them at the boundary. You get a true gradient rather than a band of a third colour.
This is the technique behind good felted flowers, where petals shade from base to tip, and behind the white front of a needle felted penguin, where the join has to look like a boundary in the plumage rather than a seam.
The opposite case is worth knowing too. A needle felted cow in Holstein markings needs a hard edge with no transition at all, so you lay the second colour over a finished surface and needle straight down along the outline instead of feathering it. Pale pink for a needle felted pig sits in between: white with a few per cent of red blended right through, because an unblended pink reads as a toy rather than an animal.
Keep records
You will produce a colour you love and be unable to reproduce it. Weigh the components, write the ratio on a scrap of paper, and felt a small sample tag with the recipe attached.
After a dozen blends you will have a personal palette and something far more distinctive than what any supplier sells — the point at which felted work stops looking like it came from a kit.
Which fibre blends best
Carded batts blend most readily because their fibres already lie in all directions. Combed tops are more slippery and take more passes. Fibres of similar length blend evenly; mixing a long wool with a short one gives an uneven result, which is occasionally what you want. See wool types for what to reach for.
Frequently asked questions
Can you mix wool colours the way you mix paint?
Not quite. The individual fibres keep their own colours and your eye does the mixing, the same effect that makes a tweed read as heather grey from across a room. Blended wool stays livelier than dyed wool as a result.
Why can I not make a darker colour by blending?
Blending never gets you darker than your darkest fibre. Adding black to red gives flecked dark red rather than deep maroon. For anything darker than what you already own you need dye, not carders.
Do I need carders to blend wool?
No. Stacking thin wisps of each colour, pulling the stack in half, restacking and repeating ten or twelve times gives a serviceable blend. It comes out coarser and streakier than carded fibre, which is often exactly what fur and foliage want.
How do I get a smooth gradient between two colours?
Do not blend at all. Lay the two colours side by side with an overlap in the middle and let the felting process merge them at the boundary. Blending would give you a band of a third colour instead of a true gradient.