Felt Appliqué: Cutting, Fixing and Stitching Shapes onto Cloth
4 min read Beginner
We may earn a commission from links on this page, at no extra cost to you. As an Amazon Associate I earn from qualifying purchases. Learn more.
Felt is the ideal appliqué material because it has no fraying edge. Which felt to use, how to hold shapes down while you stitch, and the four edge stitches worth knowing.
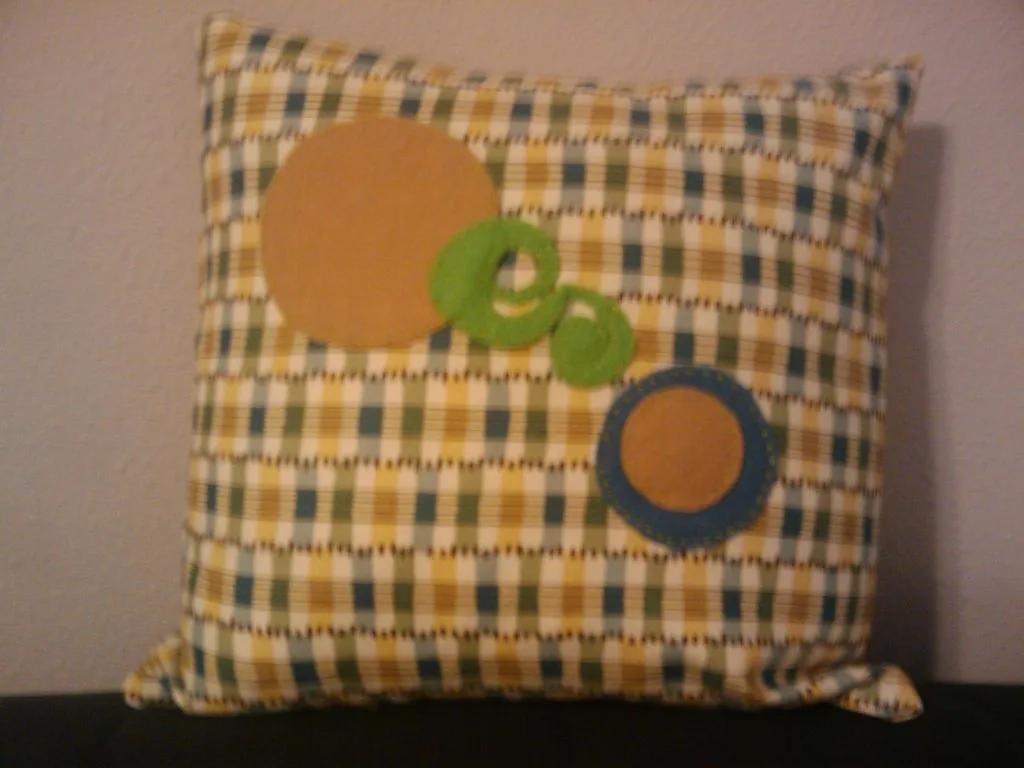
Appliqué is fixing one piece of fabric onto another. With almost every fabric that means dealing with the raw edge first — turning it under, fusing it, or covering it in satin stitch. Felt has no raw edge to deal with, which is why every beginner appliqué project in existence is made from it.
Which felt
- Wool felt, 1 mm — the best. Matte, dense, cuts to a crisp edge, ages well.
- Wool blend — most of the look for half the price. The sensible default.
- Acrylic craft felt — cheap and bright, pills quickly, and the shine is obvious next to wool. Fine for a child's project, wrong for anything kept.
- Hand felted sheet — irregular thickness, beautiful texture, unrepeatable colours. Best for one-off art pieces.
- Prefelt — the special case: it can be felted permanently into a wool background instead of stitched.
Full comparison in wool felt fabric.
Cutting clean shapes
The edge is the whole design, so cutting is where the quality is won.
- Sharp small scissors, kept for fabric only. Blunt scissors chew felt rather than cutting it.
- Cut in one continuous motion around curves rather than in small snips, which leave a scalloped edge.
- Templates: draw on paper, pin it to the felt, and cut through both. Marking directly on felt is difficult and chalk brushes off as you handle it.
- Repeats: a punch or die cutter for anything you need a dozen of — leaves, circles, petals.
Simplify shapes more than feels right. A silhouette with three curves reads better than one with twelve.
Holding it down
Felt slides, and a shape that moves 2 mm while you stitch it looks wrong forever.
- Fusible web ironed onto the back of the felt, then ironed onto the base. Neatest and most secure. Use a pressing cloth — wool felt scorches and flattens under a hot iron.
- Pins for large shapes, placed away from the stitching line.
- A dab of glue stick for small pieces. Temporary, and enough.
- Needle felting. If both layers are wool, a few stabs with a 40 gauge felting needle anchors the shape invisibly and permanently, with no adhesive at all. This is the neatest method by far and is covered in needle felting on fabric.
The four edge stitches
Blanket stitch
The classic. Gives a visible outline that becomes part of the design, in matching thread for subtlety or contrasting for a folk-art look. Keep the stitch length even; unevenness shows more than any other fault.
Whip stitch
Small diagonal stitches over the edge. Discreet, fast, and secure. The right choice when you want the shape rather than the stitching to be seen.
Running stitch
Worked 2 to 3 mm inside the edge rather than over it. Leaves the felt edge free and slightly raised. Very characteristic of Scandinavian and folk work.
Stab stitch
Single short stitches straight down over the edge at intervals. Nearly invisible in matching thread — use it when the appliqué should look fused rather than sewn.
Two strands of stranded embroidery thread suits most work. Six strands is a design decision rather than a default.
Layering
Build from the back forwards, exactly as in painting: sky, then hills, then tree, then bird. Fix each layer before adding the next, and let each shape overlap the one behind it slightly so no base fabric shows through the join.
Three layers is plenty at 1 mm thickness. Beyond that the piece gets stiff and the stitching becomes hard work.
What to put it on
- Wool felt background — the easiest, and it allows the needle felting method.
- Linen or cotton — for cushions, bags and framed pieces. Use fusible web.
- Denim — excellent for jacket patches and visible mending.
- Knitwear — works, but stabilise the back with interfacing first or the appliqué puckers as the knit stretches.
Washing it
Hand wash cool, no agitation, dry flat. Wool felt appliqué on a cotton base can shrink at a different rate from its background, so anything that will be washed regularly is better made with a wool blend or pre-shrunk felt.
The most common appliqué motif of all is a flower; felt flowers covers cutting and building them.
A first project
A single leaf or heart on a plain background, blanket stitched in contrasting thread. It teaches cutting, fixing and one stitch, and it makes a card, a coaster or a pocket patch — all of which take twenty minutes.
Frequently asked questions
Why is felt good for applique?
It does not fray. Every other fabric needs its raw edge turned under, fused or satin-stitched before it can be applied; felt can be cut and stitched straight down, which removes the fiddliest step entirely.
How do you hold felt applique in place while stitching?
Fusible web ironed to the back is the neatest. Pins work for large shapes, a glue stick for small ones, and needle felting a few stabs through the shape holds it invisibly if both fabrics are wool.
What stitch should I use for felt applique?
Blanket stitch for a defined outline, whip stitch for a discreet one, running stitch just inside the edge for a folk look, and straight stab stitches for something almost invisible. Two strands of embroidery thread suits most work.
Can you machine stitch felt applique?
Yes — a straight stitch just inside the edge or a narrow zigzag over it. Use a walking foot if you can, because felt drags under a standard presser foot and the shape can shift.