Needle Felted Santa: The Beard Is the Whole Figure
9 min read Intermediate
We may earn a commission from links on this page, at no extra cost to you. As an Amazon Associate I earn from qualifying purchases. Learn more.
A 12 cm Santa needs a 5 cm beard. Scarlet wool that will not creep into the white, curls laid in at the root only, and the least face you can get away with.
On a 12 cm Santa the beard runs about 5 cm: it starts under the nose and stops two centimetres short of the base, covering close to half the height of the figure. That one proportion is what makes a red cone read as Santa from the other side of a room, and a neat two-centimetre wisp on the chin is why most homemade ones read instead as a gnome that has lost its hat.
The rest is quick: a cone for the body, a smaller cone for the hat, a nose and two dots for the face. Budget an hour, and expect forty minutes of it to go on white wool.
What you need
- Core wool, 12 g for a 12 cm figure, and 5 g of true scarlet for the skin over it
- White curly wool locks, 5 g, plus carded white for the trim and moustache
- Pinches of skin tone, black and dusty pink
- 36 or 38 gauge needles for building, 40 for the red skin, 42 for the face and the locks
- A foam pad, with a clean corner kept for white work
Red that actually reads as Santa
Santa red is a true scarlet — a red with a slight orange lean, the colour of a pillar box — and most wool sold as "red" is not it. Crimson is shifted towards blue and turns purple next to white; burgundy and wine make the figure look like a bishop. Cherry and tomato are close enough. Judge the batt in daylight at a window, because a kitchen lamp flatters everything warm. If the only red on offer is a crimson, a pinch of orange carded through it pulls it back.
Test the red before it goes near white
Cheap dyed reds are the least colourfast fibre on the shelf. Drop a pinch into a white saucer of hot water for ten minutes; if the water goes pink, the dye is not fixed — which costs nothing while the piece stays dry and everything the moment it is washed or left in a damp room. Rinse the batt in cool water with a splash of white vinegar until it runs clear, and dry it fully before use.
The body: a cone on a coarse core
Build the inside from cheap coarse wool and put the red on as a skin. Red fibre costs several times what core wool does, and a solid red body buries most of it.
- Wind, do not pile. Wrap core wool tightly into a cone, wide at the base, tapering to half that width at the shoulder. Firm it with a 36 or 38, rotating constantly, until the surface will not dent under a fingertip; a soft core lets the red skin ripple later.
- Flatten the base against the table, stabbing straight down, until it stands square unheld.
- Skin it in red — two thin veils rather than one thick wad, needled with a 40. A wad felts down lumpy and shows core at the thin spots.
- Head separately. Felt a firm 3 cm ball, leave a tuft loose at the bottom and needle it into the shoulders from several angles.
A pear is the friendlier shape: the same cone with the belly pushed out and the waist pulled in above it. The weight sits low, so it stands better and looks like a person rather than a traffic cone.
Proportions for a 12 cm Santa
- Body: 7 cm tall, 5 cm across the base — the base wants to be roughly 40% of total height
- Head: 3 cm, a quarter of the figure. Adult proportions look wrong here; Santa is drawn short and round
- Hat: rising 2 cm above the head, from a cone 4 to 5 cm long so the surplus folds forward
- Beard: 5 cm from the nose down and 4 cm at its widest, which is wider than the 2.5 cm shoulder. It is meant to spread past the body, not sit inside it
- Nose: 6 to 7 mm, about a fifth of the head
Scale the lot together. Below 8 cm the beard swallows the body; above 20 cm it wants a wire armature.
The beard
Locks or carded wool
Carded white tops give a smooth, flowing, slightly ghostly beard. Quick, forgiving, what most tutorials show — and it looks like a beard drawn by someone who has never seen one.
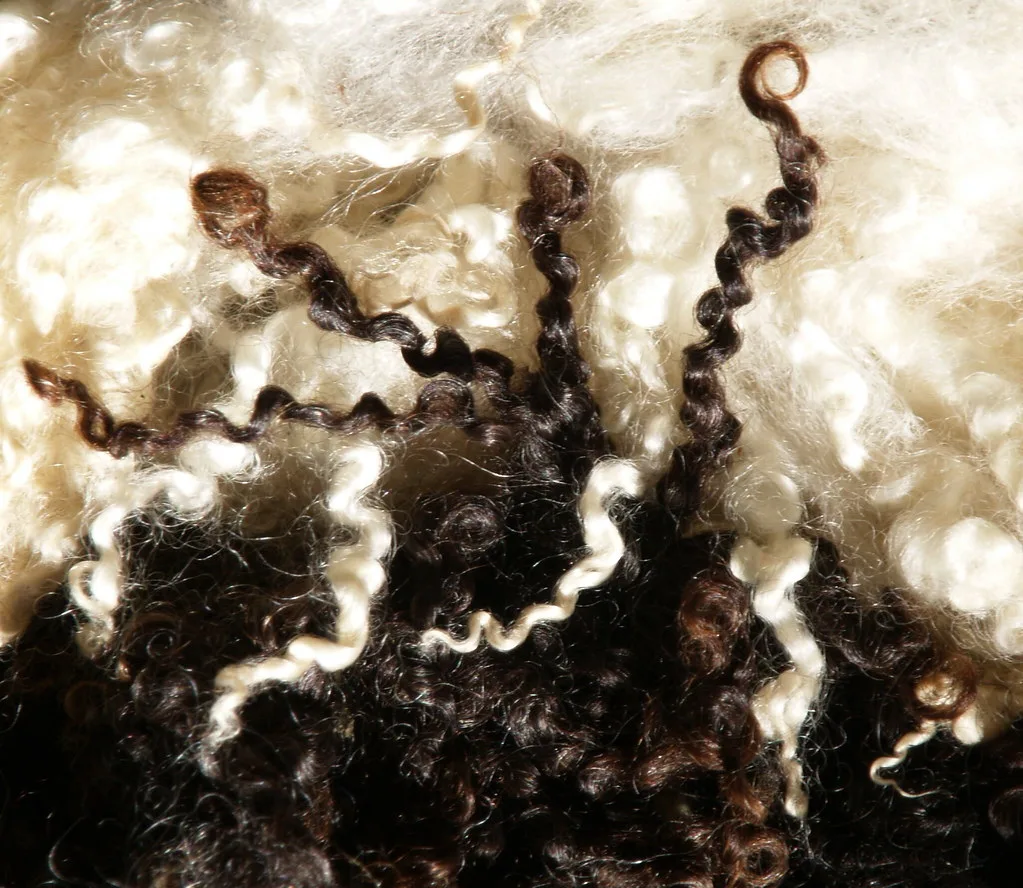
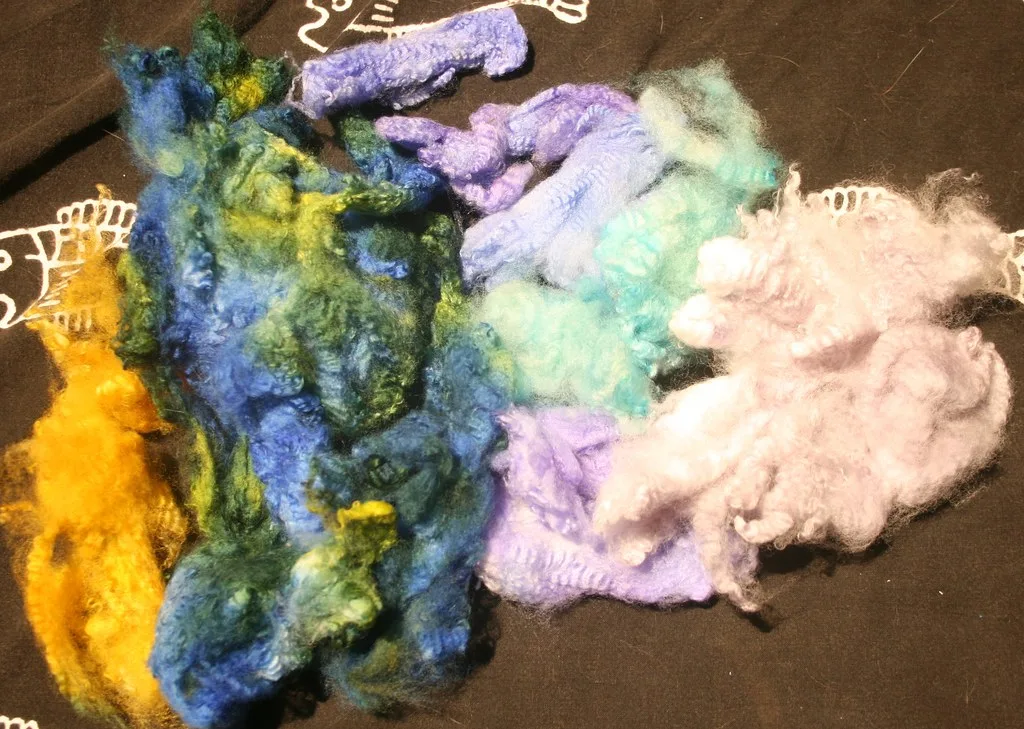
Curly longwool locks are the reason a felted Santa can look good. Wensleydale and Teeswater are the two to ask for: long-stapled, lustrous, holding a ringlet that survives handling. Mohair curls tighter and shinier for a wilder Father Christmas. Take a white rather than a cream, which against pillar-box red reads as dirty.
Laying the curls
The whole technique is that you fix the root and leave the rest alone.
- Sort the locks so the cut ends point the same way, teasing the tips with fingers only. A brush pulls the curl out and it does not come back.
- Start at the bottom. Lay the first row across the chest where the beard will end, cut ends pointing up.
- Needle the top 2 to 3 mm only, with a 40 or 42, entering at a shallow angle from above. Everything below the fixing line stays free.
- Work upwards in overlapping rows, like roof tiles, so each row hides the fixing line of the one beneath. The top row runs under the nose and out to the cheeks.
- Hold the figure in the air. Pressing the beard onto a foam pad crushes the curl flat, permanently.
Never run the needle down the length of a lock to tidy it. That is the motion that mats a ringlet into a flat white plank. If a lock sits wrong, lift it and re-fix the root.
The moustache
Make it separately or it will not read. Fold a short length of carded white in half, needle across the fold into a small bar, and fix the bar under the nose so the two ends sweep out and down. The gap between moustache and beard is what tells a viewer there is a mouth in there; merge the two and the face flattens.
Keeping white white
- Do the red work first, then wash your hands. Red fibre on fingers transfers.
- Use a clean patch of foam. A pad needled red for an hour is full of red fibre, and every stab drives some back up into what lies on top.
- Angle the needle. Straight-down stabs through white into red drag red up; a shallow entry carries fibre along the surface instead.
- Lay a white shelf — a thin veil of carded white across the chest before the locks, so the roots bite into white.
The face: as little as you can manage
On a 3 cm head there is room for a nose, two dots and some colour in the cheeks, and that is the entire budget. Roll the nose as a ball between your fingers, sit it just above the moustache line and needle around its base only so the middle stays domed. Cheeks are a wisp of dusty pink tapped down with a 42 until it fades at the edges.
Do not attempt eyes with pupils at this scale. A complete eye — white, iris, pupil, highlight — is about 3 mm here, and the parts merge into a grey smudge that looks unwell. Two black dots, 2 mm, one eye-width apart, just above the nose, read as eyes from any distance anyone will look from. Save the constructed eye for a head of 6 cm or more, where felted eyes and felted faces repay the trouble.
The hat
A cone, and the commonest mistake is cutting it too wide. It wants to be at least as long as the head is tall, ideally half again, with a base circumference matching the head exactly.
- Roll a paper cone as a former, wrap red wool round it, needle over the paper and slide the paper out. Or cut it from wool felt fabric, which is crisper and quicker — but cut the right shape. A cone unrolls into a sector, and the angle is 360 × base radius ÷ cone length. A 3 cm head measures 9.4 cm round, so the base radius is 1.5 cm, and on a 4.5 cm cone that gives 360 × 1.5 ÷ 4.5 = 120°. Cut a semicircle instead and the hat comes out half as wide again as the head it has to sit on. The working is drawn out step by step on the felted gnome.
- Needle the white trim round the rim as a band about 5 mm deep. Keep the line straight; a wavering brim is the first thing the eye catches.
- Bend the tip forward and tack it with two or three stabs. An upright cone reads as a wizard.
- Felt a 10 mm ball for the pompom and needle it to the folded tip.
- Join the hat through the rim into the head at six or eight points, or stitch it. Glue holds until the wool moves, then takes surface with it.
Common problems
- The beard has gone grey. Red dragged up by straight-down needling. Tweeze the pink out, lay a fresh white veil and re-fix the locks at a shallow angle.
- The cone leans. Built off-axis. Stand it on the table at eye level every few minutes, and correct by adding wool to the hollow side, never by squashing the full side.
- The hat looks flat. Too wide at the base for its length. Remake it longer and firm the cone walls before fitting.
- He will not stand. Base not flat, or the weight too high. Wind a spoonful of rice into the bottom third of the core.
- The curls went flat. Needled along their length, or pressed to the mat. Neither is reversible; lay a fresh row over the top.
Three variations worth making
The flat hanging ornament
A face-and-hat disc rather than a figure, 6 to 7 cm across, felted flat on the mat over a backing of felt sheet: outline the red hat and the skin-tone face, fill inwards, then fan short locks across the lower half for the beard. Trap a doubled cord under a wisp of wool at the hat tip before the final pass, so the wool holds the loop rather than a knot. It hangs from a branch tip where a solid figure cannot; sizing for a set is on felted Christmas ornaments.
The vintage felt Santa
Worth saying plainly: this is a different craft. The mid-century ornaments people picture are not needle felted at all. They are cut from craft felt sheet — often an acrylic or wool blend, in a dusty red rather than a bright one — and decorated with sequins, each pinned flat by a seed bead through its centre, plus embroidered outlines in white and gold and a beard of cotton wool or bouclé yarn.
Cut two identical body shapes, decorate the front flat on the table, then blanket stitch the pair together with a hanging cord caught in the top seam. Twenty minutes rather than an hour, and it carries gold braid and a tiny bell far better than wool sculpture does. Techniques in sewing beads on felt and felt applique.
The Santa gnome
No face at all: a red hat pulled down to the nose, a nose, and a beard from there to the base. Fastest of the three and hardest to make badly, because everything that goes wrong on a face has been removed. The full method, including three ways to build the hat, is on the felted gnome.
Whichever version you make, buy the locks first. White curly longwool is the one material a general craft shop will not have, it is the part everybody looks at, and 20 g is enough beard for four Santas and a set of felted baubles to hang beside them.
Frequently asked questions
How do you make a needle felted Santa beard?
Sort white curly locks so the cut ends line up, lay them in overlapping rows from the bottom of the beard upwards, and needle only the top 2 to 3 mm of each row so the curl below hangs free. Each row hides the fixing line of the one beneath it, and the moustache goes on last as a separate folded piece under the nose.
Why does the white beard go grey against a red suit?
Two different faults. Stabbing straight down through white into red drags red fibre up into the beard, so needle the root line at a shallow angle from above instead. Separately, cheap red wool can bleed dye if the piece is ever damp — pre-test a pinch in hot water on a white saucer before you commit.
How big should a needle felted Santa be?
Twelve centimetres from base to hat tip is the easiest size to get right: a 7 cm body cone about 5 cm wide at the base, a 3 cm head, a hat rising 2 cm above it, and a beard 5 cm long. Below about 8 cm the face detail stops being possible and the beard swamps the figure.
What is a vintage felt Santa ornament?
Not a needle felted piece at all. The mid-century ornaments people mean are cut from craft felt sheet and decorated with sequins pinned down by seed beads, embroidery and metallic cord, with a beard of cotton wool or bouclé yarn. It is a cutting and stitching project, and much faster than needle felting one.