Vintage Felt Ornaments: How to Recognize, Date, Care For and Make Them
12 min read Intermediate
We may earn a commission from links on this page, at no extra cost to you. As an Amazon Associate I earn from qualifying purchases. Learn more.
How to recognize mid-century felt Christmas ornaments, from Japan-labeled santas and pixies to kit-made sequin pieces, tell wool felt from acrylic, date them honestly, clean and moth-proof them, fix loose sequins, and sew a new felt santa in the retro style.
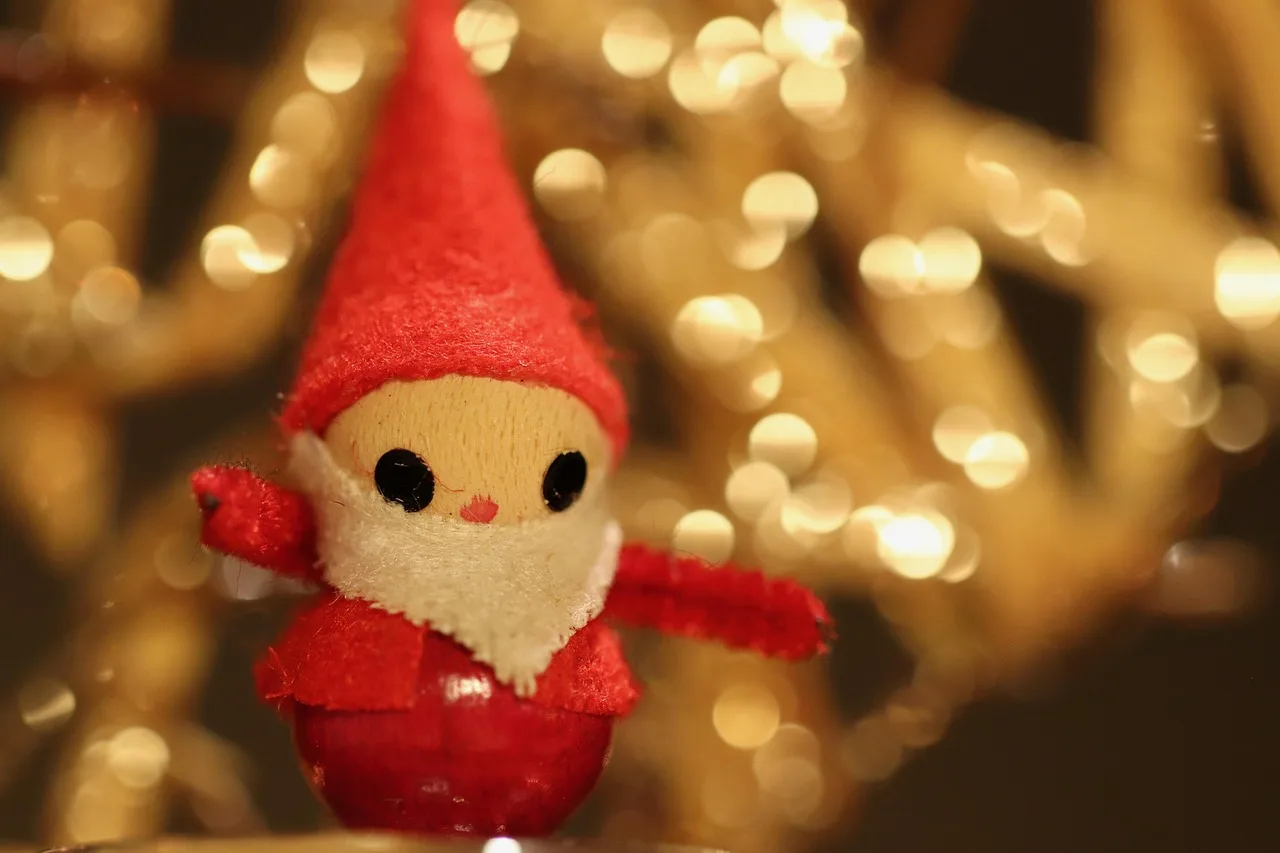
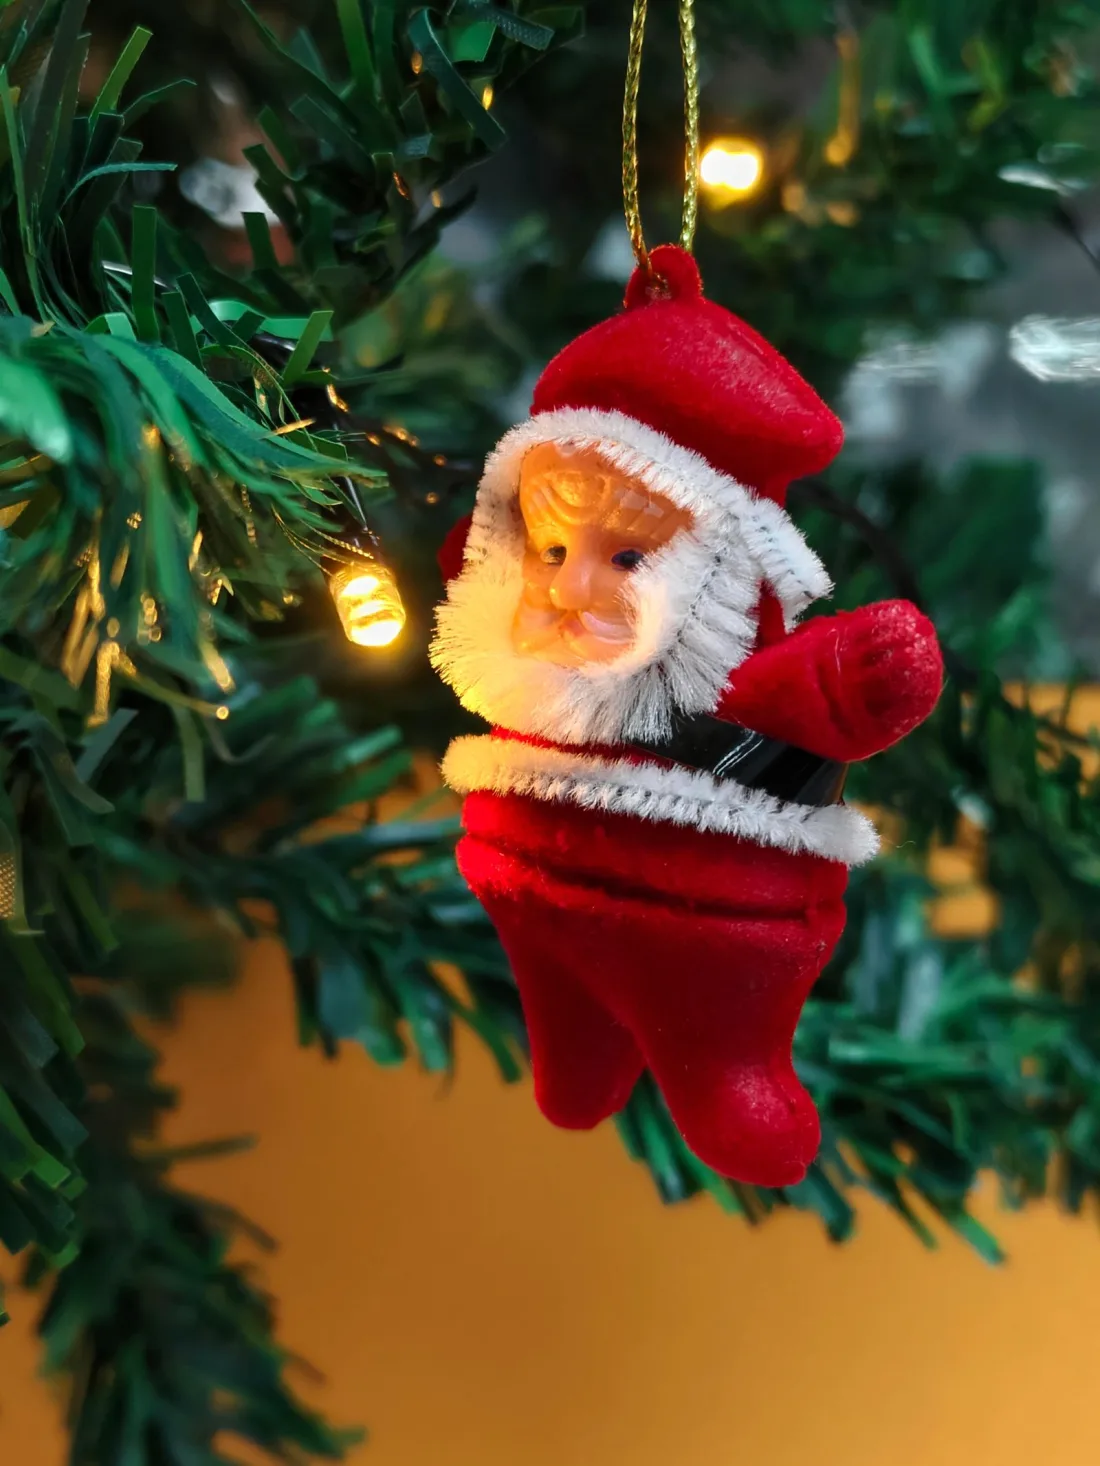
Turn over a mid-century felt santa and the face is often not felt at all. It is molded plastic, a painted wooden bead or a bit of celluloid, and stuck to the back there is sometimes a scrap of paper label reading "Japan". The felt was the cheap part. The face, the sequins and the pins are what tell you how old the ornament is and how to look after it.
If you have a box of them, from family or an estate sale, the sections below sort out the main kinds, roughly when each was made, and how to clean, store and repair them. If you want a new one, the santa pattern near the end is sewn in the same style, sequins and all, so it looks as if it came out of the same box.
What are the classic vintage felt ornaments?
Most old felt ornaments in American homes fall into three groups.
- Imported figures labeled Japan. Santas, pixies, elves, angels and choirboys with felt clothes, a molded or bead face, chenille arms and often a dusting of glitter or flocking. Collectors and sellers mostly place them in the 1950s and 1960s, but the same styles were made for years, and listings date near-identical pieces anywhere from the early 1950s to about 1970. Treat "1950s" on a price tag as a guess, not a fact.
- Kit-made sequin and felt ornaments. Flat felt shapes, stitched at home from a kit with printed pieces, sequins, seed beads and floss. Bucilla is the best-known maker of these kits, which it sold under names such as "Jeweled", and its kits are still in production, so the brand alone does not date a piece. The earliest dated kit we found in sale listings is from 1972; sellers label others as 1960s, which is plausible but not proven.
- Pinned sequin ornaments. Polystyrene foam balls, bells and drums covered in rows of sequins and beads, each held by a short pin, sometimes over a felt or satin base. Collectors describe them as a home craft of the 1960s and 1970s, sold as kits with the foam shape, pins, sequins and a ribbon. A 1969 newspaper craft column shows the method, and a few collectors date individual pieces earlier.
Alongside these are the one-off ornaments made from magazine patterns or a grandmother's own design. They follow no rules and are the hardest to date.
How do you tell wool felt from acrylic felt?
It matters for care. Wool is food for clothes moth larvae and shrinks if it gets hot and wet; acrylic is not eaten by moths, but it melts under a hot iron or bulb. Acrylic fiber only came into commercial production around 1950, so an ornament in acrylic felt is post-war, and much craft felt of the period was a blend of wool with rayon or other fibers.
| Wool felt | Acrylic felt | Rayon or rayon blend | |
|---|---|---|---|
| Feel | Dense, slightly springy, matte | Light, a little stiff or squeaky, sometimes shiny | Soft and limp, can feel papery |
| Wear | Fuzzes evenly | Pills into tight balls where handled | Thins and tears where handled |
| Burn test | Smolders, smells of burnt hair, crumbly ash | Shrinks from the flame, melts into a hard bead | Burns quickly like paper, soft gray ash |
| Moths | At risk | Rarely eaten | Rarely eaten; wool in a blend is |
For a burn test, take a single fiber from a hidden spot, such as under the hanging loop or inside an open edge, hold it in tweezers and touch it to a match flame over a sink. Never test the ornament itself.
What are the sequins, glitter and flocking made of?
The trims age differently from the felt, and they are the parts that break.
- Sequins. Sequin history is patchy, and sources disagree on exact dates, but the broad order is gelatin first, then cellulose acetate, then acetate coated in Mylar, then vinyl. Gelatin sequins melt in water and warmth. Acetate can turn brittle and crack like glass. Vinyl can cloud and curl. A sequin that has gone cracked, curled or milky is old and fragile, and any sequin you cannot identify should stay dry.
- Pins. Pinned ornaments use short sequin pins, about ½ in (13 mm) long. Steel pins rust and leave orange rings in felt or foam; brass ones only tarnish.
- Glitter. Older pieces sometimes carry glass glitter, which is heavier and duller than plastic and has sharp edges. Brush it, do not rub it.
- Flocking. Short fibers glued on to give a velvet surface. It sheds with handling and the glue fails if it gets wet.
- Faces. Molded plastic, painted wood or composition beads, and sometimes celluloid, which is flammable. Keep celluloid well away from hot incandescent bulbs.
How do you date a vintage felt ornament?
You can usually narrow it to a span of a decade or two, rarely to a year. Weigh the clues together.
- Paperwork first. A kit's instruction sheet or package often carries a copyright year and a kit number. It is the best evidence there is, though it dates the design, not the evening someone sewed it.
- Labels. "Japan" or "Made in Japan" on a paper label is common on mid-century imports, but US import rules required country-of-origin marking for decades before and after, so it does not fix a date on its own. "Occupied Japan" is narrower: it was used on exports during the Allied occupation, roughly 1945 to 1952. It turns up far more on ceramics than on felt.
- Materials. Acrylic felt means about 1950 or later. Polystyrene foam was not widely available until after the 1940s, so a pinned foam ornament is post-war. Vinyl sequins and plastic glitter point later than glass glitter and acetate.
- Construction. Hand-stitched sequins, each held by a seed bead, are typical of kit work. Thick strings of hot glue usually mean a later piece or a later repair.
- Wear. Faded red, yellowed white felt and tarnished gold sequins show age, but not how much; an ornament kept in a dark box can look twenty years younger than one kept on a sunny shelf.
"Mid-century, probably 1950s to 1970s" is an honest description for most of these ornaments. Be wary of any listing that names a year without a dated kit or package behind it.
How do you clean old felt ornaments?
Dry methods first, and very little else.
- Brush. Use a soft makeup brush or a clean, dry paintbrush, working with the nap, to lift dust from the felt and between the sequins.
- Vacuum gently. Stretch a piece of nylon mesh, or a cut piece of pantyhose, over the nozzle of a vacuum on its lowest setting and hold it just above the surface. The mesh stops loose sequins and beads from disappearing into the bag.
- Test before any water. Press a barely damp white cotton swab onto a hidden spot of felt for a few seconds. If it picks up color, stop there. Old red felt bleeds readily.
- Spot clean plain felt only. Roll the barely damp swab over a mark, keeping well away from sequins, glitter, flocking, glue joins and paper labels, then blot it with a dry cloth and let it air dry flat.
Never soak, wash or steam a vintage ornament. Water makes red dye run into white beards, loosens glue, rusts steel pins and can ruin older sequins. Yellowed white felt and faded red are part of the piece; there is no safe way to whiten them, and bleach destroys wool.
How do you store and moth-proof vintage felt ornaments?
Store each ornament wrapped loosely in acid-free tissue paper, in a rigid box with a lid, packed so nothing presses on anything else. Felt takes a permanent crease under weight, and sequins scratch each other. Keep the box somewhere cool and dry, not in an attic, where summer heat softens glue and fades color, and not in a damp basement, where pins rust.
Wool felt needs protection from clothes moths; acrylic and rayon are rarely eaten, but a mixed box is only as safe as its wool pieces. The approach that works is a clean ornament in an airtight container, checked every year when the box comes out. Cedar and lavender help a little and are not enough on their own; protecting wool from moths explains why.
For an ornament you have just bought secondhand, freezing kills eggs: seal it in a bag with the air pressed out, freeze it at 0 °F (−18 °C) for 72 hours, leave it at room temperature for a day, then freeze it again. Let it thaw fully inside the bag so condensation forms on the plastic, not on the ornament. Old plastic and celluloid can be brittle in the cold, so for a piece with that kind of face, an inspection under a bright light may be the safer choice.
How do you fix loose sequins on a vintage ornament?
Match the repair to the way the ornament was made.
Sewn sequins
- Thread a size 10 or 12 beading needle with about 18 in (45 cm) of beading thread in a matching color, and knot the end.
- Come up from the back, through the original hole in the felt where you can find it.
- Pass the needle up through the sequin, then through a size 11 seed bead.
- Go back down through the sequin's hole and the felt. The bead acts as a stop and holds the sequin flat.
- Finish on the back with two tiny stitches and run the thread through the felt before cutting.
If a sequin is missing, measure a neighbor and match it, usually 5 mm or 8 mm, and lay any cup sequins the same way up as the ones around them. Gold sequins have yellowed or tarnished over the years, so a bright new one stands out. Put replacements in the least visible spots and move an original into the gap at the front. How to sew beads on felt covers needles, thread and tension in detail.
Pinned sequins
When a pin falls out of a foam ornament, the hole has usually widened. Put a small dot of tacky glue on the pin's shank with a toothpick and push it back in, or move it about ⅛ in (3 mm) into fresh foam where the next sequin will hide the shift. Replace any pin with a rusty shank with a brass sequin pin, because rust keeps spreading into the foam and the felt.
Glued sequins and trims
Lift the old glue off with a fingernail if it is crumbling, then reattach with a small amount of tacky glue. Avoid superglue, which can fog sequins, and hot glue, which can melt acrylic felt and vinyl sequins.
How do you make a felt santa ornament in the retro style?
This is a flat, two-layer santa about 4½ in (11.5 cm) tall, sewn the way the kit ornaments were: sequins stitched on one at a time with a seed bead on each, and a beaded edge. Allow two to three evenings.
What you need
- Wool-blend felt about 1 mm thick: red, white, pale pink and a scrap of black.
- About 40 cup sequins in gold, 5 mm and 8 mm, and a small pack of size 11 seed beads in gold and red.
- Beading needle, beading thread, red and white embroidery floss.
- A 3 in (7.5 cm) strip of red rickrack or gold braid, a little fiberfill, and 7 in (18 cm) of narrow ribbon for the loop.
Steps
- Draw the pattern. A rounded triangle for the body, 4½ in (11.5 cm) tall and 3 in (7.5 cm) across the base, with the hat as the top 1½ in (4 cm). Add a 1¼ in (3 cm) oval face just below the hat and a scalloped beard 1 in (2.5 cm) deep under it, which leaves room for the belt and hem trim below.
- Cut the pieces. Two body shapes in red, one face in pink, one beard and a hat band ⅜ in (1 cm) wide in white, and a belt ¼ in (6 mm) wide in black.
- Appliqué the front. Stitch the face, then the beard overlapping its lower edge, then the hat band and belt, with small whip stitches in matching floss. Add two seed-bead eyes and a tiny red French knot for the nose.
- Sew the sequins. Using the sequin-and-bead stitch from the repair section, run a line of 5 mm sequins down the coat front, one at each corner of the belt as a buckle, and a cluster of 8 mm sequins on the hat. Space them so the edges just touch.
- Add the trim. Tack the rickrack or braid across the hem.
- Join the layers. Fold the ribbon in half and set the ends ½ in (13 mm) between the layers at the hat tip. Stack the back behind the front and blanket stitch around with two strands of red floss, stuffing lightly through a gap at the base before closing it.
- Bead the edge. Work a beaded edge around the outline with gold seed beads: come up at the edge, pick up three beads, go down a scant ⅛ in (3 mm) along and back up through the third bead, then add two beads at a time. This is the detail that makes it look like kit work.
Bell, stocking or pinned versions
The same method works for a bell 3 in (7.5 cm) tall in green with a gold sequin clapper, or a stocking 4 in (10 cm) tall in red with a white cuff and a row of sequins along it. For a pinned ornament, cover a 3 in polystyrene foam ball in rows of sequins, each held by a seed bead on a ½ in sequin pin, overlapping each row by half a sequin like fish scales. Expect several hundred sequins for one ball. A felt circle glued around the middle as a band, with a row of pinned beads along each edge, is a quicker version that uses far fewer.
For a three-dimensional santa instead of a flat one, see needle felted santa; the needles for that one are sharp, so it is a project for adults or supervised older children. Felted Christmas ornaments has more shapes to try the sequin treatment on.
What about vintage felt Christmas stockings?
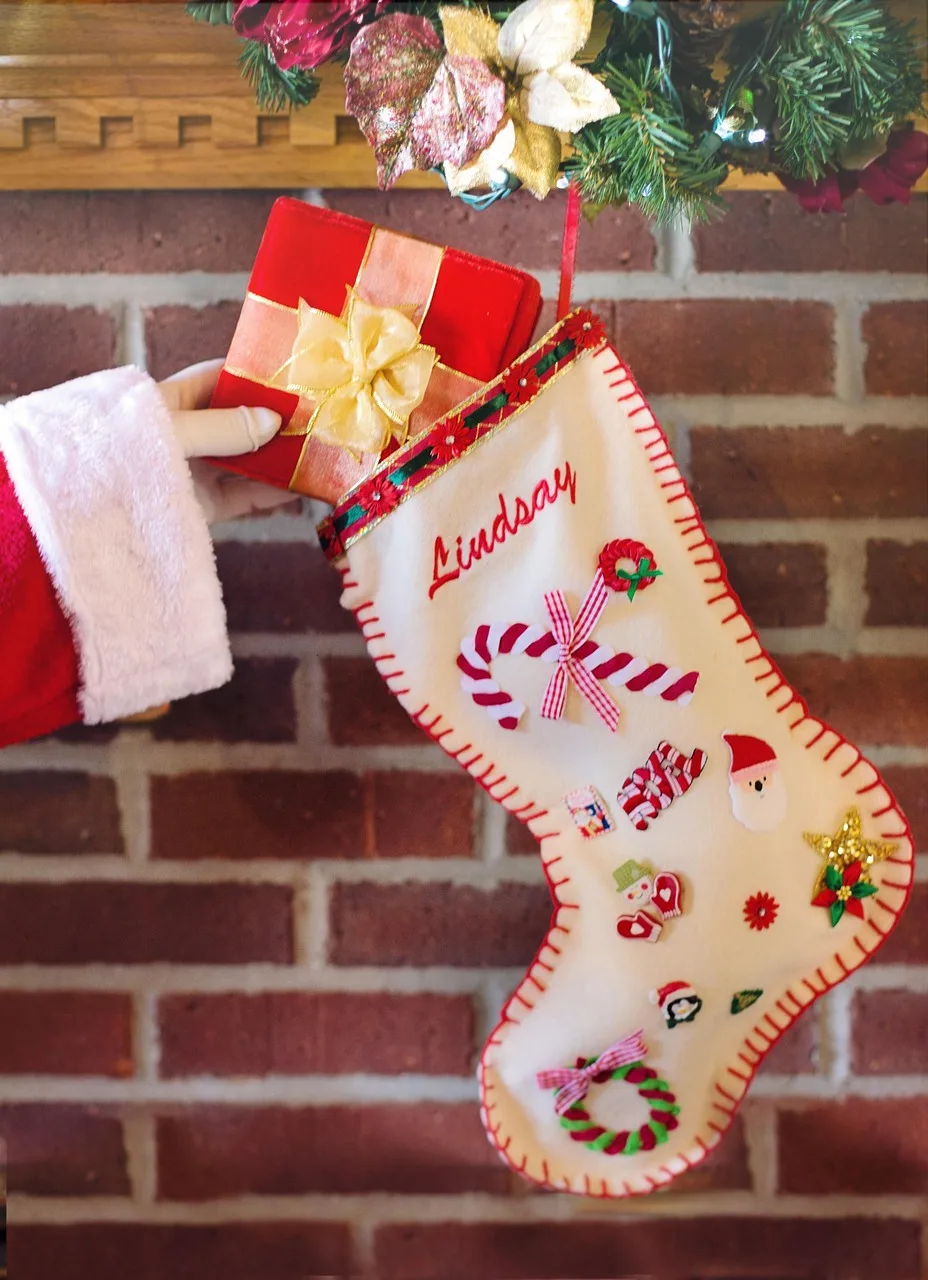
The same rules apply. Stockings from sequin kits carry the same seed-bead-and-sequin stitching, often a name in glitter or sequins on the cuff, and the same fragile trims. Spot clean only, store them flat in tissue rather than folded, and hang them empty or with something light, because the loop on an old stocking is usually its weakest point. Restitch a loose loop through both layers and the cuff before it gives way. To make a new one in the old style, felt Christmas stocking has a pattern and a section on sequin kits, and felt Christmas decorations covers the rest of the house.
Are vintage felt ornaments safe around children?
Hang them high. Sequins, seed beads and loose pins are choking hazards for children under 3, the pins and any wire in the arms are sharp, glass glitter can cut, and pins work loose from old foam. A new ornament made for a toddler should have no sequins, beads, pins or wire at all: embroider the details instead.
Frequently asked questions
How can you tell if a felt ornament is vintage?
Look at the materials and any label together. A paper label reading Japan, a molded plastic or wooden bead face, flocking, sequins held by a seed bead or a pin, and faded or yellowed felt all point to the mid-century. A dated kit instruction sheet is the strongest evidence. No single clue gives a year, so give a range.
Are vintage felt ornaments wool or acrylic?
Both. Acrylic fiber only reached the market around 1950, so felt from the 1950s onward may be acrylic, rayon, a blend or wool. A burn test on one fiber tells them apart: wool smells of burnt hair and leaves crumbly ash, acrylic melts into a hard bead, and rayon burns like paper.
How do you clean old felt Christmas ornaments?
Dry first: a soft brush, then a vacuum on low through a piece of nylon mesh. Spot clean plain felt only with a barely damp cotton swab after testing the dye on a hidden spot. Never soak one; red dye runs, glue lets go, pins rust and some old sequins are damaged by water.
How do you fix loose sequins on a vintage ornament?
On a sewn ornament, restitch the sequin with beading thread, bringing the needle up through the hole, through a seed bead and back down the same hole. On a pinned foam ornament, put a dot of tacky glue on the pin and push it back in, or move it a little into fresh foam. Replace rusted steel pins with brass ones.
Are vintage felt ornaments safe around small children?
Hang them out of reach. Sequins, seed beads and pins are choking hazards for children under 3, pins and wire are sharp, old glass glitter can cut, and celluloid faces are flammable, so keep those away from hot bulbs.
Topics
Image credits
- A small Santa ornament with a red felt hat, a round wooden bead face, a white fleece beard and red chenille arms against blurred gold lights — Nennieinszweidrei (Pixabay Content License)
- A Santa ornament with a molded plastic face, a velvety red suit and white fuzzy trim hanging on a Christmas tree beside a small light — Ajeesh p (Pexels License)
- A white felt Christmas stocking with the name Lindsay stitched in red, appliqued candy canes, a Santa and a wreath, and a red blanket-stitched edge, hanging on a brick fireplace — JillWellington (Pixabay Content License)