Felt Star Ornaments: Templates, Clean Points and Even Edges
10 min read Beginner
A star is the least forgiving ornament shape there is, because the eye measures the five points against each other. Draw the template properly and the rest is twenty minutes of cutting and stitching.
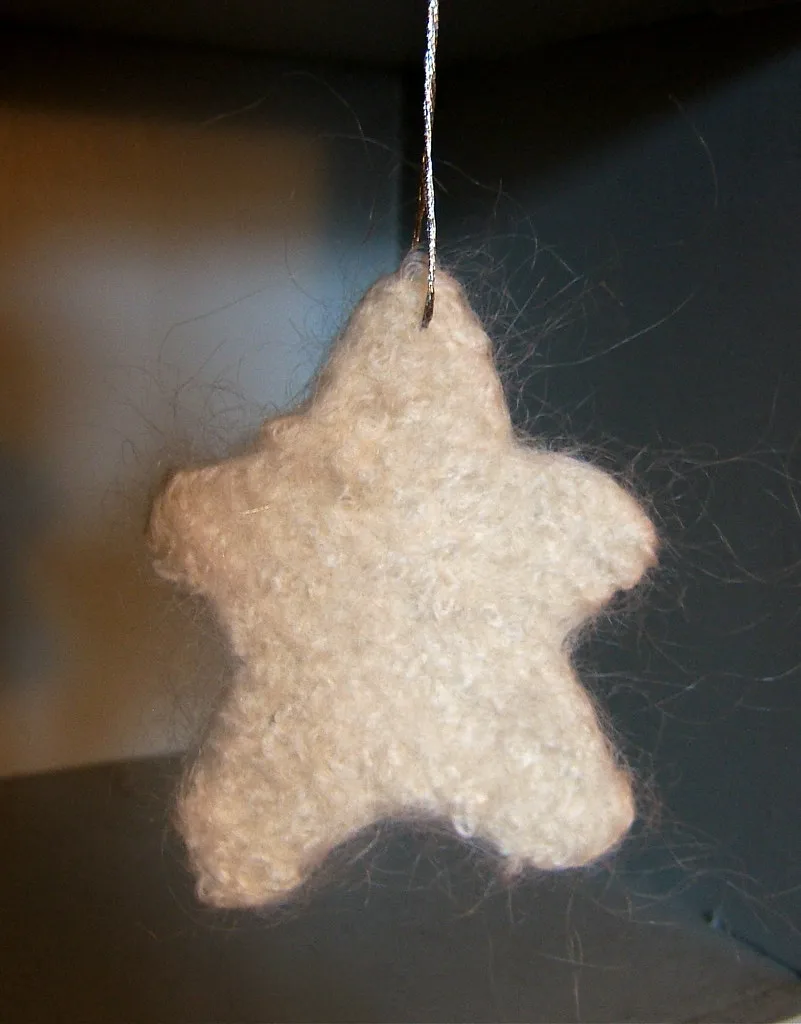
A star punishes a wobbly hand in a way that no animal does. Nobody measures the ears on a felted fox against each other, but everyone measures the five points of a star, because they sit in a ring and the eye compares them without being asked. A hand-drawn star is nearly always visibly wrong: one point longer, one valley deeper, the whole thing leaning. This is why felt stars are a template project rather than a freehand one, and once you accept that, they become one of the quickest ornaments on the tree.
For the wider set of decorations these belong to, see felted Christmas ornaments. This page is only about getting flat geometric shapes accurate.
What you need
- Wool felt sheet, 1 mm to 2 mm — see wool felt fabric for the difference between grades
- Card for the template, roughly cereal-box weight
- A compass or a protractor, and a ruler
- Small sharp scissors — embroidery scissors, not craft scissors
- Stranded cotton and a sharp needle
- A pinch of stuffing or wool scraps, about 1 g per star
Drawing the template
Five is the awkward number. A heart folds in half, a snowflake folds in sixths, but five points cannot be produced by folding a sheet in half repeatedly, which is why freehand stars go wrong. You have to construct it.
With a compass
- Draw a circle on card. A 35 mm radius gives a star on a 70 mm circle, which is a good tree size. Call it by the circle rather than the star: the tips sit on the 70 mm circle, but the star's widest measurement across two tips is 67 mm and its height from a tip to the opposite valley is 63 mm.
- Mark any point on the circumference. This is the top point.
- Open the compass to 41 mm — the chord that spans 72 degrees on a 35 mm circle, which is the radius multiplied by 1.176.
- Step that setting around the circumference from your first mark. Five steps in all: the first four each add a new mark, so you finish with five marks evenly spaced, and the fifth step should land back on your first mark. If it misses by more than a millimetre, adjust the compass slightly and step round again rather than fudging the last gap.
- Join every second mark with a ruled line: 1 to 3, 3 to 5, 5 to 2, 2 to 4, 4 to 1. This gives a pentagram.
- Trace round the outside of that figure. The five original marks are the tips; the five line crossings are the valleys.
The proportion this produces is worth knowing, because it is what makes a star look right: the valleys sit at about 0.38 of the outer radius, so on a 35 mm radius they are 13 mm from the centre. Draw valleys much further out and you get a pentagon with bumps; much further in and you get a spiky sea creature.
With a protractor
Faster if you own one. Mark the centre of the circle, then measure 72 degrees, 144, 216 and 288 from a starting line, ruling each out to the circumference. Then join every second mark as above.
By folding, and by tracing
A circle can be folded and cut with one straight line, and it does work. The fold is not into fifths: fifths of a circle are 72 degree sectors, and you cannot cut a five-pointed star from one. Fold the circle in half first, then divide that semicircle into five 36 degree wedges — a tenth of the circle each — so the folded wad is one wedge thick, and one straight cut across it opens out into five points. The catch is that judging five equal 36 degree folds by eye is the same problem in a different form, so the fold is only reliable if you have already marked the semicircle at 36, 72, 108 and 144 degrees, at which point you may as well have drawn it.
Tracing a printed star from a screen or a printout is entirely legitimate. A shape generated by a machine is symmetrical by definition, which is the whole thing you are trying to achieve. Hold the card against the screen, trace with a sharp pencil, cut it out. The construction above is useful mostly because it lets you make any size you want without a printer.
Test the template before you cut felt
Cut the card star out, then fold it in half through one tip and the opposite valley. The two halves should sit on each other. Do that through each of the five tips. Any tip that will not match is trimmed on the card, once, and then every star you ever cut from it is correct.
Cutting felt cleanly
The template only helps if the cut follows it. Three rules do most of the work.
- Small sharp scissors. Embroidery scissors with 40 mm blades. Large scissors cannot get into a valley without opening wide, and an open blade cuts past the corner.
- One continuous motion per edge. Each of the ten edges of a star is one closing of the blade. Sawing at felt leaves a stepped, furry line that no amount of trimming rescues.
- Cut into the valley, not out of it. Start at a tip and cut inwards, lift the scissors, turn the felt, start at the next tip and cut into the same valley. The two cuts meet at a clean vee. Trying to pivot inside the valley rounds it off.
Draw round the template with a fine chalk pencil or a fine ballpoint on the reverse, and cut just inside the line so no marking survives on the finished shape.
Which felt takes a point
Stiff craft felt and soft wool felt behave differently at the tip. Stiff felt — including acrylic and blends — holds a sharp point cleanly as it comes off the scissors, but is thin, shiny and looks cheap on a tree. Pure wool felt at 1 mm to 2 mm cuts a very slightly softened point and looks far better; at 3 mm and above the point starts to blunt because the thickness itself rounds the corner. Around 1.5 mm is the sweet spot for stars.
Needle felted stars versus cut stars
Needle felted, worked to an outline
Lay wool on the mat, put the card template on top and stab around its edge to score the outline, then lift the template and work inward from that line. Fold the fibre back in on itself at the edges rather than adding more, and work each tip to a firm point with a 40 gauge needle. Full technique in needle felting techniques, and if your mat is sagging, felting mat alternatives.
This gives a soft, slightly furred edge. It suits a rustic set in undyed cream and grey, and it is more forgiving of a point that is 2 mm short. It is also slower: fifteen to twenty minutes per star, against two minutes to cut one. Starting from prefelt rather than loose fibre roughly halves that.
Cut from sheet
Crisp, identical, repeatable. If you want twelve stars that read as a set, cut them. This is also the only sensible route if the stars are going onto something else as appliqué.
Two-layer stars
Most hanging stars are two identical shapes stitched together, which is what gives them body on a branch and hides both cut edges inside the seam.
- Cut two stars from the same template. Cut them separately, not stacked — two layers shift under the blade and you end up with a pair that does not match.
- Decide which tip is the top, and start stitching at the valley immediately beside it, working away from the top point. Starting at a valley rather than a tip hides the join, and starting at that particular valley means you arrive back at the top point on the last leg, which is where the loop has to go in.
- Blanket stitch or whip stitch all the way round the other nine edges, working the points carefully: one stitch straight through each tip stops it flattening.
- Stop about 20 mm short of the top point and push in a small amount of stuffing with a chopstick — around 1 g. Enough to round the faces, not enough to pull the points open.
- Slide a doubled cord loop into the top point between the two layers, ends pointing down inside the star, and stitch on through the tip so the last few stitches trap it.
- Stitch the one remaining edge, from the top point back down to the valley you started at, and bury the thread end between the layers.
The star should still lie nearly flat. Overstuffing is the standard fault here; it strains the seam at the tips and the whole thing goes from star to cushion. Baubles are the shape that wants stuffing, and those are covered in felted Christmas balls.
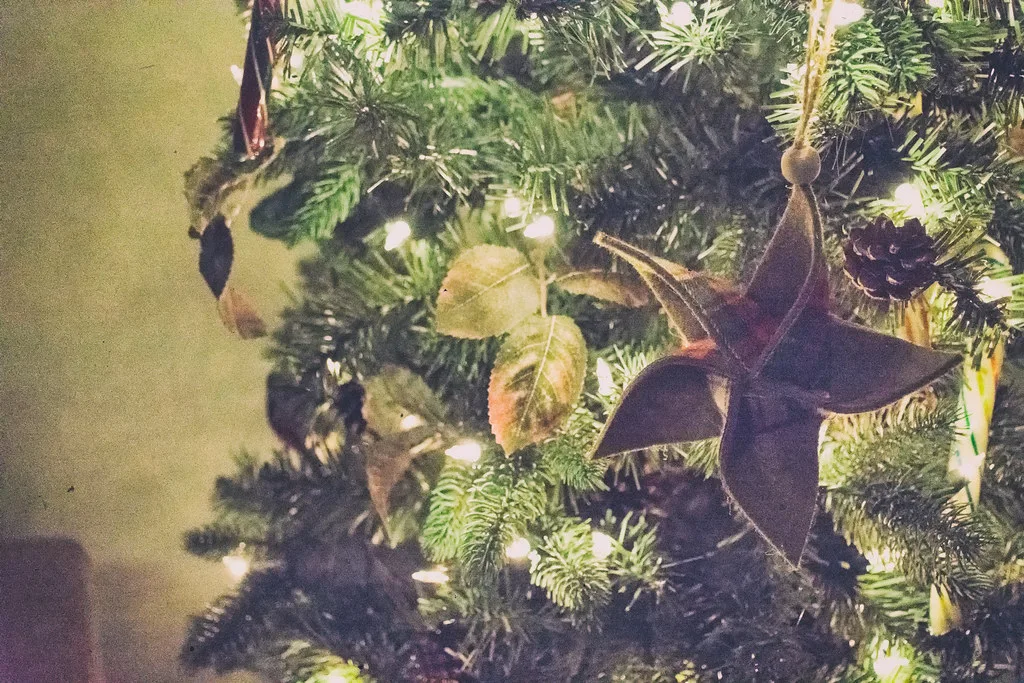
Finishing the edge
- Blanket stitch. The default for a two-layer star. Keep the stitch depth at 3 mm and the spacing at 4 mm and hold both constant — uneven blanket stitch is more visible on a star than on any other shape, because it runs along ten straight edges where the eye can follow it.
- Running stitch inside the edge. Worked 3 mm in from the cut line, in a contrasting thread. Quieter than blanket stitch and quicker, and it leaves the crisp cut edge visible, which is often what you want on a single-layer star.
- Raw. Felt is a non-woven fabric — there are no threads running to the edge to pull loose — so a cut edge does not fray and needs nothing done to it, in wool or in a synthetic blend alike. A single-layer cut star with a hole punched at one tip and a ribbon through it is a finished ornament. What a raw edge does show is the quality of the cut, so this is the finish that most rewards sharp scissors.
The same method, other shapes
Everything above is really about templates and clean cutting, so it transfers directly.
- Hearts. Fold the card in half and cut one side, which guarantees symmetry. Fully covered in felted hearts.
- Trees. Also fold-and-cut. Three or four tiers, each about 15 mm deeper than the one above.
- Snowflakes. Fold a circle into sixths, which is easy with a compass because the radius steps round the circumference exactly six times. Cut small notches into the folded edges. Keep the cuts shallow in felt — paper snowflakes have far more open space than felt will support.
- Moons. Two circles of the same size, offset. The offset controls how fat the crescent is; about 40 per cent of the diameter is a good starting point.
- Gingerbread shapes. Trace an actual biscuit cutter. Then work white piping lines in chain stitch, or needle felt them on with a fine needle.
Decoration
Beads suit stars because the flat face gives an unbroken ground to work on, and felt is a good backing for it — details in sewing beads on felt. A single bead at each tip, or a scatter of small seed beads across one face, is usually enough; a star has a strong outline and heavy decoration fights it.
Keep all decoration on one face. A bead on the back holds the star off the branch and it hangs skewed, which undoes the symmetry you spent the template on. The same applies to knots: finish threads between the layers, not on the reverse.
Common problems
- One point looks longer than the others. Usually it is not longer — its valleys are shallower. Check the template by folding it through that tip, and correct the card rather than trimming the felt.
- The valleys are rounded off. You pivoted the scissors inside the valley. Cut into it from both sides instead, so two straight cuts meet at the corner.
- The tips are furry or stepped. Sawing, or blunt scissors. Each edge is one clean closing of the blade, and embroidery scissors used on paper templates will not cut felt cleanly afterwards — keep a pair for felt only.
- The star will not lie flat against a branch. Too much stuffing, or decoration on the back face. Take out half the stuffing and move the beads.
- The stitching pulls open at a point. The seam allowance runs out at the tip. Take one extra stitch directly through each tip and shorten the stitches for the last 10 mm approaching it.
Budget twenty minutes a star once the template exists, and ten minutes once for the template itself. A set of a dozen is an evening, not a project — the honest reason to make them is that they cost almost nothing and cannot smash. If you want more shapes in the same session, the heart is the natural companion piece, and both hang alongside the rest of the ornament set without looking out of place.
Frequently asked questions
How do you draw an even five-pointed star?
Draw a circle, mark five points equally spaced around it at 72 degrees apart, then join every second mark with a straight line. The five crossings inside give you the valleys, and tracing round the outside of that figure gives a star with correct proportions.
Should felt stars be cut or needle felted?
Cut from wool felt sheet if you want crisp points, needle felted on the mat if you want a soft, slightly furred outline. Cutting is faster and far more accurate; needle felting suits a rustic set where a little irregularity is the point.
Do felt star edges need finishing?
No. Pure wool felt does not fray, so a raw cut edge is stable indefinitely. Blanket stitch or a running stitch just inside the edge is decoration, or a way of joining two layers, rather than a repair.
How long does a felt star ornament take?
About twenty minutes each once the template exists: five minutes to cut two shapes, fifteen to stitch round with a little stuffing. Drawing the first template takes another ten and is then reusable forever.