Felt Animal Ornaments: Turning a Standing Animal Into One That Hangs
11 min read Intermediate
A hanging animal is seen from every side and has to balance on one cord. What that means for the loop position, the weight, and how much detail is worth felting.
A standing felted animal is designed for one viewpoint. It sits on a shelf, you look at it from the front and slightly above, and the back of the head, the underside and the join where the tail meets the body are all places you never bothered to finish. Hang the same animal from a cord and it turns slowly for the whole of December, showing every one of them. That, plus the fact that it now has to balance on a single point, is the entire difference between an animal and an animal ornament.
This page assumes you can already make the animal; the species tutorials are elsewhere on the site. What follows is only what changes once the piece hangs.
The three things that change
- It is seen from every side. Including the back, the underside and the top of the head. Any flat spot from resting the piece on the mat, any join where a limb was needled on, any thin patch where the core shows through, will come round to the front sooner or later.
- It hangs from one point. Get that point wrong and the animal hangs nose-down or on its side, which no amount of good felting will rescue.
- It is viewed from two metres, on a lit tree. Detail below roughly 5 mm stops paying for itself at that range: low contrast, a slowly turning piece, and it is there but nobody reads it. Working at that scale costs time and adds fragility for very little return.
Finish the back
Work the piece in the hand rather than face-down on the mat. Resting an animal on a foam block while you needle the front is what flattens the back, and a flat is very hard to reinflate once the surface is firm. Turn it every twenty or thirty stabs and keep checking the silhouette from behind.
Joins deserve the same treatment. A head needled onto a body leaves a ring of slightly different density, invisible from the front and obvious from behind under a lamp. Blend across it with a thin veil of surface wool and a 40 gauge needle, working across the seam. The same veil hides the underside, which on a standing animal is usually bare core.
Size, weight and the flat alternative
Branch tips are weak, and solid wool is heavy. A bought bauble is a shell around air; a needle felted animal is dense all the way through, at roughly 0.22 g per cubic centimetre. That makes a solid wool ball 25 g at 60 mm and 59 g at 80 mm, so a plain bauble as wide as your animal is long weighs more than the animal does — see felted Christmas balls for the wool a solid ball takes. The animal comes in under that only because it is narrower than it is long, and that narrowness is its whole margin.
So 6 to 8 cm and 15 to 25 g is a ceiling, not a suggestion. Past 40 g the branch bends and the piece hangs at an angle against the one below it, and weight climbs with the cube: 20 g at 7 cm becomes nearly 60 g at 10 cm. Scale down rather than firm less, which makes a bad ornament and not a light one.
Solid, three-dimensional
Built exactly as the species tutorial describes, over a firm core wool centre, with the loop planned before the last surface layer goes on. Right for compact animals and for anything you want to look properly round. Budget 15 to 25 g of wool and an hour.
Two-sided and flat
Two identical outlines joined at the edge, so the animal has a front and a back but very little middle. Roughly 3 to 6 g depending on the felt, a third of the time, and it hangs better because a flat piece has almost no tendency to spin edge-on.
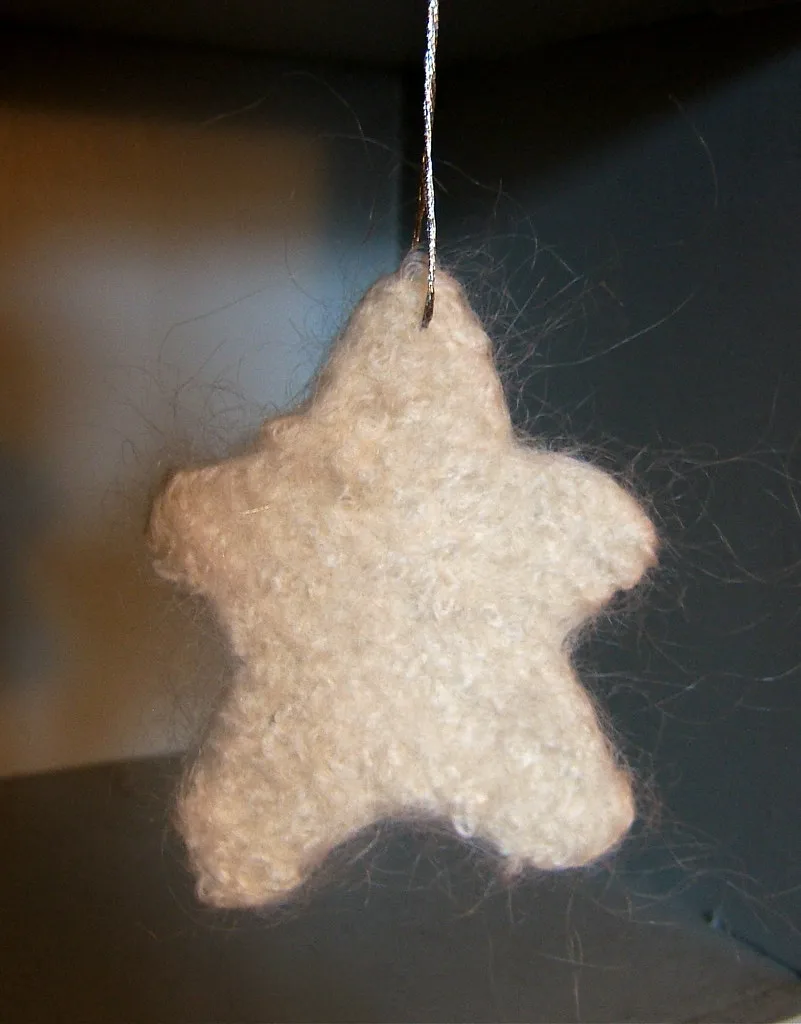
The construction is the two-layer cut-and-stitch method, set out step by step on felt star ornaments: cut the pair, stitch round the edge, insert the loop between the layers, stuff lightly. Three things differ for an animal. Use the thicker end of wool felt fabric, or build the shapes on the mat from prefelt — prefelt comes at roughly 1 to 2 mm, so layer two or three pieces and needle them together to reach the 3 to 4 mm an animal wants. Decorate the outer faces before you close it, while the eye, bib and ear can be stabbed straight down into a flat piece. And run a needle round the whole rim at the end, so the seam reads as one continuous outline rather than two pieces held together.
The flat version is the better choice for a set. Twelve ornaments at 5 g each is 60 g of wool and perhaps four evenings, where twelve solid animals is the best part of a fortnight.
Finding the balance point
Almost every animal is head-heavy, so the loop does not go in the middle of the back. Do not guess it:
- Push a fine pin into the back, about a third of the way from the head, and lift the whole animal by the pin.
- Look at the nose. If it dips, the pin is too far back; if the tail dips, too far forward.
- Move the pin 3 or 4 mm at a time and lift again until the animal hangs the way you want it to.
- Mark that spot with the pin left in place while you prepare the loop.
Level is not always the goal. A bird looks right with the beak very slightly up, a mouse with the nose a fraction down, and a curled hedgehog has no obvious front at all so anything that keeps it upright works. Decide what the pose should be and test for that, not for a spirit level.
Anchoring the loop into the core
The three ways to attach a loop, and why glue is never one of them, are in felted Christmas ornaments. Two things change on an animal.
Depth. An animal carries more surface layer than a bauble — the veils that make the fur, the bib and the blended joins can be two or three millimetres of soft wool over the firm core — and a loop anchored in that coat takes a patch of it with it in the second season. So splay the two cord ends 15 to 20 mm apart in opposite directions across the balance point and needle each one hard into the core itself before the last veil goes over. Splayed ends spread the load and stop the loop hinging in one spot.
The armature eye. If the animal has a wire skeleton for its legs or tail, bend a small closed eye in the wire at the balance point before you cover it. Effectively unbreakable, and the one anchor that cannot be retrofitted: it has to be planned at the armature stage.
Simplify for two metres
On a lit tree, from across the room, the ornament is a silhouette with two or three blocks of colour. Judge every detail against that.
What survives the distance: the outline, ear shape, tail shape, a strong colour contrast such as a robin's breast or a fox's white bib, and the eye — provided it is dark and set into a shallow socket so it reads as a dot rather than a bead on the surface. See needle felting eyes for the socket method.
What does not: individual toes, whiskers, nostrils, claws, fur direction, and any moulded mouth. These all add weight, take time and break. A textured surface still counts, though — the shagginess of a sheep or the spines of a hedgehog reads at distance as a quality of the outline even when no individual fibre is visible.
Legs are the main casualty. A sitting cat, a curled mouse, a tucked-up bird and a bear cub in a ball all lose nothing by having no legs, and gain a lot in durability. If the animal genuinely needs them, felt them short, thick and flat against the body.
Birds
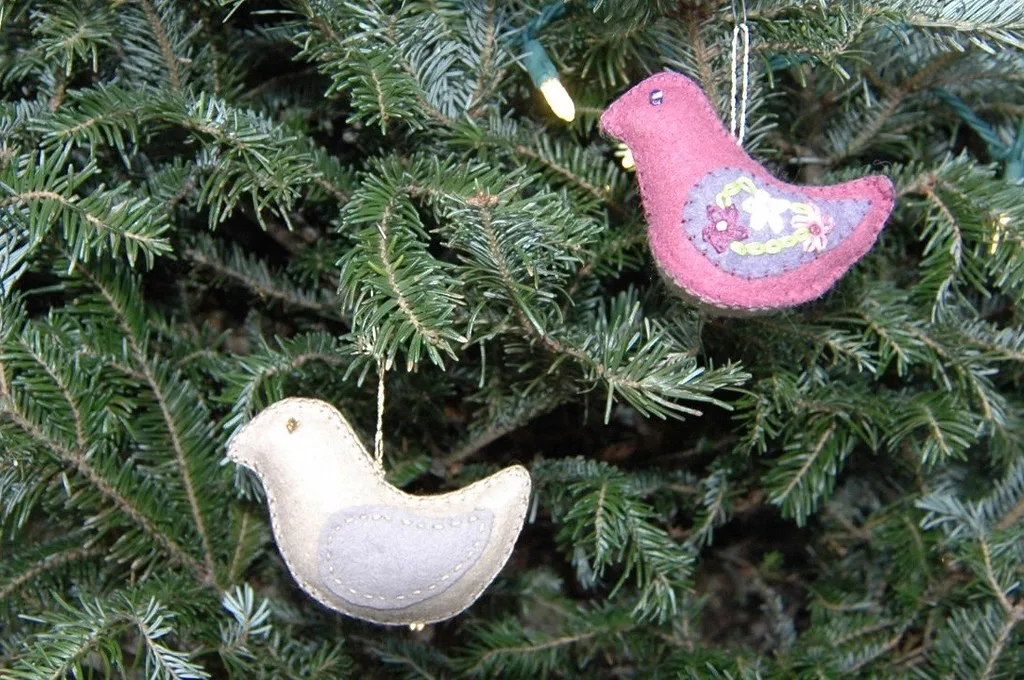
Birds are the most-made animal ornament and the one the shape suits best. A bird is already a compact teardrop with a heavy front end, so the balance point sits obviously just behind the wing, and there are no legs to worry about because a perched bird tucks them away.
- Robin. A 6 cm brown egg, a small head blended in without a neck, an orange-red breast panel felted onto the front and lower throat, a tiny dark cone for a beak and a flat tail felted separately and needled on. Around 15 g. Keep the red panel large — it is the whole recognition at distance.
- Dove. The same body in white, longer and slimmer, with a fanned flat tail and two flat wings laid along the sides. White shows every mark, so work it with clean hands and a clean mat.
- Wren, blue tit, bullfinch. Smaller, 4 to 5 cm and 6 to 7 g — three quarters of the robin's length is under half its weight — and quick enough to make in a batch of six.
- Wings and tails. Make them as flat pieces on the mat and needle them on at the end. A tail felted as part of the body is always too thick.
Two things go wrong with birds. The tail is felted downwards, which makes the bird look dead rather than perched — set it up at 20 or 30 degrees from the body line. And the beak is made too big; a robin's beak is about 4 mm and reads better slightly smaller than life. For feet, see the felted chick and make them shorter than that.
Which animals hang well
Compact species with the mass close to the centre. These need almost no adaptation beyond the loop:
- Mice — small, round, quick, and the tail is the only fragile part.
- Owls — essentially a decorated cone, and the best first animal ornament.
- Hedgehogs — make the curled version, which is a ball with a nose.
- Bears and cats — sitting poses, legs folded in.
- Foxes — curled nose-to-tail, which also solves the balance problem.
- Penguins — upright, self-balancing, and the flat feet can be left off.
- Bunnies — sitting, with the ears felted firm and swept back rather than standing free.
The difficult ones are the long-legged animals. A horse or a deer has four thin legs carrying a heavy body, and hung on a cord it swings into things and the legs bend. Three ways out: build the legs over wire, make the animal lying down with the legs folded, or make a head only. Heads work surprisingly well — a stag head with antlers is a strong silhouette and a fraction of the weight. Animals with a shell or a flat body such as a turtle or a fish are natural candidates for the two-sided flat treatment.
Fragility, wire and storage
Ornaments spend eleven months in a box, which is where most of the damage happens, not on the tree.
Wire or no wire. A 0.8 to 1 mm floral wire through a leg, a tail or a pair of antlers makes them bendable rather than breakable. The cost is that wool needled around wire is harder to keep smooth, and a wire end working out through the surface is a real hazard on something a child might handle, so bend every end back on itself into a small hook before covering it. Below about 20 mm, skip the wire — the wool is stiff enough on its own.
Ears and tails. Felt ears as flat pieces and work the base hard where it meets the head; that join is where they tear. A long thin tail, on a mouse in particular, is better made from a twisted cord or a length of embroidery thread than from wool, which goes limp.
Storage. The general rules — boxed rather than bagged, tissue, a cedar block, an annual look — are in felted Christmas ornaments. Two tighten for animals. Give each piece its own compartment in a rigid box, because ears, beaks and tails are what a neighbouring ornament crushes; a divided box meant for glass baubles is exactly right. And do not hang animals from their loops inside the box: eleven months of the full weight on a cord buried in a soft coat is how a loop that never failed on the tree fails in the loft.
Common problems
- It hangs nose-down. The loop is too far back. Pull it out, run the pin test again, and set the loop 5 to 10 mm forward of where you had it.
- It spins to show its back. The two sides are different weights, usually because a tail or a wing was needled on one side only. Add a counterweight of a gram or two of wool inside the light side, or accept it and finish the back properly.
- The loop pulled out. It was anchored in the coat, not the core. Sew a replacement right through the body with a long doll needle, starting from underneath so the knot ends up under the belly.
- A leg snapped off in the box. Thin unwired legs do not survive storage. Reattach it with a wire pin through the joint, or take the legs off and remake the piece as a sitting pose.
- It reads as a brown lump on the tree. Not enough contrast. Add a pale bib, belly or face patch — at two metres an animal is recognised by its blocks of colour, not its modelling.
If you are making a set, build all the bodies first, then all the loops, then all the faces — the saving from working that way is real, and the arithmetic is on the pillar page. Start with an owl or a mouse, which need no adaptation at all, and keep the harder species for once you know how a piece behaves on the end of a cord. For everything that is not an animal, there are baubles and stars, and if you want to practise the surface work first, needle felting fur and needle felted animals for beginners are the places to start.
Frequently asked questions
Where do you attach the loop on a felted animal ornament?
At the balance point, which on most animals is a little forward of the middle of the back because the head is heavier than the tail. Find it by pushing a pin into the back and lifting the animal by the pin: move the pin until the piece hangs level, then put the loop exactly there.
How heavy should a felted animal ornament be?
Aim for 15 to 25 g and 6 to 8 cm for a solid animal. Above about 40 g it pulls a branch tip visibly downwards, and a two-sided flat animal at 3 to 6 g avoids the problem entirely.
Should a hanging animal have legs?
Usually not. Thin felted legs are the first thing to bend in storage, they add weight without being visible from across a room, and a sitting or curled pose reads perfectly well without them.
Which animals work best as ornaments?
Compact round ones: mice, birds, hedgehogs, owls, bears, cats and foxes. Long-legged animals such as horses and deer either need a wire armature or have to be made as heads only, because their legs are fragile and their balance point sits awkwardly.