Felt Cat Patterns: Templates for Toys, Ornaments and Softies
6 min read Beginner
We may earn a commission from links on this page, at no extra cost to you. As an Amazon Associate I earn from qualifying purchases. Learn more.
Felt does not fray, so a cat pattern is four shapes and no hemming. How to draw your own template, and what changes when the cat is going to be chewed.
Felt is the easiest material there is for a beginner sewing project, for a structural reason: it has no weave. Cut it in any direction and the edge is finished. No hemming, no fraying, no seam allowance unless you actually want one.
Which makes a cat — a shape everybody recognises from its silhouette alone — close to the ideal first pattern.
Drawing your own template
Search for a felt cat pattern free to download and you will find hundreds. Most of them are worse than one you draw in five minutes, because yours is the size you actually want.
- Draw the silhouette at finished size. A sitting cat seen from the side is the easiest: a rounded body, a head that sits directly on it with no neck, two triangular ears, and a tail curled round the feet.
- Fatten everything. Any part narrower than about 1 cm will tear when you turn or stuff it. Tails especially — draw them thick and curled against the body, never thin and sticking out.
- Lose the legs. A sitting cat needs none. Legs are the single most common reason a felt cat looks wrong and falls apart.
- Add 5 mm all round if it will be stuffed and sewn inside out. Nothing at all if you are sewing the seam on the outside.
- Cut the template from card, not paper. You will draw round it many times.
Proportions that make a cat read as a cat: head about a third of the total height, ears set wide and well back, and a face that is broad and short with a very small muzzle. The same rules that govern needle felting a cat apply to a flat silhouette.
Pattern 1: the flat ornament cat
Two identical shapes, sewn around the edge, lightly stuffed. Fifteen minutes.
- Cut two cats from 1 mm wool-blend felt using the template.
- Cut the face details — inner ears, muzzle, eyes — from contrasting felt and stitch or glue them to one piece before joining the two.
- Hold the pieces together and blanket stitch around the outside in a contrasting embroidery thread, three strands.
- Leave 3 cm open, push in a little stuffing with a chopstick, and close.
- Sew a loop of thread between the ears for hanging.
Embroider the face rather than gluing it if the cat will be handled — a satin-stitch nose and two French knot eyes take two minutes and last for ever. Beads look better still but rule the piece out for small children; see how to sew beads on felt.
Pattern 2: the stuffed softie
Four pieces: two body sides, one gusset strip for the base, and a pair of ears.
- Cut two body pieces with 5 mm seam allowance, mirrored.
- Cut a strip about 4 cm wide and long enough to run from the front of the base to the back — this gusset is what makes the cat stand up instead of lying flat.
- Stitch each body side to the gusset, right sides together, from front to back.
- Sew the two body sides together over the top of the head and down the back, leaving a gap at the base.
- Turn out, stuff firmly through the gap — wool stuffing feels far better than polyester — and ladder stitch it closed.
- Make the ears as flat double-thickness triangles and stitch them on afterwards, angled slightly forward.
Firm stuffing matters more than neat sewing. An understuffed softie sags and loses its silhouette within a week.
Pattern 3: cat ears
The simplest pattern in the article and the most used.
- Cut four triangles about 8 cm tall with a slightly curved base.
- Cut two smaller triangles in pink for the inner ear and stitch them on.
- Sew each pair together around the two long sides and turn out.
- Pinch a small fold at the base of each and stitch it so the ear cups forward.
- Stitch or glue to a headband, or to a hair clip — the same construction as felt animal hair clips.
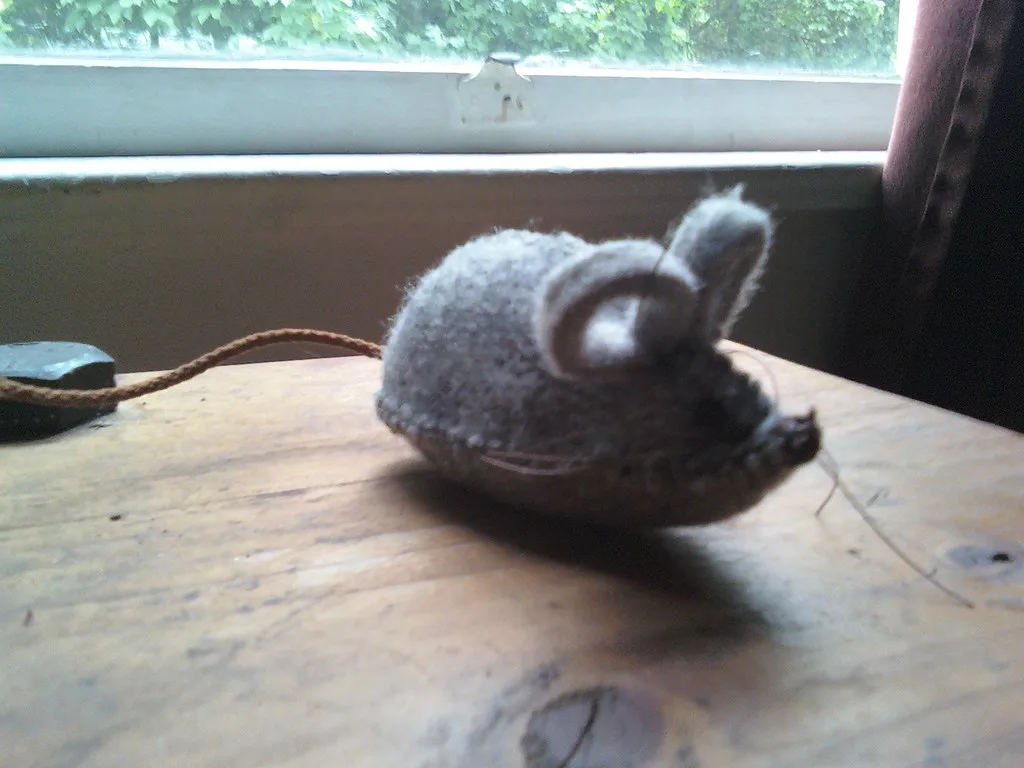
Pattern 4: the catnip mouse
The one a real cat will actually use, and the reason most people search for felt cat patterns in the first place.
- Cut a teardrop about 9 cm long from wool felt, plus a matching base oval and two small round ears.
- Fold the teardrop and sew the long seam from the nose backwards, leaving the base open.
- Stitch the ears into that seam as you go, near the wide end.
- Sew in the base oval, leaving a gap.
- Stuff with wool and a teaspoon of dried catnip, then close with strong doubled thread.
- Add a tail: a strip of felt or a length of thick wool yarn, stitched in — not glued.
Sew every seam twice. Cat toys receive treatment no other soft toy does. The same body shape scales up and down, and the construction is identical to how to make felt mice.
Safety, if a cat is going to have it
- No glue. It fails when wet, and cat toys get wet immediately.
- No beads, bells, buttons or plastic eyes. Anything that can come off will be swallowed. Embroider the features.
- Wool felt, not acrylic. Acrylic shreds into long plastic strips.
- Strong thread, doubled, and backstitch rather than running stitch.
- No ribbon or string tails longer than a few centimetres. Swallowed string is a genuine veterinary emergency.
- Retire damaged toys. A split seam turns a good toy into a bag of stuffing to eat.
Choosing felt
- Wool-blend, 1 mm — the sensible default. Cuts cleanly, good colours, affordable.
- 100% wool, 1–2 mm — better colour and drape, and the only thing to use for a chewable toy.
- Acrylic craft felt — cheapest, thin, pills. Fine for children's practice and shelf ornaments.
- Felt you made yourself — wet felted sheets in your own colours, or a cut-up felted jumper. See felted sweater projects.
The differences are set out properly in wool felt fabric.
Cutting cleanly
- Draw round the template on the back of the felt with a chalk pencil.
- Cut with long continuous strokes. Small snips leave a wobbly edge on felt.
- Keep a pair of scissors for felt alone — wool blunts blades faster than cotton.
- For many identical cats, a die cutter earns its keep. Otherwise stack two layers and cut both at once.
Variations worth making
- Tabby, tuxedo, ginger. Markings cut from contrasting felt and appliquéd on — see felt applique.
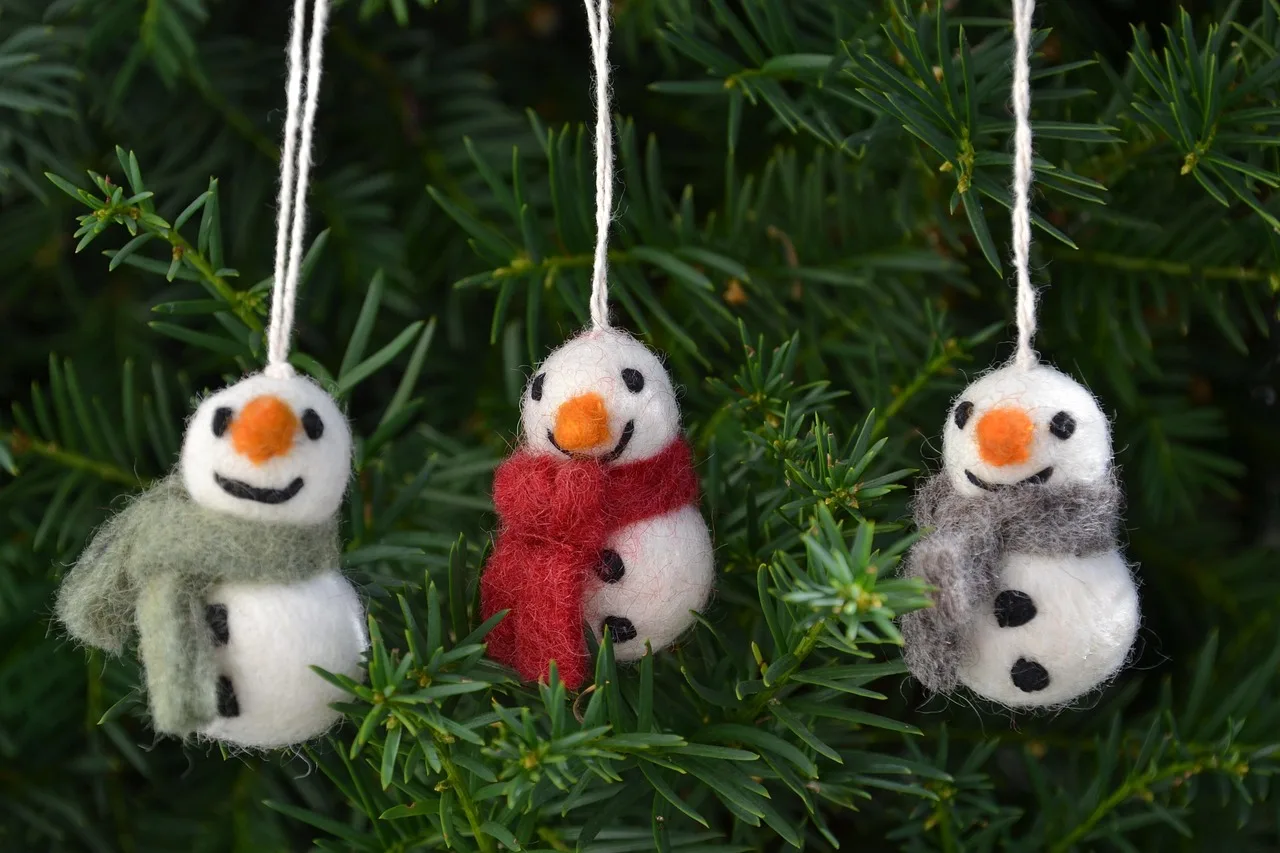
- Christmas cats. The flat ornament in red and white with a stitched scarf. Fits alongside felted Christmas ornaments.
- Cat garland. Nine flat cats in graded colours on twine.
- Keyrings and bag charms. Small firm cats with a jump ring — see felt bag charms.
- A cat portrait cushion. A large silhouette appliquéd onto a felted panel.
- A cat cave, if you want to make something for the cat rather than about it — see felted cat cave.
A note on character patterns
Templates for Hello Kitty, Pusheen and similar characters circulate widely as free downloads. Making one at home for yourself is one thing; selling it, or selling anything made from it, is straightforward trademark and copyright infringement. Draw your own cat — it takes five minutes and it is yours.
Where to go next
Cut-and-sew felt and needle felting are different crafts that share a material. If you enjoy the shapes but want them in three dimensions without sewing, the sculpted version is in needle felted cat. If you want them stuffed and soft rather than flat or sculpted, that is a third craft again, with its own seam allowances and stuffing rules, in felt plushies, and the general run of small starter projects in felting patterns for beginners.
Frequently asked questions
How do you make a felt cat pattern?
Draw a cat silhouette at the size you want, simplify it until the thinnest part is at least 1 cm wide, then add a 5 mm seam allowance if it is going to be stuffed. Cut it from card and draw round it on the back of the felt.
What felt should I use for cat toys?
Wool or wool-blend felt for anything a real cat will chew — acrylic felt sheds plastic fibres and tears into strips that can be swallowed. For decorative cats that live on a shelf, cheap craft felt is fine.
Do you need to hem felt?
No. Felt has no weave and no grain, so a cut edge is a finished edge. That is what makes felt patterns so much faster than fabric ones — no hemming, no fraying, and seams can be sewn on the outside deliberately.
Are felt cat toys safe for cats?
Homemade ones are safe if they have no glued parts, no beads, no bells and no plastic eyes, and if they are sewn with strong doubled thread. Anything that can be chewed off will be. Supervise the first few sessions with any new toy.