Sweater Mittens: Mittens from Old Wool Jumpers
4 min read Beginner
We may earn a commission from links on this page, at no extra cost to you. As an Amazon Associate I earn from qualifying purchases. Learn more.
One felted jumper makes two or three pairs. The template, where to place it to use the cuffs, and the fleece lining that turns them from craft into kit.
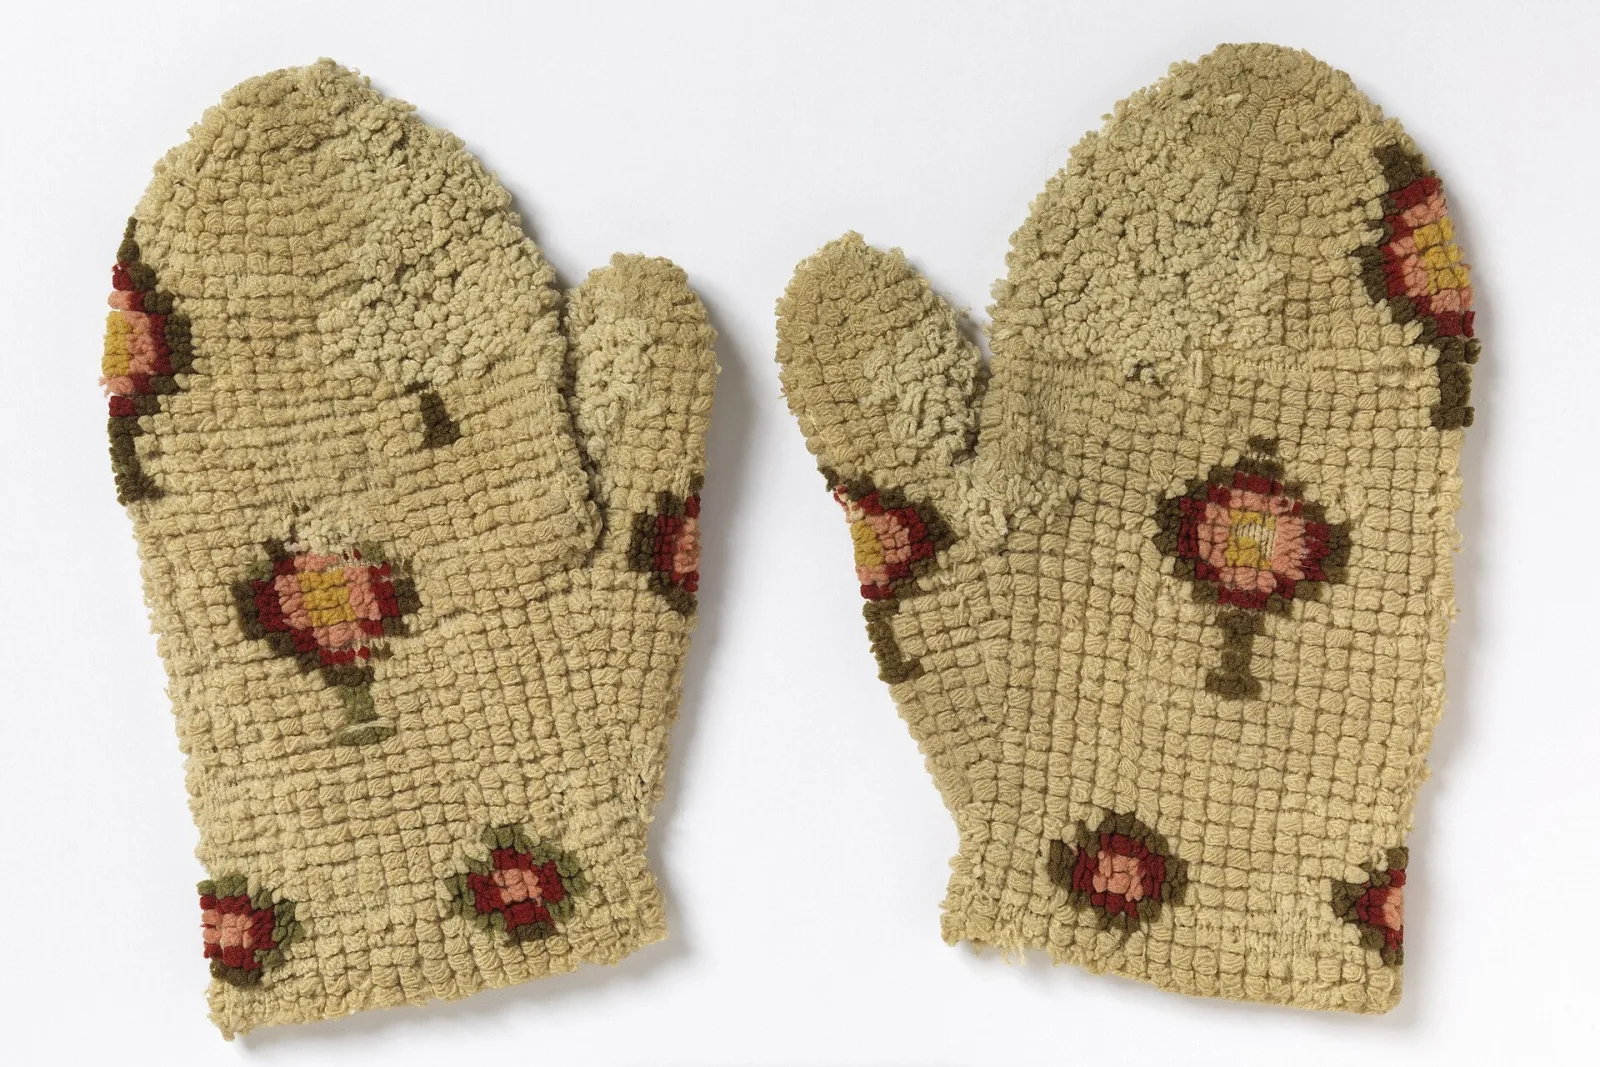
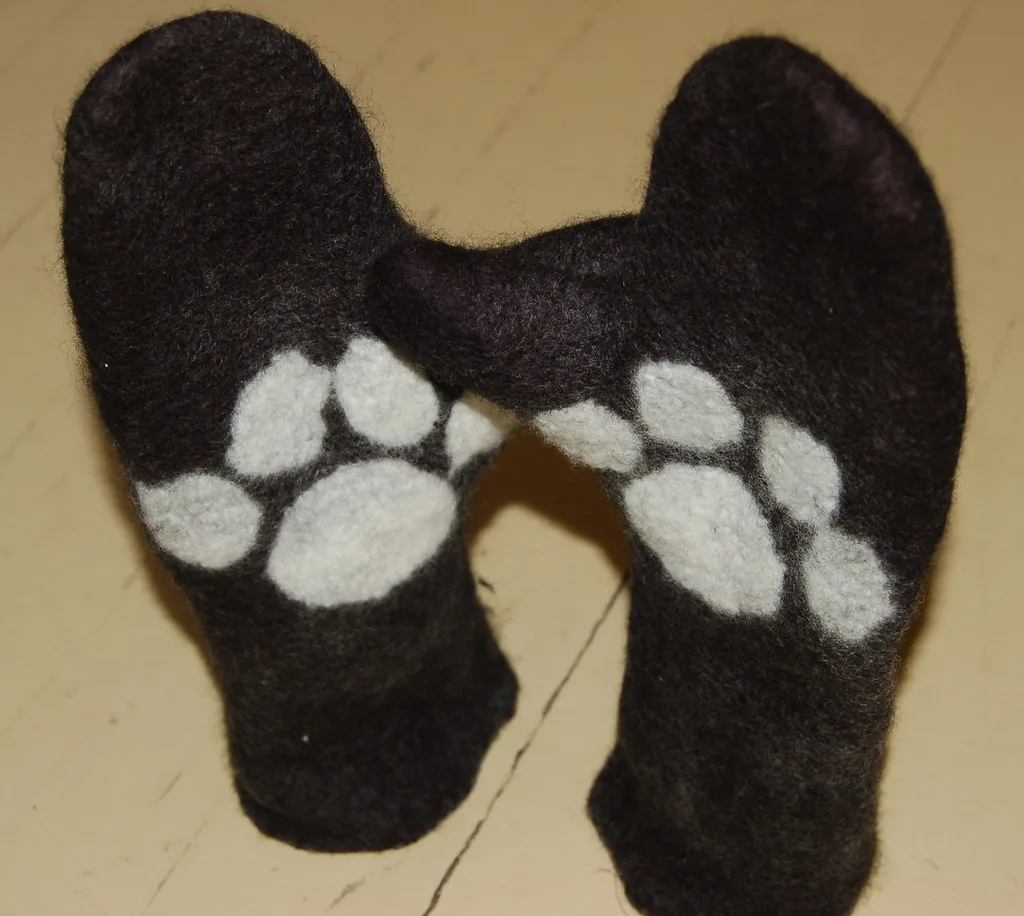
A felted wool jumper is thick, windproof, does not fray when cut, and costs a couple of pounds in a charity shop. Mittens from sweaters are the obvious thing to make from it: small, quick, forgiving of imprecise cutting, and genuinely good — thick felted wool is warmer than most bought gloves.
Felt the jumper first
This step is not optional. Knitting that has not been felted unravels as soon as it is cut and stretches out of shape as you sew. Felting locks the stitches together so a cut edge stays where it is.
Use a hot machine wash with friction, or the hand method — the full process is in how to felt a wool sweater. The jumper is ready when you cannot see individual stitches and a snipped edge does not run.
What you need
- One felted wool jumper
- Paper and pencil for the template
- Sharp fabric scissors
- Strong thread and a sewing machine, or a needle and backstitch
- Optional: fleece for lining, ribbon or felt for trim
Making the template
- Lay your hand flat on paper with the fingers together and the thumb out at a natural angle.
- Draw around it.
- Add 1.5 cm all the way round for seam allowance and ease — 2 cm if you intend to line them.
- Smooth the outline into a mitten: a rounded top, a smooth curve into the thumb, and a straight cut across the wrist.
- Extend the wrist down as far as you want the cuff to sit.
- Cut it out and check it against your hand. This template is symmetrical, so flipping it gives the other hand.
Cutting
Where you place the template on the jumper matters more than anything else in the project.
- Put the wrist edge of the template on the jumper cuff. The existing ribbed cuff becomes the mitten cuff — already finished, already snug, and it is the detail that makes these look intentional.
- Sleeves give the best pair, because both cuffs already exist.
- The body hem gives another two cuffs.
- Cut four pieces per pair: two facing one way, two flipped, so you get a left and a right.
- Use any patterning deliberately. A fair isle band or a cable running across the back of the hand looks considered; the same band running off at an angle does not.
- Avoid the seams where you can — they are bulky and often puckered.
Sewing
- Pin each pair right sides together.
- Sew around the outline with a 1 cm seam, leaving the wrist open. Use a stretch or narrow zigzag stitch if machining — felted wool has some give and a straight stitch can snap.
- Take it slowly around the thumb curve, and clip small notches into the seam allowance on the inner curve so it turns cleanly.
- Turn right side out and push the thumb through with a blunt tool.
- Try it on before doing the second one. Adjust the template if it is tight across the knuckles — that is where they always pinch.
If sewing by hand, backstitch is strong enough. Blanket stitch on the outside, with the seam allowance trimmed close, is an attractive alternative that shows the stitching deliberately.
Lining with fleece
Worth it for cold climates and for anyone who finds wool itchy.
- Cut the same template from polar fleece, 2 mm smaller all round.
- Sew the fleece pieces into a mitten shape and leave it inside out.
- Slide the fleece mitten inside the wool one, wrong sides facing each other.
- Turn the raw wrist edges of both in towards each other and topstitch or slipstitch around the opening.
If you have used the jumper's cuff, the fleece can stop just above it and be tacked in place at the seam.
Variations
- Fingerless gloves. Cut the mitten short across the knuckles and finish the edge with blanket stitch. Add a separate thumb tube or leave the thumb open.
- Convertible flip-tops. Fingerless base plus a felted flap sewn along the back of the hand, held with a button.
- Children's mittens. The same template from a small hand. Cut them from the leftovers.
- Longer gauntlets. Extend the wrist up the forearm and use the jumper's body hem for the top edge.
- Wet felted mittens, made seamlessly from loose wool over a resist, are a different project entirely — see resist felting.
Finishing touches
- A felted wool flower, heart or initial appliqued on the back of the hand — see felt applique.
- Embroidery in contrasting thread around the cuff.
- A cord between the pair for children.
- Buttons stitched at the cuff.
Practicalities
Felted wool is water resistant but not waterproof, and unlined mittens will eventually wear through at the fingertips. Both are fixable: a patch of felt needled or stitched over the worn area lasts as long as the original. Wash them by hand in cool water — see can you wash felt — and store them clean over summer, because moths find them otherwise.
One jumper gives two or three pairs, which makes these one of the few genuinely economical handmade gifts. The same guide lists what to make from the rest of the jumper.
Frequently asked questions
How do you make mittens from an old sweater?
Felt the jumper first so the fabric will not fray, draw round your hand with a 1.5 cm margin to make a template, cut four pieces with the jumper cuff at the wrist, then sew each pair right sides together and turn them out.
Do you have to felt the sweater first?
Yes, if it is knitted. Unfelted knitting unravels the moment it is cut and stretches out of shape. Felting locks the stitches so cut edges stay put, which is what makes the whole project possible.
How many mittens can you get from one sweater?
Two or three pairs from an adult jumper: one pair from the body panels, one from the sleeves, and often a child's pair from what is left. Use the existing cuffs for the mitten wrists.
Should sweater mittens be lined?
Lining with fleece makes them warmer, softer against the skin and far more durable, and it hides the seams. It roughly doubles the work. Unlined mittens from a thick felted jumper are perfectly warm for most conditions.
Topics
Image credits
- A pair of thick wool mittens — Unknown artistUnknown artist (PUBLIC DOMAIN)
- Mittens made from felted wool — ingermaaike2 (BY)