Felt Letter Ornaments: Stuffed Initials, Flat Garland Letters and Name Ornaments
10 min read Beginner
We may earn a commission from links on this page, at no extra cost to you. As an Amazon Associate I earn from qualifying purchases. Learn more.
How to make felt letters: stuffed initial ornaments and flat letters for NOEL, JOY and name garlands. Letter sizes with felt and stuffing per letter, fonts that cut cleanly, the letters with awkward holes, freezer paper cutting, edge stitches, loops that hang straight, and garland spacing.
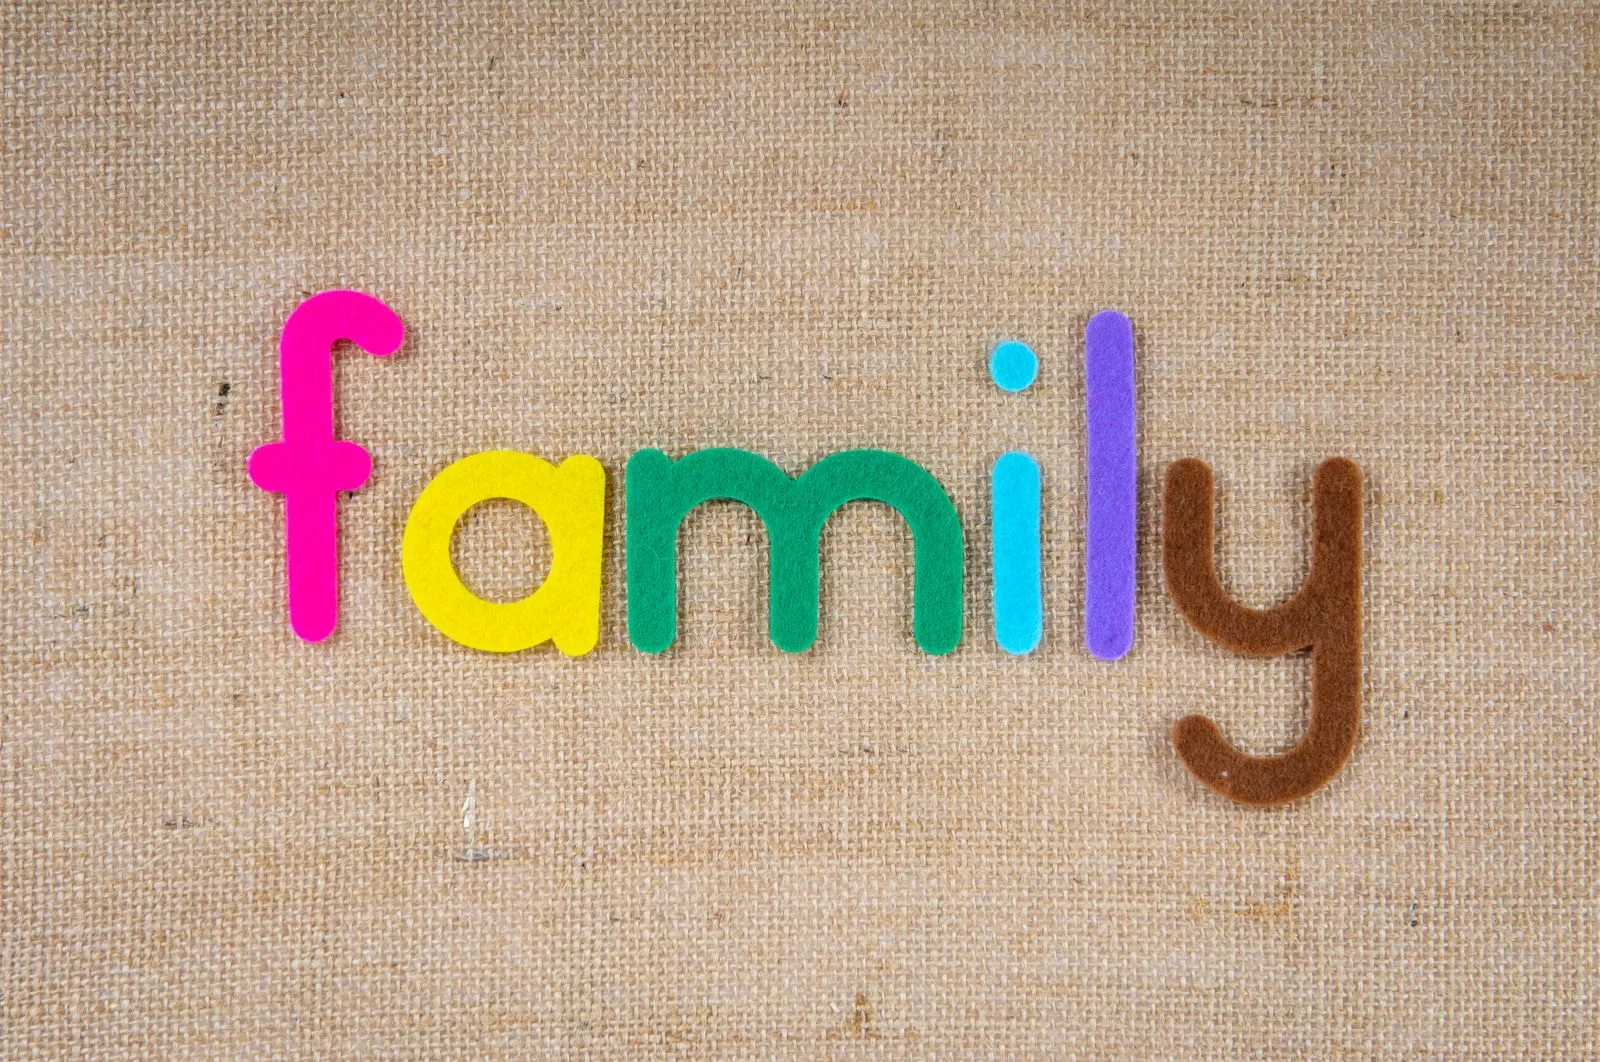
The letter you pick decides how hard a felt letter ornament is. An I, L or T is three straight cuts and a gap to stuff. An R has a hole, a curve, a diagonal leg and two inside corners, and in thin felt each of those is a place to slip with the scissors. So choose the size and font around the hardest letter in the word, not the easiest.
There are two kinds: stuffed initials that hang alone, and flat letters strung into a garland such as NOEL, JOY or a name.
Should felt letters be stuffed or flat?
Stuff single letters that hang alone. Leave letters flat when they hang in a row.
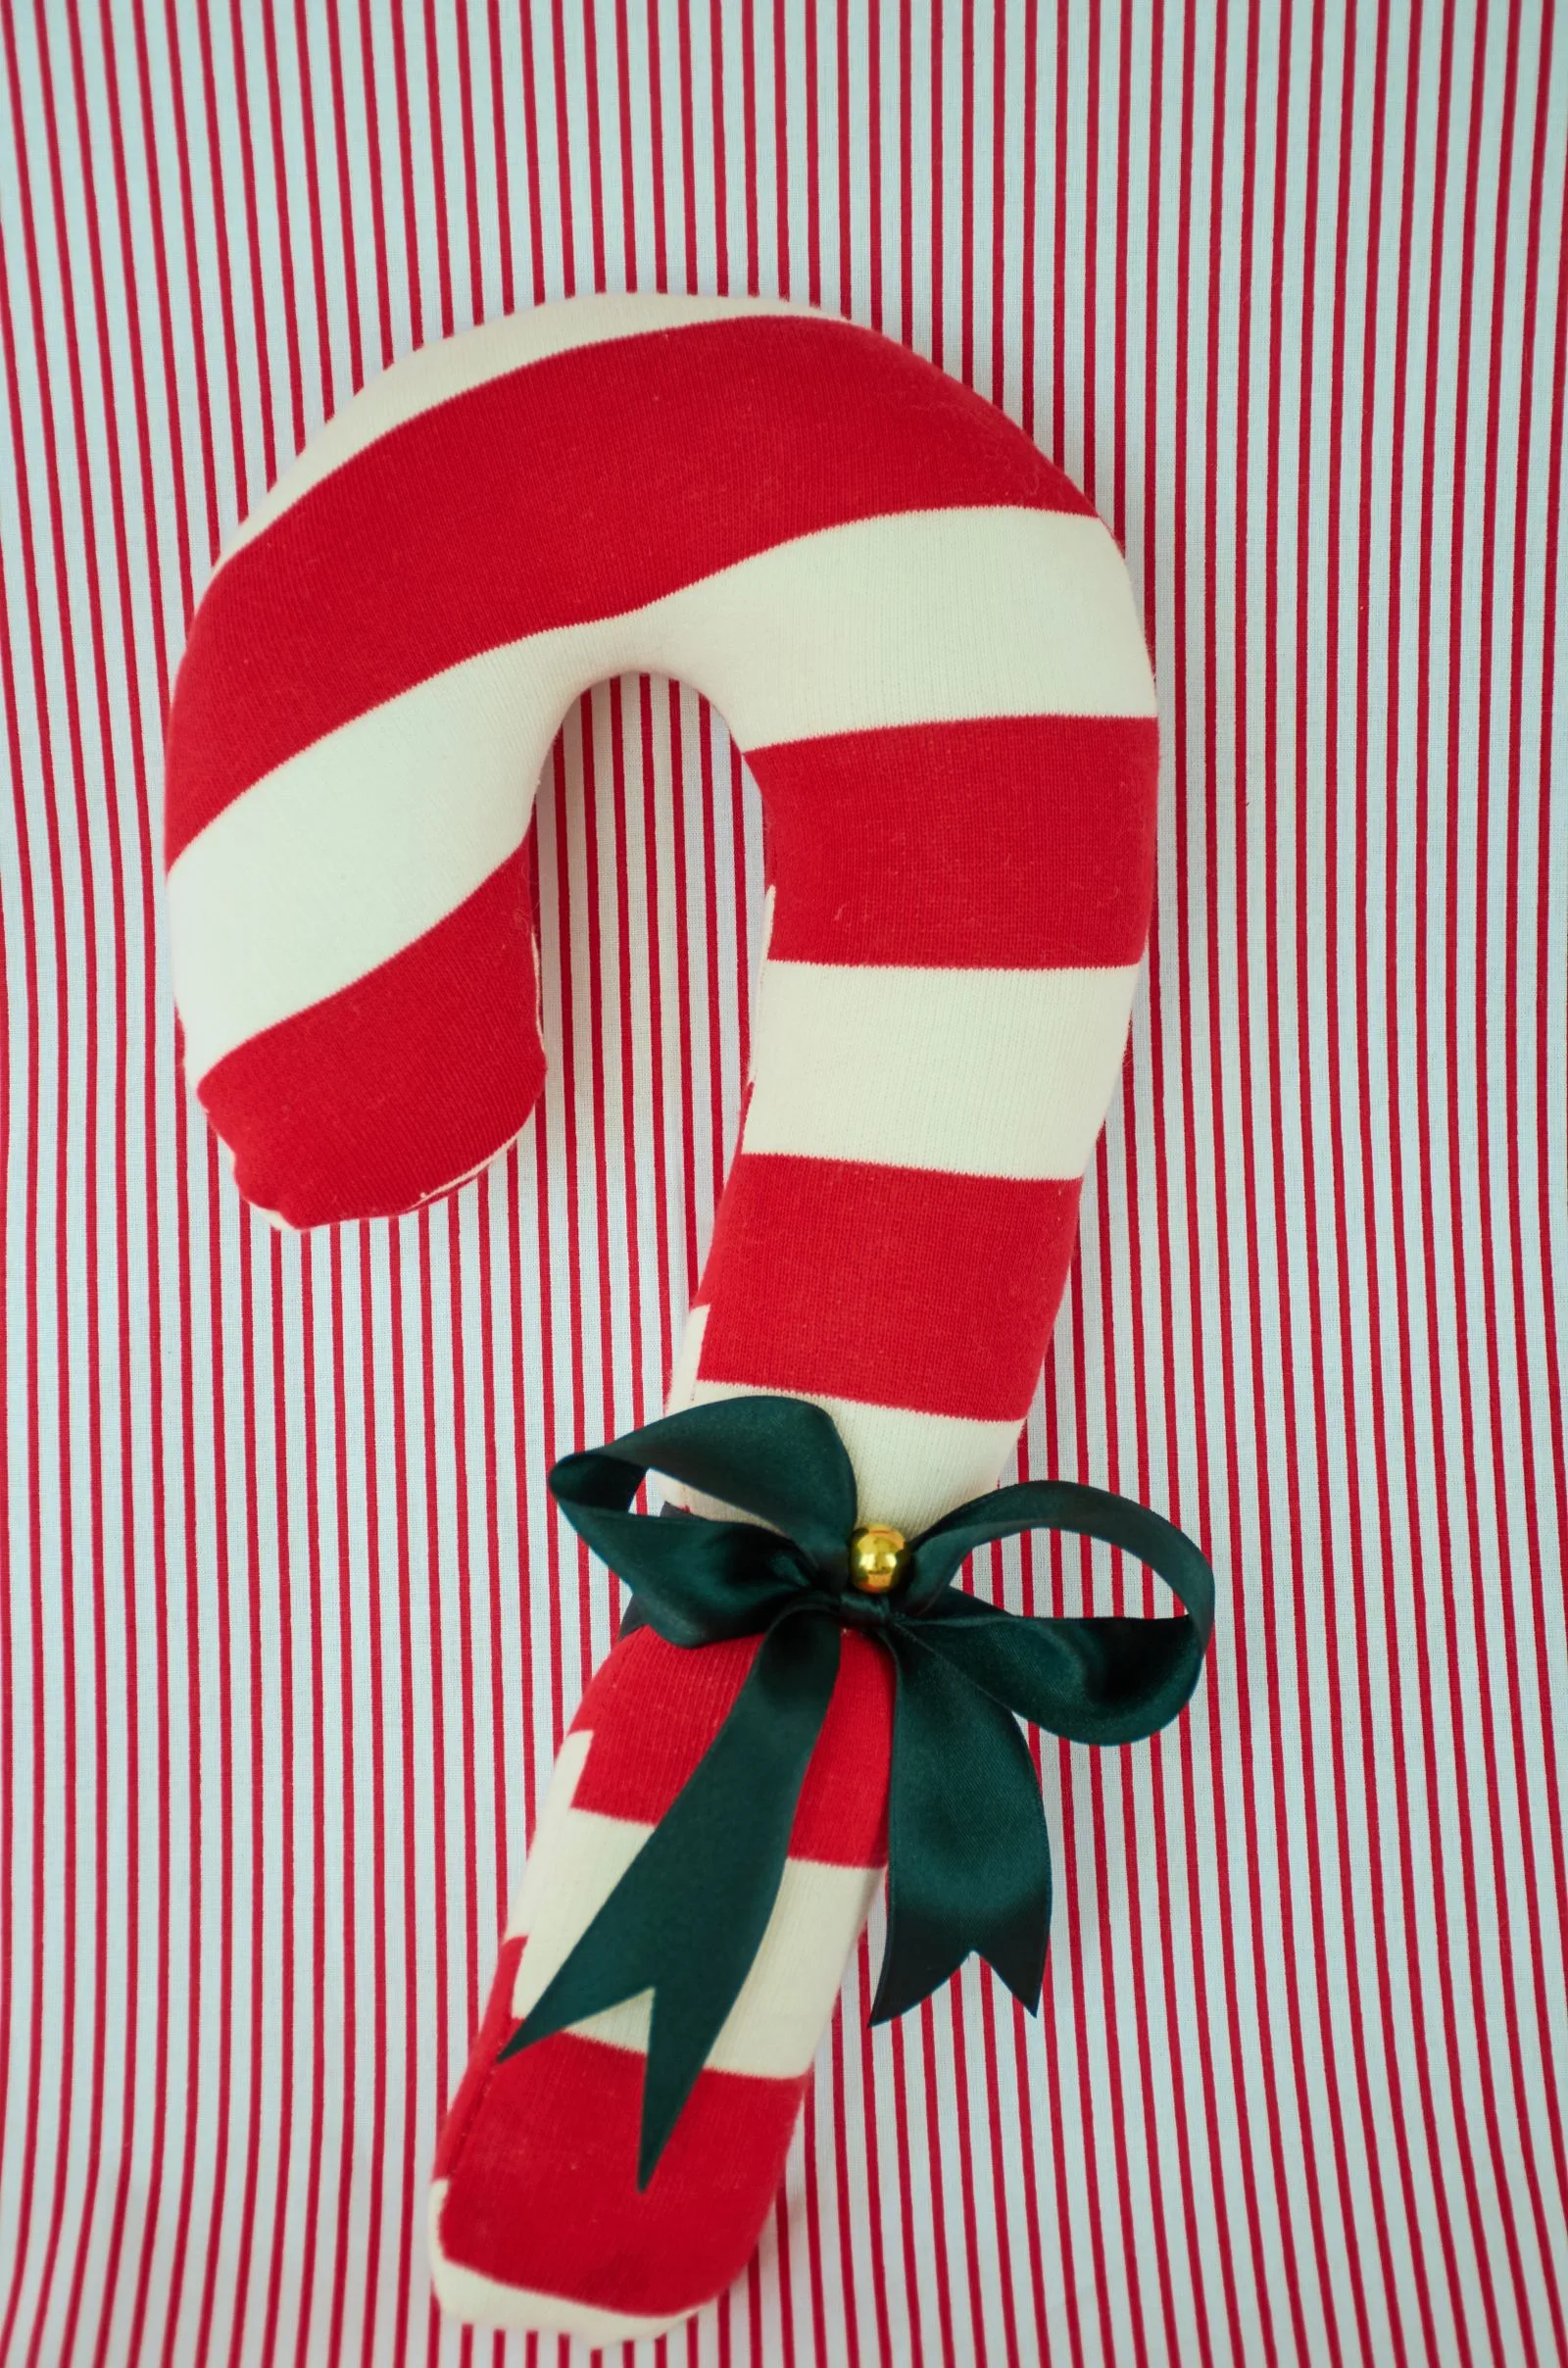
- Stuffed letters are two layers of 1 mm felt, edge-stitched and filled until they are about ½–¾ in (1.3–2 cm) thick. They take embroidery and sequins well and make the best name gifts. Each takes 30–45 minutes at 4 in.
- Flat letters are a single layer of 2–3 mm felt, or two layers of 1 mm glued or stitched back to back. They hang flat against a wall, do not twist on a string, and take 5–10 minutes each. A stuffed letter on a garland turns sideways and the word becomes unreadable.
How big should felt letters be?
Four inches (10 cm) is the standard for a stuffed ornament and for a garland seen from across a room. The stroke width matters as much as the height: a stuffed letter needs strokes at least ¾ in (2 cm) wide, or you cannot get stuffing into them.
| Letter height | Stroke width | Best use | Pieces from a 9 × 12 in sheet | Stuffing per letter |
|---|---|---|---|---|
| 2 in (5 cm) | ⅜ in (1 cm) | Flat mini garlands, names on a stocking cuff | About 30 | None, flat only |
| 3 in (7.5 cm) | ½–⅝ in | Flat garland, small stuffed letters | 9 (4 stuffed letters) | About 1 g, a pinch |
| 4 in (10 cm) | ¾ in (2 cm) | Standard stuffed ornament, room-size garland | 6 (3 stuffed letters) | 2–3 g (about 1/10 oz) |
| 5 in (12.5 cm) | ⅞–1 in | Large initial, door hanger | 4 (2 stuffed letters) | 4–6 g (about ⅙ oz) |
| 6 in (15 cm) | 1–1¼ in | Wall banner, mantel | 2 (1 stuffed letter) | 7–10 g (about ⅓ oz) |
The sheet counts assume an average capital, which in a bold font is about three-quarters as wide as it is tall, with about ¼ in left between pieces. An M or W takes more room, an I much less. The stuffing figures are for polyester fiberfill packed moderately firm.
What font should you use for felt letters?
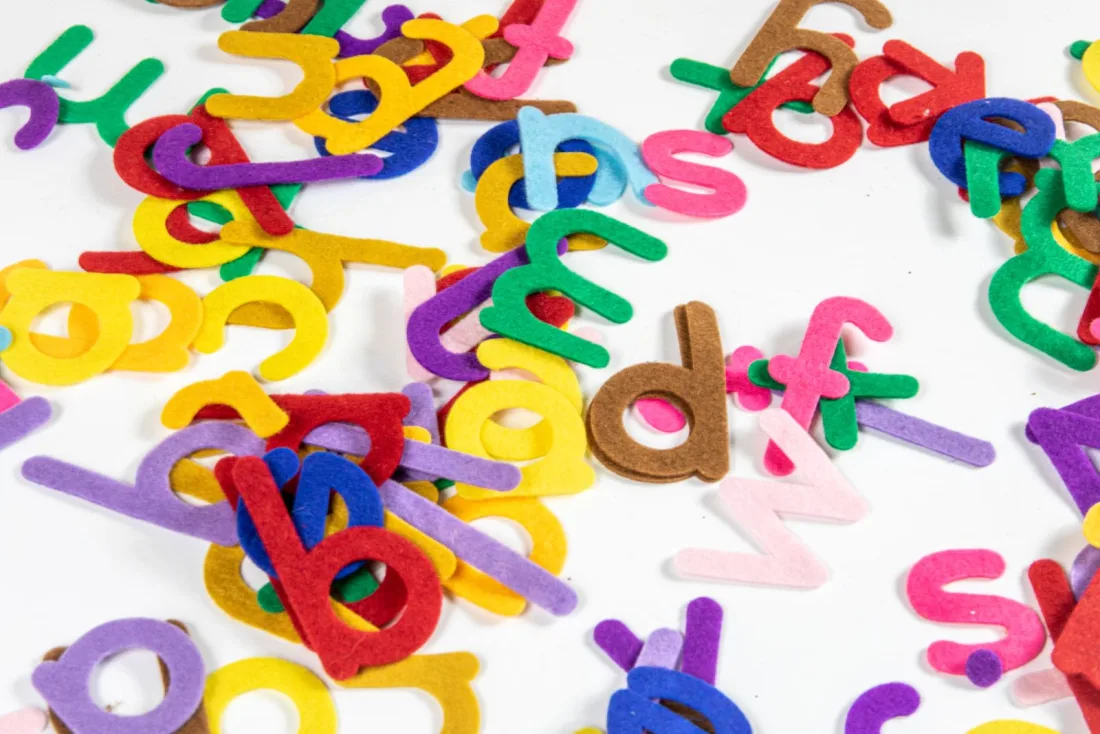
A bold, rounded sans-serif in capitals is the safest choice: even stroke widths, rounded ends and no fine points. A chunky slab font, with square blocks on the ends, also cuts well. Avoid script, thin fonts, pointed serifs and outlined letters.
Some letters need extra care whatever the font:
- Letters with holes (A, B, D, O, P, Q, R). The hole, called the counter, must be cut out of the middle without cutting in from the edge. In a 4 in stuffed letter, the hole in an A or R is often a triangle under ½ in across, too small to stitch around. Enlarge it in the template, or leave it closed and embroider its outline instead.
- Sharp inside corners (K, M, N, V, W, X, Y). Points where two strokes meet are weak in felt and hard to stuff. Choose a font where the strokes meet in a flat joint rather than a knife point.
- Long thin tails (J, Q, R's leg, G's spur). Keep them at full stroke width or they curl.
- Curves (C, G, S). Easy to cut, but they stretch if pulled while stitching, so pin them.
How do you make a felt letter template?
Type the letters in a word processor, set the font size so a capital H measures your chosen height on the printout, and print. Font sizes are not letter heights: a capital in a 300-point font is usually around 2½–3 in tall, so print one test letter and measure before printing a whole name.
Then transfer it with freezer paper, which is the cleanest way to cut felt.
- Trace or print onto freezer paper. Trace the printout onto the matte side, or cut a sheet of freezer paper to 8½ × 11 in and run it through an inkjet printer, matte side up.
- Cut the paper roughly, ¼ in outside each letter.
- Iron it to the felt, shiny side down, with a dry iron for a few seconds: wool setting for wool and wool blend, lowest setting for acrylic, which melts.
- Cut the holes first. Fold the felt across the middle of a counter and snip a short slit at the fold, then open it out and cut around the inside line from that slit.
- Cut the outside, turning the felt rather than the scissors on curves, and cutting into each inside corner from both directions.
- Peel off the paper and reuse it two or three times.
Because the paper goes on the front, the letters do not need mirroring. If you draw on the back of the felt with a marker instead, reverse the letters first or every J will face the wrong way. For a long garland or many names, a felt cutting machine cuts letters faster and more evenly than scissors.
How do you sew a stuffed felt letter ornament?
Cut two identical pieces from 1 mm wool or wool-blend felt, pinned together and cut as one. Wool blend stitches neatly and does not fuzz at the edges, and wool felt fabric says why.
- Decorate the front first, while it is flat and single: embroidery, sequins, a name across the middle. You cannot hide knots once the back is on.
- Place the loop. Fold 7 in (18 cm) of jute twine or narrow ribbon in half and push the ends ½ in down between the layers at the hanging point (see below).
- Stitch any holes first. Sew around the inside of each counter with blanket stitch or whip stitch, ⅛ in from the edge.
- Stitch the outside, leaving a 1 in (2.5 cm) gap on a long straight side.
- Stuff from the far ends inward with pea-sized pieces of polyester fiberfill pushed in with a chopstick or the blunt end of a pencil. Fill each arm of the letter before the middle.
- Close the gap and bury the thread end inside.
Blanket stitch or whip stitch?
Blanket stitch makes a visible outline along the edge, which suits a letter in a contrasting thread, white on red or red on white. Whip stitch wraps over the edge and is quicker and nearly invisible in matching thread. Both use two or three strands of floss, stitches ⅛ in (3 mm) deep and ⅛ in apart. Felt applique shows both stitches step by step.
How do you hang a felt letter so it hangs straight?

Put the loop above the balance point. For symmetrical letters, A, H, M, O, T, U, V, W, X and Y, that is the middle of the top. For the rest, it is not. An L hung from the top of its upright tips forward under its foot; a J leans toward its hook; F, P and R lean toward their top-heavy side.
To find the spot, push a pin through the felt near the top edge, hold the pin and let the letter swing. Move the pin until the letter hangs level, mark that point, and place the loop there. For flat letters, sew the loop on the back. For a garland, the same balance point is where the string should pass through, either by stitching the letter to the string at two points or by threading the string through small slits ¼ in below the top edge.
How do you decorate felt letter ornaments?
- Embroidery: a running stitch ¼ in inside the edge, a row of French knots, small snowflakes in white, or a name or year in backstitch.
- Sequins and beads: stitch a sequin down with a seed bead in its center so the thread does not show. Sewing beads on felt shows the anchoring.
- Plaid or print fabric: fuse a cotton plaid to the felt front with fusible web before cutting, then cut letter and fabric together. Felt holds the shape, and the fabric gives the pattern.
- Layers: a slightly smaller letter in a second color stitched on top of the first, leaving a ⅛ in border.
How do you make a felt letter garland?
Cut flat letters from 2–3 mm felt, or from two layers of 1 mm stitched back to back so the word reads from both sides. Then work out the length.
The rule: total length = (number of letters × average letter width) + (gaps between letters) + (gaps between words) + 12 in of twine at each end. Gaps of about a third to half the letter height look even; a word gap is roughly the width of one letter.
| Word | Letter size | Letter run | Total twine |
|---|---|---|---|
| JOY | 4 in letters, about 3 in wide, 1½ in gaps | 3 × 3 + 2 × 1½ = 12 in | 36 in (91 cm) |
| NOEL | 4 in, 3 in wide, 1½ in gaps | 4 × 3 + 3 × 1½ = 16½ in | 40½ in (103 cm) |
| MERRY CHRISTMAS | 4 in, 3 in wide, 1½ in gaps, 4 in word gap | 14 × 3 + 12 × 1½ + 4 = 64 in | 88 in (2.2 m) |
| MERRY CHRISTMAS | 3 in, 2¼ in wide, 1 in gaps, 3 in word gap | 14 × 2¼ + 12 + 3 = 46½ in | 70½ in (1.8 m) |
Lay the letters out at their spacing and measure before cutting the twine, since widths vary by font. Felt balls or small stars between words fill the gaps and keep the letters from sliding. Felt garland covers spacing that stays put and hanging a long run safely, and the felt advent calendar uses the same cutting for its 24 numbers.
Personalized felt name ornaments as gifts
The single stuffed initial is the quick version: a 4–5 in letter in the person's favorite color, with the full name embroidered across it in backstitch and the year on the back. For a whole name, stitch small flat letters onto a backing shape such as a star, a circle or a mitten; the felted Christmas ornaments guide gives letter heights for names on a 2¾ in (70 mm) shape. Below about ½ in (12 mm), letters are too small to cut and should be embroidered. A name in cut letters also finishes a felt Christmas stocking cuff.
Can you needle felt letters?
Yes, inside alphabet cookie cutters. Stand a 2½–3 in cutter on a foam pad, fill it loosely with wool to about twice its depth, and stab straight down, flipping the piece every few minutes so it does not felt into the foam. A 3 in letter about ⅜ in (1 cm) thick takes roughly 5–8 g (about ⅕–¼ oz) of wool. For letters with holes, felt the solid shape and then work a needle around the counter line until the wool parts, or leave the hole closed and mark it with a contrasting wool line.
Keep the needle tip away from the cutter walls, which snap tips; how to stop breaking felting needles explains why. Use a 36 or 38 gauge to shape and a 40 to finish; felting needles explained covers the sizes. This version is for adults and older children, since a barbed needle that slips goes straight into a finger; is needle felting dangerous covers finger guards and supervision.
Are felt letters safe for children?
Sewn felt letters are a good first sewing project from about age 7, using a blunt tapestry needle and pre-cut letters. Younger children can glue flat letters onto a backing or a garland. For an ornament a baby or toddler can reach, skip sequins, beads and buttons and embroider every detail, since small parts are a choking hazard under 3. For more ideas to go with the letters, see felt Christmas decorations.
Frequently asked questions
What size should a felt letter ornament be?
About 4 in (10 cm) tall for a stuffed initial, with strokes at least ¾ in (2 cm) wide so they can be stuffed. Flat garland letters work from 2 to 6 in; 4 in reads well across a room. A 9 x 12 in sheet gives six 4 in pieces, which is three stuffed letters or six flat ones.
What font is best for felt letters?
A bold, rounded sans-serif or a chunky slab font, printed in capitals. Avoid thin strokes, serifs and script fonts: anything narrower than about ⅜ in (1 cm) at 2 in tall curls or tears. Letters with holes, such as A, B, D, P, R and O, need the holes cut separately or made larger.
How do you cut out felt letters cleanly?
Print the letters, trace them onto freezer paper, iron the paper shiny side down onto the felt, and cut through paper and felt together with small sharp scissors. Cut the holes inside letters first, by folding the felt and snipping a starter slit, then cut the outside.
How do you hang a felt letter ornament straight?
Put the loop above the letter's balance point, not always at the center of the top. Hold the letter by a pin at the top edge and move the pin until it hangs level; that is where the loop goes. Letters like L, J and F hang crooked from the middle and need the loop moved toward the heavy side.
How long does a felt letter garland need to be?
Add up the letter widths and the gaps. With 4 in letters about 3 in wide and 1½ in gaps, NOEL runs about 16½ in (42 cm), and MERRY CHRISTMAS about 64 in (1.6 m) with a 4 in gap between the words. Add 12 in (30 cm) of twine at each end for tying.