Felt Plushies: Two Flat Shapes, Stitched Round the Outside
12 min read Beginner
We may earn a commission from links on this page, at no extra cost to you. As an Amazon Associate I earn from qualifying purchases. Learn more.
A felt plushie is cut and sewn, not needle felted. Which felt to buy, why the pattern carries no seam allowance, and the edge stitches that hold a stuffed toy together.
Cut a rectangle of woven cotton and the edges start shedding threads the first time anyone handles it. Nearly everything a conventional sewing pattern does is arranged around that fact: the 6 mm seam allowance, sewing the pieces face to face, clipping the curves so they lie flat, turning the whole thing right side out through a gap left in a straight seam. Felt has no weave and no grain — it is fibre matted in every direction at once — so a cut edge is already a finished edge.
Remove that one job and a soft toy collapses to something a beginner can genuinely finish: two flat shapes, held together, stitched round the outside with the seam showing on purpose, stuffed through a gap. No turning, no pressing, no allowance to keep even. It is a sewing project rather than a felting one, and it has almost nothing in common with sculpting wool under a barbed needle, which is the other thing people arrive looking for. If a solid three-dimensional animal built from loose fibre is what you want, start at needle felting instead.
Which felt, and what it costs
- Craft felt (acrylic or recycled polyester). The cheapest felt there is, sold in 23 × 30 cm (9 × 12 inch) sheets in sixty-odd colours. Stiff, cuts very cleanly, holds a crisp outline. It also pills within a few weeks of being handled and goes grey and shabby on a toy that is actually played with. Right for a first plushie, a prototype of a pattern you are still testing, or something that will sit on a shelf.
- Wool-blend felt, typically 20 to 35% wool with the rest rayon or polyester, and only a little dearer than craft felt. It drapes instead of standing up like card, so a stuffed shape looks rounded rather than boxy, and it resists pilling far better. This is the usual compromise and the default recommendation.
- 100% wool felt. Three to four times the price of wool-blend by the sheet, and more again by the metre. Deeper, less plasticky colour, a much better surface under the hand, and it holds a stitched edge without the stitches gradually cutting into it. Worth it on a gift, hard to justify on a first attempt.
- Felted knitting, or a boiled jumper. A charity shop lambswool jumper felted in the machine gives roughly half a square metre of thick fabric for less than a couple of sheets of wool felt cost — see felting sweaters. Much thicker than sheet felt, so it suits larger plushies and nothing small.
All four cut without fraying, which is the whole reason felt suits this craft. The differences are in how they wear, not in how they behave under the scissors. The fibre content behind the labels is set out in wool felt fabric.
Thickness changes the seam
Sheet felt is normally about 1 mm; wool felt is sold at 1 mm and at 2 to 3 mm; a felted jumper runs 2 to 4 mm. At 1 mm the two layers press together to almost nothing and the stitched edge reads as a fine decorative line. At 3 mm the seam becomes a visible ridge you have to design around: the needle is harder to pull, the stitch has to bite 5 mm in rather than 3 to get a secure hold, and the spacing has to open out to match or the edge looks crowded.
The working rule: anything under about 15 cm tall wants 1 mm felt, or the seam swamps it. Anything over 20 cm, or anything that has to stand up unsupported, wants 2 to 3 mm.
How a two-piece pattern works
Two identical shapes — front and back — cut from the same outline, one of them flipped so any face detail ends up on the outside. Stitch all the way round, leave 3 to 4 cm open along a straight-ish edge, stuff, close the gap with the same stitch.
There is no seam allowance. You cut exactly on the drawn line and stitch at the edge of the felt, so the outline you draw is the finished size of the toy. This catches out anyone coming from garment sewing, who instinctively cuts wide and loses 12 mm off every dimension. Add 5 mm only if you have decided to sew the pieces face to face and turn them through, which in felt costs you a bulky inside seam and gains very little.
Designing one from a drawing
- Trace the outline only. Ignore everything inside it. A plushie pattern is a silhouette, and the test of a good one is whether the animal is still recognisable as a solid black shape.
- Close every gap. A drawing with a leg lifted or an ear separated from the head has to become one continuous closed line.
- Fatten anything narrow. Nothing below about 10 mm across survives stuffing — thin tails, thin legs and thin antennae either stay flat or tear at the stitch line. Thicken them or absorb them into the body.
- Delete what sticks out. Limbs held away from the body double the stitching and stuff badly. A sitting pose with the legs tucked in is easier and looks better.
- Cut it in paper first, hold it up, and change it before you spend any felt. Then trace the corrected shape onto card, because you will draw round it many times.
For ready-made patterns, designers' own blogs are the main source of free ones, along with craft magazines' download pages and yarn and felt suppliers giving one away to sell materials. Pinterest is an index of those, not a source. Judge one before you cut: it should print at a stated size with a test square to check the scale, name the felt thickness it was made in, give the finished dimensions, show a photograph of the assembled back as well as the front, and contain no piece narrower than 1 cm. What a pattern ought to tell you is covered further in felting patterns for beginners.
Cutting
Small, sharp embroidery scissors with blades around 10 cm, cutting with the tips for curves and long strokes for straight runs. Blunt scissors chew a fuzzy edge that no stitching will tidy.
Do not use pinking shears here. They exist to stop woven fabric fraying, which felt does not do, and the zigzag they leave gives you an edge whose distance from the stitch line changes every 3 mm — so the bite of every stitch is different and the seam looks ragged.
Three ways to transfer the template: tailor's chalk on dark felt, a water-erasable pen on light felt — test it on a scrap first, as some wool felts mark permanently — or pin the paper template on and cut round it, which leaves no mark at all and is the best method for pale colours. Whichever you use, cut on the line rather than outside it.
The stitches
Blanket stitch — the standard
Bring the needle up through both layers 3 mm in from the edge, take it down 3 to 4 mm along at the same depth, and pass the needle through the loop of thread lying at the edge before pulling through. The thread then sits as a row of small vertical bars with a line running along the edge itself, which is what locks the two layers together.
Even spacing is the whole difficulty. Do not eyeball it: mark dots along the edge with the water-erasable pen, 3 to 4 mm apart on 1 mm felt and 5 mm on thick felt, and hit them. Keep the tension consistent enough that the edge line lies exactly on the edge — pull harder and it rolls onto the face of the felt, which reads instantly as uneven. At a sharp point, work two or three stitches into the same hole so the bars fan round the corner.
Whip stitch — faster
The needle goes over the edge and back up through both layers each time, leaving diagonal bars. Same 3 mm bite, same 3 mm spacing, one movement per stitch instead of two, so it is noticeably quicker over a long outline. It is far less decorative, so use thread that matches the felt and let the seam disappear rather than trying to make a feature of it.
Running stitch — internal detail only
In and out along a line, for mouths, wing outlines and quilted detail on a single layer. Never use it for the outside seam: it holds the two layers at one point per stitch with nothing gripping the edge, and it pulls open into visible gaps the moment the toy is stuffed. More edge stitches, and how to hold shapes down while you work them, are in felt applique.
Hiding the knot
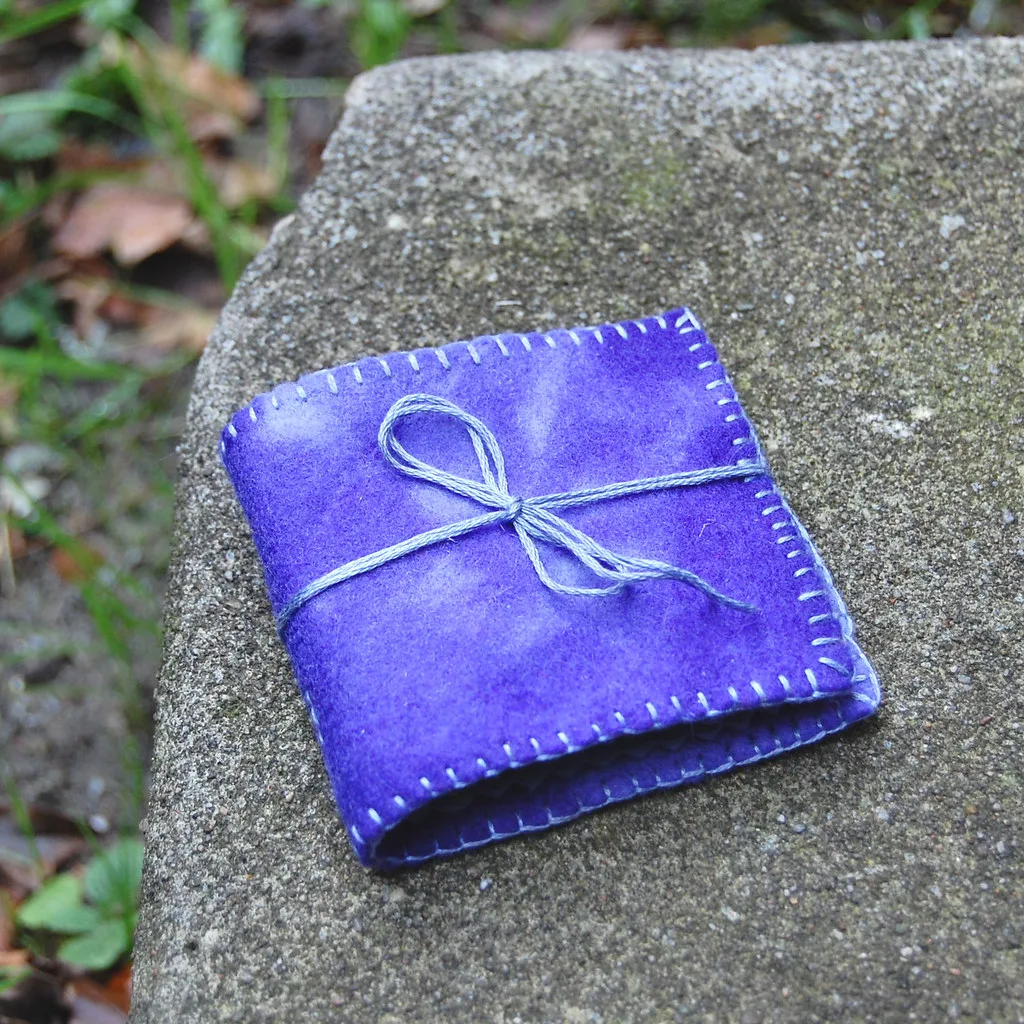
Knot the end of the floss, then push the needle in between the two layers a centimetre from where you want to start and bring it up at the first stitch point. Tug gently and the knot pops through the felt and lodges between the layers, out of sight. To finish, take the last stitch, run the needle back between the layers for about 2 cm, pull, and snip the thread flush with the felt so the tail springs back inside.
Floss and colour
Standard six-strand embroidery floss, split down. Two strands on anything under 10 cm, three on a 10 to 20 cm plushie, and all six only on thick felted-jumper fabric where fine thread vanishes into the surface. Work with 45 cm at a time; longer lengths abrade and start to fluff before you reach the end.
At this scale, colour choice does most of the work. Thread matching the felt makes the seam disappear and hides uneven spacing. One shade darker than the felt defines the edge without announcing it, and is the most forgiving option. Strong contrast — black on cream — turns the seam into the main decorative feature and shows every stitch that is 1 mm out of line, so save it for when your spacing is reliable. Pale on pale simply reads as nothing from a metre away.
Faces, and what is safe
- Embroidered. Two French knots in two strands of black, or small satin-stitched ovals. Costs a minute, cannot come off, and works on a toy for any age.
- Safety eyes. A plastic post pushed through a punched hole and locked with a washer on the back, fitted before the plushie is closed up. Use 6 to 9 mm on a 10 cm toy, and back the hole with a small disc of felt — 1 mm craft felt is thin enough that the washer can drag through it.
- Glued. For display pieces only. Glue holds poorly on a fibrous surface and eventually lifts a patch of felt with it.
Said plainly: glued eyes, sewn beads and sequins are a choking hazard on a toy for a child under three. Embroider the face. If beads are going on something for an adult, how to sew beads on felt covers attaching them so they stay attached; for the expressions themselves, needle felting eyes is about placement as much as material.
Stuffing
Polyester toy filling is springy, washable and cheap, and one bag goes a very long way — at the 5 to 8 g a small plushie takes, a 250 g bag is thirty of them and more. Wool stuffing is heavier, denser and feels considerably better in the hand, but costs more and will felt itself into lumps if the toy is ever washed hot.
Corners first. Push small pinches into the ears, nose, feet and any other extremity with a chopstick or the blunt end of a knitting needle before you fill the body. Do it the other way round and the body packs out, blocks the opening, and the extremities stay flat for the life of the toy.
A 10 cm plushie takes 5 to 8 g. Firm enough to hold its silhouette when squeezed, and no firmer — overstuffed 1 mm craft felt spreads at the stitches and shows white filling through every gap.
A 10 cm two-piece cat, in order
- Draw a sitting cat 10 cm tall as one closed silhouette: rounded body, head sitting straight on it with no neck, two triangular ears, tail curled against the body. Cut it from card.
- Draw round the card twice on 1 mm wool-blend felt with a water-erasable pen and cut both out on the line.
- Cut inner ears and a muzzle from contrasting felt and stitch them to one piece with two strands of matching floss. All face work happens now, on the flat single layer.
- Embroider the eyes and nose on that same piece — two French knots and a small satin-stitched triangle in black.
- Hold the two pieces together, wrong sides facing. Start the floss between the layers so the knot hides, and blanket stitch from the base of the tail up and over the head.
- Stop 3 cm short of your starting point along the bottom edge, leaving the gap on a straight run rather than a curve.
- Stuff the ears first with a chopstick, then the head, then the body. About 6 g in total.
- Close the gap in the same blanket stitch, finish by running the thread between the layers, and snip flush.
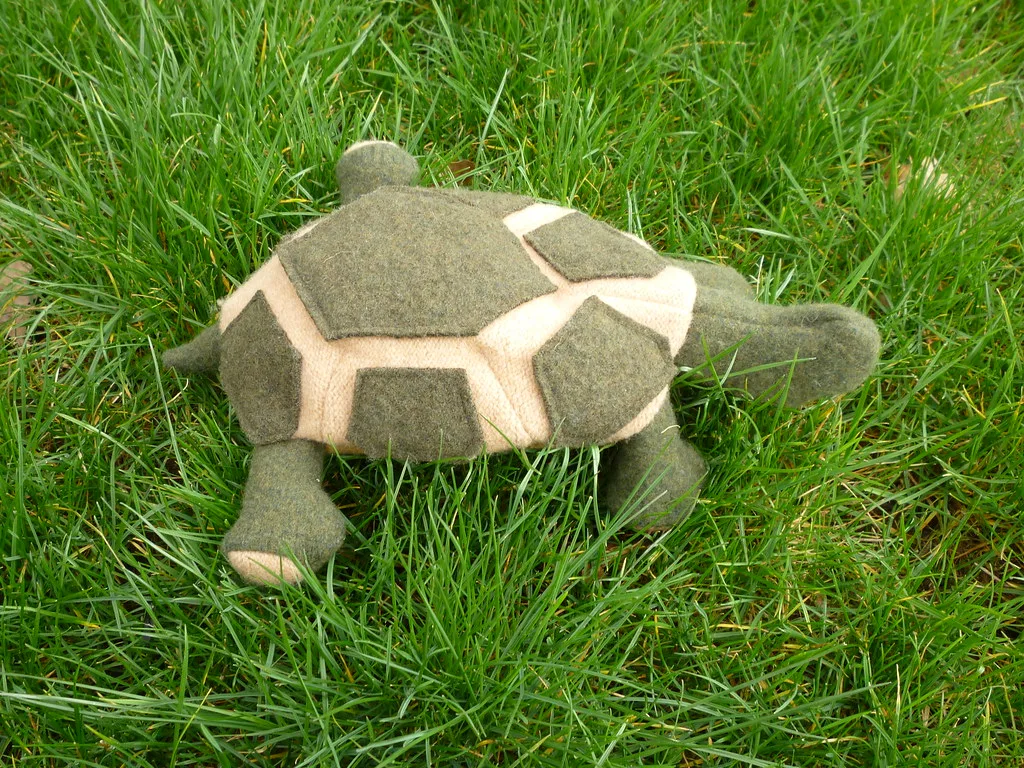
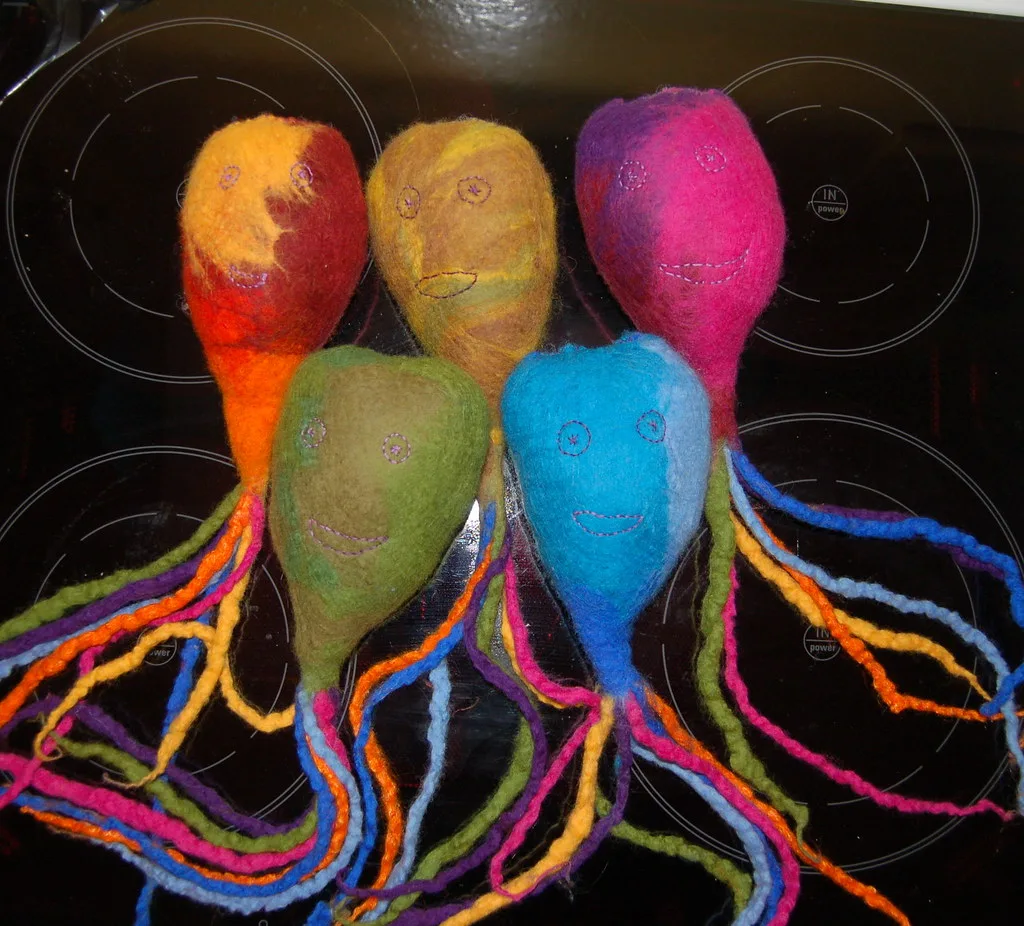
An hour, most of it stitching. The same construction scales to any silhouette: felt cat patterns takes the cat further, how to make felt mice covers the teardrop body, the felt frog adds legs caught in the seam and a bean-bag sit, the felt turtle a patchwork shell, and how to make felt food and how to make felt dolls use it on shapes that are not animals at all.
Where it goes wrong
- Puckered seams. Thread pulled too tight, so the felt gathers between stitches. Blanket stitch should sit on the edge, not cinch it. Slacken off and keep the tension the same rather than trying to correct it later.
- Visible knots. Started on the outside. Every knot goes in between the layers.
- Stuffing showing through. Stitches too far apart, or too much filling, or both. On 1 mm felt keep to 3 to 4 mm spacing and stop stuffing while the shape still gives.
- A lopsided pair. The two pieces were traced separately by eye, or the pen line was cut outside on one and inside on the other. Use a card template, and cut both pieces the same way relative to the line.
- A fuzzy outline. Blunt scissors, or a template redrawn so many times the edge has crept. Recut the card.
Where needle felting fits
The two crafts combine well on one detail at a time. A needle felted nose gives a small raised muzzle that no amount of embroidery matches, and a wisp of pink worked into the cheeks gives a blush with soft edges. Lay a little wool on the felt, put it on a foam pad, and work it in with a 40 gauge needle.
Do that on the single flat piece before you stitch anything together. Once the plushie is assembled and stuffed, a needle pushed through the front will catch the back and quietly stitch the toy shut. The basics of the technique are in needle felting for beginners, and why wool tangles at all in what is felting.
The real advantage of this craft is how cheap a mistake is. A pair of shapes in craft felt costs pennies, so when the first cat comes out with a head too small, you widen the card by 5 mm and cut another pair the same evening. Three versions of one pattern will teach you more about silhouette than any amount of reading, and the third one is usually the one you keep.
Frequently asked questions
What felt is best for plushies?
Wool-blend felt at 20 to 35% wool is the sensible default: it is the cheapest of the three worth using, it drapes rather than standing up like card, and it takes a stitched edge cleanly. Acrylic craft felt is fine for a first attempt but pills within weeks of handling. Pure wool felt is three to four times the price and worth it on something meant to last.
Do felt plushie patterns need a seam allowance?
No. Felt has no fraying edge, so you cut on the line and stitch at the edge with the seam on the outside — the drawn outline is the finished size. Add 5 mm only if you intend to sew the pieces face to face and turn them, which is rarely worth doing in felt.
What stitch holds a felt plushie together?
Blanket stitch, worked 3 to 4 mm in from the edge with stitches 3 to 4 mm apart, in two strands of embroidery floss. Whip stitch is faster and less decorative. Running stitch is for internal detail only — at the edge it pulls open as soon as the toy is stuffed.
Are felt plushies safe for a baby or toddler?
Only with an embroidered face. Glued-on eyes, beads and sequins are a choking hazard for a child under three, and glue fails on felt sooner than on almost anything else. Two French knots in black floss take a minute and cannot come off.