Felt Flowers: Cutting and Assembling Them From Sheet Felt
6 min read Beginner
We may earn a commission from links on this page, at no extra cost to you. As an Amazon Associate I earn from qualifying purchases. Learn more.
Three ways to build a flower from felt cloth — rolled, stacked and petal by petal — which suits which bloom, and the cutting that decides whether it looks made or bought.
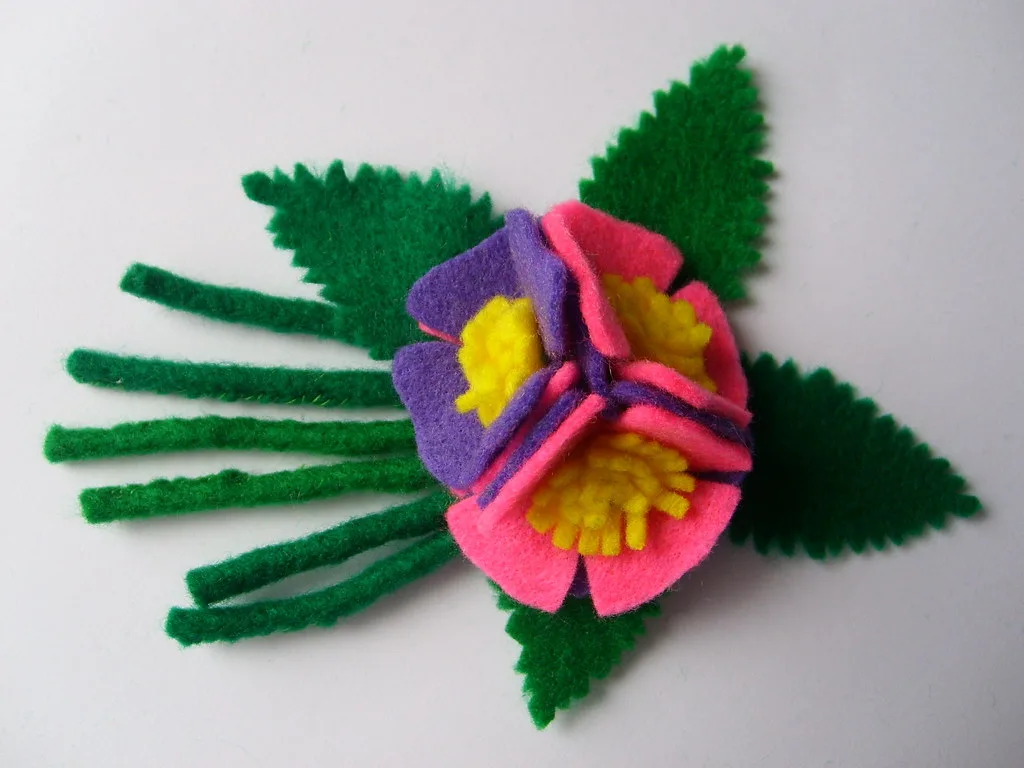
There are two entirely different crafts called felt flowers. One sculpts a bloom from loose wool with a barbed needle; the other cuts petals from felt cloth and assembles them. This page is about the second, which is faster, needs no special tools, and is the one most people actually mean.
If you want the sculpted kind instead, how to needle felt flowers covers it.
Which felt to cut from
The material decides more than the pattern does, because a felt flower is essentially a set of edges and curves.
- 100% wool felt, around 1 mm. Cuts to a clean line with no fraying, and — the part that matters — holds a curve when you shape a petal between your fingers. Everything below is a compromise against this.
- Wool-blend felt. Roughly a third wool. Cuts well, shapes adequately, costs much less. The sensible default for a large batch.
- Acrylic craft felt. Fine for flat stacked flowers where nothing has to hold a shape. It will not take a curve, it goes shiny where you press it, and it pills.
- Thick felt, 2 mm and up. Too stiff for petals, excellent for the base disc a flower is built on.
The grades and weights are set out properly in wool felt fabric.
The three constructions
1. The rolled spiral — roses and ranunculus
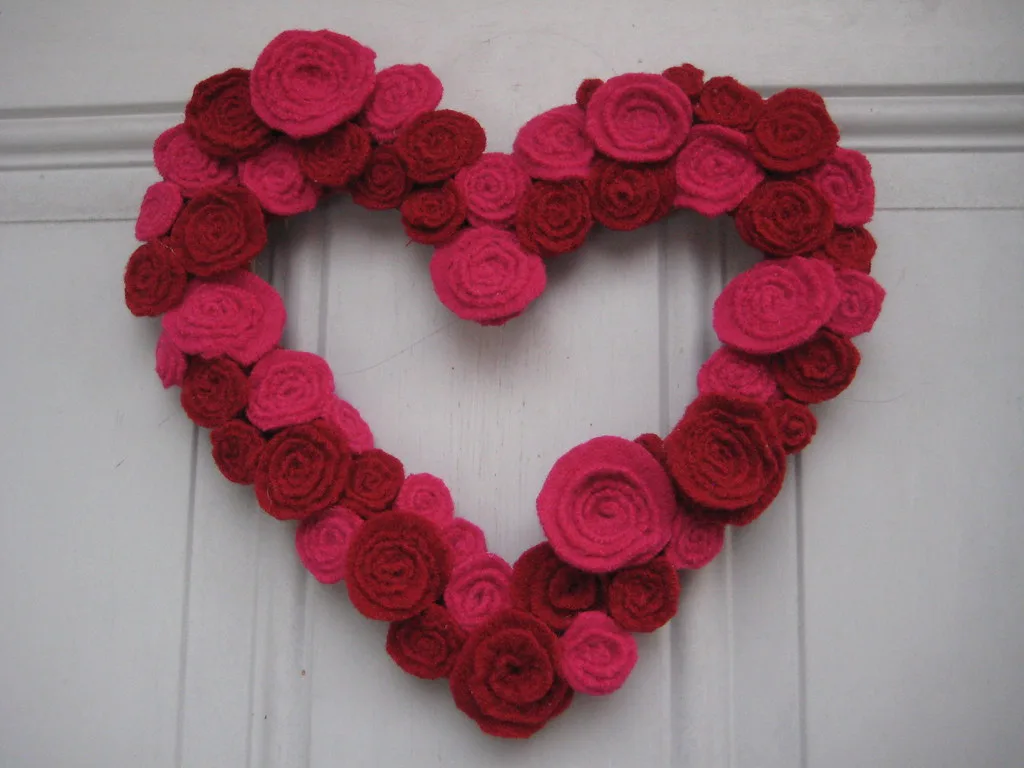
One piece of felt, no petals cut individually. Draw a circle around 8 cm across, then cut inwards from the edge in a spiral with a gently wavy outer line, leaving a coin-sized disc at the centre uncut.
Roll from the outer end towards the middle, keeping the bottom edge level against the table as you go — that flat base is what makes the finished rose sit properly. When you reach the centre, fold the remaining disc underneath and glue or stitch it across the base.
Wavier cutting gives a looser, more open rose; a straighter spiral gives a tight bud. It is the fastest flower there is, about three minutes once you have the knack.
2. Stacked layers — daisies, sunflowers, poppies
Cut two to four identical flower outlines in decreasing sizes, stack them with each layer rotated so the petals sit between those below, and fix through the centre with a stitch, a button or a felt circle.
This is the construction for anything flat: hair clips, cards, garlands, appliqué. It is also the one children can do. For a sunflower, two layers of narrow yellow petals over a dark brown centre disc, with the centre textured by stitching French knots across it — or beaded, which is covered in how to sew beads on felt.
3. Petal by petal — peonies, anemones, anything realistic
Each petal cut separately, shaped, and attached to a base disc in overlapping rings from the outside in. Slow — twenty minutes or more for one flower — and the only method that produces something with real depth.
The shaping is what sells it. A wool felt petal pinched at the base and rubbed gently between damp fingers will hold a cupped curve. Work outer petals shallow and inner petals deeply cupped, and the flower reads as a bloom rather than a diagram.
Cutting well
Felt flowers live or die on their edges, and the mistakes are all in the cutting.
- Cut in one continuous movement per petal where you can. Choppy scissor strokes leave a scalloped edge that no amount of assembly hides.
- Sharp scissors, kept for fabric. Felt blunts blades quickly and a blunt blade drags rather than cuts.
- Templates from card, not paper. Paper edges soften after a dozen tracings and every flower comes out slightly different.
- Trace on the back with chalk or a fading pen, never on the face.
- Vary the petals deliberately. Perfectly identical petals read as machine-made. Cut one or two slightly narrower in each flower.
Stems, and why they droop
For anything standing in a vase, the stem is the engineering problem. Felt flower heads are light but their weight sits high, and thin wire will let every head nod forward within a day.
- Use 18 or 20 gauge floral wire — heavier than instinct suggests.
- Push it through the base disc, bend a small hook on the end, and pull it back so the hook bites into the felt.
- Wrap the whole stem in floral tape, stretching it as you go so it sticks to itself.
- Add a felt calyx — a small five-pointed star, glued underneath — to hide the join. This is the step that separates a convincing stem from a wire with a flower on it.
Building a bouquet
Bouquets fail by being uniform. Three rules fix most of it:
- Three sizes, not one. A few large blooms, more mid-sized, and a scatter of small filler flowers.
- Leaves are half the effect. Cut them in two greens, in long ovals with a pinched base, and wire them in among the stems rather than all around the edge.
- Vary the heights by an inch or two when you bind the stems. Level tops look like a bunch of pencils.
Bind with floral tape, then wrap the handle in a strip of felt or ribbon. A felt bouquet weighs almost nothing, never wilts, and survives being posted — which is most of why people make them.
Where they end up
- Brooches and hair clips. Stitch rather than glue; these get handled. A stiff felt circle on the back takes the pin.
- Wreaths. Stacked flowers glued onto a covered ring, densest at one side rather than evenly spread.
- Seasonal sets. Flowers sit naturally alongside felted Christmas ornaments and felt Valentine crafts, which use the same stacked construction.
- Garlands and cards. Flat stacked construction, no wire needed — the same cutting and stacking as felt star ornaments.
- On other felt work. A small flower is one of the quickest ways to lift a plain piece — the technique for attaching them is felt applique.
Common problems
- The rose unrolls. The base disc was too small or the glue too thin. Make the disc wider than you think and cover the whole base.
- Petals will not hold a curve. Acrylic felt. Nothing will fix it; it has no wool in it to shape.
- The flower looks flat. Every petal is at the same angle. Cup the inner ones harder than the outer ones.
- Visible glue. Too much, applied to the wrong side. A thin line near the centre where nothing shows is enough.
If you would rather sculpt than cut
Everything above is subtractive: you start with cloth and remove what is not a petal. Needle felting is the opposite, building a bloom from loose fibre, and it gives a softer, furred surface that cut felt cannot — see needle felted flowers. Wet felting gives a third option again, with flowing shapes and blended colour, covered in wet felting art.
The three mix perfectly well in one arrangement. If you are starting from nothing, felting supplies for beginners covers what you need for each, and free felting patterns for beginners has templates to cut from.
Frequently asked questions
What felt is best for felt flowers?
Wool or wool-blend felt around 1 mm. It cuts without fraying, holds a curve when you shape it, and does not go shiny at the folds. Acrylic craft felt is cheaper and works for flat stacked flowers, but it will not hold a shaped petal.
How do you make a felt rose?
Cut a spiral from a circle of felt about 8 cm across, starting at the edge and working inwards with a wavy line. Roll it from the outside end towards the centre, keeping the base level, then glue or stitch the remaining centre disc underneath to hold it.
Do you glue or sew felt flowers?
Both work. Glue is faster and invisible if you use a little; stitching is stronger and survives handling, which matters for anything worn or given away. A hot glue gun is the usual choice for bouquets, thread for brooches and hair clips.
How do you make felt flowers stand up in a bouquet?
Floral wire through the base of each flower, wrapped in floral tape, then bunched. Wire heavier than you think — felt flowers are light but top-heavy, and thin wire lets every head droop within a day.