Felted Bag Knitting Pattern: Knit It Huge, Shrink It Small
5 min read Intermediate
We may earn a commission from links on this page, at no extra cost to you. As an Amazon Associate I earn from qualifying purchases. Learn more.
A simple felted bag pattern with the arithmetic explained, so you can size it to any yarn instead of hoping somebody else's gauge matches yours.
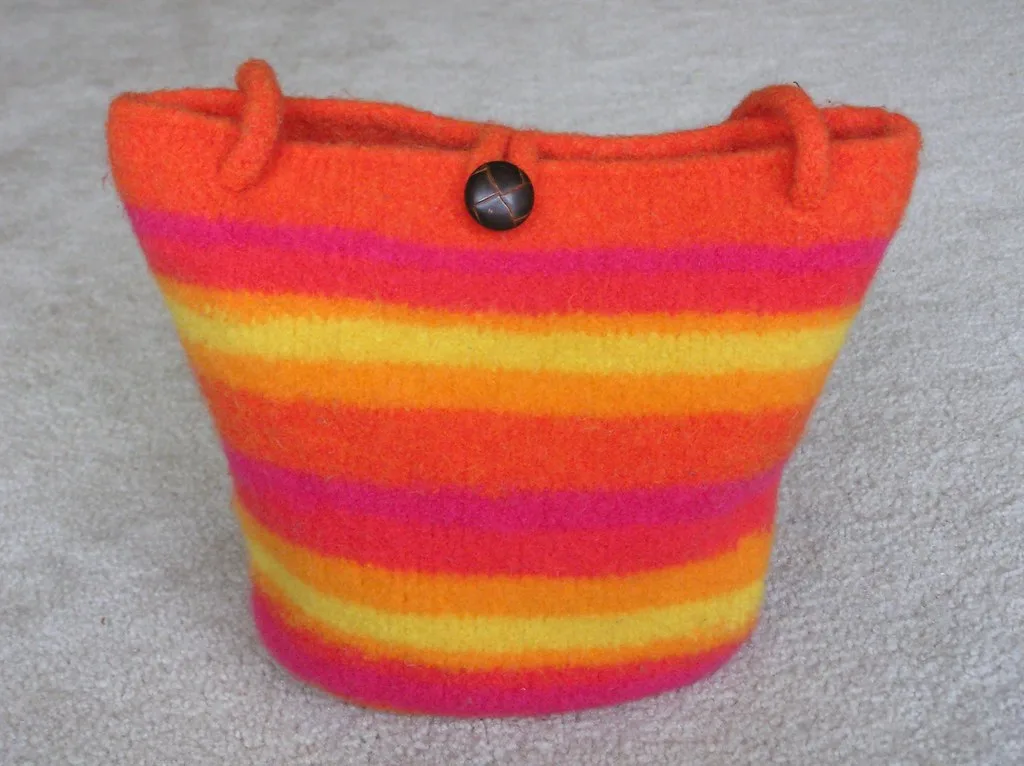
Knitted felted bags are made backwards from every other kind of knitting. You work on huge needles at a gauge that looks like a mistake, produce something floppy and shapeless, and then shrink it into a firm bag that holds its own shape and never frays. Most of it is plain stockinette on big needles, which is exactly where the habits in fast knitting techniques save the most time.
Most published patterns give you one size in one yarn. This gives you the arithmetic instead, so it works with whatever is in your stash.
Yarn
Untreated wool, aran or chunky weight. Icelandic, Lopi-style, Shetland and plain pure new wool all felt hard and wear well. Superwash will not felt at all — the full selection guide is in felting yarn.
Allow 400 to 600 g for a medium tote, all from one dye lot. Felting makes dye lot differences more obvious, not less.
Step one: the swatch that sets everything
Do not skip this. Every number below depends on it.
- Knit a square of at least 20 × 20 cm on needles two or three sizes larger than the yarn band suggests — 6 mm or 7 mm for aran.
- Mark 15 cm across and 15 cm down with contrasting thread.
- Felt it exactly as you plan to felt the bag: same machine, same temperature, same cycle.
- Measure both marks. If the horizontal 15 cm is now 10 cm, that is 33% width shrinkage; the vertical will usually be more.
Typical results are 30 to 40% in width and 40 to 50% in height, but yours is the only figure that matters.
Step two: the arithmetic
Decide the finished bag, then divide.
- Knitted width = finished width ÷ (1 − width shrinkage)
- Knitted height = finished height ÷ (1 − height shrinkage)
For a finished bag 28 cm wide and 30 cm tall, at 33% and 45% shrinkage: knit it 42 cm wide and 55 cm tall. Then multiply the knitted width by your swatch's stitches per centimetre to get the cast-on.
The pattern
Worked in the round from the base up, in plain stocking stitch. Cables and texture disappear entirely in felting, so there is no reason to use them.
Base
- Cast on stitches for half the bag's knitted width and work a flat rectangle in garter stitch for the depth you want the base — 10 to 12 cm knitted for a bag that stands.
- Do not cast off. Pick up stitches along the other three sides of the rectangle onto your circular needle, so you have a continuous round.
Body
- Work in the round in stocking stitch to the full knitted height.
- Change colour wherever you want a stripe — horizontal stripes felt cleanly and look deliberate.
- Work four rounds of garter stitch at the top edge. It stops the rim rolling, which stocking stitch will do even after felting.
- Cast off loosely.
Handles
Three options, in order of durability:
- Knitted i-cord, felted on. Knit two cords 50% longer than needed, then stitch them firmly to the bag before felting. They felt into the fabric and become part of it.
- Leather straps, riveted or stitched after felting. Strongest, replaceable, and the reason most commercial felted bags look as good as they do.
- Knitted straps sewn on afterwards. Easiest and the weakest — the join takes all the load.
Step three: felting it
- Into a zipped pillowcase or laundry bag, with a pair of jeans for abrasion. No towels — they shed lint into the wool.
- A teaspoon of detergent. No fabric softener, which stops the process dead.
- 60 °C, longest agitation, no spin on the first cycle.
- Check part way through. Felting is irreversible and there is no route back from too small.
- Run again if needed. Two short cycles beat one long one.
Front-loaders felt more slowly than top-loaders and often need two or three cycles. The general process is in felting in knitting.
Step four: shaping
Take the bag out damp — this is when it is plastic and will keep any shape it dries in.
- Stuff it firmly with plastic bags, a box or rolled towels.
- Press the base flat on a table and square the bottom corners with your fingers.
- Pull the top edge straight and even.
- Leave to dry completely — two to three days for a thick bag.
Finishing
- Cut it if you need to. Felted fabric does not fray, so a handle slot or a shaped opening can be cut with sharp scissors.
- Line it with cotton, hand-stitched in. Worth it — coins and pens eventually work their way through felt.
- Closure: a magnetic snap on a reinforced patch, a felted loop and button, or a hand-stitched zip.
- Repair: thin patches take a wool patch needled in, then worked briefly with hot soapy water. See needle felting on fabric.
Variations
- Bucket bag — start with a circular base worked in the round and increase to the body width.
- Clutch — no handles, a flap knitted as an extension of the back, felted and folded.
- Crochet version — single crochet in untreated wool felts just as well, and slightly faster to work.
- Seamless wet felted version — no knitting at all, made over a resist: wet felting a bag.
Care
Spot clean. Never machine wash a finished bag — it will shrink further and unevenly, and the handles will not shrink with it.
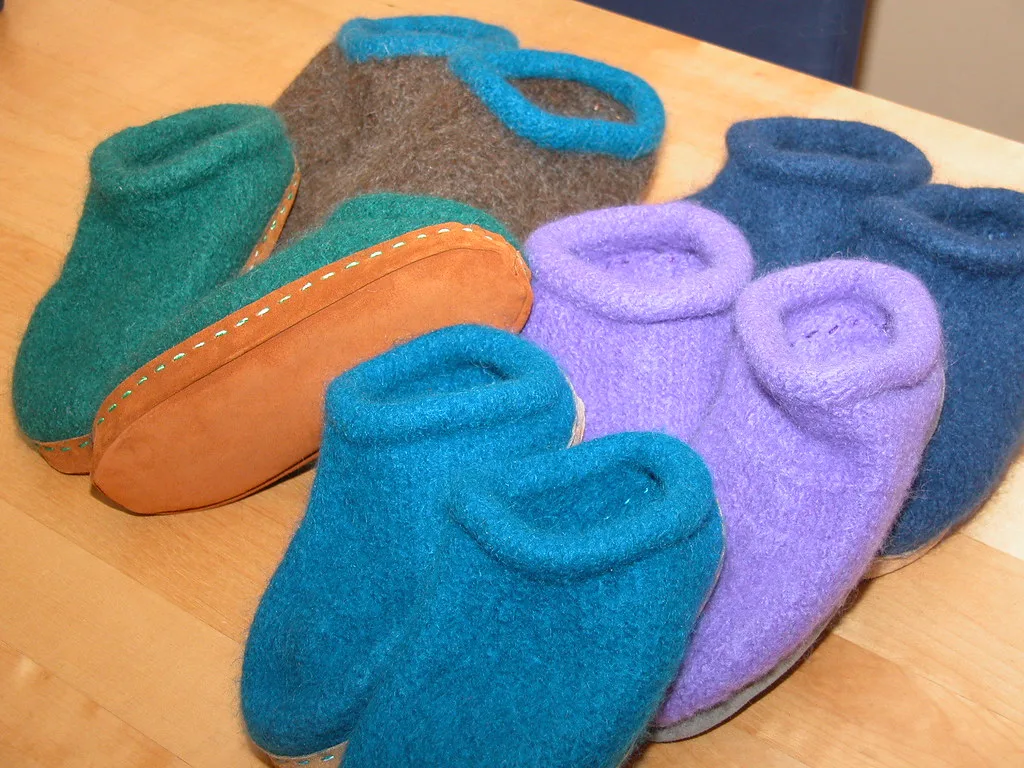
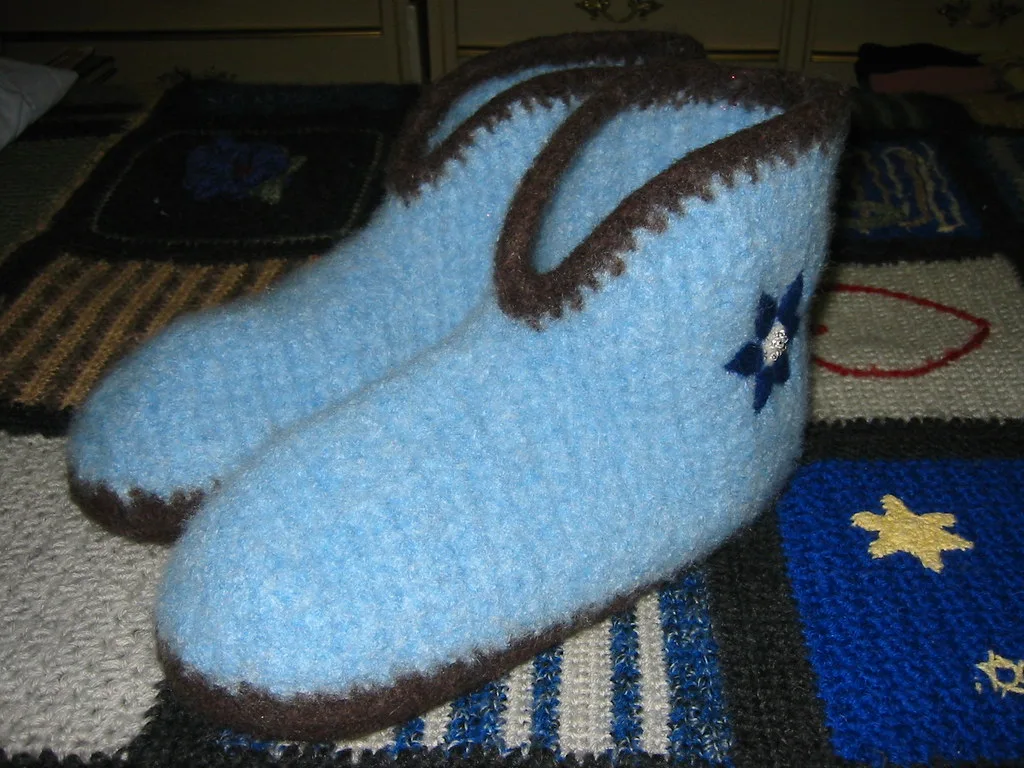
If you have the yarn and the machine cycle worked out from this project, knitted felted slippers reuse both: the same oversized plain knitting, the same hot wash, and a shape that is far more forgiving of imprecise shrinkage than a bag with handles.
Frequently asked questions
How much bigger do you knit a felted bag?
About 40% larger in width and 50% larger in height, because knitted fabric shrinks more in length than width. A 30 cm tall finished bag is knitted at roughly 45 cm.
How much yarn does a felted bag take?
Around 400 to 600 g of aran or chunky wool for a medium tote. It is more than an unfelted bag of the same finished size, because you are knitting a much larger piece.
Do you knit a felted bag flat or in the round?
In the round, from the base up. Felting hides stitch definition but not seams, and a seamless bag is stronger where it matters, at the bottom corners.
Why did my felted bag come out too small?
Almost always because the pattern's shrinkage rate did not match yours. Different yarns, machines and water hardness give different results, which is why a swatch measured before you start is worth more than any published gauge.