Felt Birkin Bags: The Structured Tote, and the Felt Insert That Saves One
4 min read Advanced
Two different things go by this name — a felt tote in the Birkin silhouette, and the felt organiser that sits inside a real one. Both come down to how stiff the felt is.
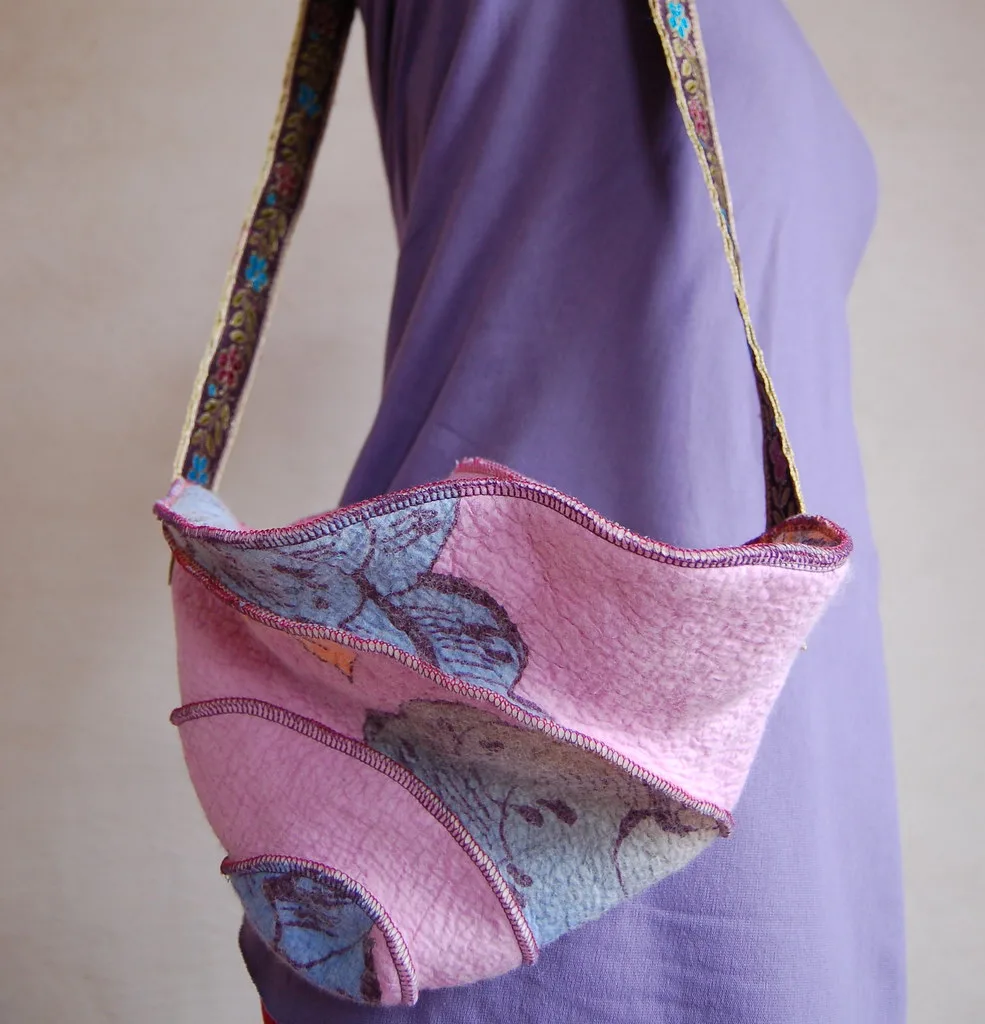
Search for a felt Birkin and you get two entirely different objects: a felt tote built in that unmistakable trapezoid shape, and the felt organiser insert that sits inside the leather original. They share one engineering problem — felt only holds a rigid shape if it is thick enough — so they are worth treating together.
Part one: making a structured felt tote
The shape
The silhouette is simple geometry: a flat rectangular base, four sides angling slightly outwards, a flap over the top, and two rolled handles set on the front and back panels. A medium bag is roughly 35 cm wide, 25 cm high and 18 cm deep at the base.
Route 1: cut and stitch
The reliable method for a first attempt.
- Buy 5 mm industrial wool felt — the dense pressed kind, not needlepunch. What the grades mean is in wool felt fabric.
- Cut flat pieces: base, two sides, front, back, flap. Felt does not fray, so no seam allowance is needed for finishing — but allow 1 cm for the seams themselves.
- Cut on a machine if you can; 5 mm felt cut by hand rarely comes out square. See felt cutting machines.
- Stitch the seams butted, not overlapped — hold the edges together and work a whip stitch or a machine zigzag across the join. Overlapped seams in thick felt make a ridge the bag will crease along.
- Reinforce the base with a second layer of felt or a cut plastic sheet inside.
- Handles: roll a strip of felt lengthways, stitch along the seam, and rivet or stitch through the panel with a reinforcing patch behind.
Route 2: wet felted over a resist
Seamless and far harder. The bag is felted as a hollow form over a flat resist, then cut open at the top and blocked over a wooden or cardboard form while wet. Expect 40 per cent shrinkage and plan the resist accordingly. The method is in wet felting a bag, and the shaping principle in resist felting.
To get a wet felted bag stiff enough for this silhouette, full it far harder than a soft bag needs, and block it dry over a form. Anything less and it slouches.
What keeps it standing
- Thickness — 5 mm or a doubled 3 mm
- A rigid base insert
- Structural seams at every corner, so the sides support each other
- Blocking, if wet felted: shape it damp and let it dry in shape
Part two: felt bag organiser inserts
The larger market by far, and a genuinely useful object: a stitched felt liner shaped to a specific bag, with pockets around the inside wall and often a divider or two.
What it does
- Holds the bag's shape from the inside, which matters most on soft leather
- Keeps contents upright and findable instead of pooled in the bottom
- Lets you move everything between bags in one lift
- Protects the lining from pen marks and keys
What to look for
- Sized to the bag, not "universal". An insert 2 cm too wide stretches the sides; one too narrow slides about and does nothing.
- 2–3 mm felt. Thinner collapses; thicker eats capacity.
- Stitched seams, not glued. Glue lines crack and shed.
- Colourfast. Rub a damp white cloth on a dark insert before putting it in a pale-lined bag. Cheap polyester felt does transfer.
- Wool blend over acrylic if you can — it pills less at the pocket edges.
Making one
It is a straightforward evening's work: measure the bag's internal base and height, cut a base and a single long wall strip 1 cm shorter than the internal height, stitch the wall into a loop and to the base, then stitch pocket strips around the inside with vertical dividing seams. Whip stitch throughout, in a matching thread.
Two details make the difference: cut the wall a centimetre short so the insert never shows above the bag opening, and add two fabric loops at the top so you can lift the whole thing out with one hand.
A note on the name
Making a bag in a recognisable silhouette for yourself is ordinary craft practice. Adding another maker's name, logo, hardware stamps or branding to it is counterfeiting, and it is worth being clear about the line — the shape is not the problem, the badge is.
For softer bags where structure is not the point, wet felting a bag and the felted bag knitting pattern are both easier starting points.
Frequently asked questions
Can you make a felt bag in the Birkin shape?
Yes. The silhouette is a flat-bottomed trapezoid with a flap and rolled handles, and it is achievable in 3 to 5 mm wool felt cut flat and stitched, or wet felted over a resist and then blocked hard. It needs stiff felt — soft felt collapses into a slouch bag.
What is a felt bag organiser?
A stitched felt liner shaped to fit inside a specific handbag, with pockets around the perimeter. It holds the bag's shape, keeps contents upright, and lets you lift everything out at once. Usually 2 to 3 mm polyester or wool-blend felt.
What thickness of felt holds a bag shape?
Three millimetres is the practical minimum for a structured bag, 5 mm for anything that must stand up empty. Below 2 mm the bag will slouch however it is constructed.
Do felt inserts damage a leather bag?
A properly sized one does not — felt is soft and non-abrasive. The risks are a too-tight insert stretching the sides, and dye transfer from a cheap dark felt onto a light lining. Test a corner on a damp cloth before use.